
Windows 11 小部件無法正常工作?15 種修復方法
可以肯定地說,小部件很容易成為 Microsoft 在 Windows 11 中提供的最佳功能之一。我們知道,你們中的一些人可能第一眼就想禁用小部件,但我們可以同意大多數人確實覺得它很酷。這就是為什麼當小部件在 Windows 11 上不適合您時它會受到傷害。當 Windows 11 小部件不適合您時,這裡有一些修復它的方法。
如何修復 Windows 11 小部件無法以 15 種方式工作
由於 Microsoft Edge 及其配套組件的問題,小部件可能會出現錯誤或損壞,或者,由於操作系統級錯誤或可能缺少系統文件,您可能會遇到小部件問題。所有這些問題都可以使用下面列出的方法解決。我們建議您從第一個修復開始,逐步完成列表,直到您設法解決您的問題。
方法 1:關閉和打開小部件
我們首先建議您再次嘗試從“設置”應用程序切換小部件。您可能遇到了一個小錯誤,再次切換小部件將有助於重新啟動後台服務。請按照以下步驟來幫助您完成該過程。
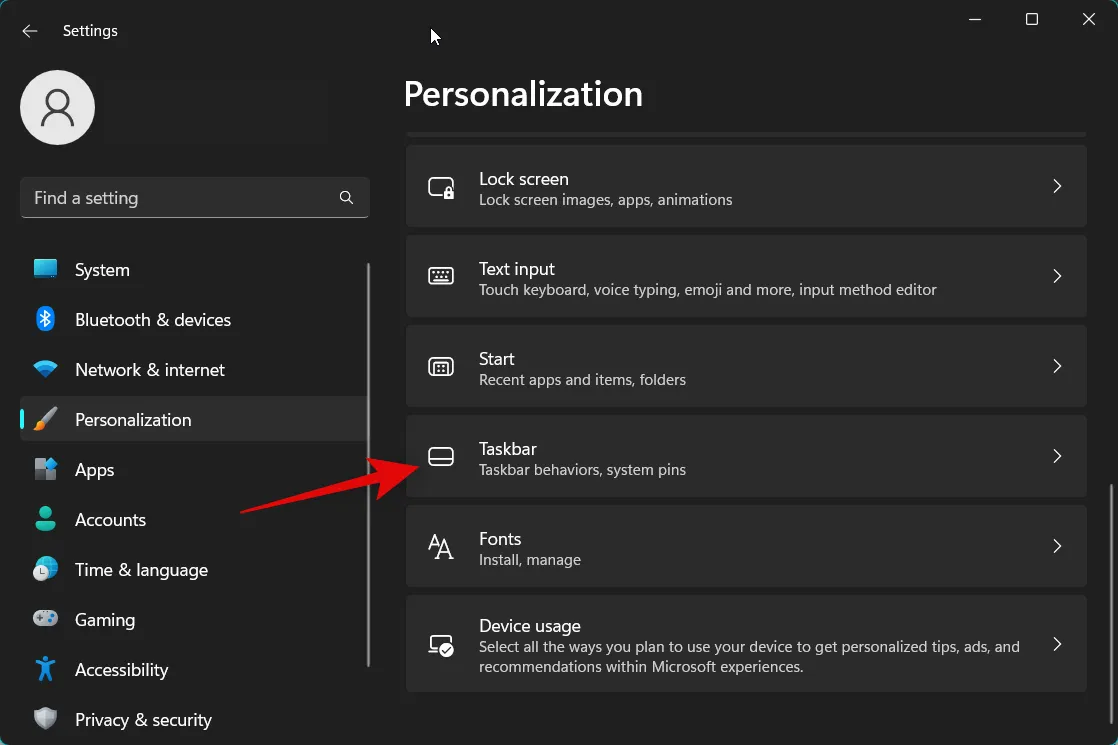
使用鍵盤快捷鍵打開“設置”應用。Windows + i現在點擊個性化。

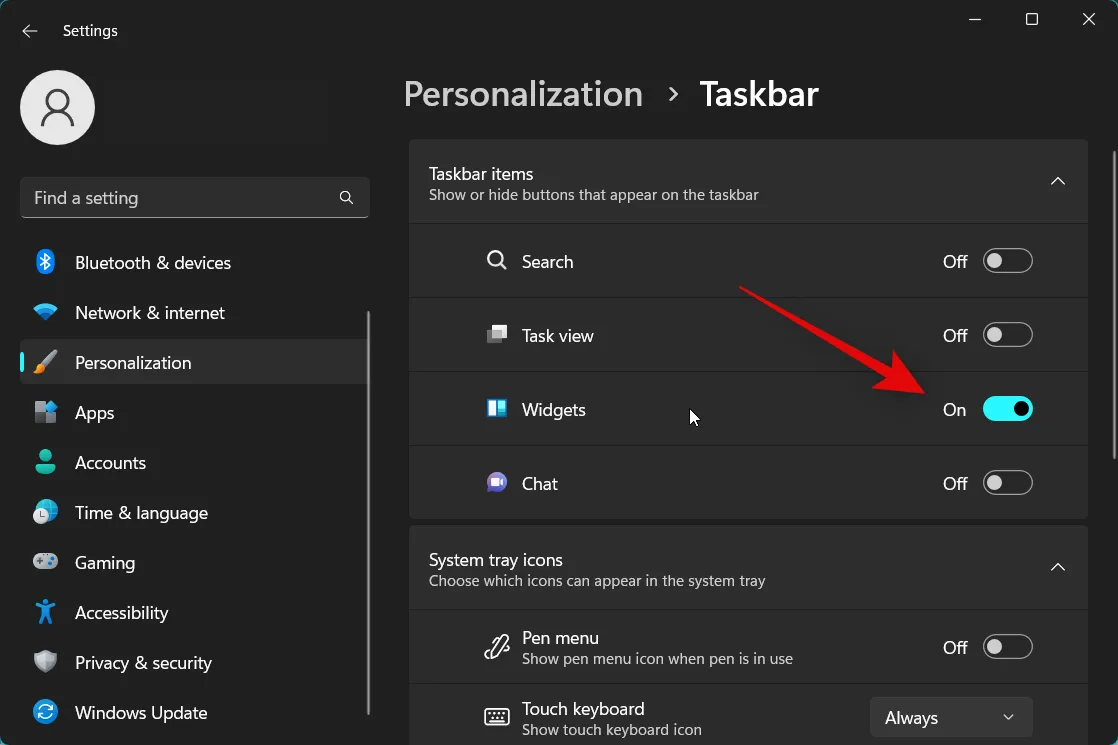
選擇任務欄。

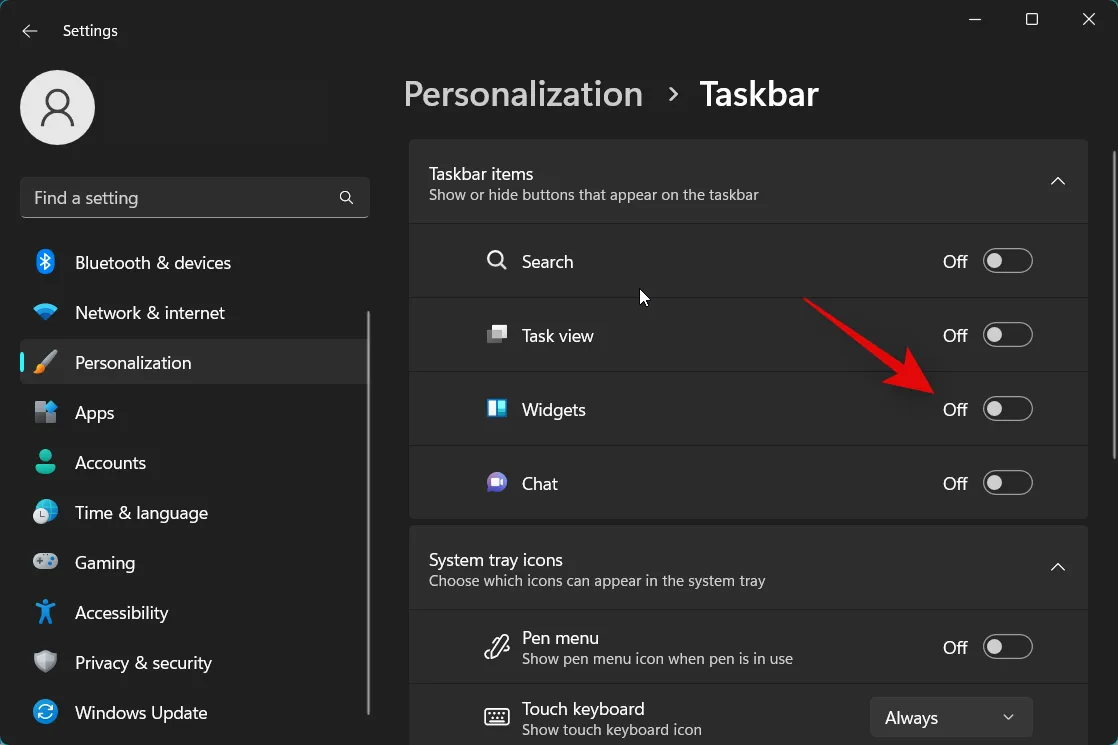
現在關閉Taskbar items下的Widgets開關。
我們現在建議您重新啟動 PC 以應用更改並清除所有緩存文件。

PC 重新啟動後,像上面那樣轉到設置 > 個性化 > 任務欄,然後打開Widgets的開關。

現在使用Windows + W鍵盤快捷鍵訪問小部件面板。您還可以單擊任務欄左下角的天氣圖標或單擊開始菜單圖標旁邊的小部件圖標。

如果您遇到臨時錯誤,小部件現在應該已修復在您的 PC 上。
方法二:手動殺掉Widget的任務
您現在可以嘗試手動終止 Widget 的任務/進程。終止任務後訪問小部件面板將有助於重新啟動它。按照以下步驟手動終止 PC 上的 Widgets 任務。
按鍵盤上的打開任務管理器。Ctrl + Shift + Esc單擊並從屏幕上的應用程序列表中選擇Windows Widgets 。
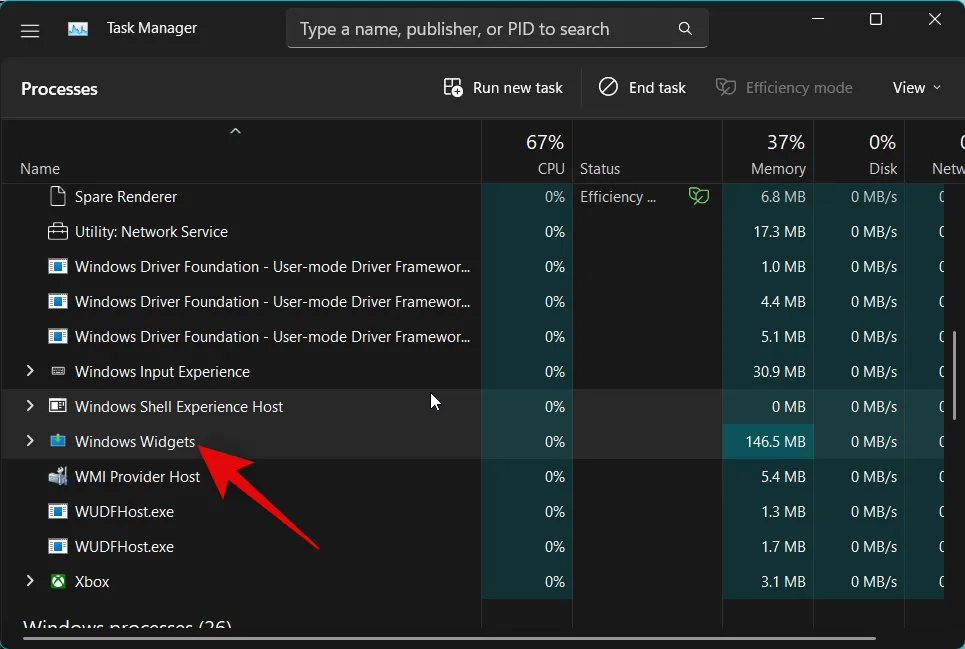
單擊結束任務。
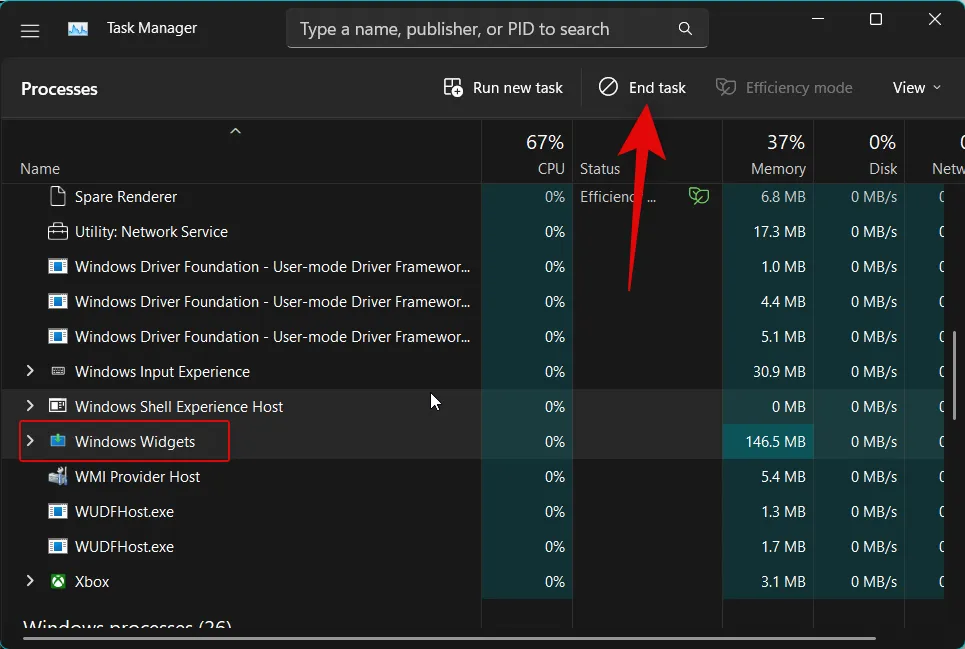
小部件任務現在將被手動終止。您現在可以嘗試再次訪問小部件面板,這將重新啟動小部件進程。
就是這樣!如果您在後台遇到小部件進程問題,現在應該為您修復小部件。
方法 3:重新啟動文件資源管理器應用程序 (explorer.exe)
您現在可以嘗試重新啟動文件資源管理器應用程序。文件資源管理器應用程序負責 Windows 中的大多數 UI 元素,包括小部件。重新啟動它可能有助於修復 PC 上的小部件。請按照以下步驟來幫助您完成該過程。
使用鍵盤快捷鍵打開任務管理器。Ctrl + Shift + Esc現在單擊並從屏幕上的列表中選擇explorer.exe 。
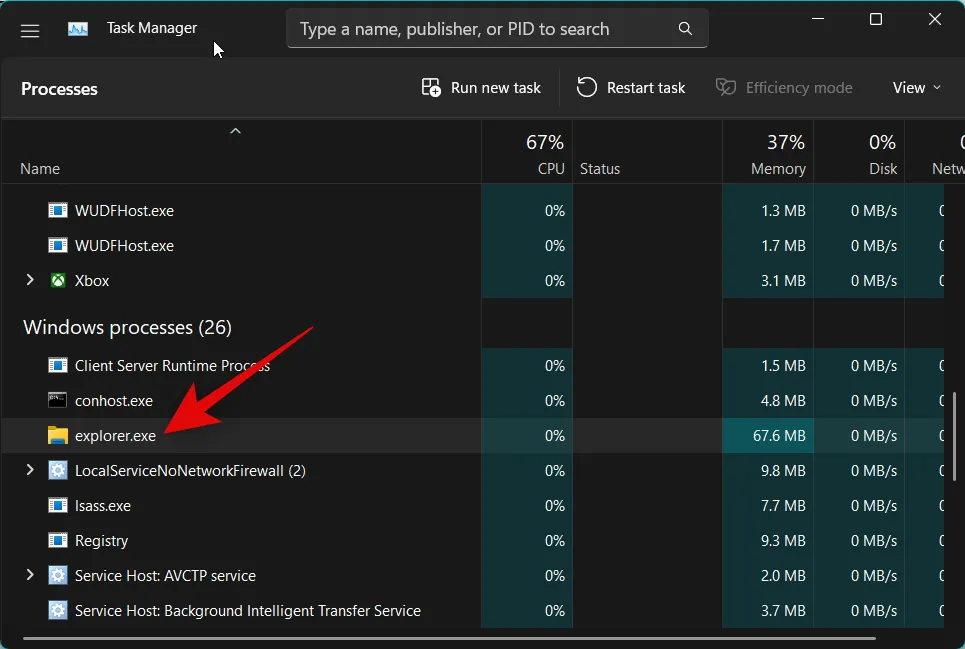
單擊屏幕右上角的重新啟動任務。
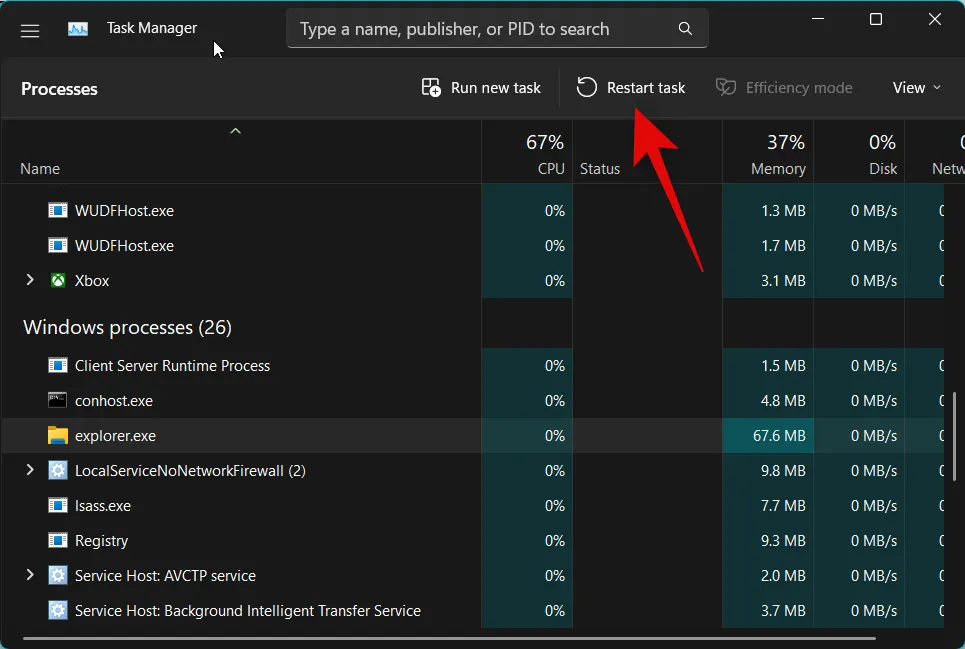
Windows 資源管理器現在將在您的 PC 上重新啟動。如果 Widgets 由於 Windows 資源管理器的錯誤而面臨問題,那麼現在應該已經為您修復了該問題。
方法 4:修復 Microsoft Edge
你現在可以嘗試修復 Microsoft Edge。小部件使用 Edge 獲取和顯示添加到小部件控制台的所有小部件的最新信息。你可能會遇到 Microsoft Edge 及其其他組件的問題。下面介紹如何在電腦上修復 Microsoft Edge。
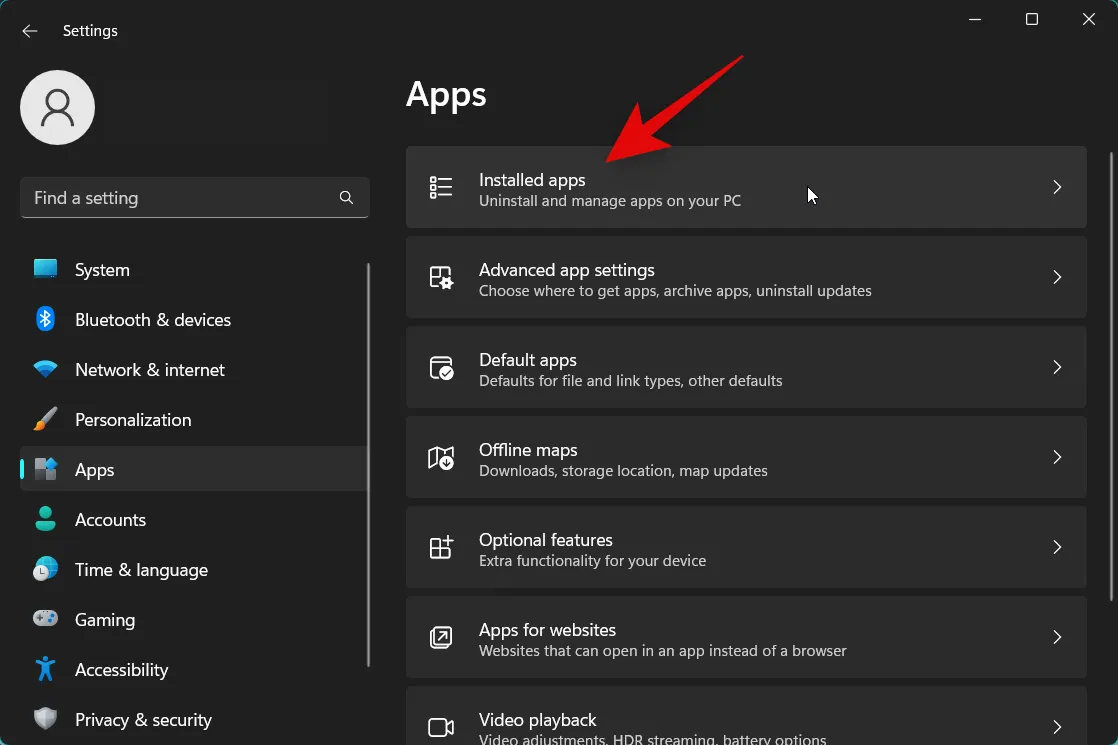
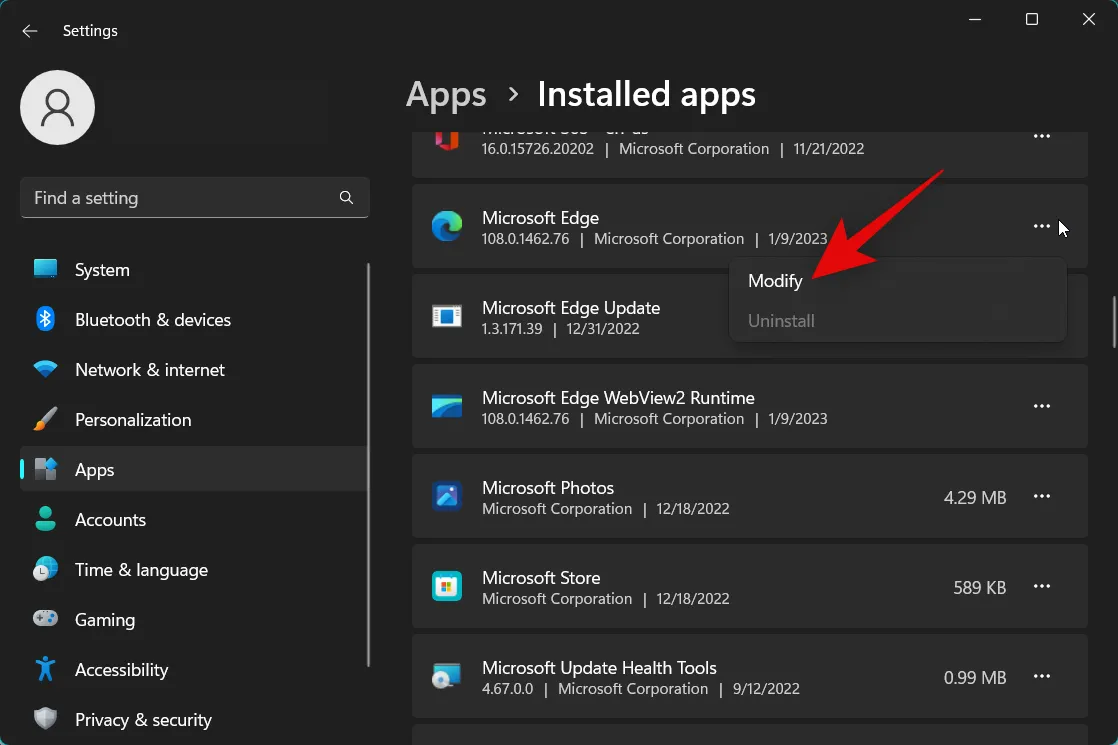
使用鍵盤快捷鍵打開設置應用程序。Windows + i現在單擊左側的應用程序。

選擇已安裝的應用程序。
三點 ( )
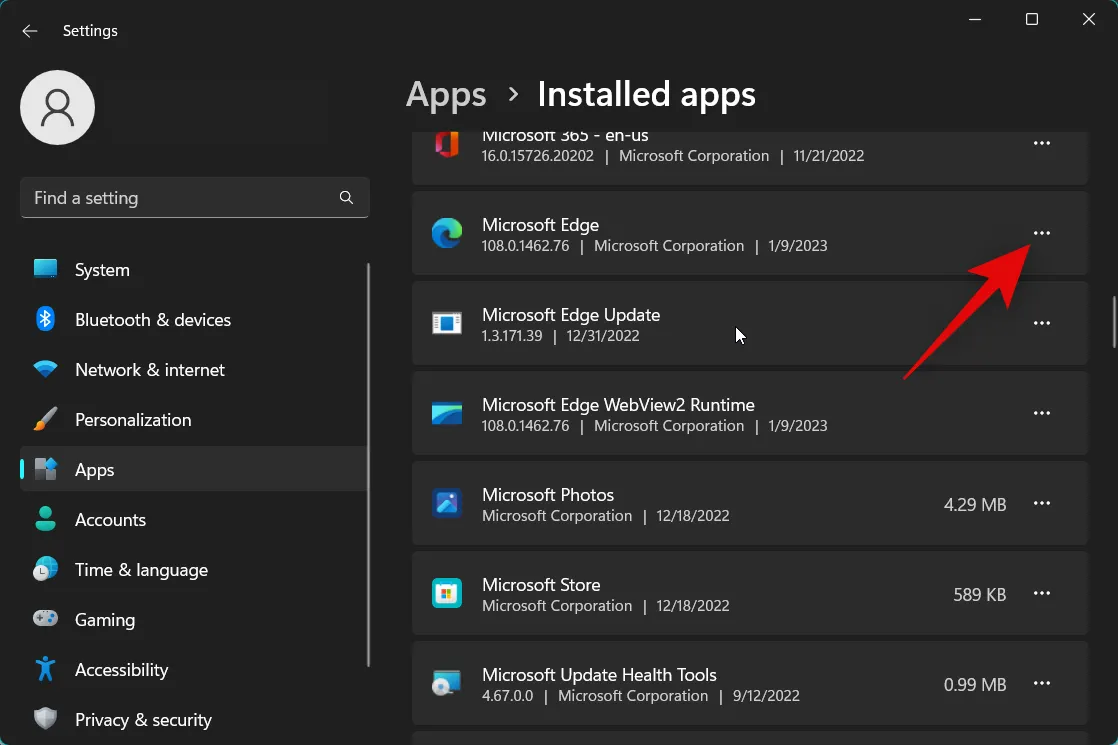
單擊修改。
現在點擊修復。
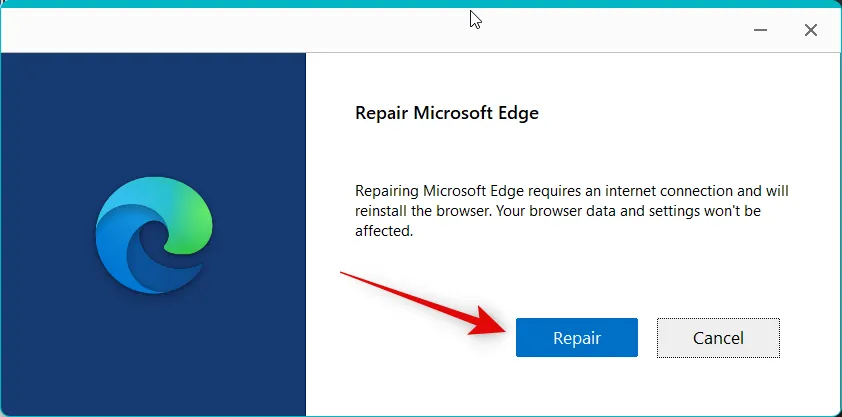
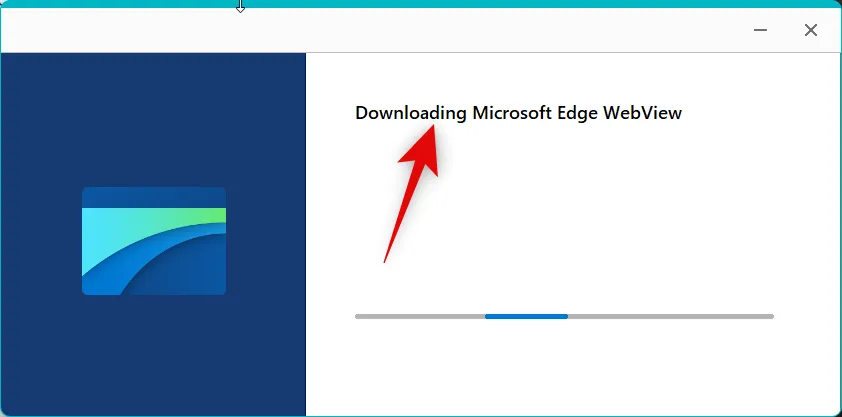
Microsoft Edge 現在將下載一個新副本並使用它來恢復當前安裝。該過程完成後,單擊關閉。
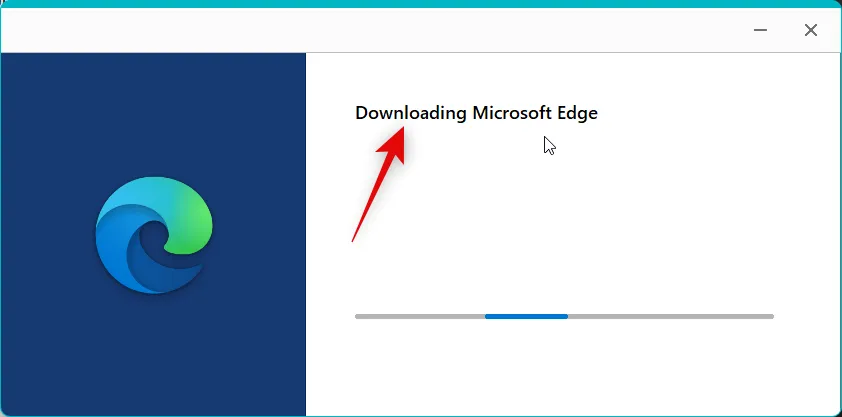
就是這樣!如果 Microsoft Edge 導緻小部件出現問題,那麼它現在應該已經在你的 PC 上得到修復。
方法 5:使用您的 Microsoft 帳戶重新登錄
根據一些用戶報告,似乎需要一個 Microsoft 帳戶,這樣小部件面板才能獲取準確的信息並正確顯示。具有本地帳戶的用戶已設法通過使用 Mircosoft 帳戶登錄來修復小部件。因此,我們建議您嘗試使用 Microsoft 帳戶登錄,或者如果您已經使用 Microsoft 帳戶登錄,請退出並重新登錄您的帳戶。如果您已經登錄,請使用第一部分註銷您的 Microsoft 帳戶。如果您使用的是本地帳戶,則可以跳過此步驟並直接跳至下一部分。
步驟 5.1 – 註銷您的 Microsoft 帳戶
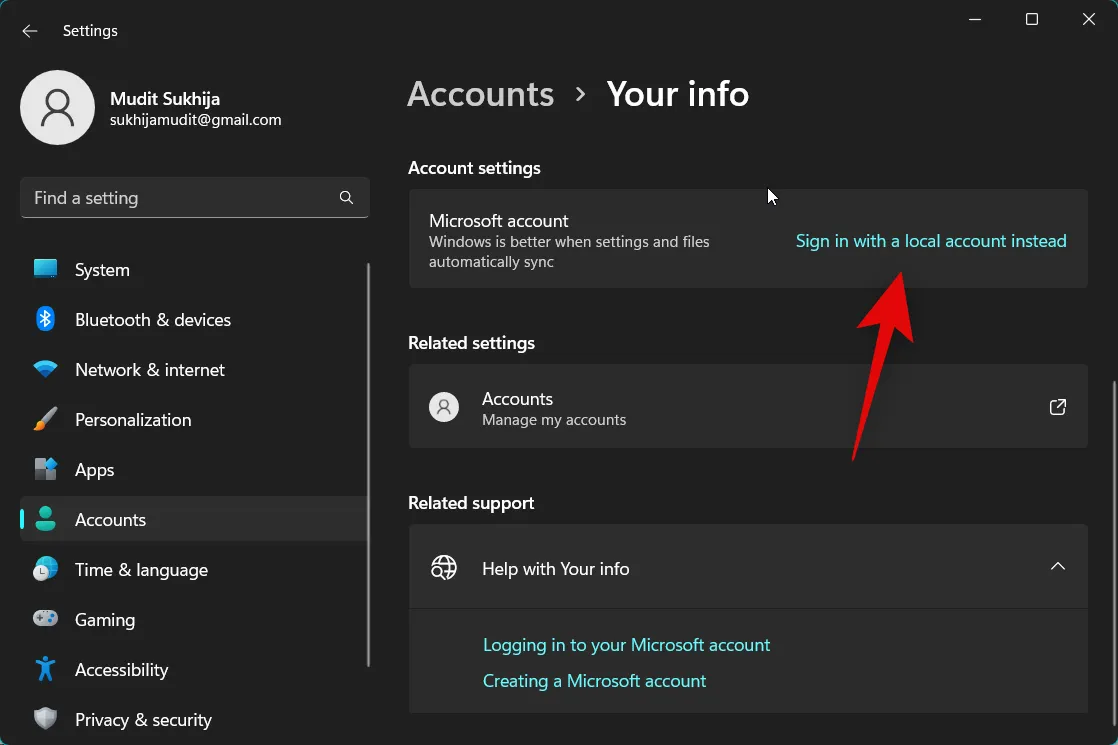
使用鍵盤快捷鍵打開“設置”應用。Windows + i現在單擊左側的帳戶。
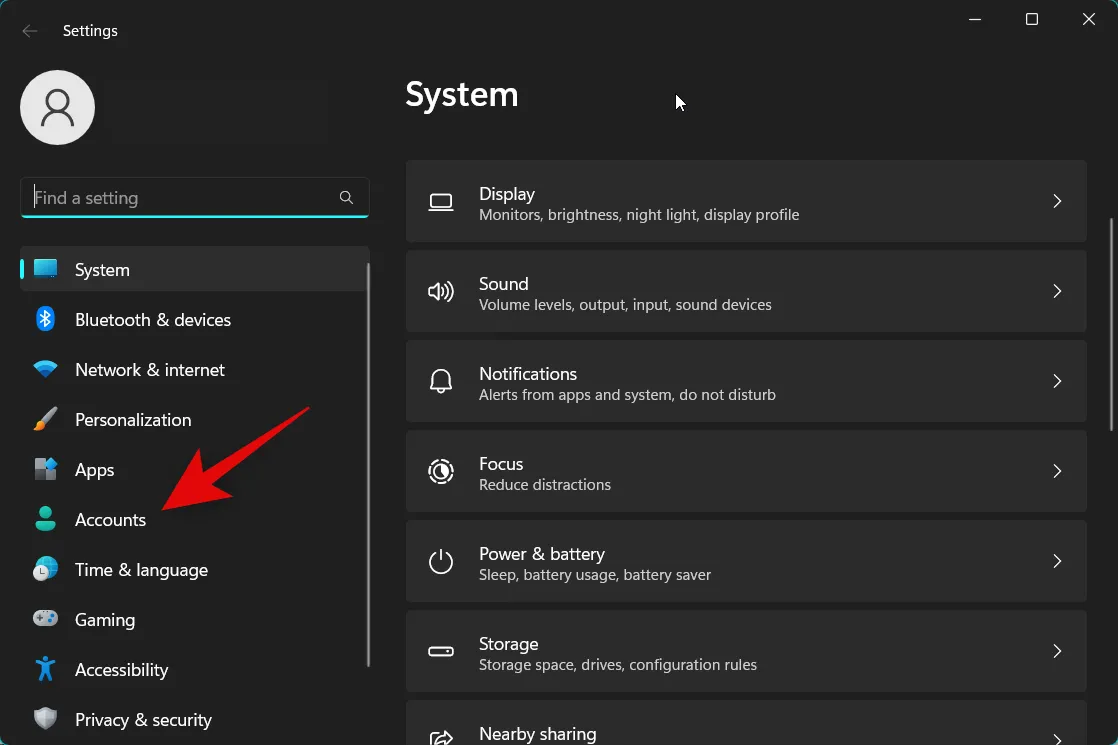
單擊您的信息。

單擊改為使用本地帳戶登錄。
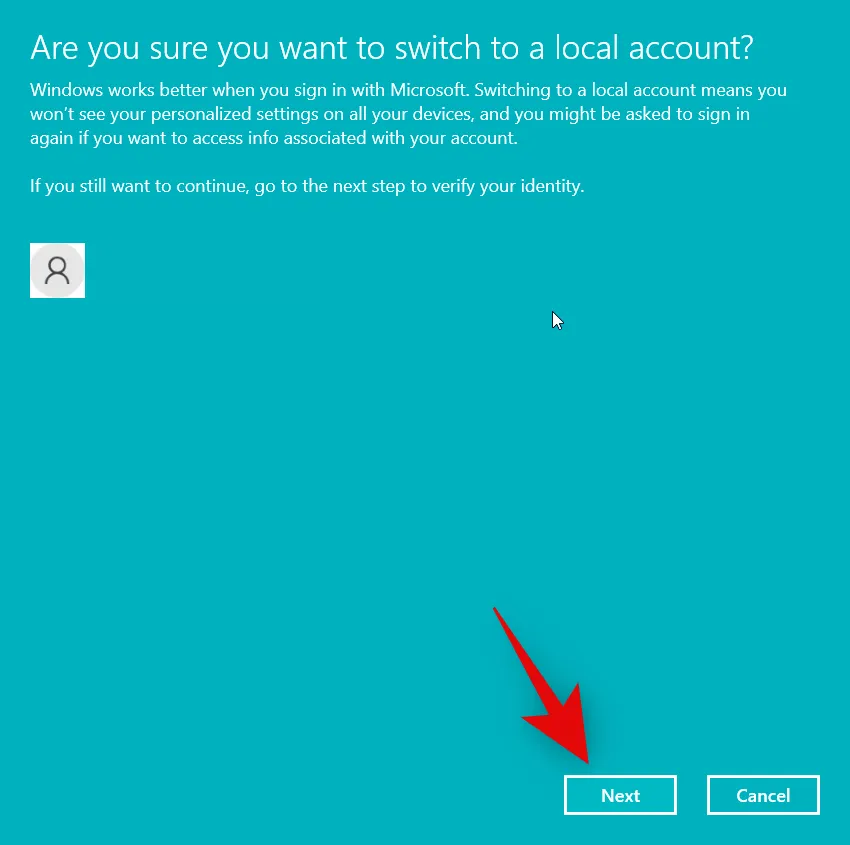
在屏幕上的彈出窗口中單擊下一步。
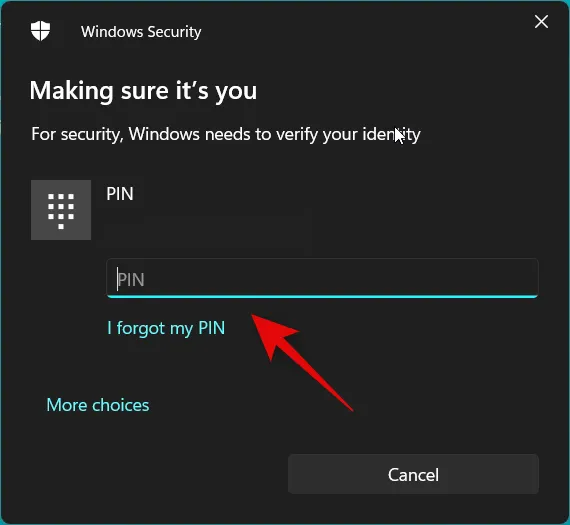
使用您的 PIN 或 Windows Hello 驗證您的身份。
現在在各自的字段中選擇您的用戶名和密碼。
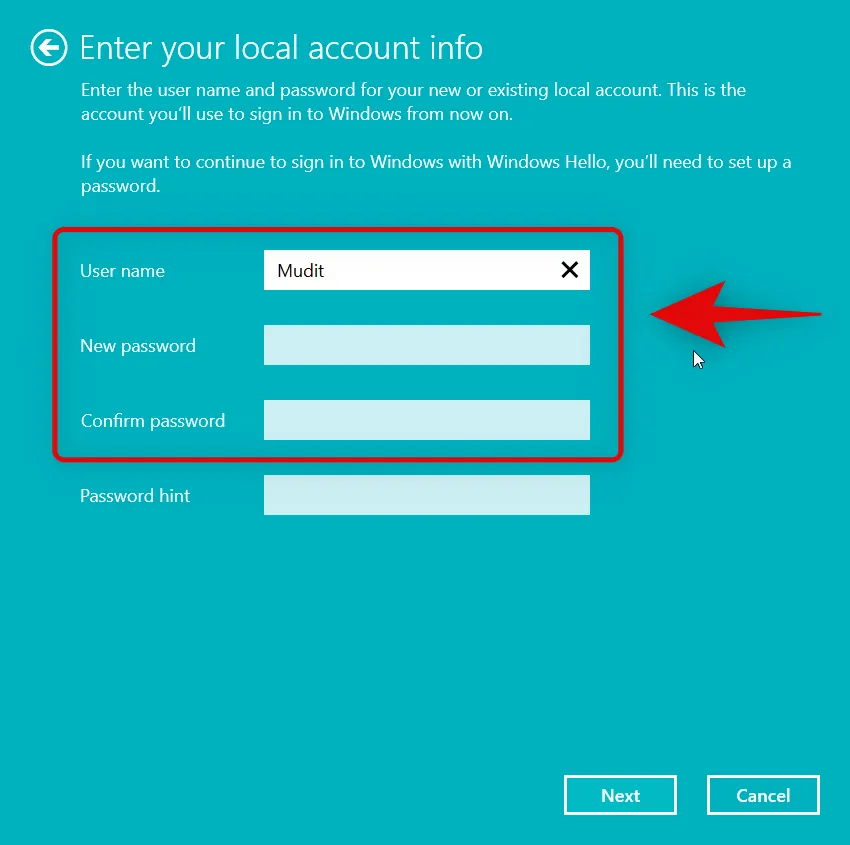
完成後單擊下一步。
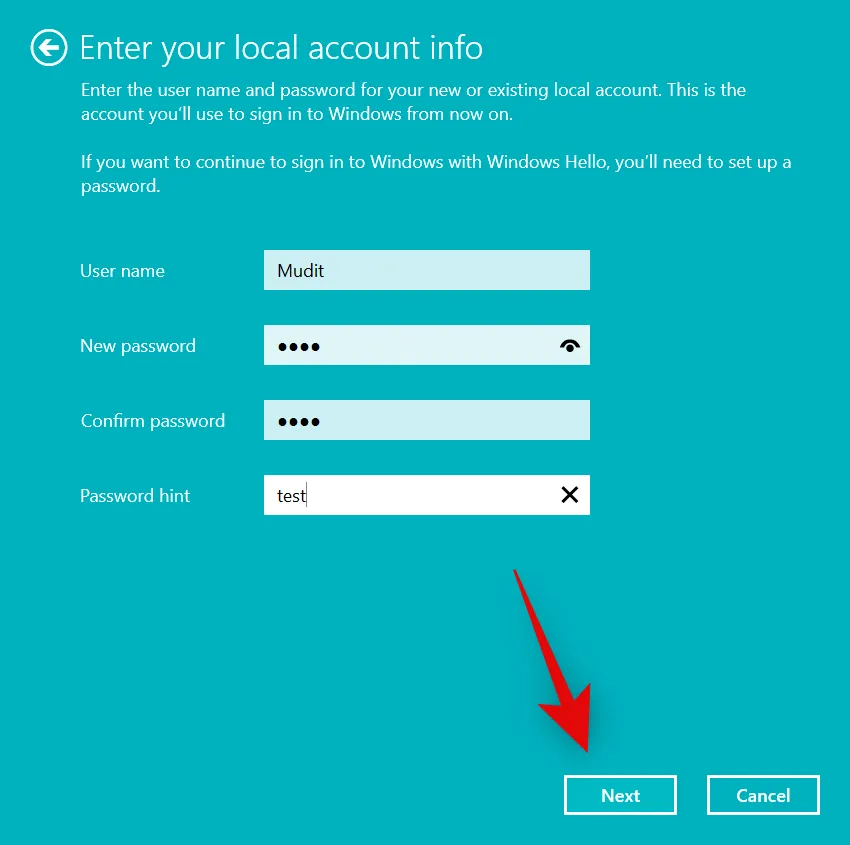
單擊註銷並完成。
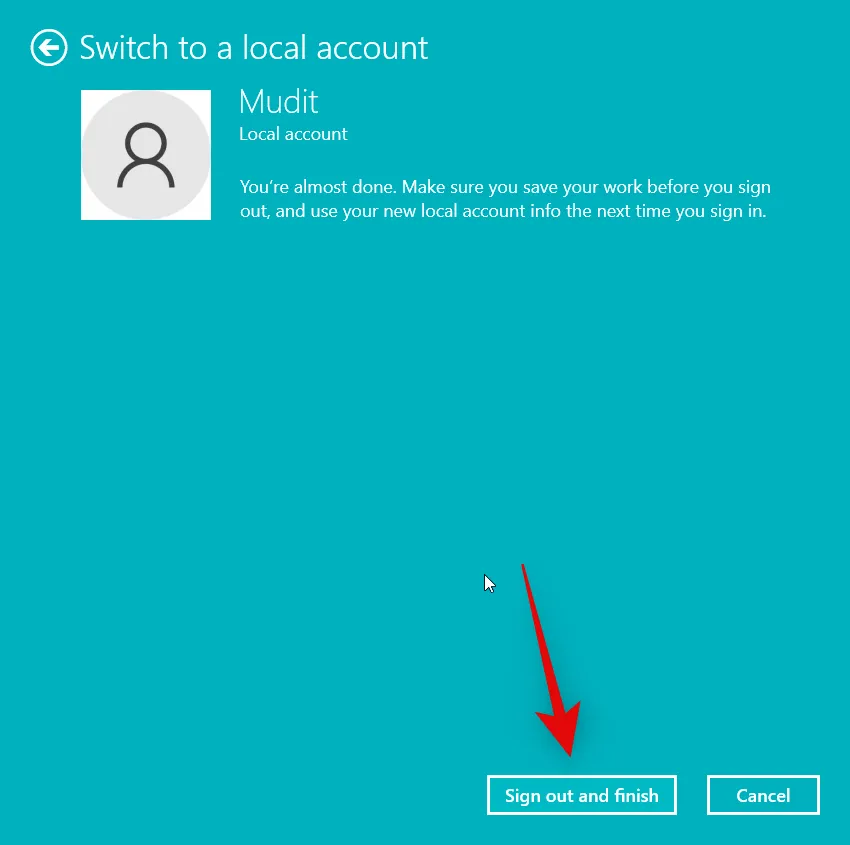
您現在將被註銷。我們現在建議您重新啟動 PC 並重新登錄到您的本地帳戶。您現在可以使用以下部分使用 Microsoft 帳戶重新登錄。
步驟 5.2 – 使用您的 Microsoft 帳戶登錄
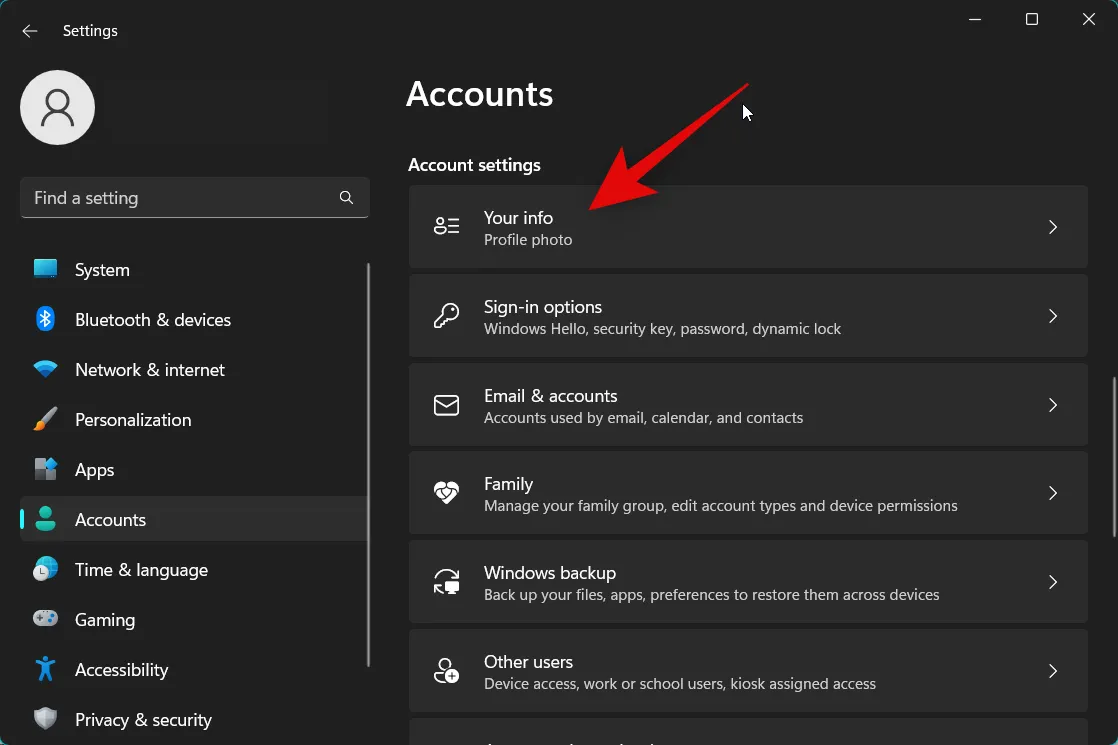
按打開“設置”應用程序Windows + i。單擊帳戶。

向下滾動並點擊您的信息。
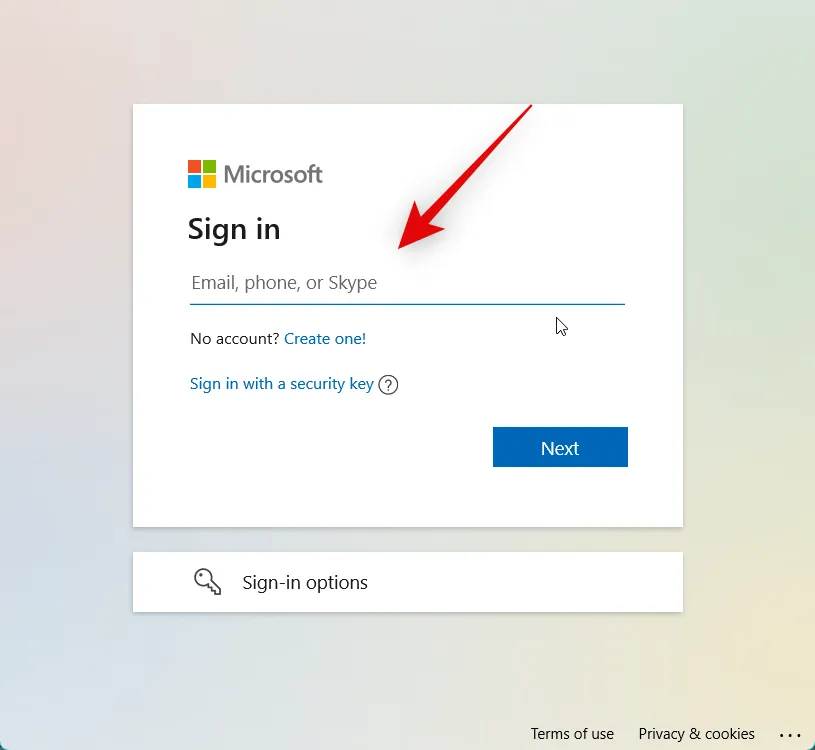
單擊改為使用 Microsoft 帳戶登錄。
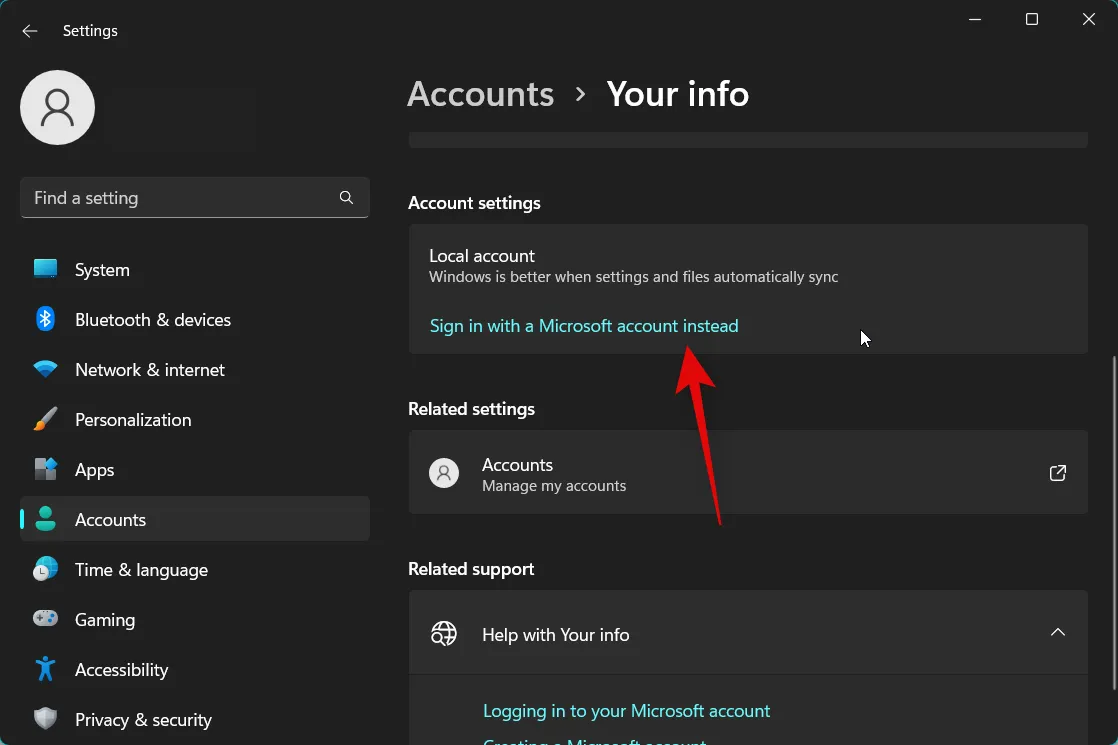
在屏幕上的彈出窗口中使用您的 Microsoft 帳戶憑據登錄。
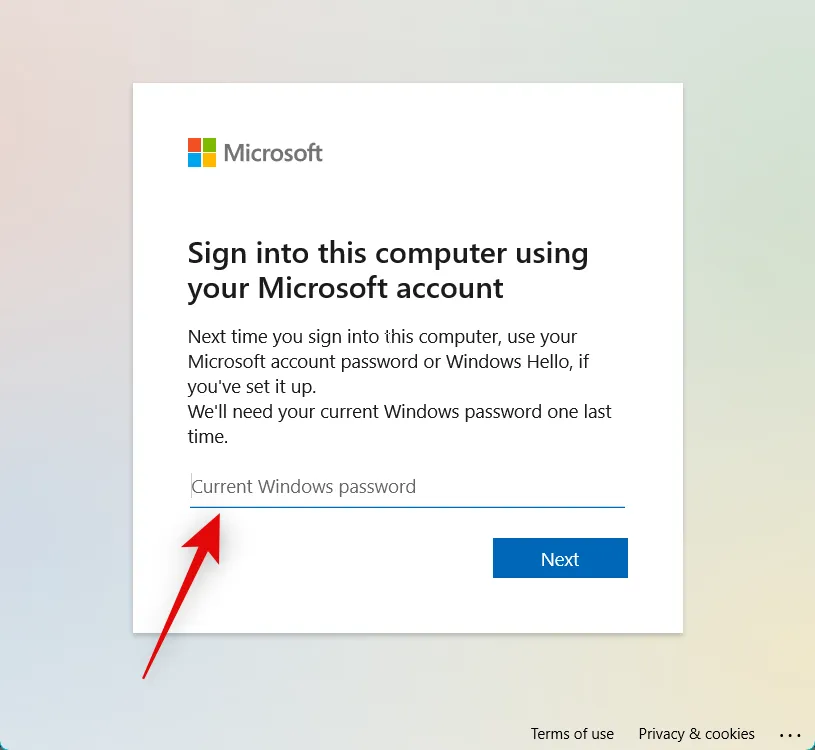
登錄後,輸入您 PC 的密碼以確認您的身份。
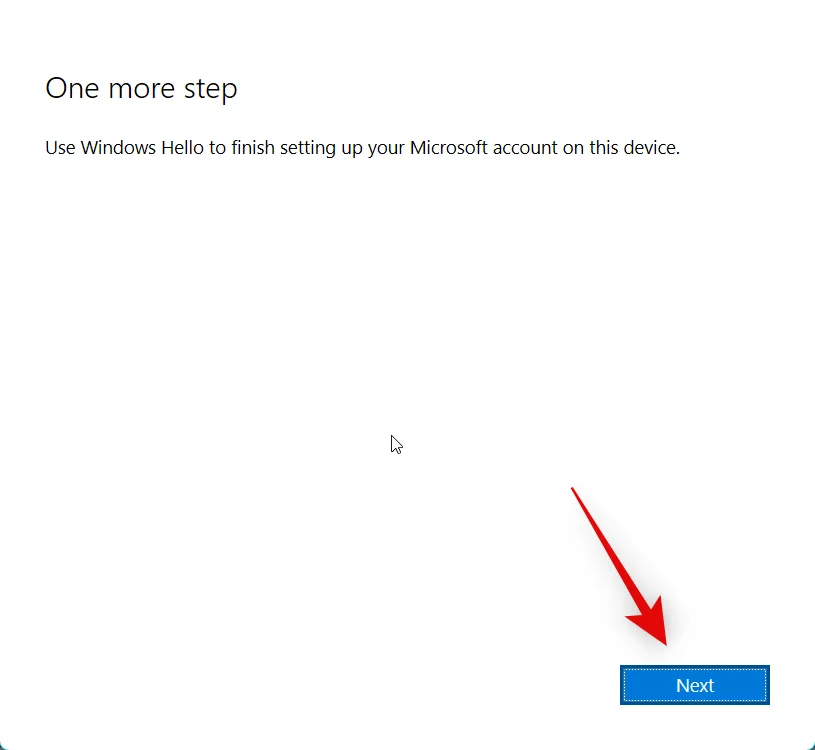
現在將要求您設置 Windows Hello。單擊下一步。
就是這樣!您現在將使用您的 Microsoft 帳戶登錄。您現在可以再次嘗試使用 Widgets。如果您的 Microsoft 帳戶存在問題,現在應該已經解決了。
方法 6:在註冊表編輯器中檢查並啟用 Widgets
也可能是 Widgets 在註冊表編輯器中被禁用了。如果在您的 PC 上禁用,我們建議您檢查並啟用相同的功能。請按照以下步驟來幫助您完成該過程。
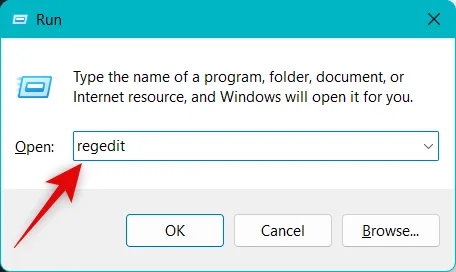
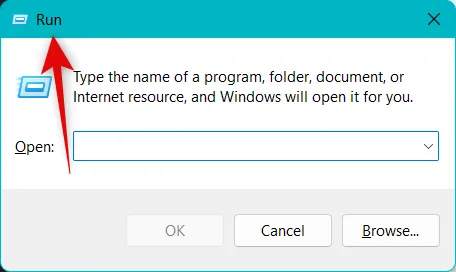
按打開運行Windows + R。

現在輸入以下內容,然後按 Enter。
regedit
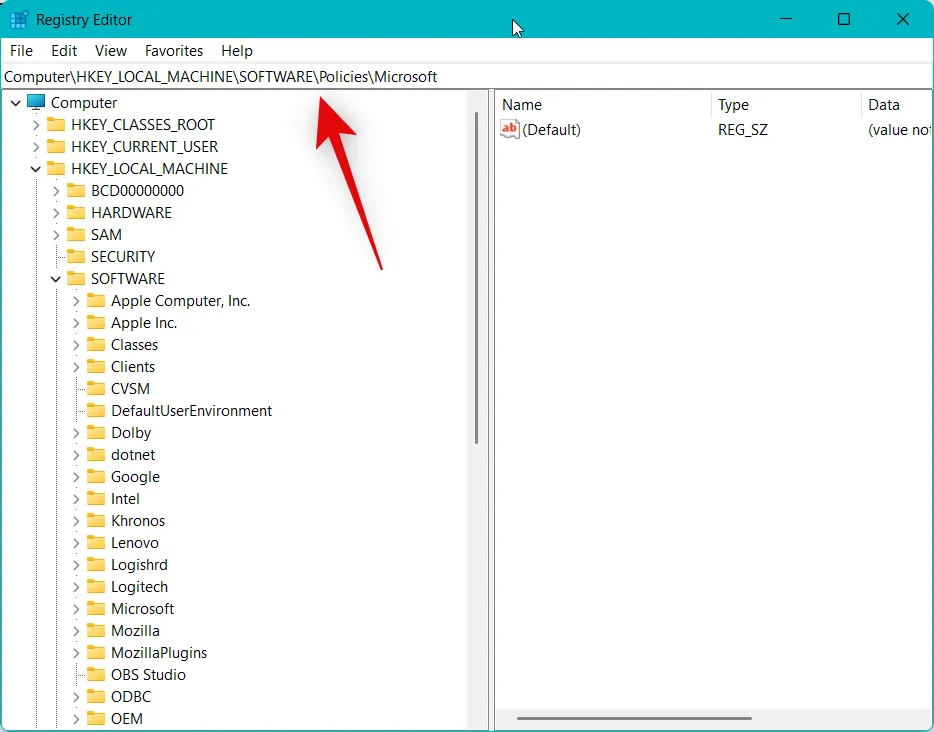
使用左側邊欄導航到註冊表編輯器中的以下路徑。您也可以將下面的路徑複製並粘貼到頂部的地址欄中。
HKEY_LOCAL_MACHINE\SOFTWARE\Policies\Microsoft
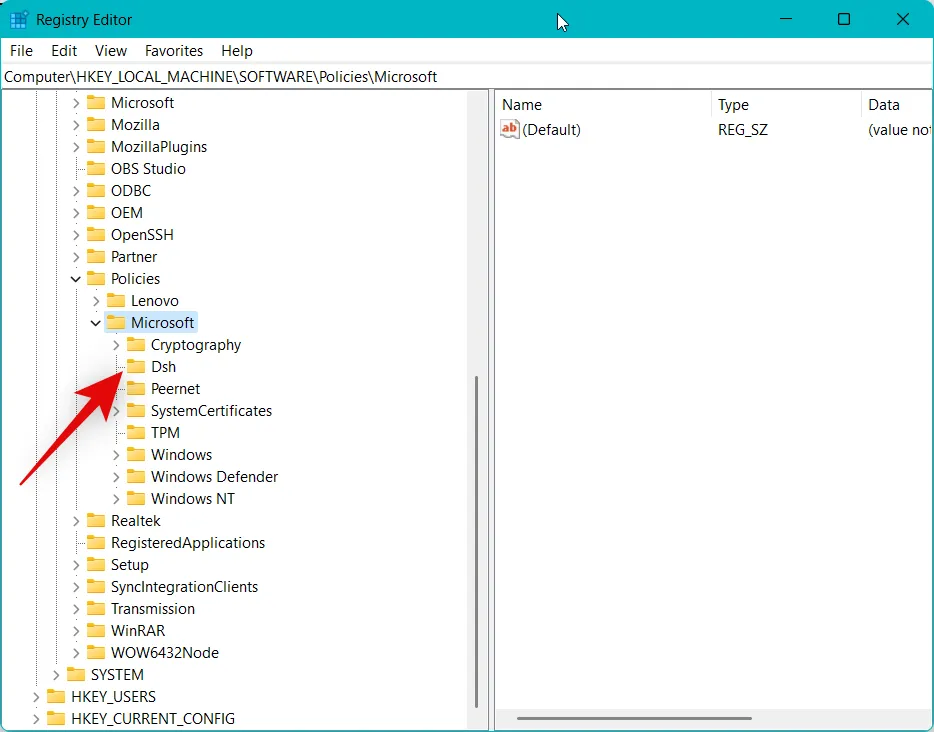
現在在Microsoft下尋找名為Dsh的密鑰。如果存在,則單擊並選擇相同的。如果它不存在,則不會使用註冊表編輯器在您的 PC 上禁用小部件。在這種情況下,您可以跳過此修復並繼續進行下一個修復。
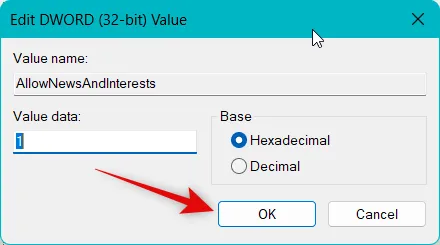
雙擊右側的AllowNewsAndInterests。

如果值數據設置為0,則當前禁用小部件。將0替換為1。

現在點擊確定。
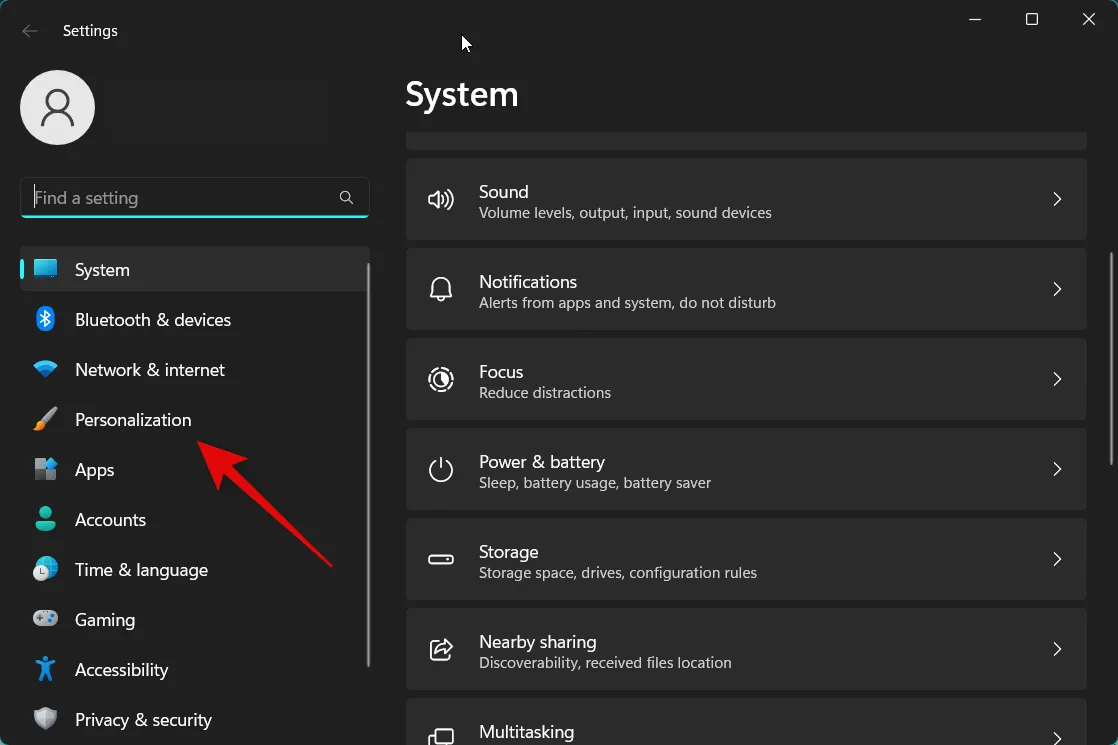
重新啟動您的 PC 以應用更改。PC 重新啟動後,按打開“設置”應用程序Windows + i。現在單擊左側的個性化。
選擇任務欄。
現在啟用Widgets的切換。
就是這樣!啟用後,小部件現在應該可以在您的 PC 上按預期運行。
方法 7:在組策略編輯器中檢查並啟用小部件
也可能是使用組策略編輯器在您的 PC 上禁用了小部件。如果你使用的是工作配發的 PC,則此設置可能由你的 IT 管理員管理,你可能需要與他們聯繫以訪問組策略編輯器並解決此問題。使用以下步驟來幫助您完成該過程。
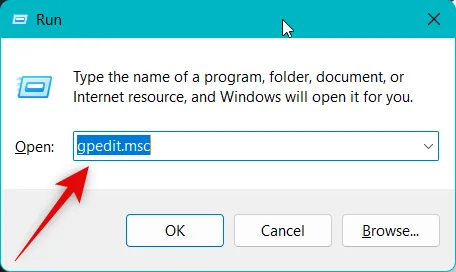
使用鍵盤快捷鍵打開運行。Windows + R

現在輸入以下內容,然後按 Enter。
gpedit.msc
使用左側邊欄導航到以下路徑。
Computer Configuration > Administrative Templates > Windows Components > Widgets
現在雙擊右側的允許小部件。
如果在頂部選擇了Disabled,則單擊 並選擇Not Configured。
單擊確定。
現在將應用更改,我們現在建議您重新啟動 PC。一旦您的 PC 重新啟動,請使用上述方法 1 中的步驟在您的 PC 上啟用 Widgets。
就是這樣!如果在您的 PC 上使用組策略編輯器禁用了小部件,那麼現在應該已經為您解決了這個問題。
方法 8:嘗試將 Microsoft Edge 設置為默認瀏覽器
小部件使用您的默認瀏覽器在小部件面板中獲取和顯示來自 Internet 的信息。可能是您使用第三方瀏覽器作為默認瀏覽器,無法按預期使用小部件。如果遇到這種情況,我們建議您將 Microsoft Edge 設置為默認瀏覽器,然後再次嘗試訪問小部件。使用以下步驟來幫助您完成該過程。
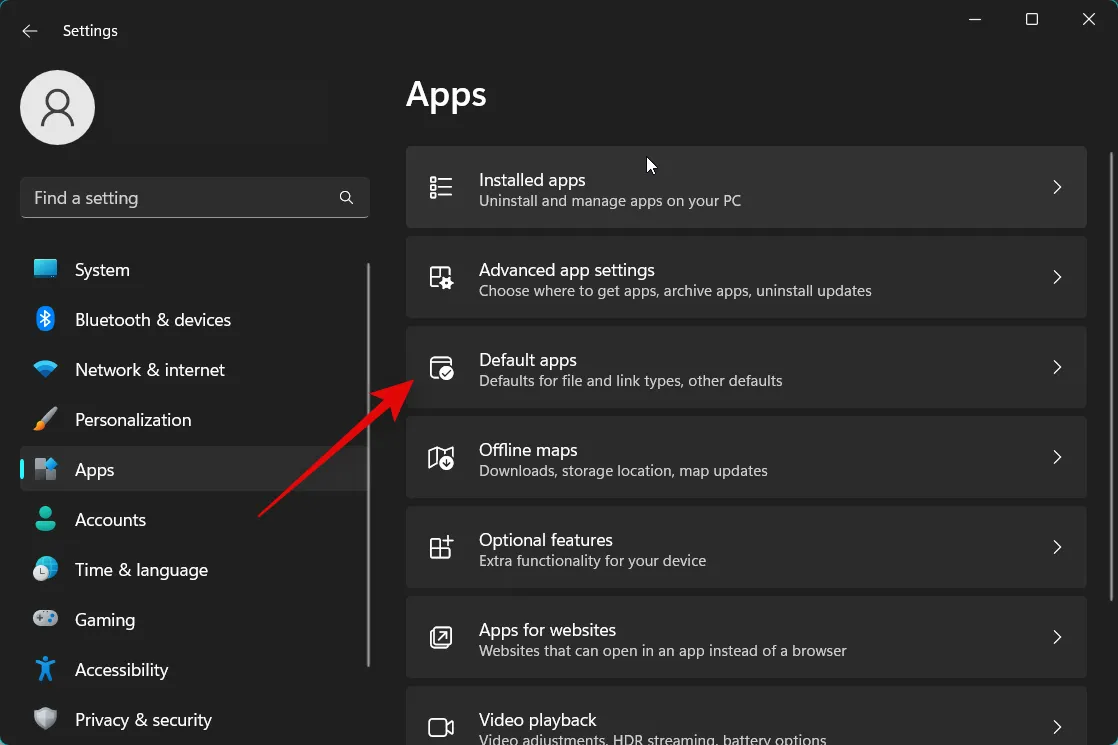
使用鍵盤快捷鍵打開“設置”應用。Windows + i現在單擊左側的應用程序。

單擊 並選擇默認應用程序。
向下滾動並單擊應用列表中的Microsoft Edge。
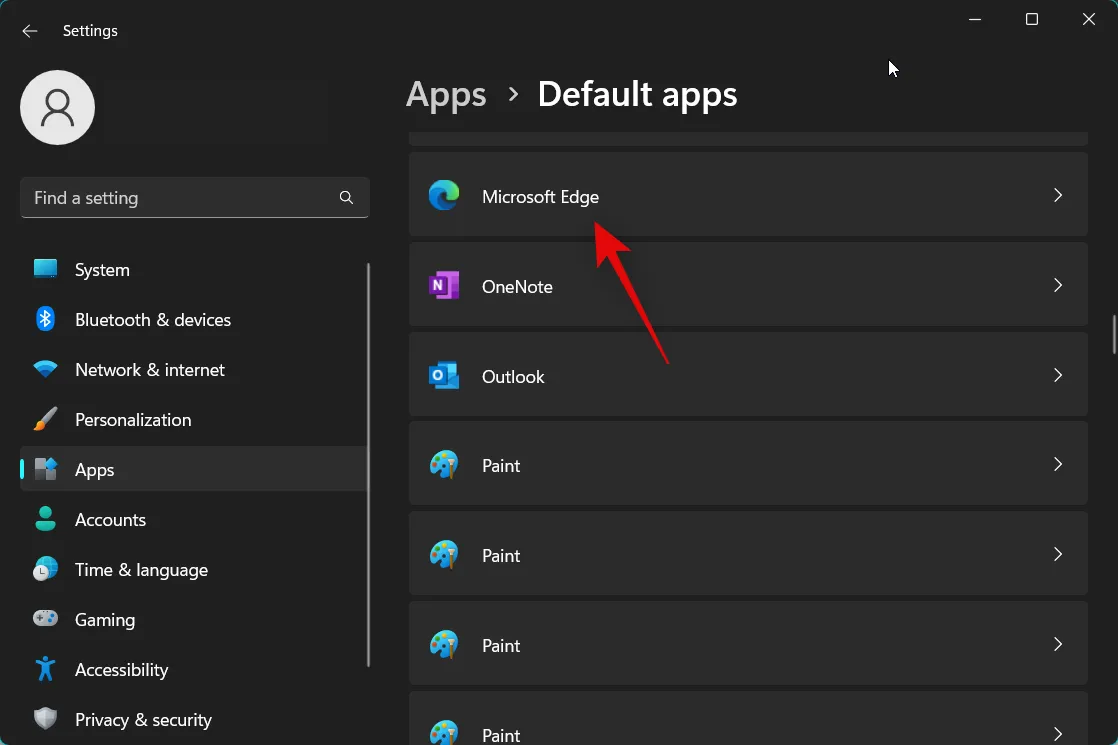
單擊頂部的設置默認值。
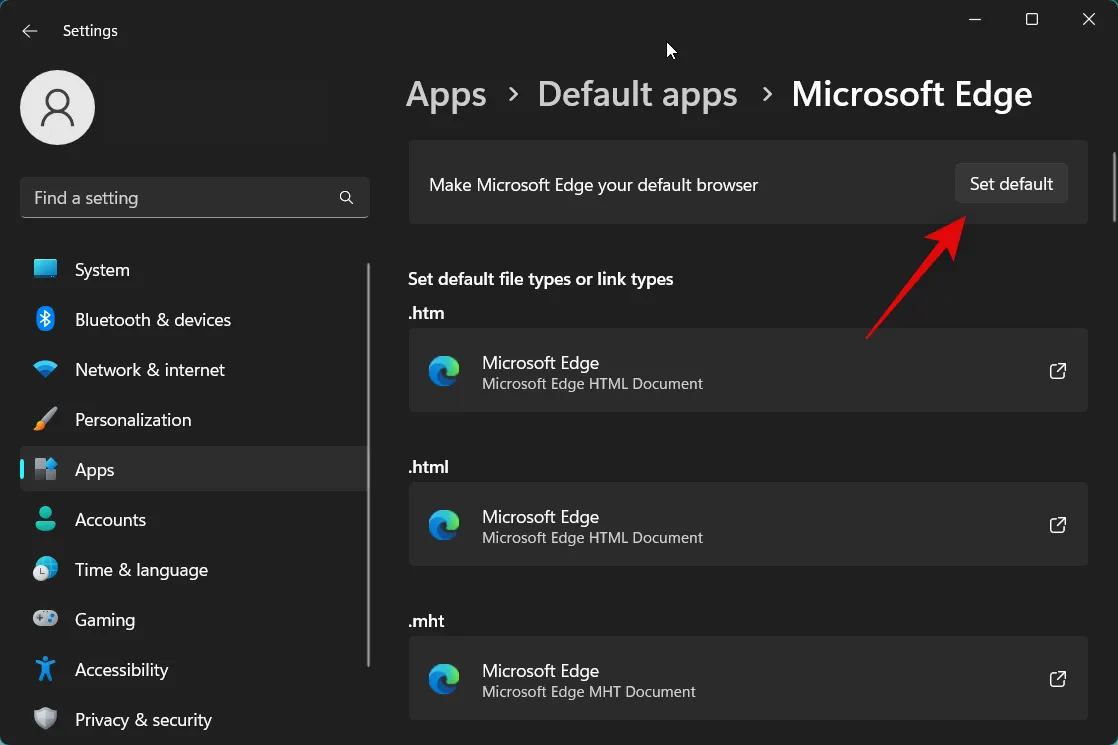
我們現在建議您重新啟動 PC 以備不時之需。

就是這樣!您現在可以再次嘗試訪問小部件。如果您因第三方默認瀏覽器而遇到問題,那麼該問題現在應該已為您解決。
方法九:重新安裝Windows網頁體驗包
我們現在建議您嘗試重新安裝 Windows 網絡體驗包。這是小部件用來從 Internet 獲取信息的重要組件。Windows 網絡體驗包的問題也可能導緻小部件出現問題,重新安裝小部件應該有助於消除任何錯誤。請按照以下步驟來幫助您完成該過程。
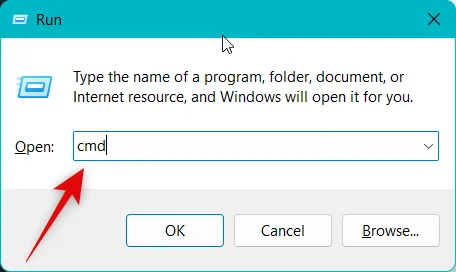
按鍵盤上的打開運行。Windows + R

現在輸入以下內容,然後按Ctrl + Shift + Enter鍵盤上的。
cmd

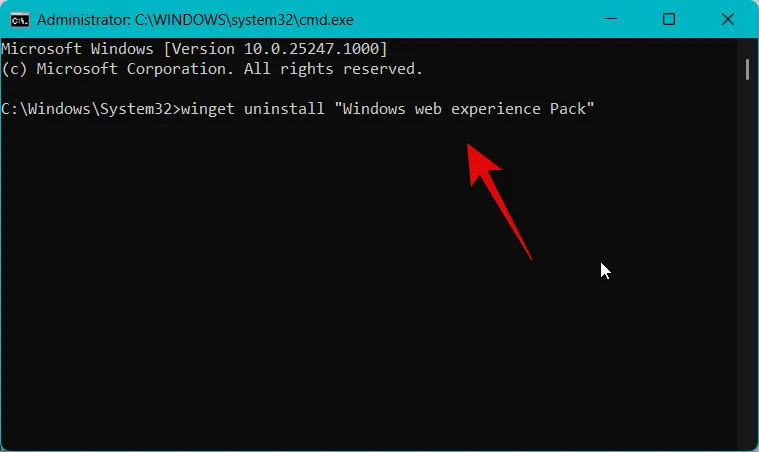
鍵入以下命令以從您的 PC 上卸載 Windows Web Experience Pack。
winget uninstall "Windows web experience Pack"

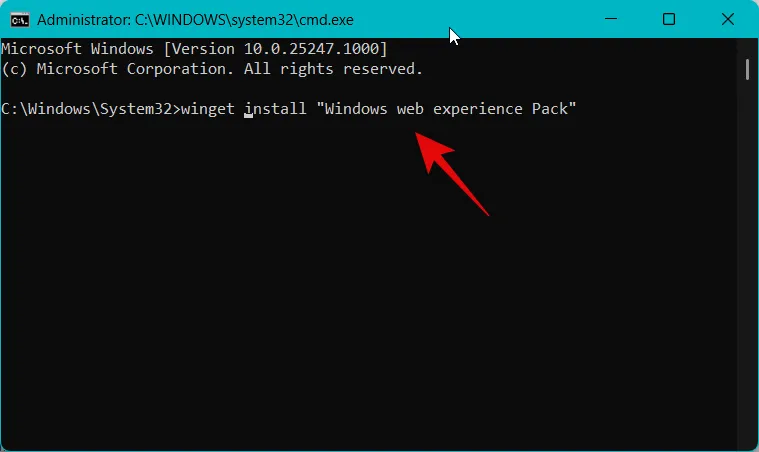
我們現在建議您重新啟動 PC。PC 啟動後,使用上述步驟再次以管理員身份啟動命令提示符。然後使用下面的命令在您的 PC 上重新安裝 Windows Web Experience Pack。
winget install "Windows web experience Pack"
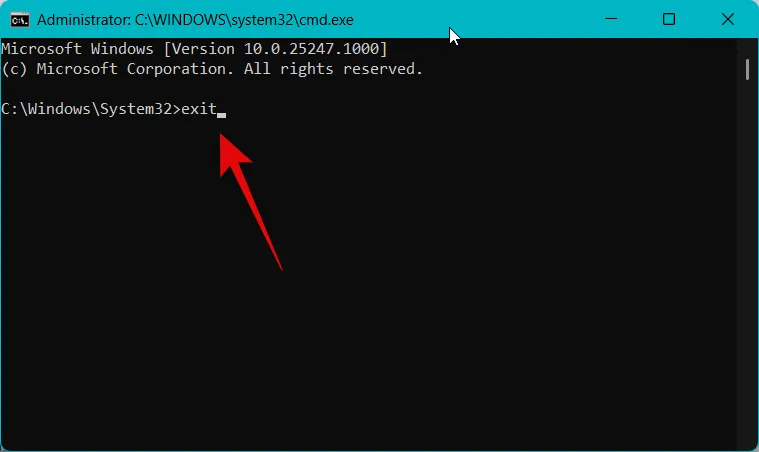
該過程完成後,使用以下命令關閉命令提示符。
exit

現在重新啟動您的 PC 以備不時之需。您現在可以再次嘗試訪問小部件。如果您在使用 Windows Web Experience Pack 時遇到問題,那麼現在應該已經為您修復了。
方法 10:修復 Microsoft Edge Webview2 運行時
Microsoft Edge webview2 運行時是小部件正常工作所需的另一個重要組件。您也可能遇到此組件的問題,修復它應該有助於解決同樣的問題。請按照以下步驟來幫助您完成該過程。
使用 Windows + i 鍵盤快捷鍵打開“設置”應用程序。現在單擊左側的應用程序。

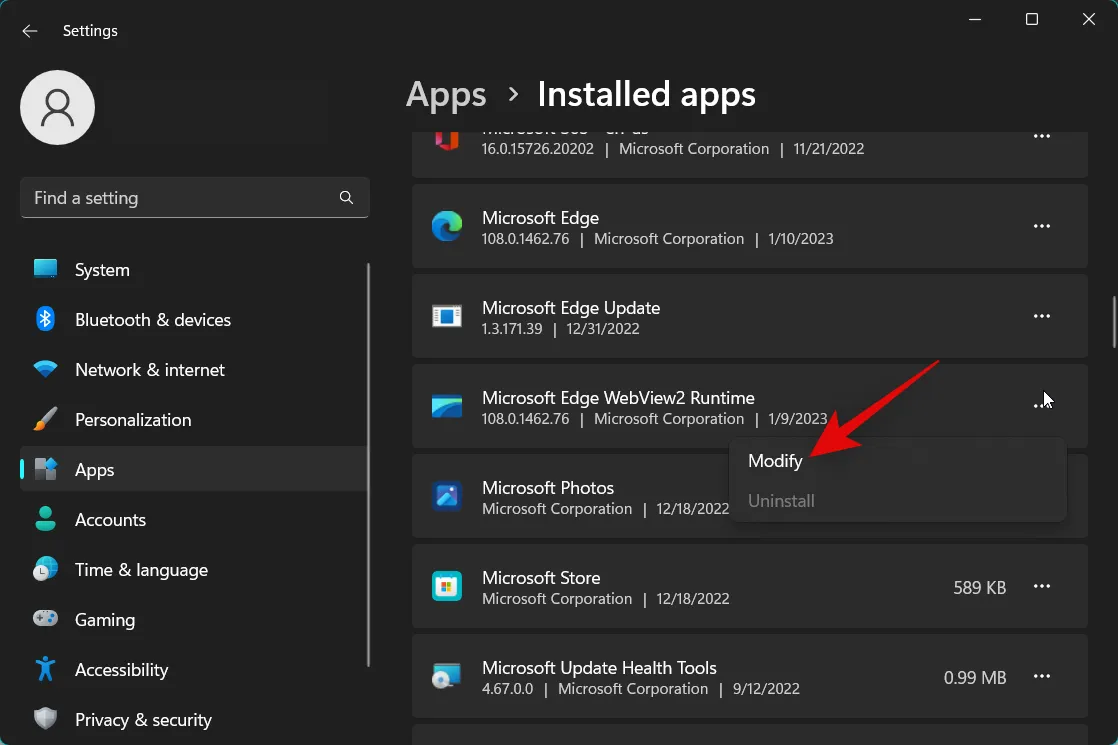
點擊 並選擇Installed apps。

三點( ) Microsoft Edge Webview2 運行時
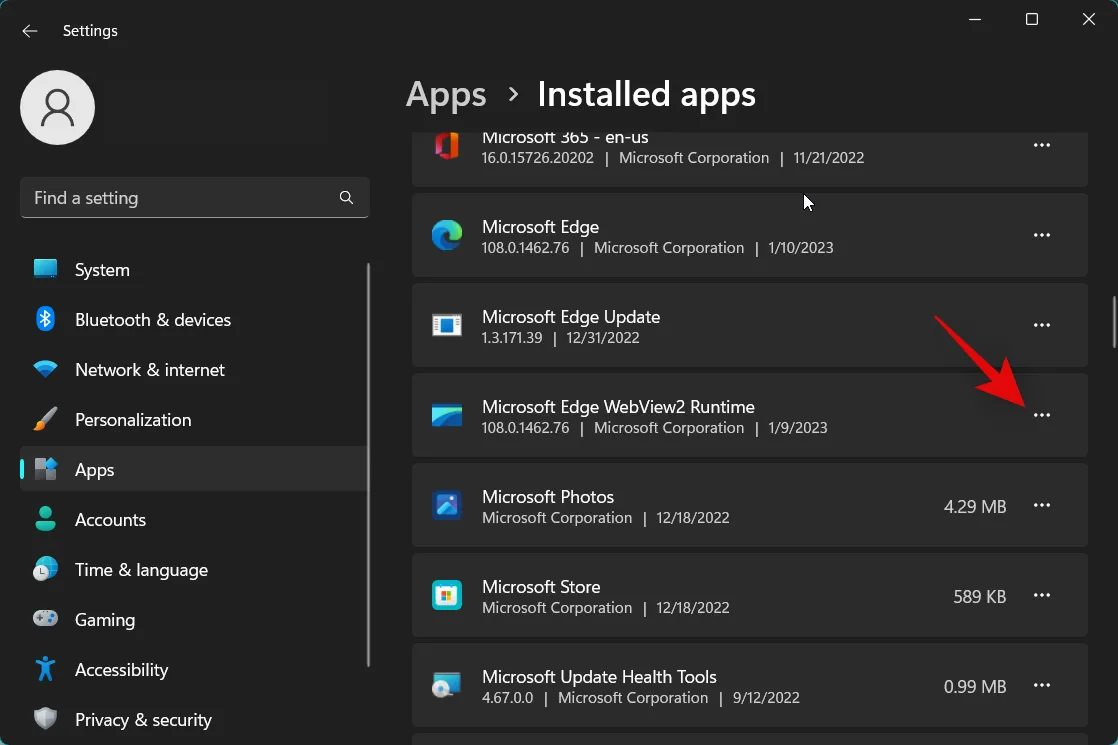
選擇修改。
單擊修復。
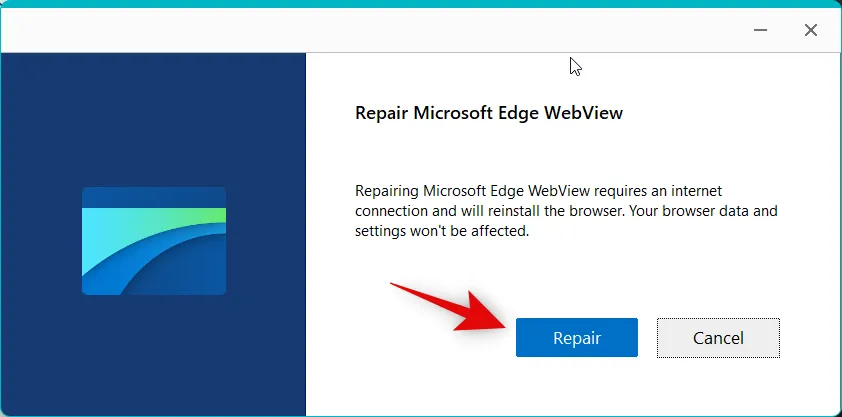
Microsoft Edge Webview2 Runtime 現在將自行修復。完成後,單擊關閉。
我們現在建議您重新啟動 PC 以備不時之需。

就是這樣!如果小部件由於 Microsoft Edge Webview2 運行時的錯誤而面臨問題,那麼現在應該已經為你修復了該問題。
方法 11:將 Web 體驗包降級到 v421.20050.505
最近對 Web Experience Pack 的更新似乎破壞了來自世界各地許多用戶的小部件。將 Web Experience Pack 降級到 v421.20050.505 似乎解決了許多用戶的問題。我們建議您嘗試在您的 PC 上降級網絡體驗包,看看是否能為您修復小部件。請按照以下步驟來幫助您完成該過程。
使用鍵盤快捷鍵打開運行。Windows + R
現在輸入以下內容,然後按Ctrl + Shift + Enter鍵盤上的。
cmd

使用以下命令卸載您 PC 上安裝的當前 Web 體驗包。
winget uninstall "Windows web experience Pack"
完成後,使用下面的命令關閉命令提示符。
exit
我們現在可以下載舊版本的 Web Experience Pack。首先複製下面的 Web 體驗包 Microsoft Store 列錶鍊接。
- 微軟商店鏈接| 網絡體驗包
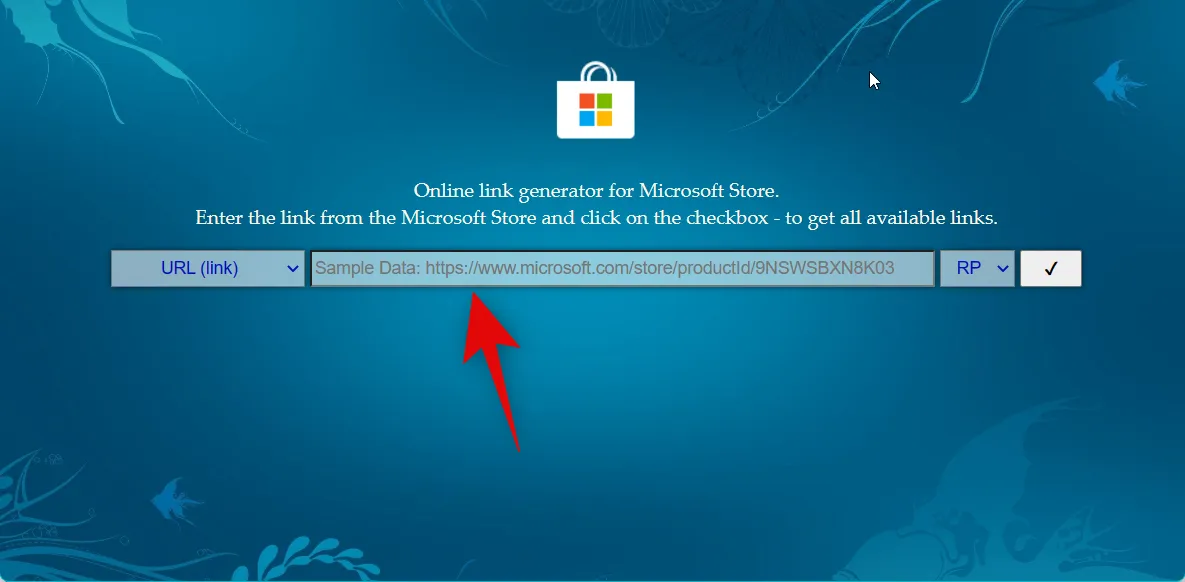
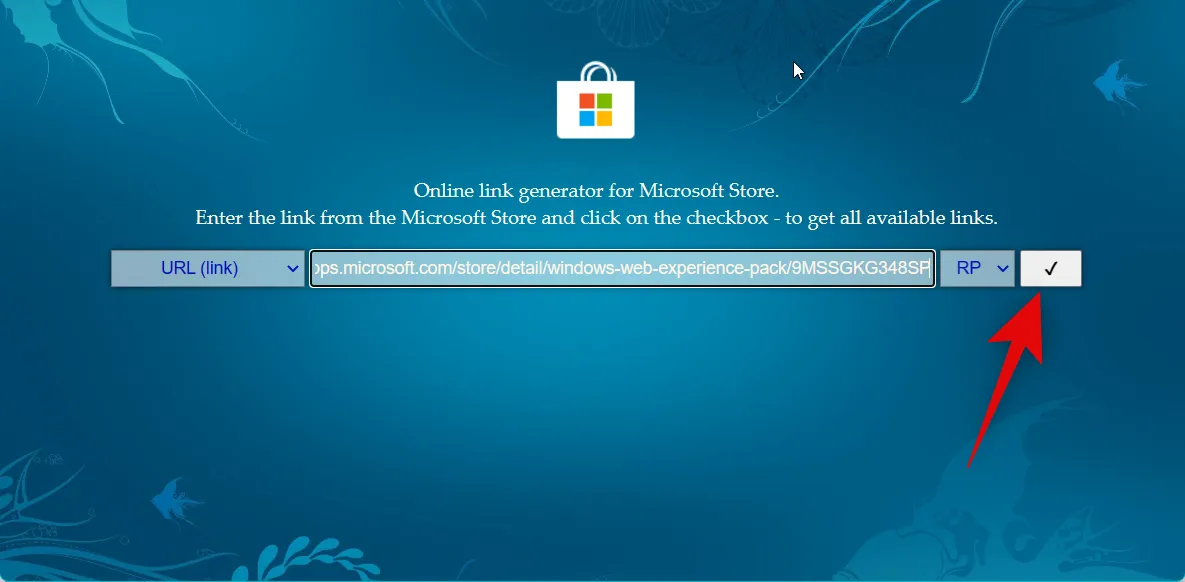
現在訪問下面的 Store adguard 鏈接,並將復制的鏈接粘貼到頂部的專用文本框中。
- 商店 Adguard | 關聯
單擊文本框右側的下拉菜單並選擇RP。
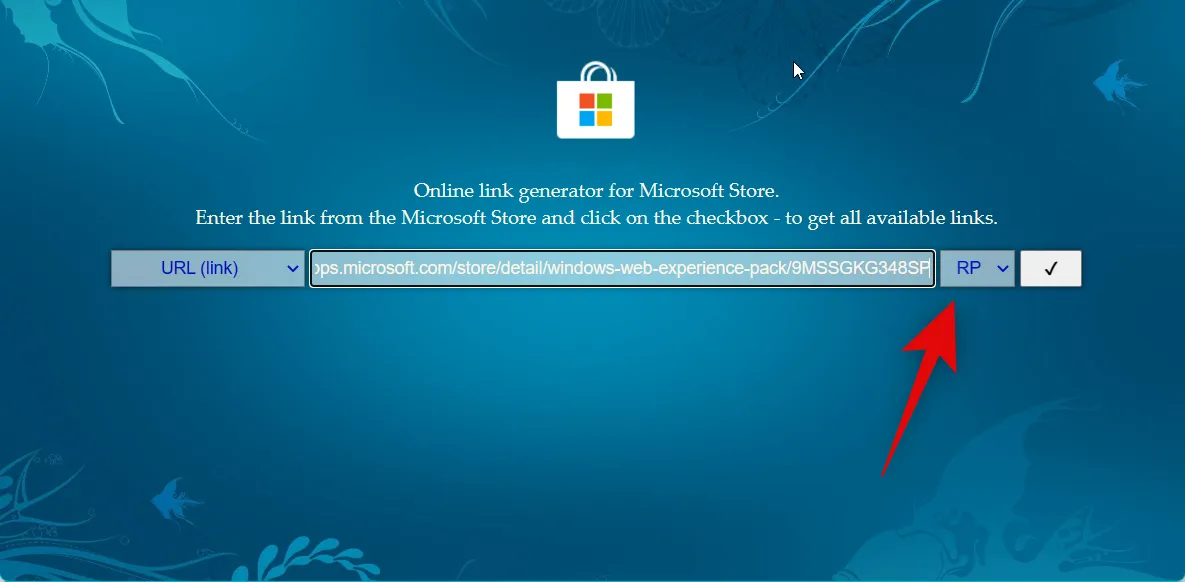
完成後單擊檢查圖標。
向下滾動並單擊Web Experience Pack v421.20050.505的鏈接。它應該是列表中的第一個包。
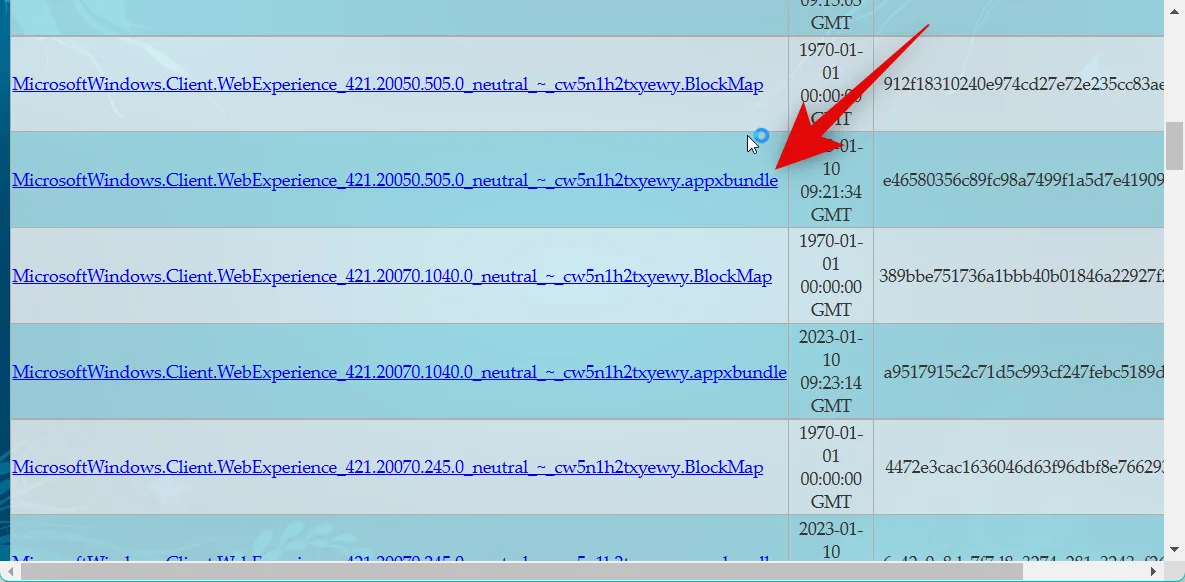
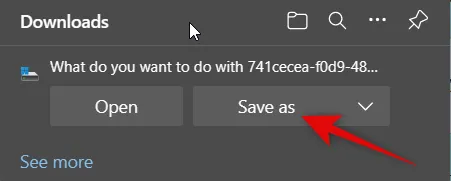
將為包啟動下載。將其保存到 PC 上方便的位置。
下載後,雙擊該包以將其安裝到您的 PC 上。
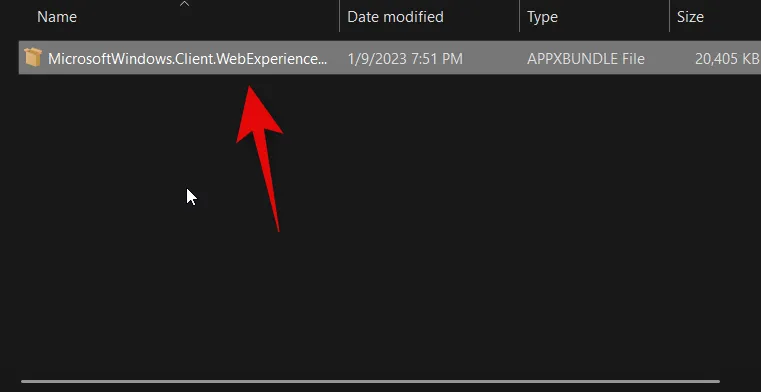
單擊右下角的安裝。

該軟件包現在將安裝在您的 PC 上。完成後,我們建議您重新啟動 PC 以備不時之需。

就是這樣!較舊的 Web Experience Pack 現在應該有助於讓小部件在您的 PC 上重新啟動和運行。
方法 12:運行 SFC 掃描
我們現在建議您運行 SFC 掃描。您可能會遇到系統文件損壞或丟失的問題,而 SFC 掃描可以幫助識別並修復您 PC 上的相同問題。請按照以下步驟來幫助您完成該過程。
按鍵盤上的打開運行。Windows + R

輸入以下內容,然後按Ctrl + Shift + Enter鍵盤上的。
cmd
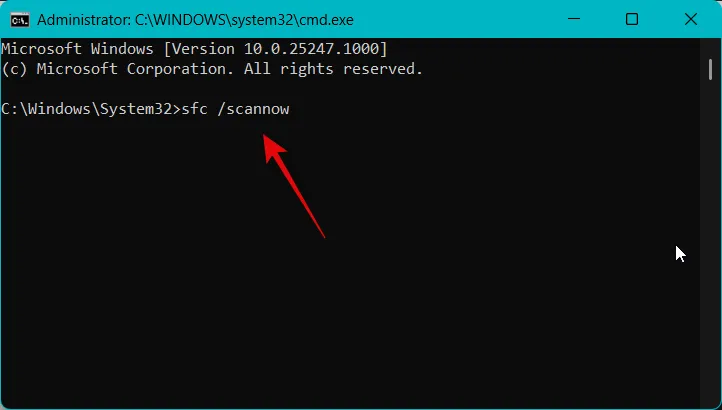
現在使用下面的命令在您的 PC 上運行 SFC 掃描。
sfc /scannow
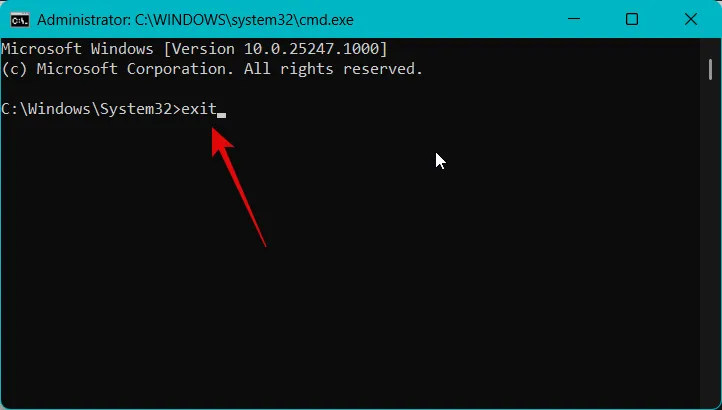
該過程完成後,使用以下命令關閉命令提示符。
exit
我們現在建議您重新啟動 PC 以應用更改並清除所有臨時文件。

就是這樣!如果丟失或損壞的系統文件是導致問題的原因,您現在應該可以毫無問題地使用 Widgets。
方法 13:運行 DISM 和 Chkdsk 掃描
我們現在建議您運行 Chkdsk 和 DISM 掃描。這些可以幫助修復當前 Windows 安裝的錯誤和損壞的文件,以及與啟動磁盤有關的文件系統錯誤。請按照以下步驟來幫助您完成該過程。
使用鍵盤快捷鍵打開運行。Windows + R

現在輸入以下命令並按Ctrl + Shift + Enter。
cmd

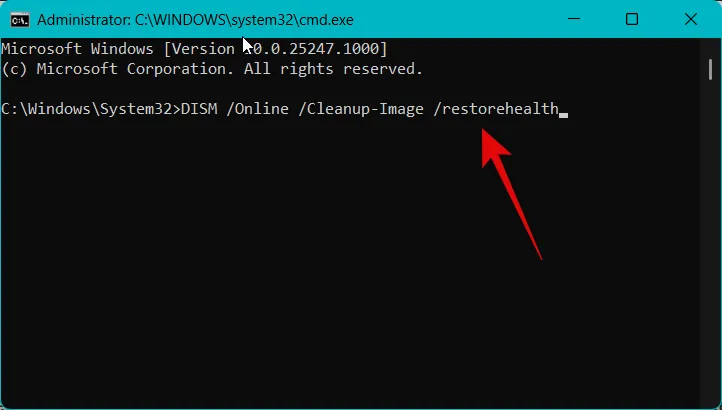
使用此命令運行 DISM 掃描。
DISM /Online /Cleanup-Image /restorehealth
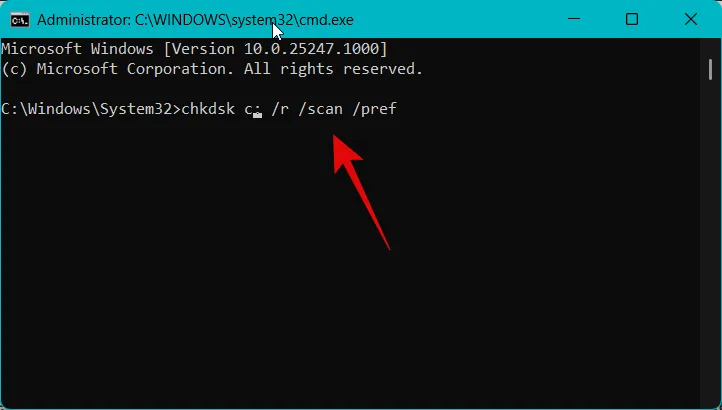
掃描完成後,使用以下命令運行 Chkdsk 掃描。將[LETTER]替換為當前分配給您的引導驅動器的字母。
chkdsk [LETTER]: /r /scan /pref
掃描完成後,使用以下命令關閉命令提示符。
exit

我們現在建議您重新啟動 PC 以備不時之需。

就是這樣!如果小部件因 Windows 文件損壞或 PC 上的文件系統錯誤而面臨問題,現在應該可以再次運行。
方法 14:等待 Microsoft Edge 更新
如上所述,在最近的 Windows Web Experience Pack 更新後,Widgets 不工作是一個已知問題。我們現在建議您只需等待將來的更新,這很可能會在您這邊解決此問題。微軟已經意識到這個問題,並且很可能正在努力解決這個問題。我們還建議你定期檢查 Microsoft Edge 的更新。您可以使用以下步驟在您的 PC 上輕鬆檢查和更新 Edge。
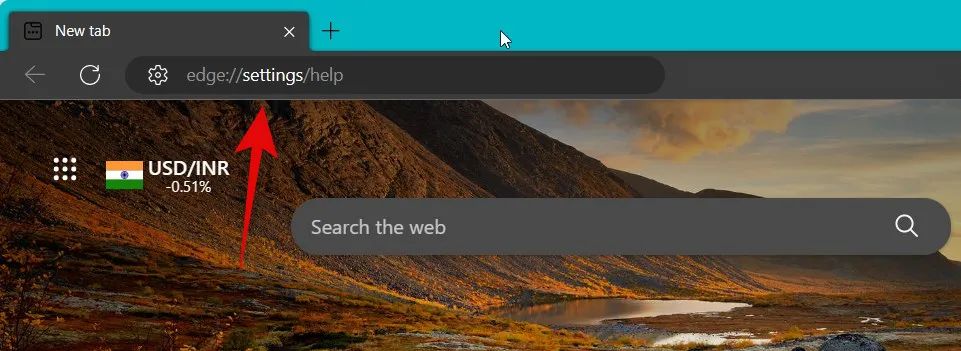
在您的PC上打開Microsoft Edge並訪問以下地址。
edge://settings/help
您現在將位於 Edge 的“關於”頁面,瀏覽器將自動檢查並顯示適用於您 PC 的可用更新。我們建議您安裝任何待定的更新,這也會更新網絡體驗和 webview2 運行時包。
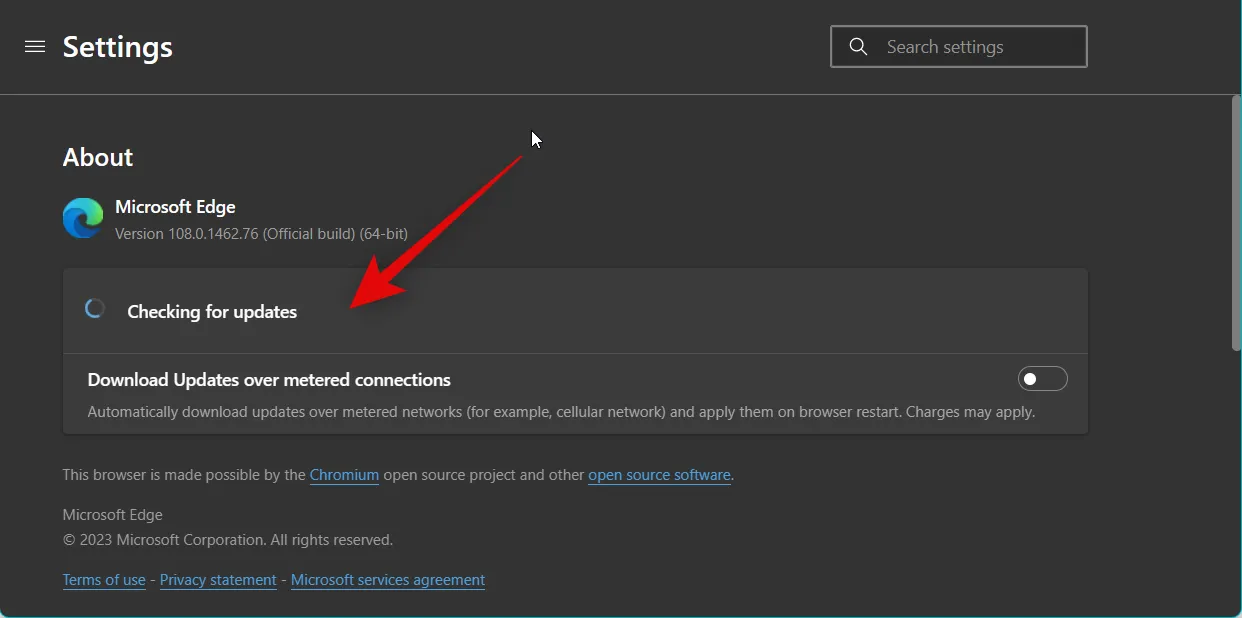
這應該有助於消除已知錯誤並最終修復小部件。
方法 15:聯繫 Microsoft 支持
如果您仍然遇到與小部件相關的問題,您現在應該聯繫 Microsoft 支持人員。您可能面臨特定於您的設置的問題或錯誤,支持主管將能夠更好地診斷您的問題。您可以使用下面的鏈接輕鬆聯繫您所在地區的 Microsoft 支持。
我們希望這篇文章能幫助您輕鬆修復 Windows 11 上的小部件。如果您有任何其他問題,請隨時使用下面的評論部分與我們聯繫。


發佈留言