
如何在 Windows 11 上終止端口上的進程

在 Windows 上運行的每個進程都使用不同的端口。因此,假設您正在嘗試運行需要使用已在使用的特定端口的應用程序。在這種情況下,您最終可能會收到類似“正在使用端口 8080”或“您提供的端口號已被使用”之類的錯誤消息。
解決此錯誤的唯一方法是手動終止當前佔用所述端口的進程。下面的文章展示瞭如何識別哪個端口正在被哪個進程使用,以及可以殺死它以便釋放該端口的不同方法。
如何查找端口是否正在使用(及其相關進程)
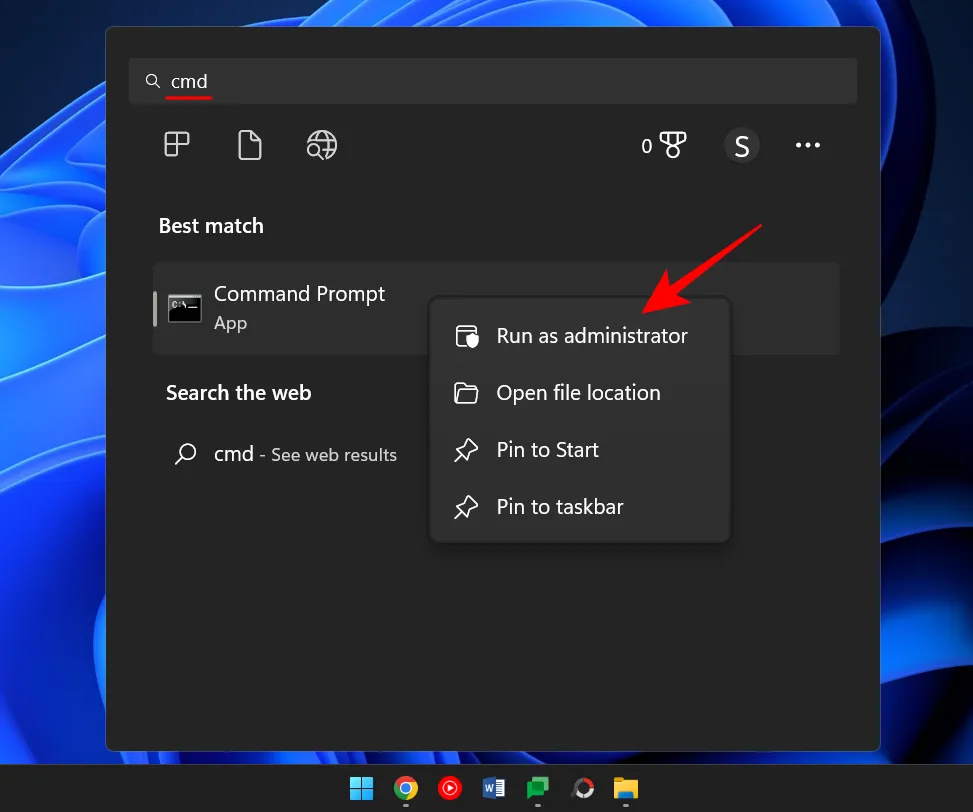
首先,打開命令提示符。按“開始”,鍵入cmd,右鍵單擊“命令提示符”,然後選擇“以管理員身份運行”。
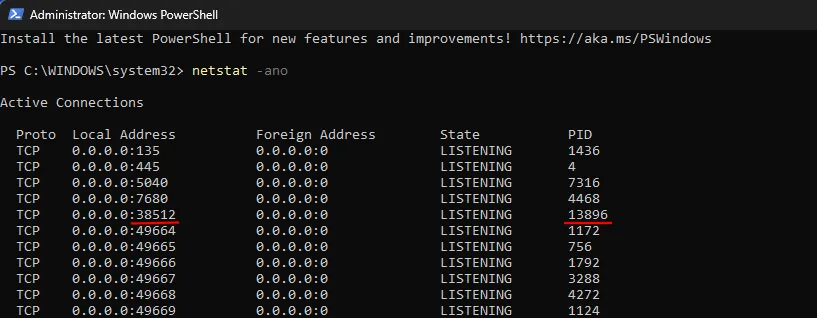
鍵入以下命令以獲取所有正在使用的端口的列表。
netstat -ano
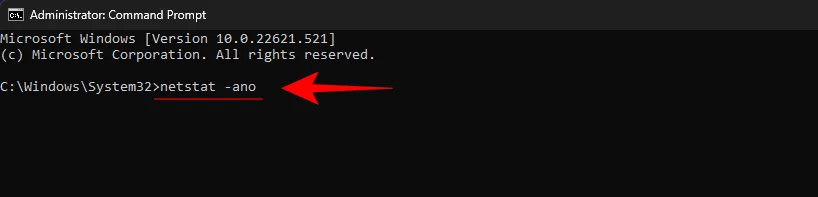
按回車。
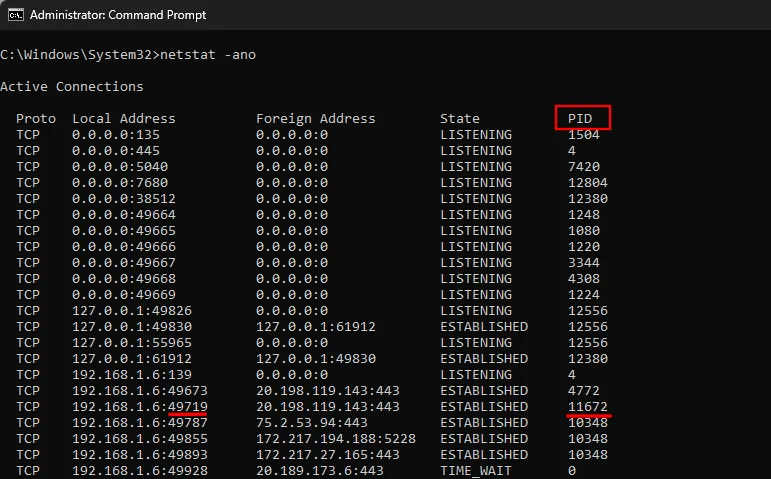
您現在將獲得系統上所有活動端口的列表。地址的最後幾位(在最後一個冒號之後)構成端口號。而其對應的PID是與之關聯的進程的唯一ID號。
要查找特定端口是否正在使用,請鍵入以下命令:
netstat -ano | findstr: port-number
將“port-number”替換為實際端口號,然後按 Enter。

如果它正在使用中,您將在右側看到一個 PID,以及“正在聆聽”或“已建立”字樣。

要查找進程,請按Ctrl+Shitf+Esc打開任務管理器。然後查找具有該 PID 的進程。
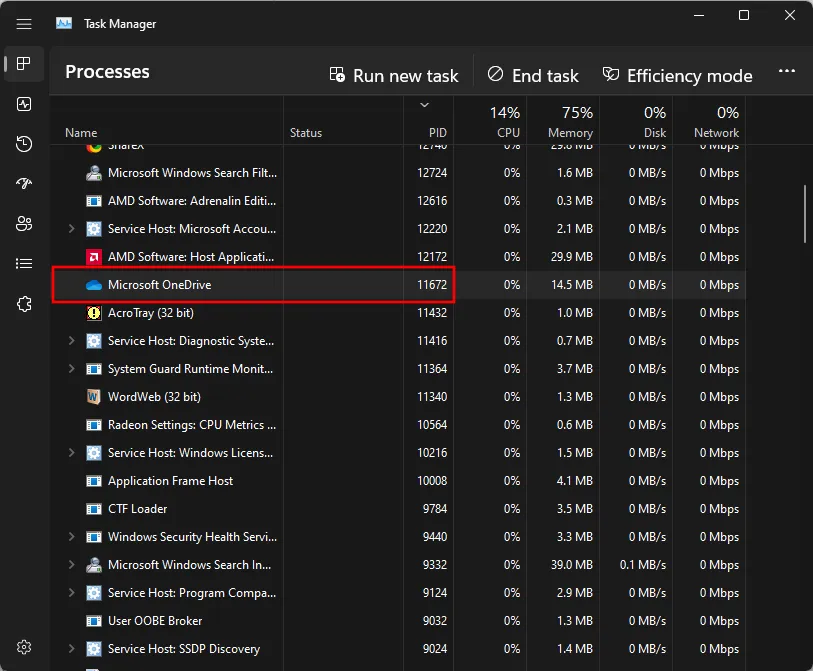
如果您沒有看到 PID 列,請右鍵單擊其中一列並選擇 PID。

或者,您可以使用資源監視器來查找進程。按開始,鍵入資源監視器並打開它。
展開網絡並查找具有 PID 的進程。
如何殺死端口上的進程
這裡有一些方法可以讓您識別哪個進程正在使用哪個端口以及如何終止它。
方法#1:通過命令提示符
一旦命令提示符(如前所示)並鍵入以下命令:
要釋放端口並終止與其關聯的進程,請鍵入以下命令:
taskkill /PID <type PID here> /f

然後按回車。您現在應該收到一條消息,說明進程已終止。

此方法是最常用的方法,用於查找和終止位於多個進程和程序可能想要訪問的有爭議端口(例如端口 8080 或 3000)上的進程。
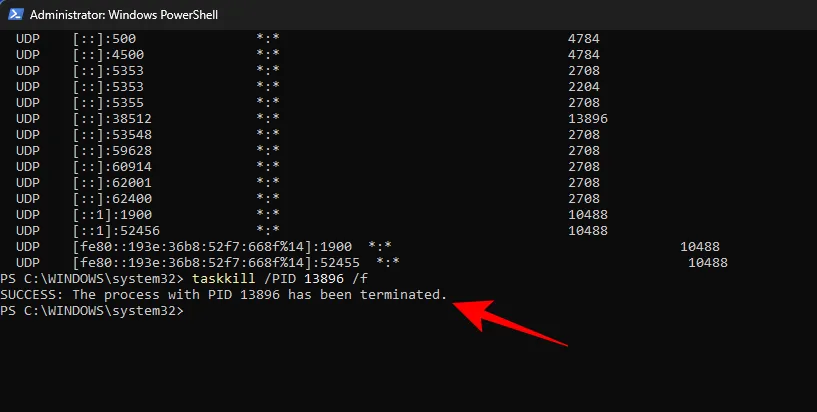
方法 #2:通過 PowerShell
終止與端口關聯的進程也可以通過 PowerShell 完成。這是如何:
按開始,鍵入 Powershell,右鍵單擊結果,然後單擊以管理員身份運行。
與命令提示符類似,在 PowerShell 中鍵入以下命令:
netstat -ano
然後按回車。您將獲得所有活動連接的列表。
獲得端口及其相應的 PID 後,您就可以知道哪個進程鏈接到它(如前所示)。記下正在使用特定端口的 PID。
要終止進程,請鍵入以下命令:
taskkill /PID <enter PID here> /f

按回車。您現在將收到一條消息,告訴您進程已終止。
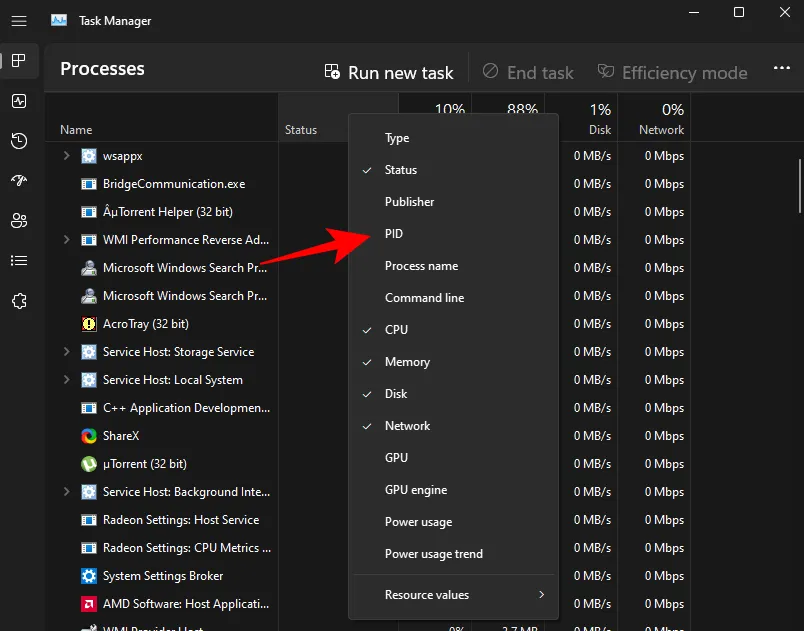
方法#3:通過任務管理器
僅當您知道鏈接到端口的 PID 時,此方法才有效,為此您總是必須轉到命令提示符或 Powershell。但是一旦找到端口和與之關聯的 PID,您也可以通過任務管理器結束其關聯進程。以下是如何操作。
按Ctrl+Shift+Esc打開任務管理器。在這裡,如果您還沒有看到 PID 選項卡,請右鍵單擊其中一個選項卡並選擇PID。
現在找到與您要終止的 PID 關聯的進程。右鍵單擊該進程並選擇End Task。
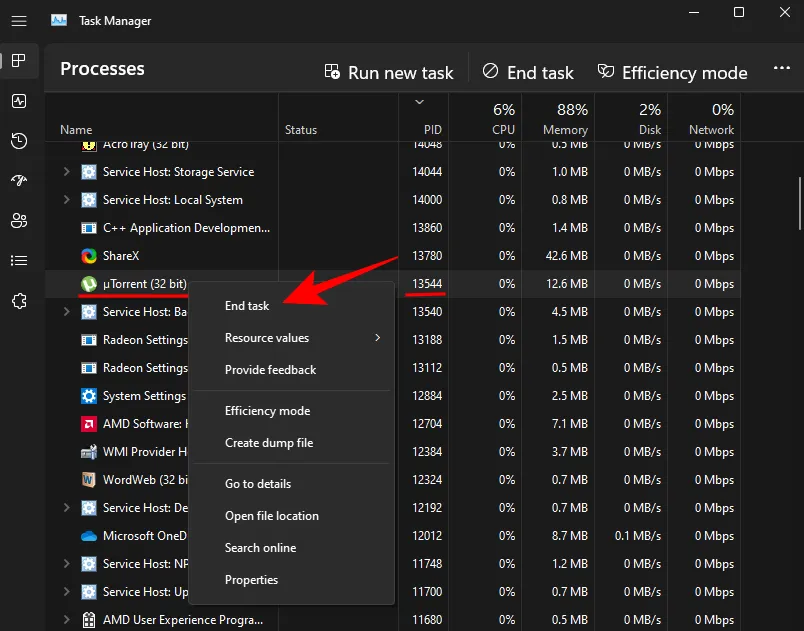
就是這樣。您現在已經釋放了鏈接到該進程/PID 的端口。
方法#4:通過 CurrPorts(第三方軟件)
有一些第三方應用程序讓您只需單擊一下即可終止與端口關聯的進程。其中之一是 CurrPorts,這是一款可以快速完成工作的免費軟件。
下載: CurrPorts
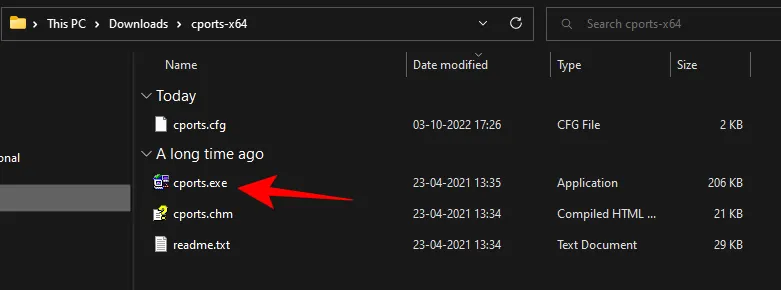
在上述鏈接上,向下滾動並單擊“下載 CurrPorts ”。下載文件後,解壓縮其內容,然後運行cports.exe文件。
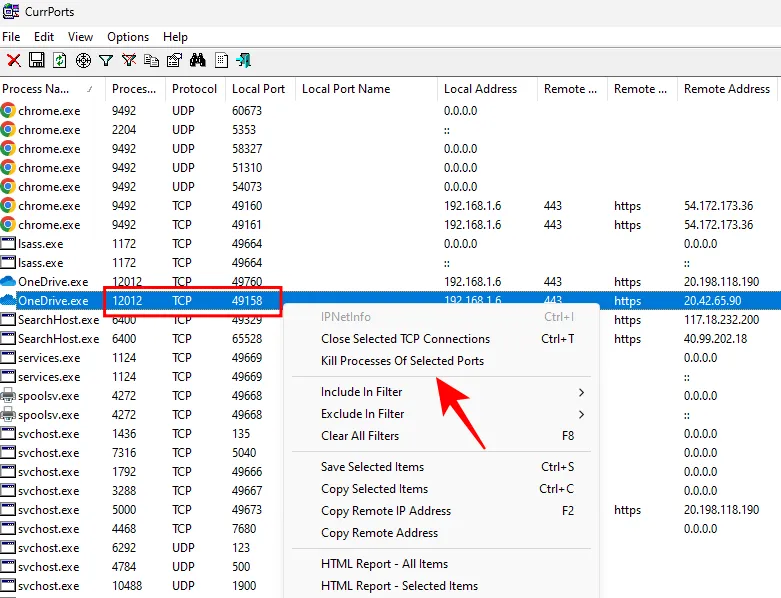
您的端口現在是免費的。
儘管第三方應用程序比比皆是,但命令提示符和 PowerShell 仍然是最常用的終止端口進程的方法之一,因為它們有助於識別和執行進程,而無需任何無關的下載。我們希望上面提供的方法能讓您終止 Windows 11 上任何給定端口上的進程。


發佈留言