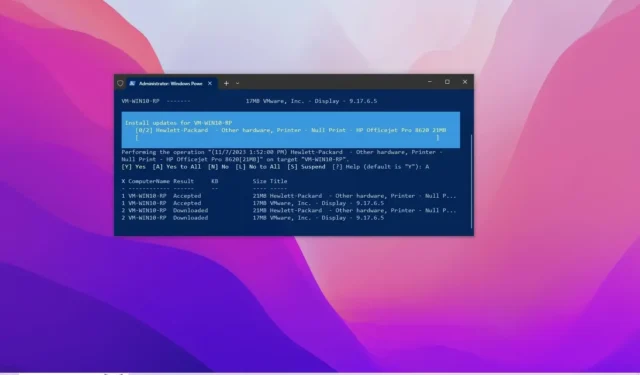
如何使用 PowerShell 安裝 Windows 10 更新

- 若要從 PowerShell 在 Windows 10 上安裝更新,請開啟“PowerShell (admin)”,執行“Install-Module PSWindowsUpdate”指令來安裝模組,“Get-WindowsUpdate”來查看可用更新,然後執行“Install-WindowsUpdate”來安裝所有更新累積更新。
- 若要下載、安裝並重新啟動 Windows 10,請開啟「PowerShell (admin)」並執行「Get-WindowsUpdate -AcceptAll -Install -AutoReboot」命令。
- 「Get-WindowsUpdate -Install -KBArticleID ‘KB5031445’」指令可讓您安裝特定的 Windows 10 更新。
2023 年 11 月 8 日更新: Windows 10 更新透過 Windows 更新設定自動或手動進行。但是,如果您嘗試修補新安裝或建立自訂腳本來自動執行該過程,則可以使用PowerShell上的「PSWindowsUpdate」模組使用命令下載並安裝缺少的修補程式。
Michal Gajda 創建了PSWindowsUpdate模組,可透過PowerShell Gallery取得該模組。它包含的元件可讓您在 Windows 10 上輕鬆檢查、下載和安裝更新。
在本指南中,我將教您使用 PowerShell 檢查和安裝Windows 10更新的步驟。
從 PowerShell 更新 Windows 10
若要使用 PowerShell 檢查並安裝更新,請使用下列步驟:
-
在 Windows 10 上開啟「開始」 。
-
搜尋PowerShell,右鍵點擊頂部結果,然後選擇「以管理員身份執行」選項。
-
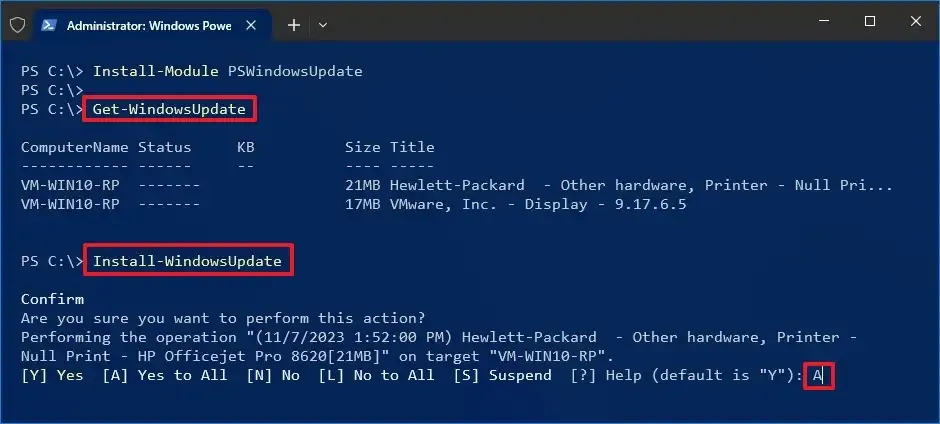
鍵入以下命令來安裝模組以執行 Windows Update,然後按Enter:
Install-Module PSWindowsUpdate
 小提示:安裝模組後,您不再需要重複步驟 3來使用該模組和管理更新。
 -
輸入A並按Enter確認。
-
鍵入以下命令以使用 PowerShell 檢查更新,然後按Enter:
Get-WindowsUpdate -
鍵入以下命令以安裝可用的 Windows 10 更新,然後按Enter:
Install-WindowsUpdate

-
輸入A並按Enter確認。
完成這些步驟後,最新的累積更新將下載並安裝到您的電腦上。
使用 PowerShell 管理更新
PSWindowsUpdate 模組包含許多管理更新的選項。您始終可以使用該Get-Command –Module PSWindowsUpdate命令來查詢可用命令的清單。
1.更新指令後自動重新啟動系統
若要下載、安裝,然後重新啟動電腦以完成更新過程,請使用以下步驟:
-
打開開始。
-
搜尋PowerShell,右鍵點擊頂部結果,然後選擇「以管理員身份執行」選項。
-
鍵入以下命令下載並安裝所有可用更新,重新啟動系統,然後按Enter:
Get-WindowsUpdate -AcceptAll -Install -AutoReboot
完成這些步驟後,Windows 10 將下載並安裝所有可用更新,並重新啟動電腦以自動套用變更。
2.下載特定更新指令
若要從 PowerShell 在 Windows 10 上下載並安裝特定更新,請使用下列步驟:
-
打開開始。
-
搜尋PowerShell,右鍵點擊頂部結果,然後選擇「以管理員身份執行」選項。
-
使用 PowerShell 鍵入以下指令列出可用更新及其 KB 編號,然後按Enter:
Get-WindowsUpdate -
鍵入以下指令下載、安裝特定更新,重新啟動系統,然後按Enter:
Get-WindowsUpdate -Install -KBArticleID 'KB5031445'在命令中,將“KB5031445”替換為您要安裝的更新的 KB 名稱。
完成這些步驟後,在這種情況下,Windows 10 將在您的裝置上下載並安裝更新KB5031445。
Windows 10 附帶了Windows Update Provider,但與 PSWindowsUpdate 模組相比,選項有限,而且使用起來更複雜。
2023 年 11 月 8 日更新:本指南已更新,以確保準確性並反映變更。


發佈留言