
如何在 Windows 上安裝 Stable Diffusion [2023 年 4 月]
![如何在 Windows 上安裝 Stable Diffusion [2023 年 4 月]](https://cdn.thewindowsclub.blog/wp-content/uploads/2023/04/how-to-install-stable-diffusion-on-windows-640x375.webp)
除非你一直生活在岩石下,否則你一定遇到過最近每個人都在談論的人工智能圖像生成器吧?畢竟,將文本變成 AI 藝術非常酷——即使對於鐵桿極客也是如此!最近出現了很多不同的工具,每個工具都有自己獨特的功能和優點,這真是一個熱門話題。其中一些最受歡迎的包括Midjourney、Stable Diffusion、BlueWillow和 Artbreeder 等。他們讓專業藝術家和普通用戶都可以更輕鬆地創建令人驚嘆的圖形和圖像,包括超酷的個人資料圖片(感謝爆頭生成器),只需輸入幾個單詞即可。
最受關注的圖像生成器之一是基於深度學習技術的 Stable Diffusion。它於 2022 年首次問世,從那時起,它變得更加強大,具有更好的用戶界面功能。但是,老實說,使用 Stable Diffusion 並不總是世界上最簡單的事情。安裝和設置存在一些問題,這使得使用起來有點複雜。幸運的是,由於有了獨立的安裝程序和第三方工具,情況從那時起有所改善。所以,如果您熱衷於在您的 PC 上試用 Stable Diffusion,那麼您很幸運!我們有一份指南可以幫助您入門。讓我們開始吧!
在 Windows 上安裝 Stable Diffusion:分步指南
您可以先使用獨立的官方安裝程序在您的 PC 上獲取並安裝 Stable Diffusion。如果這對您不起作用,那麼您可以使用 NMKD 安裝程序,它是 Stable Diffusion 的第三方軟件包,負責所有流程並具有易於使用的 UI。
最後,如果您願意,您可以選擇手動安裝 Stable Diffusion,您必須自己下載並安裝依賴項,然後克隆 web-ui,以便您可以在您的 PC 上使用它。根據您當前的需要和要求,遵循以下任一方法。
要求
在安裝 Stable Diffusion 之前,我們建議您先熟悉這些要求。Stable Diffusion 需要大量的存儲空間和處理能力才能按預期工作。以下要求將幫助您確定您當前的設置是否可以支持穩定擴散。
- 操作系統: Windows 10/11
- GPU:具有 4GB VRAM 或更多的 Nvidia 顯卡
- 內存: 8GB或更多
- 存儲空間: 20GB
方法一:使用官方自動安裝器
官方獨立安裝程序是在 Windows PC 上獲取 Stable Diffusion 的最簡單和最佳方式。請按照以下步驟來幫助您完成該過程。
在瀏覽器中訪問https://github.com/cmdr2/stable-diffusion-ui/releases,安裝程序的下載將自動啟動。將文件保存到 PC 上的首選位置。
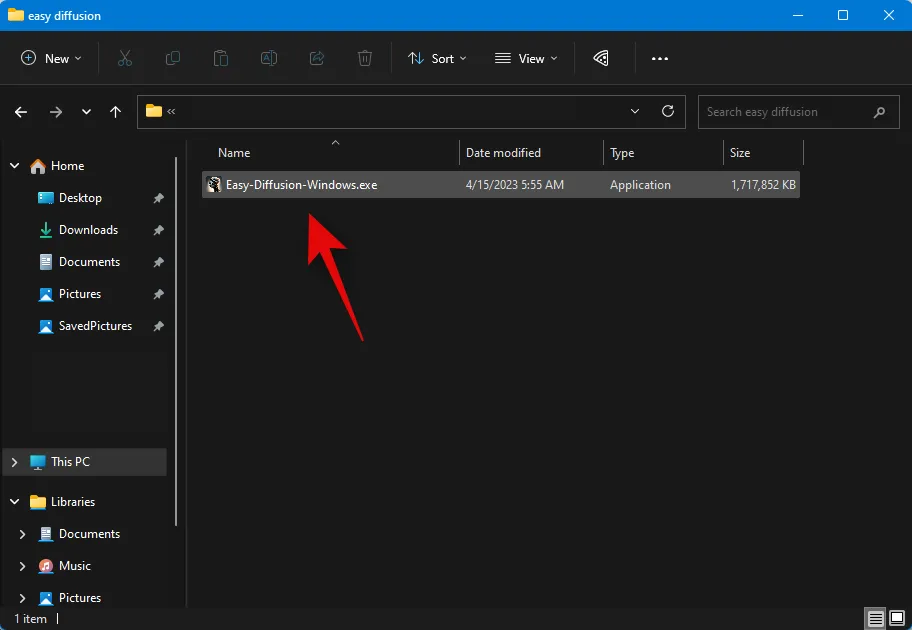
現在雙擊並啟動Easy-Diffusion-Windows.exe文件。
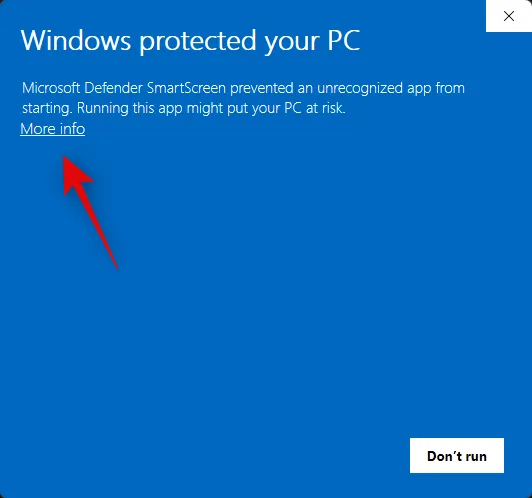
Windows Smart Screen 通常會錯誤地識別這一點。執行文件。如果您遇到這種情況,請點擊更多信息。
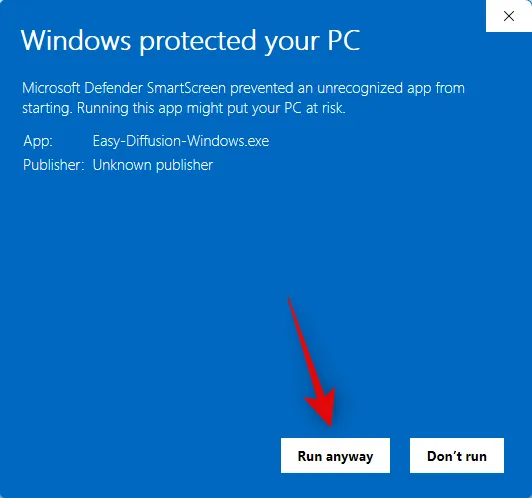
現在單擊仍然運行。
安裝程序現在將在您的 PC 上啟動。單擊下一步。
在下一步查看許可證和使用條款。完成後單擊我同意。
現在單擊瀏覽…並選擇您喜歡的 Stable Diffusion 安裝位置。
完成後,單擊“安裝”。
Stable Diffusion 現在將安裝在您的 PC 上。這可能需要一些時間,具體取決於您 PC 上當前可用的資源。
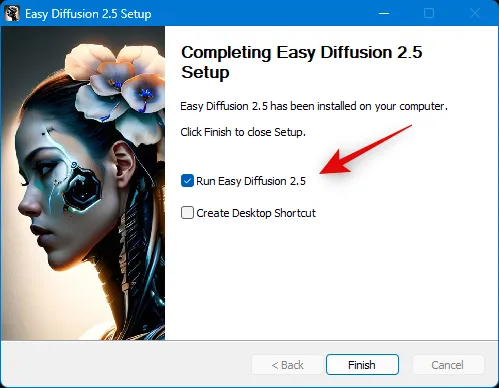
設置完成後,如果您想要 Stable Diffusion 的桌面快捷方式,請選中創建桌面快捷方式複選框。
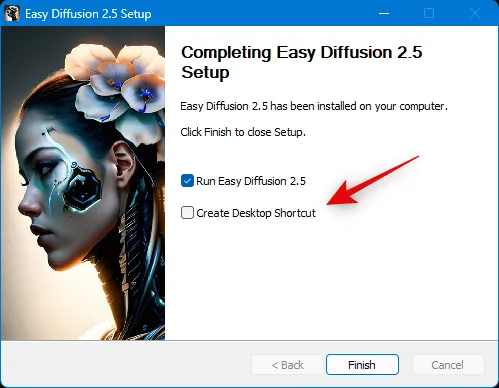
此外,如果您不想立即啟動它,請單擊並取消選中Run Easy Diffusion 2.5的框。
完成後單擊完成。
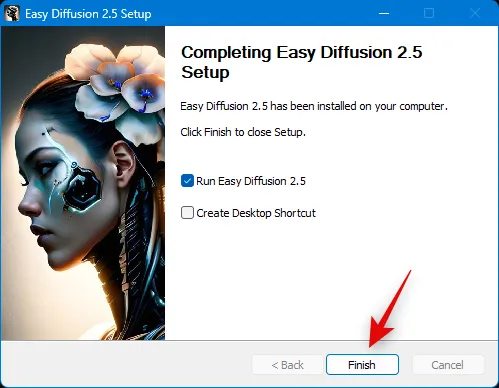
就是這樣!Stable Diffusion 現已安裝在您的 PC 上。您現在可以從“開始”菜單或桌面快捷方式(如果您創建了一個)啟動它。
方法 2:使用 NMKD 安裝程序
NMKD 安裝程序是 Stable Diffusion 的第三方獨立安裝程序,由於其直觀的 UI 和對 AMD GPU 的支持而廣受歡迎。下面介紹如何使用 NMKD 安裝程序在您的 PC 上安裝 Stable Diffusion。
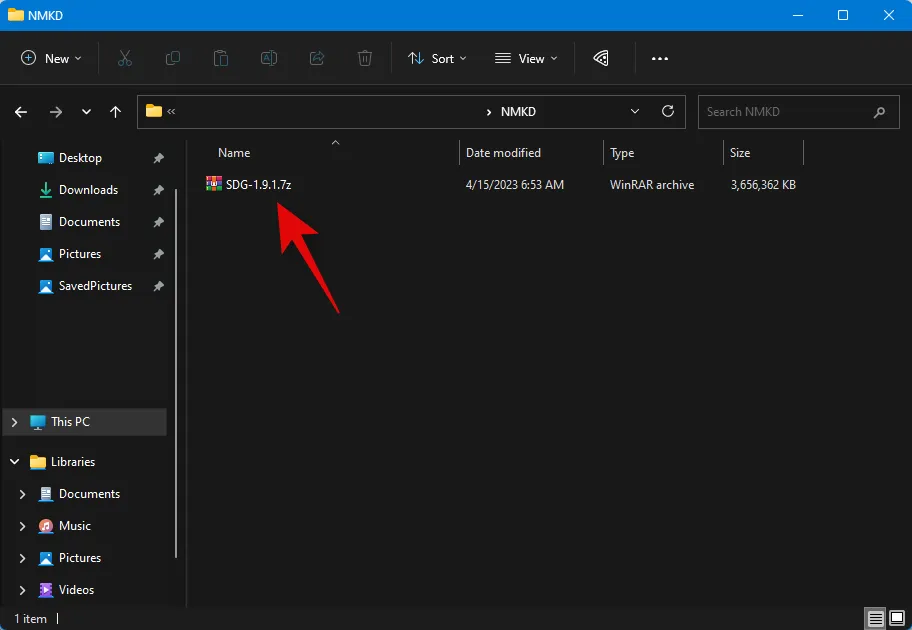
訪問https://www.techspot.com/downloads/7519-nmkd-stable-diffusion-gui.html並單擊立即下載。
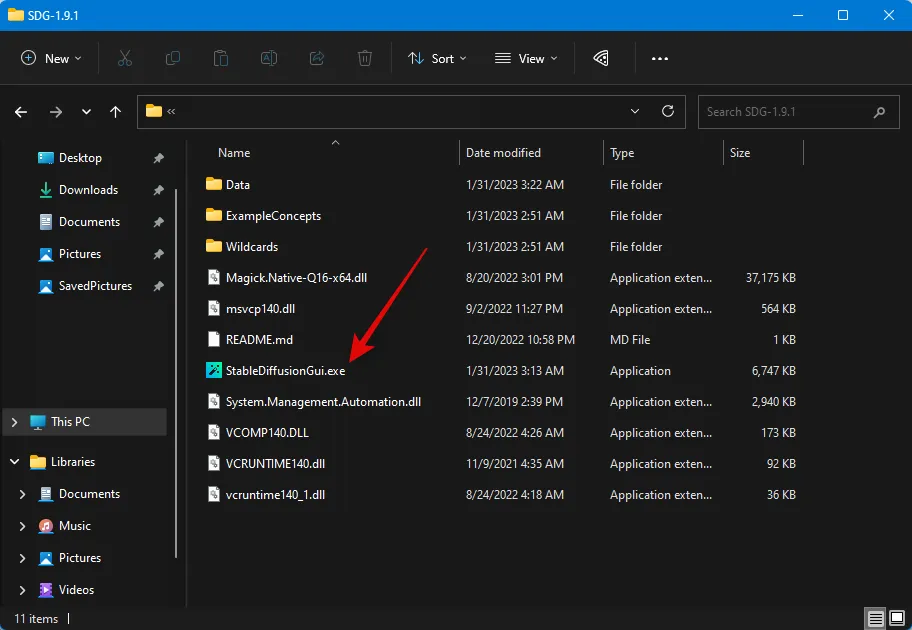
現在將在您的 PC 上啟動下載。將文件保存到 PC 上的首選位置。下載存檔後,使用您喜歡的工具將其解壓縮。
如果您的 PC 上沒有安裝任何軟件,您可以使用下面的鏈接在您的 PC 上下載 WinRAR 或 7ZIP,然後解壓縮存檔。

現在打開解壓的文件夾,雙擊StableDiffusionGui.exe啟動 Stable Diffusion。
Stable Diffusion 現在將在您的 PC 上啟動,您可以立即開始生成圖像。
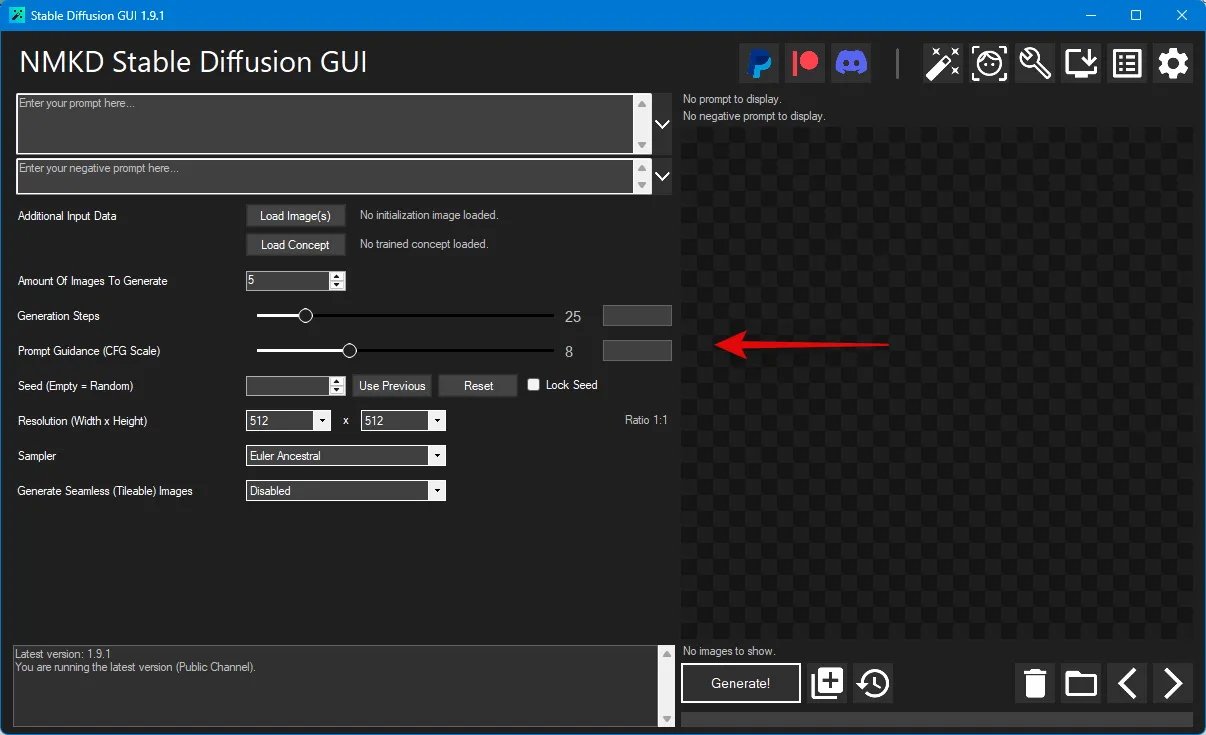
這就是您如何使用 NMKD 安裝程序在您的 PC 上安裝 Stable Diffusion。
方法 3:手動安裝 Stable Diffusion
如果上述方法對您不起作用,或者您更喜歡手動克隆和使用 Stable Diffusion,則可以使用以下步驟來幫助您完成該過程。
第 1 步:下載並安裝 Python
首先,您需要在您的 PC 上下載並安裝 Python 3.10.6。如果您的 PC 上安裝了其他 Python 版本,則應先刪除它們,然後再繼續執行以下步驟。多個 Python 版本可能會混淆 Stable Diffusion 並導致意外崩潰。如果您不想刪除其他 Python 版本,則可以將其安裝在具有管理員權限的新用戶帳戶中以使用 Stable Diffusion。讓我們開始吧。
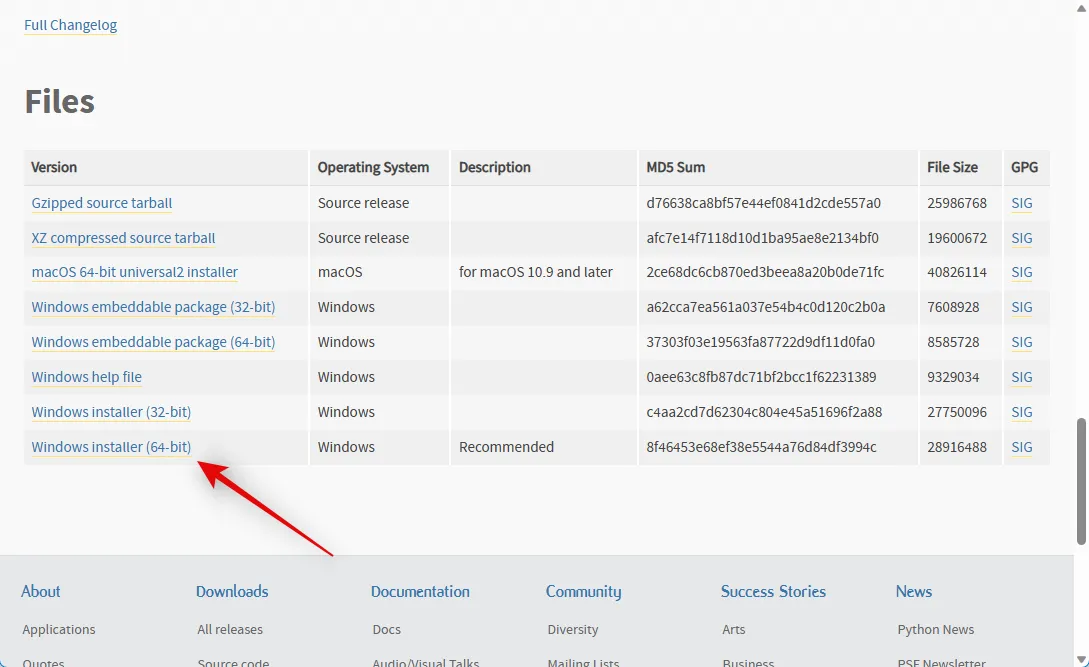
訪問https://www.python.org/downloads/release/python-3106/並滾動到底部。單擊Windows Installer (64-bit)將相關軟件包下載到您的 PC。
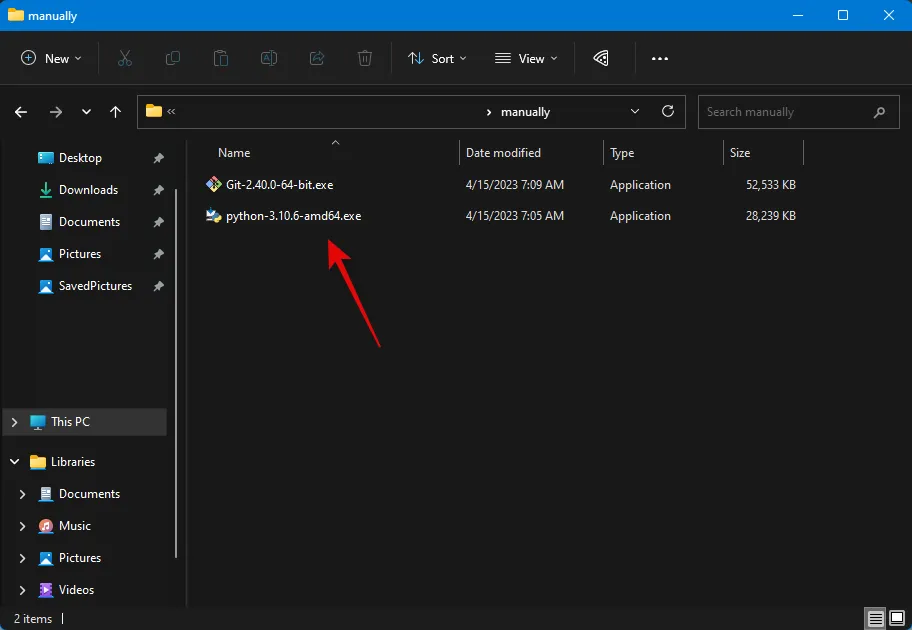
下載到您的 PC 後,雙擊並啟動安裝程序。
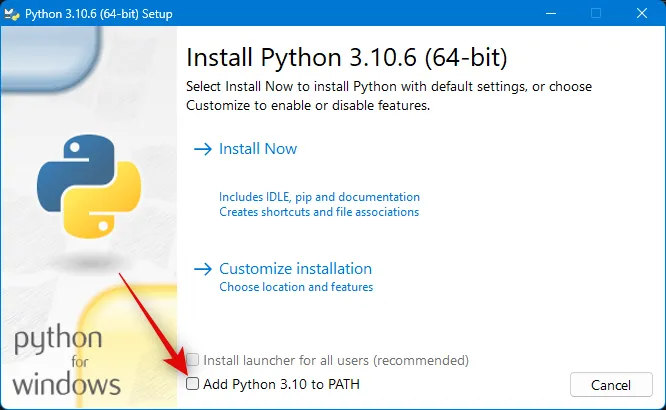
單擊並選中底部的將Python 3.10 添加到 PATH複選框。
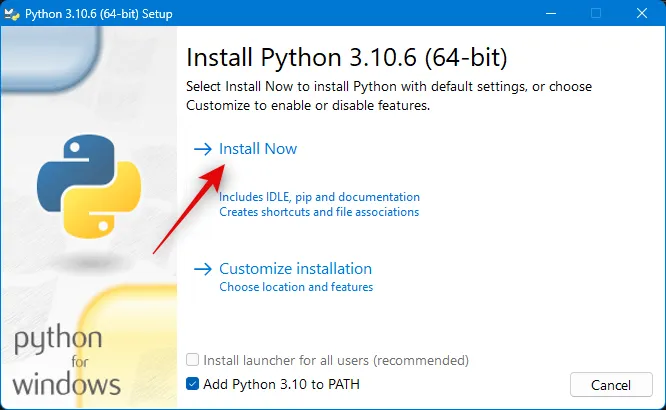
現在單擊頂部的立即安裝。
Python 現在將安裝在您的 PC 上。您現在可以使用後續步驟來設置 Stable Diffusion。
第二步:安裝 Git
我們現在需要在您的 PC 上下載並安裝 Git。請按照以下步驟來幫助您完成該過程。
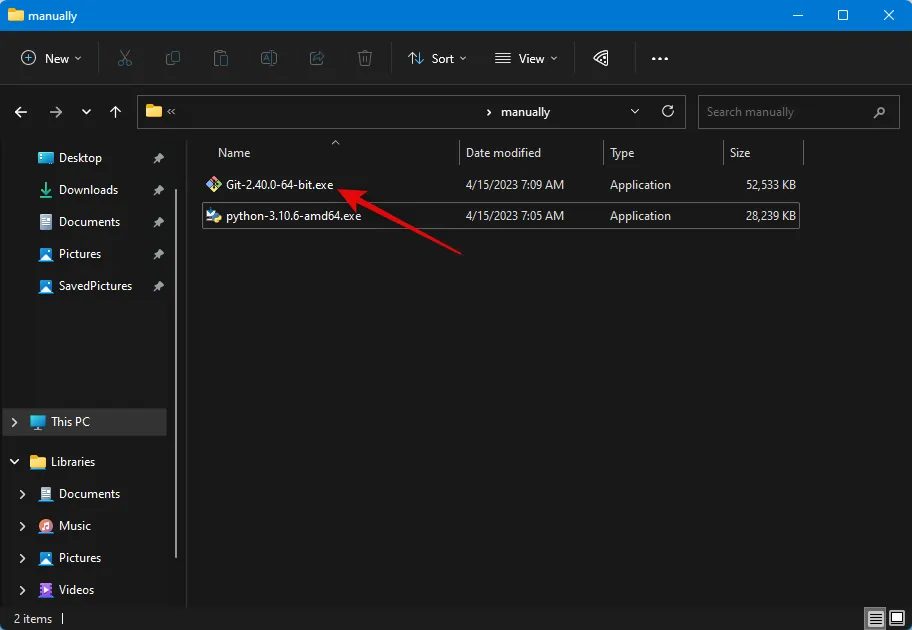
在瀏覽器中訪問https://git-scm.com/download/win並單擊64-bit Git for Windows Setup。
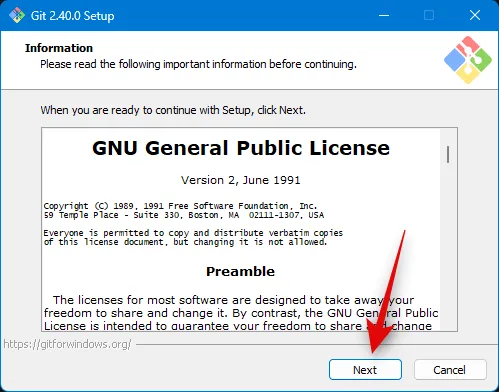
現在將啟動安裝文件的下載。將文件保存到 PC 上方便的位置。下載後雙擊並啟動文件。
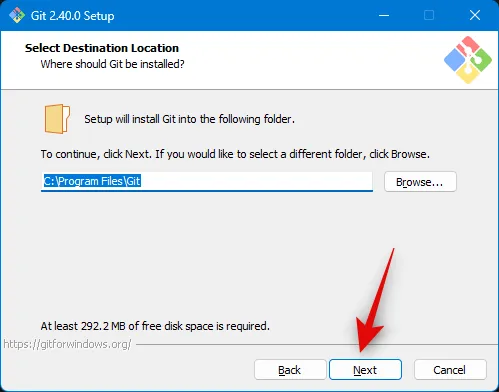
查看許可協議並單擊下一步。
單擊瀏覽…並選擇您希望安裝 Git 的位置。

完成後,再次單擊下一步。
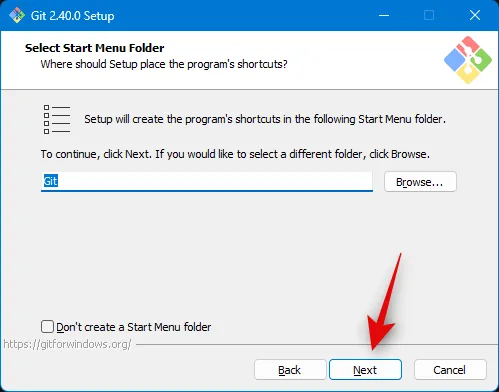
將組件選擇保留為默認值,然後單擊下一步。
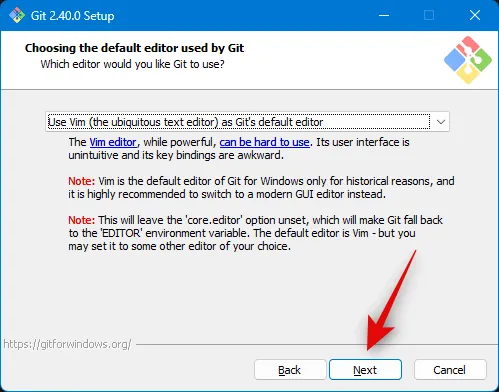
再次單擊下一步。
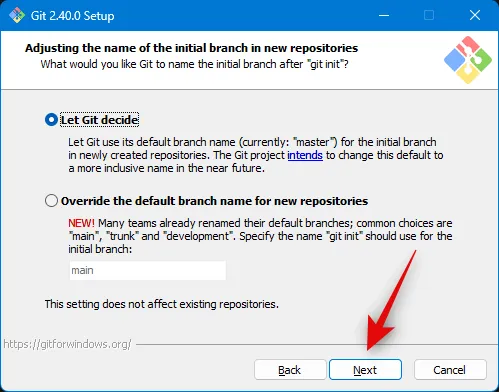
單擊下一步下一步。
確保在下一步選擇讓 Git 決定,然後再次單擊下一步。
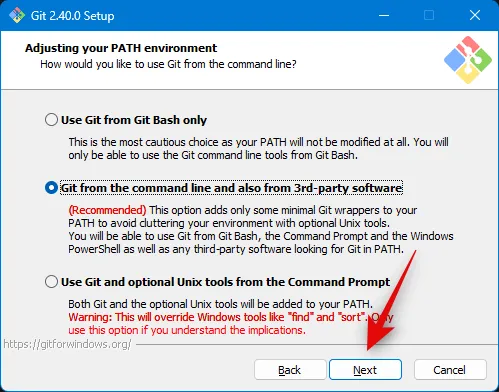
從命令行和 3rd-party 軟件中選擇Git 。
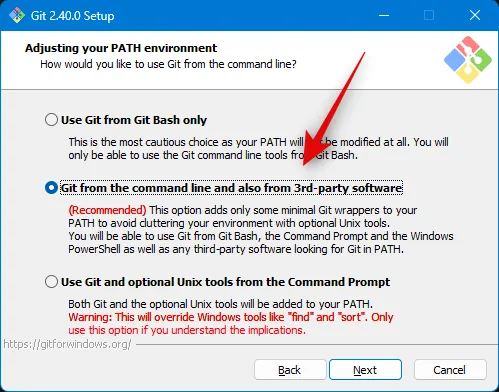
單擊下一步。
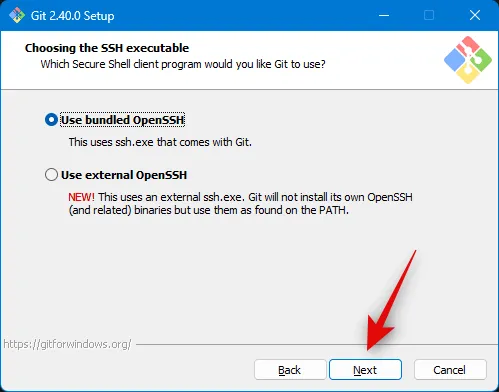
再次單擊下一步。
將 HTTPS 傳輸後端選擇保留為默認值,然後單擊下一步。
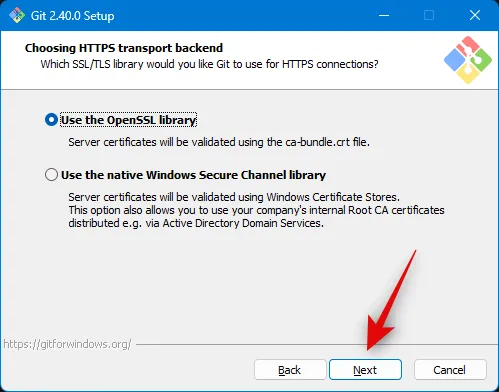
再次單擊下一步。

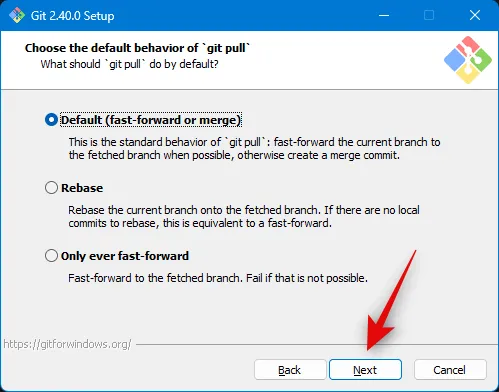
將終端仿真器選擇保留為默認值並單擊Next。
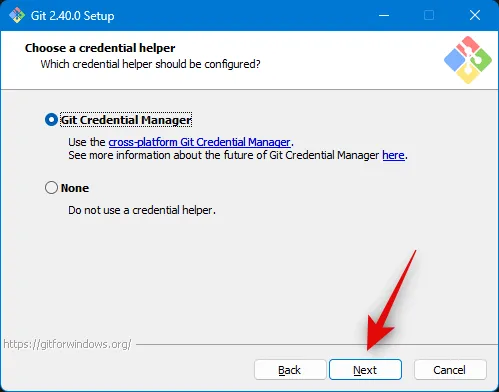
再次單擊下一步。
單擊 並選擇Git Credential Manager,然後單擊Next。
確保選中啟用文件系統緩存框,然後單擊下一步。
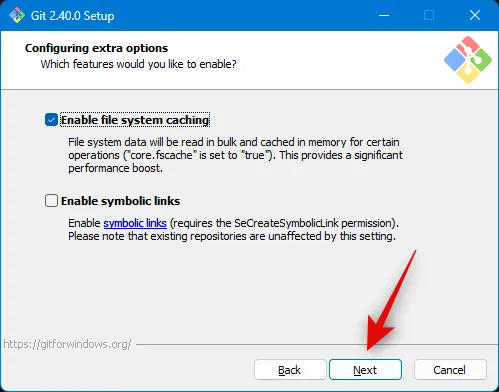
不要選擇任何實驗性功能並單擊Install。
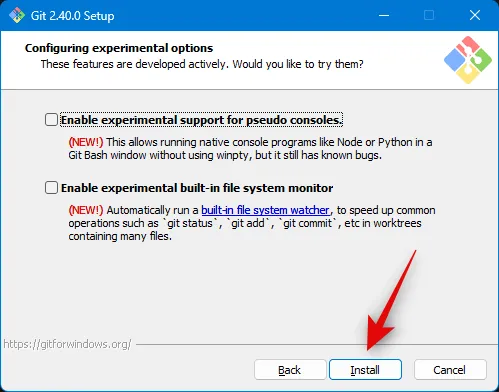
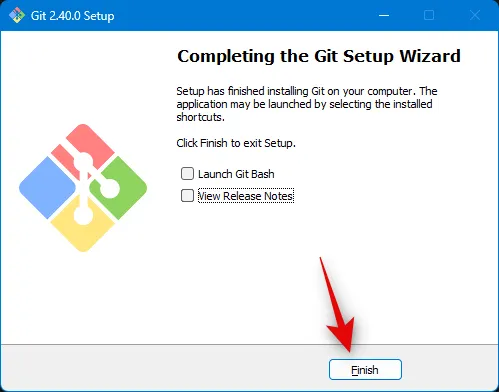
Git 現在將安裝在您的 PC 上。安裝後,單擊完成。
現在您可以使用以下步驟克隆 web-ui。
第 3 步:克隆 Stable Diffusion web-ui
我們現在將克隆 web-ui,以便您可以在本地使用 Stable Diffusion。請按照以下步驟來幫助您。
按 Windows + E 打開文件資源管理器並打開啟動驅動器。
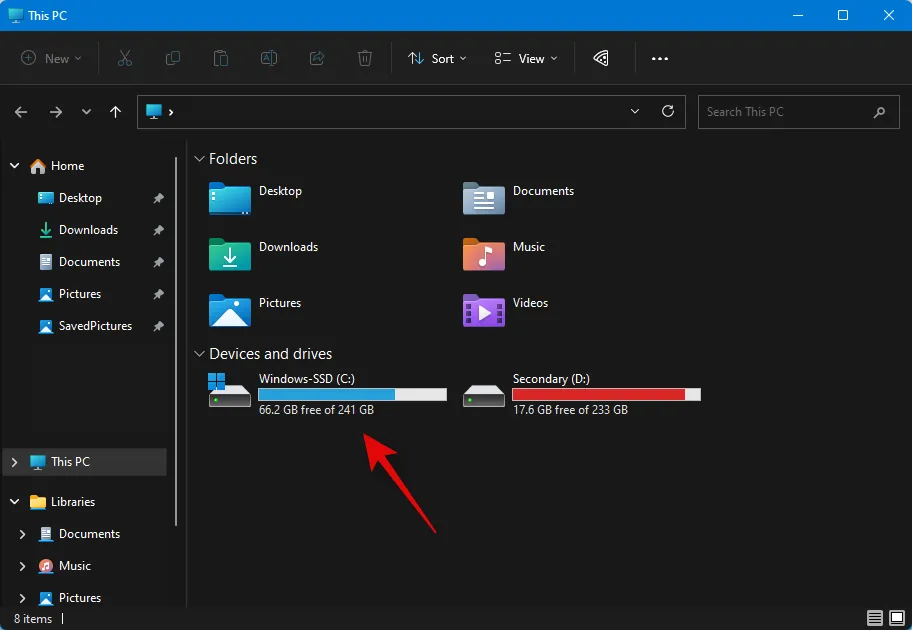
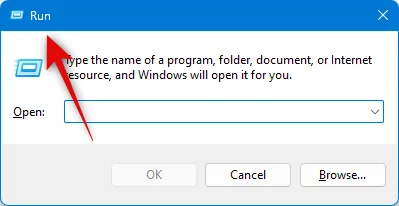
在驅動器的根目錄中按 Ctrl + Shift + N 創建一個新文件夾。
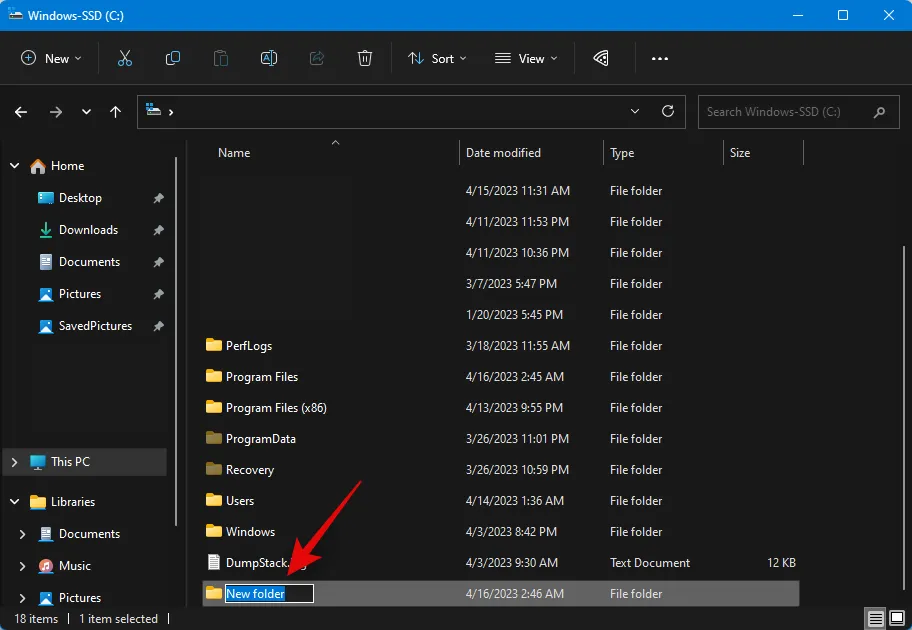
將新文件夾命名為sdwebui。
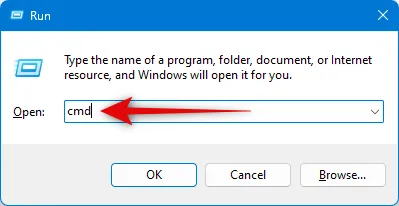
現在按 Windows + R 啟動運行。
鍵入cmd並按鍵盤上的 Enter 鍵。
命令提示符啟動後,鍵入以下命令並按 Enter。
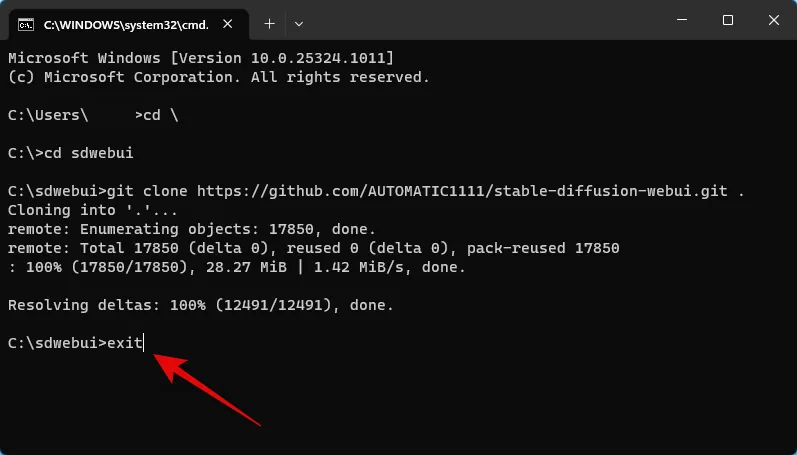
光盤\
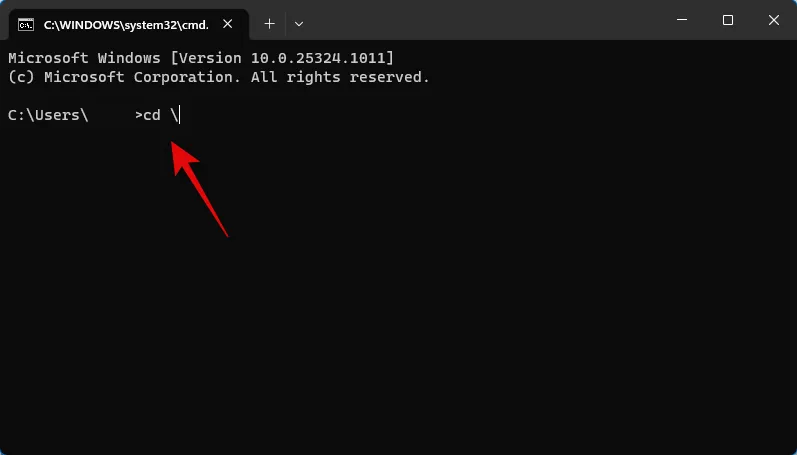
現在使用以下命令導航到我們最近創建的文件夾。
cd sdwebui
完成後,使用下面的命令克隆 web-ui。
git 克隆 https://github.com/AUTOMATIC1111/stable-diffusion-webui.git。

該過程完成後,使用以下命令關閉命令提示符。
出口
您現在可以使用下一步下載您喜歡的 Stable Diffusion 模型並將其放置在您的 PC 上。
第 4 步:下載並放置一個 Stable Diffusion 模型
穩定擴散模型之間往往有很大差異。主要有四種穩定擴散模型 v1 的變體和兩種穩定擴散模型 v2 的變體。那裡也有很多叉子。您可以使用下面的鏈接下載您喜歡的穩定擴散模型。
您還可以查看其他可用型號,找到最適合您當前需求的型號。我們建議使用 SD v1.4 或 SD v1.5,因為這些模型已經在龐大的數據集上進行了微調和訓練。穩定擴散模型在藝術風格和美學方面有很大差異。我們建議您查看示例以找到最適合您當前需要和要求的示例。
下載相關模型後,您會發現兩個以.ckpt擴展名結尾的文件。一個文件將在名稱中包含完整的 ema 。將名稱中不包含完整 ema 的其他文件複製到剪貼板。
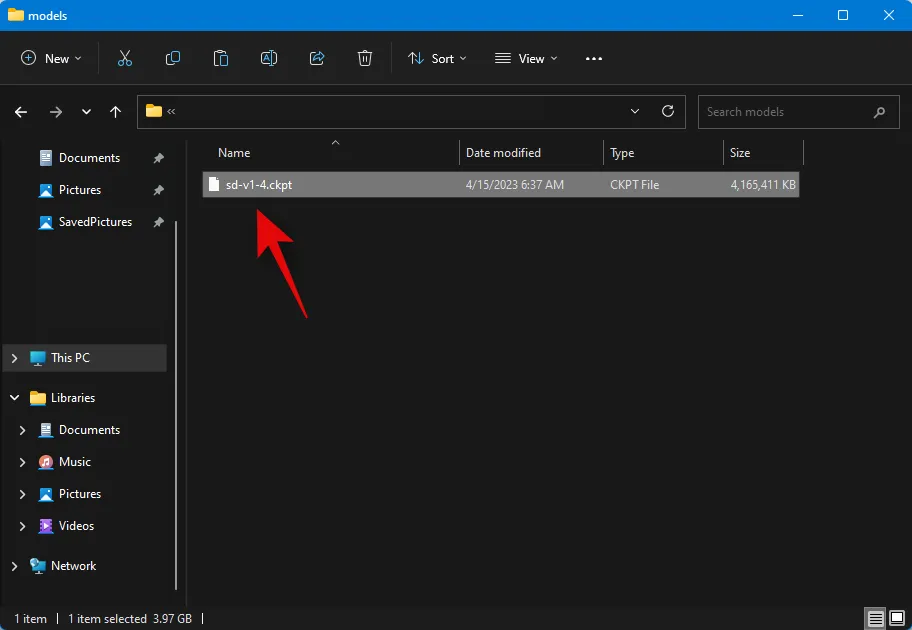
現在導航到下面的路徑並粘貼複製的文件。
C:\sdwebui\models\穩定擴散

就是這樣!將模型放置在上述路徑中後,您可以使用以下步驟在您的 PC 上啟動和使用 Stable Diffusion。
第 5 步:啟動並使用 web-ui
以下是在 PC 上啟動和使用 Stable Diffusion 的方法。
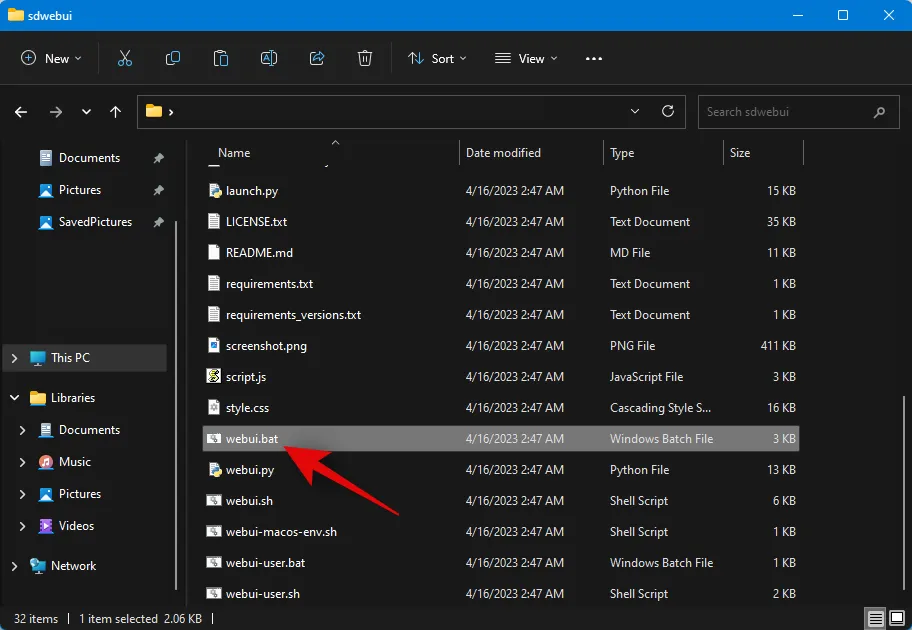
使用 Windows + E 鍵盤快捷鍵打開文件資源管理器,然後導航至以下路徑。
C:\sdwebui
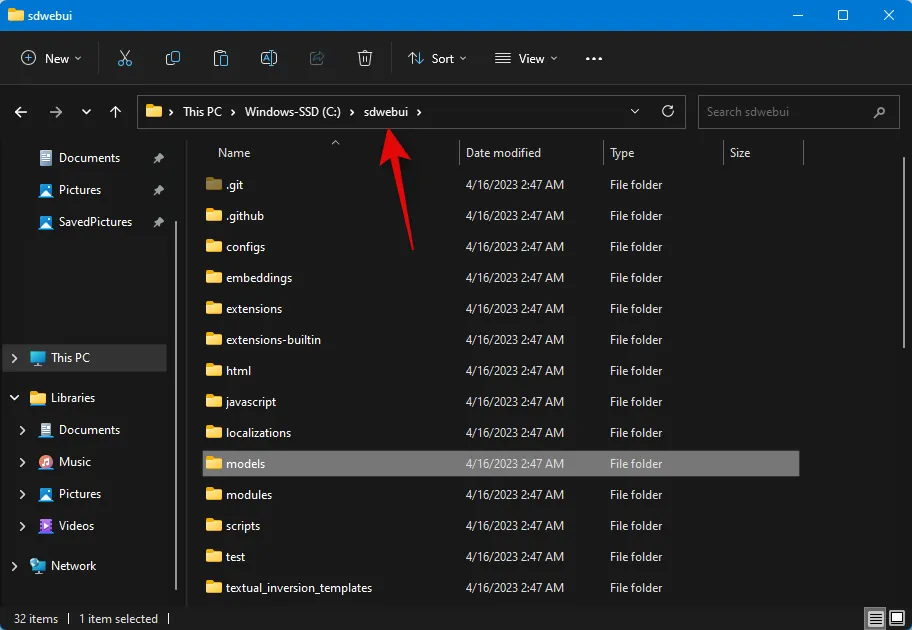
現在雙擊並啟動webui.bat文件。
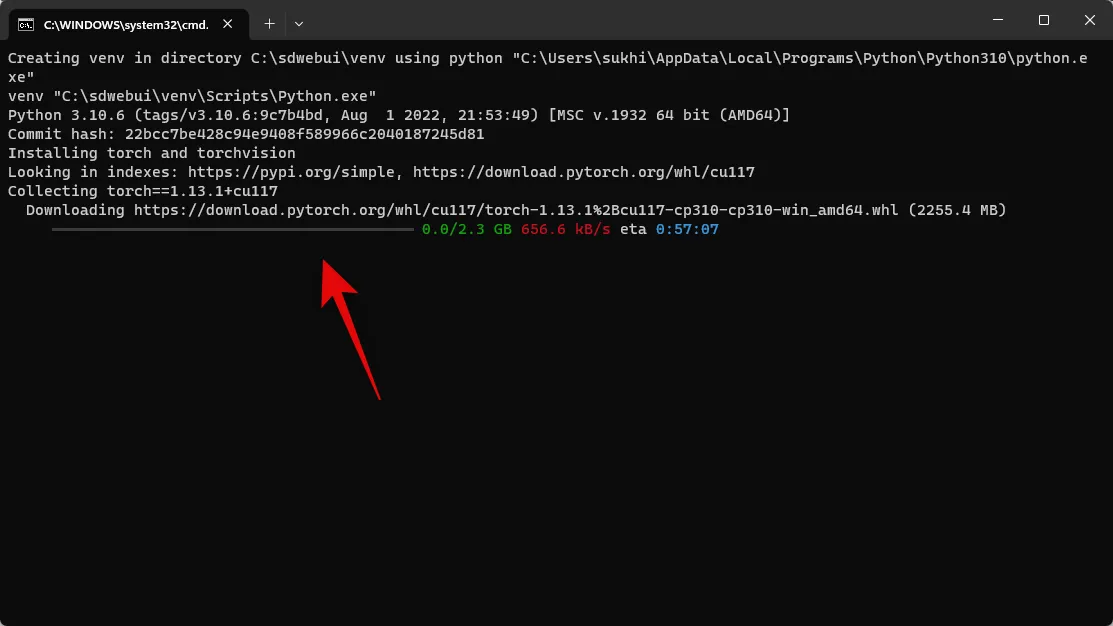
Stable Diffusion 現在將下載並安裝必要的文件。第一次此過程可能需要一些時間,因此我們建議您耐心等待。完成後,複製Running on local URL旁邊的 IP 地址。
現在打開瀏覽器並將復制的地址粘貼到上面的 URL 欄中。完成後按 Enter,Stable Diffusion 將在您的瀏覽器中啟動。
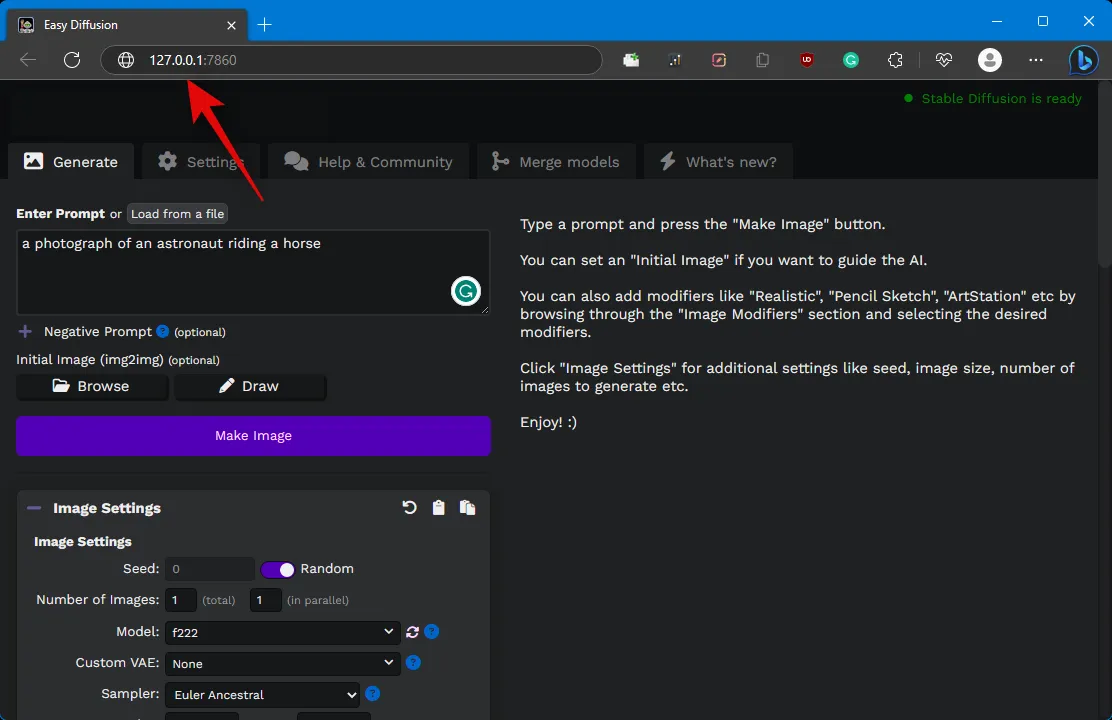
就是這樣!您現在可以使用 Stable Diffusion 通過提示等生成您喜歡的圖像。
使用哪種方法?
我們建議先嘗試方法 1,然後再嘗試方法 2。這些方法是自動化的並且非常可靠,這意味著您無需付出太多體力。但是,如果證明它們都無效,則求助於方法 3——手動方法。


發佈留言