
如何輕鬆突出顯示 Windows 上的鼠標點擊 [2023]
![如何輕鬆突出顯示 Windows 上的鼠標點擊 [2023]](https://cdn.thewindowsclub.blog/wp-content/uploads/2023/08/powertoys-highlight-mouse-clicks-fi-759x427-1-640x375.webp)
要知道什麼
- 借助 PowerToys 鼠標實用程序部分中的鼠標熒光筆功能,您可以使用簡單的熱鍵突出顯示鼠標單擊。
- 在PowerToys > 鼠標實用程序 > 啟用鼠標熒光筆下啟用鼠標熒光筆。
- 要使用鼠標熒光筆,只需按熱鍵Windows 徽標鍵 + Shift + H(或您設置的自定義鍵)。
您會同意 PowerToys 不僅僅是一些工具集;它是一個工具集。它是您電腦的秘密武器。它可以增強您的工作流程,讓Windows 11煥然一新,讓您只需單擊一下即可處理大量任務。
我們知道,微軟在過去的一年裡瘋狂地增強了 PowerToys 的實力。最酷的補充之一?鼠標實用程序 — 旨在提高您使用鼠標的方式。深入研究鼠標實用程序,您將看到它如何將焦點放在每次點擊上,使事情變得一目了然。讓我們看看如何在 Windows PC 上啟用和使用鼠標熒光筆。
要求:
- Windows 10 或 11
- PowerToys(下面給出安裝指南)
如何使用 Microsoft PowerToys 在 Windows 11 上突出顯示鼠標點擊
下面介紹瞭如何突出顯示電腦上的鼠標點擊。首先,我們需要安裝 PowerToys 並啟用鼠標熒光筆。然後,我們可以自定義並使用鼠標熒光筆來突出顯示您的鼠標點擊。讓我們開始吧。
第 1 步:安裝 PowerToys 並啟用鼠標熒光筆
以下是在您的 PC 上安裝 PowerToys 的方法。請按照以下步驟操作以幫助您完成該過程。
訪問此鏈接並下載適合您 PC 的相關 PowerToys 版本。

下載後雙擊並啟動安裝程序。

現在選中底部的“我同意許可條款和協議”框。

接下來,單擊“選項”以選擇 Powertoys 在 PC 上的安裝位置。

單擊瀏覽選擇 PowerToys 的安裝位置。

選擇位置後單擊“確定” 。

再次單擊“確定” 。

最後,單擊“安裝”。

安裝應用程序後,單擊“關閉”。

現在啟動“開始”菜單並蒐索PowerToys。當應用程序出現在搜索結果中時,單擊並啟動該應用程序。

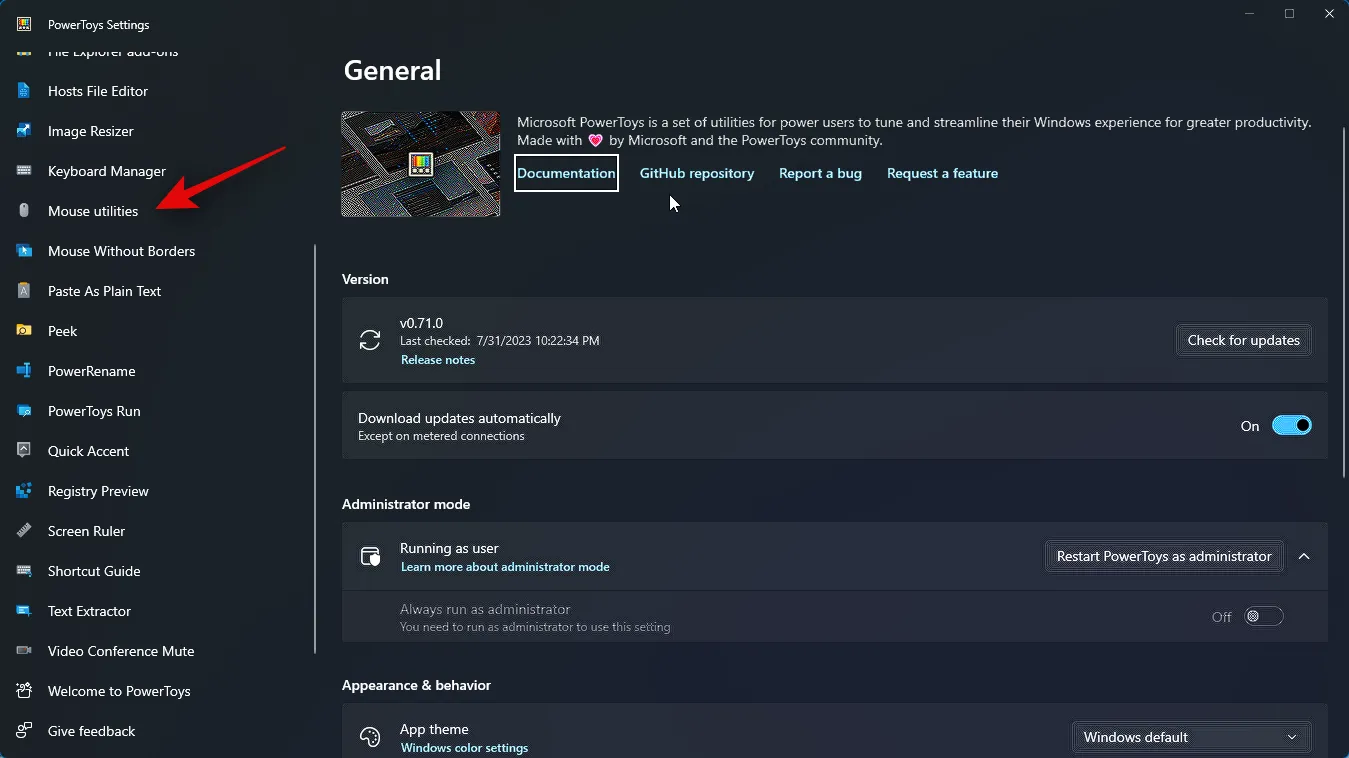
現在單擊左側邊欄中的鼠標實用程序。

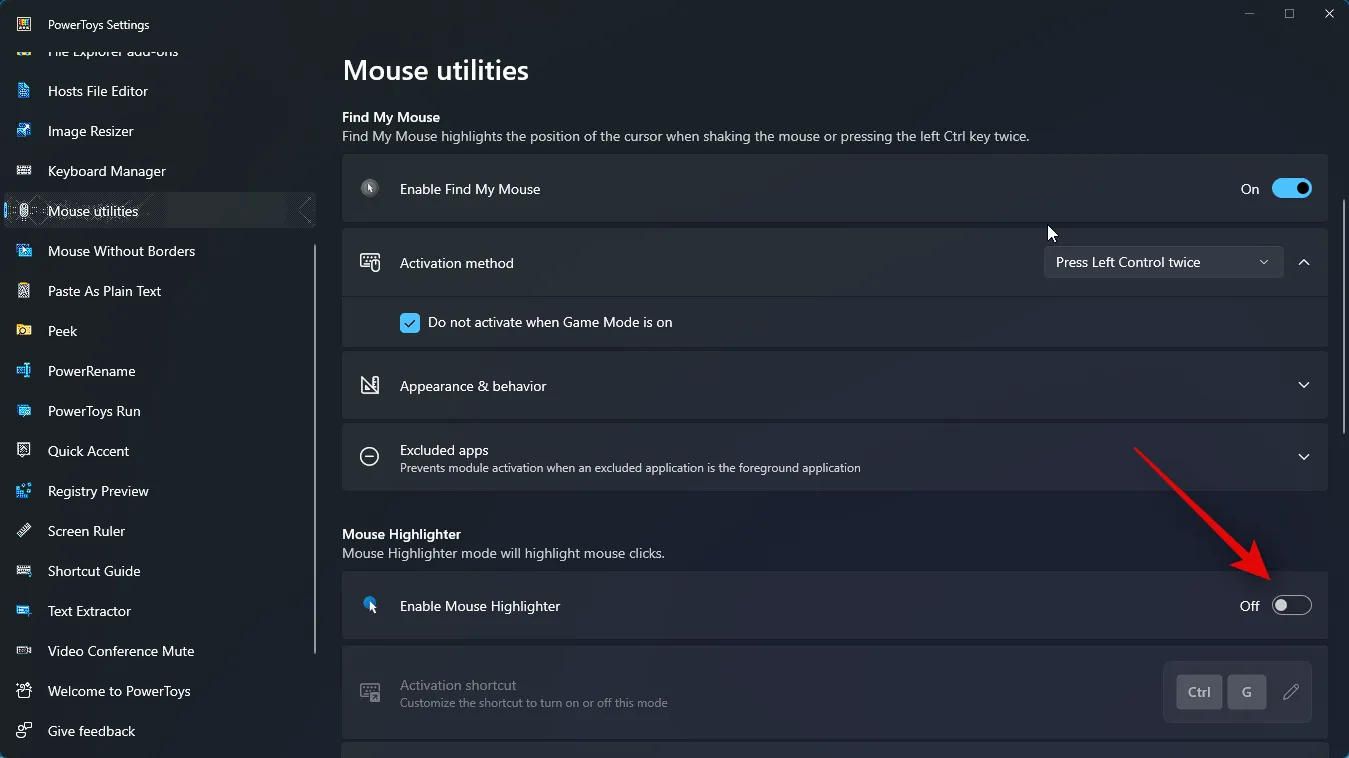
如果您希望突出顯示鼠標左鍵單擊,請單擊並啟用“啟用鼠標突出顯示”開關。
就是這樣!您現在已經安裝了 PowerToys 並啟用了鼠標熒光筆。您現在可以使用下一步根據您的喜好自定義和使用每個工具。
第 2 步:自定義並使用鼠標熒光筆
現在您已經啟用了鼠標熒光筆,我們可以在 PC 上自定義和使用它。請按照以下步驟操作以幫助您完成該過程。
啟動“開始”菜單並蒐索PowerToys。當應用程序出現在搜索結果中時,單擊並啟動該應用程序。

現在單擊左側邊欄中的鼠標實用程序。
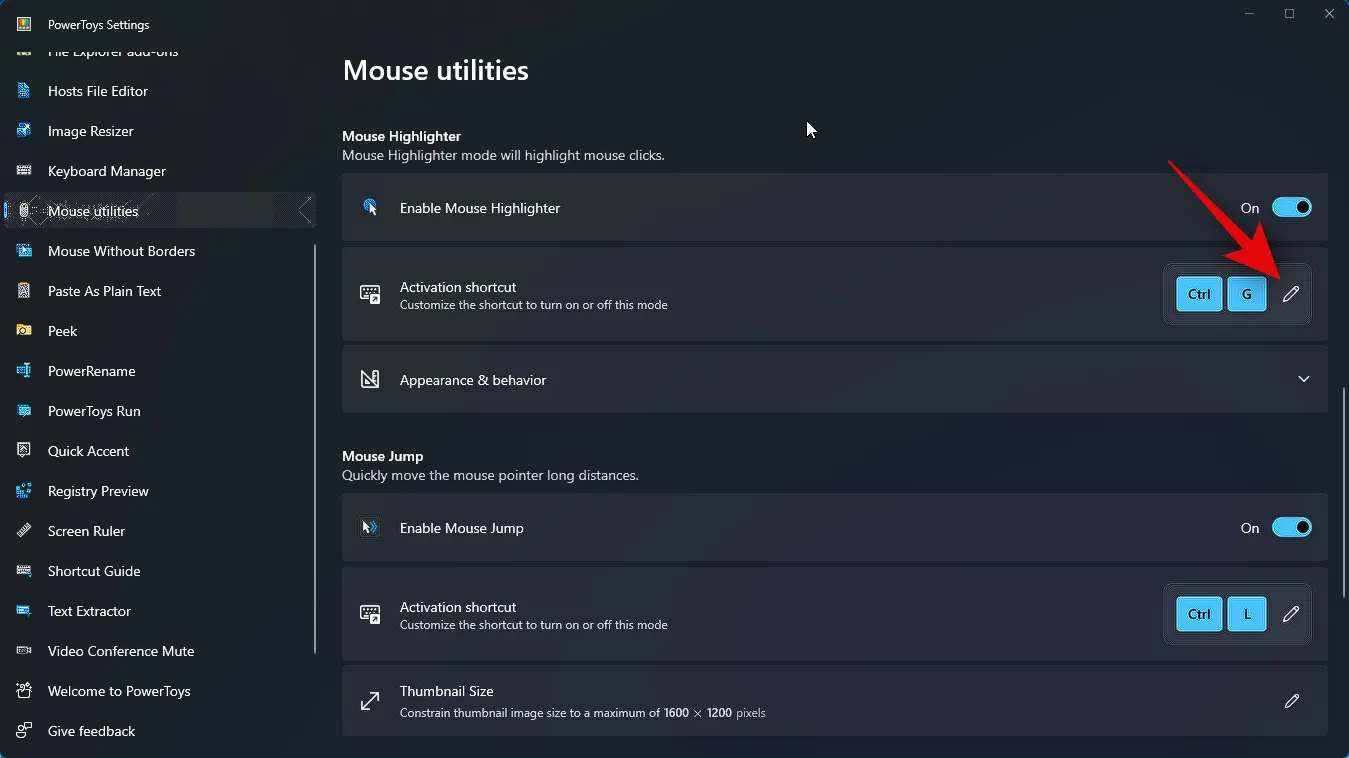
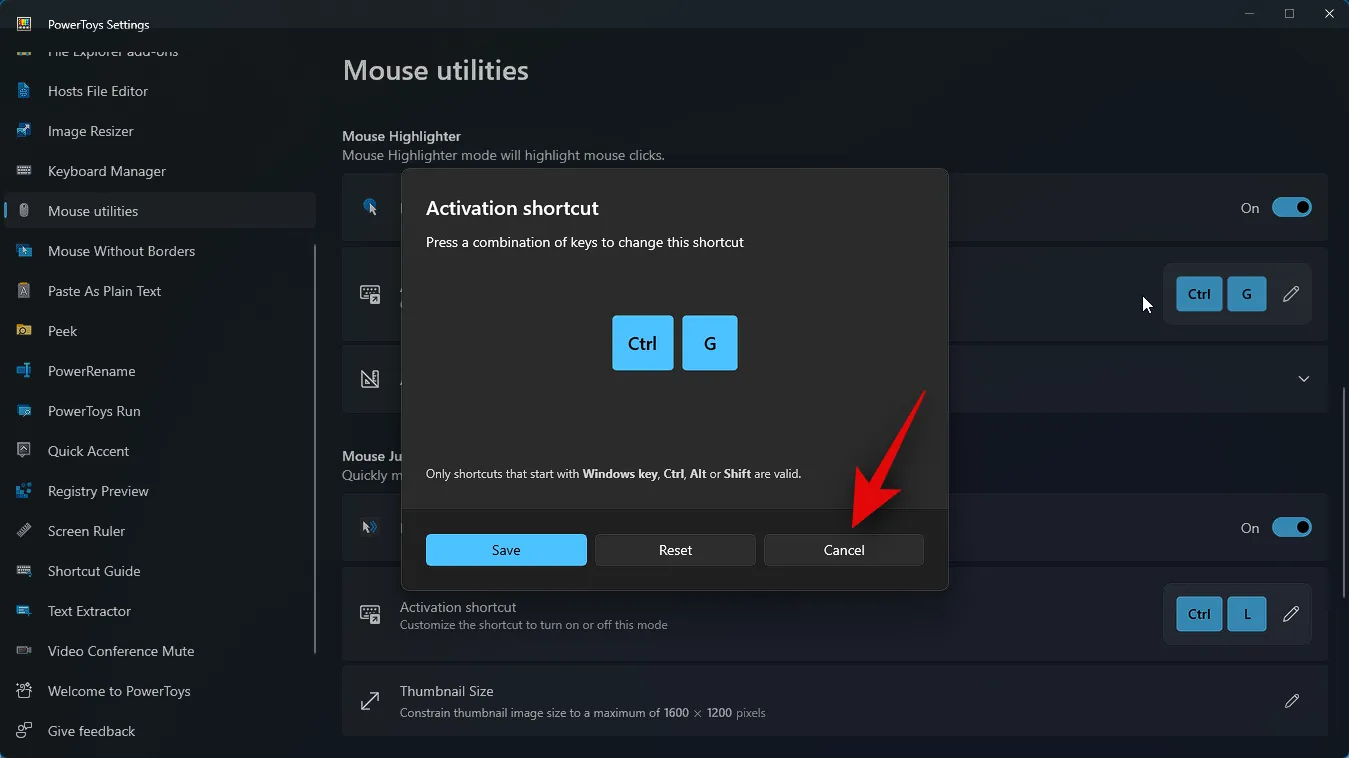
首先單擊激活快捷方式旁邊的編輯圖標,選擇如何在電腦上激活鼠標熒光筆。
現在按您想要用來激活鼠標熒光筆的所需組合鍵。
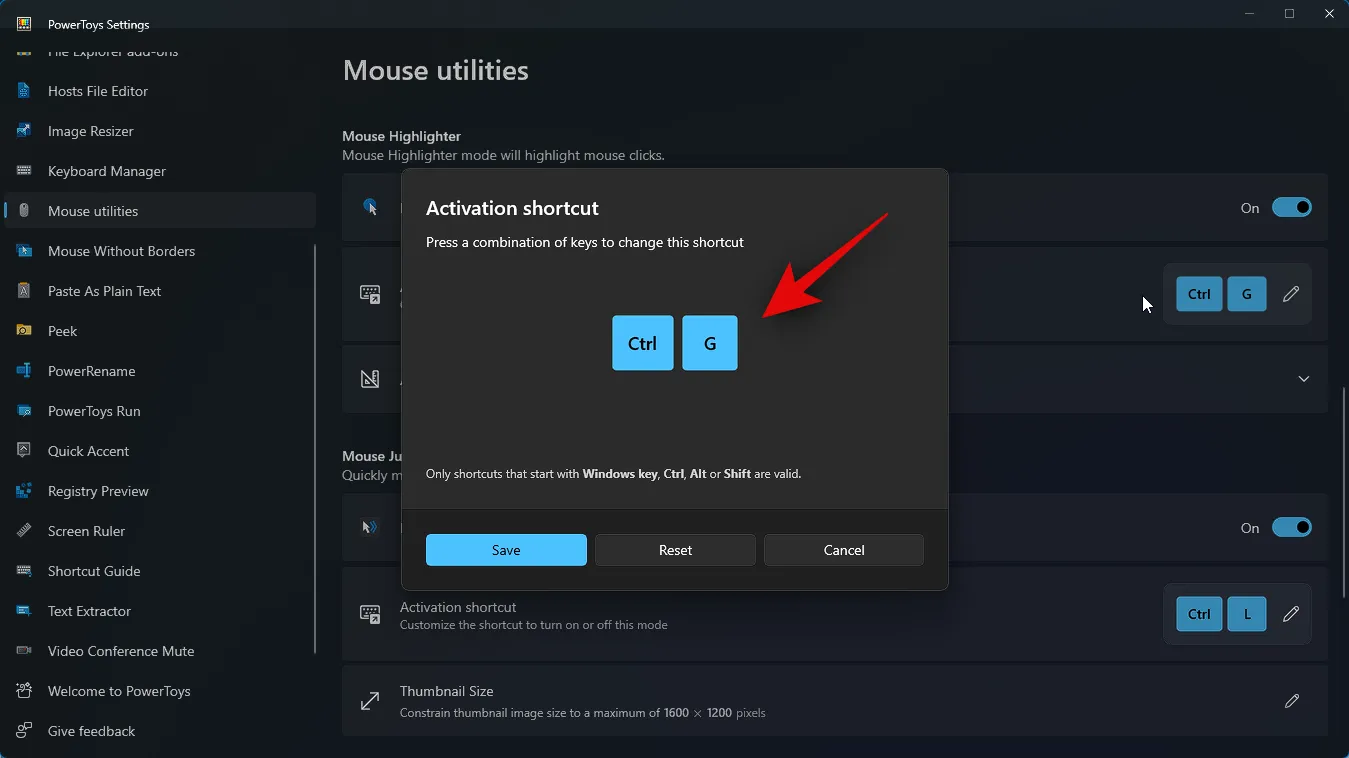
單擊“保存”以保存組合鍵。

單擊重置可恢復為默認組合鍵。

如果您想中止該過程,請單擊“取消” 。
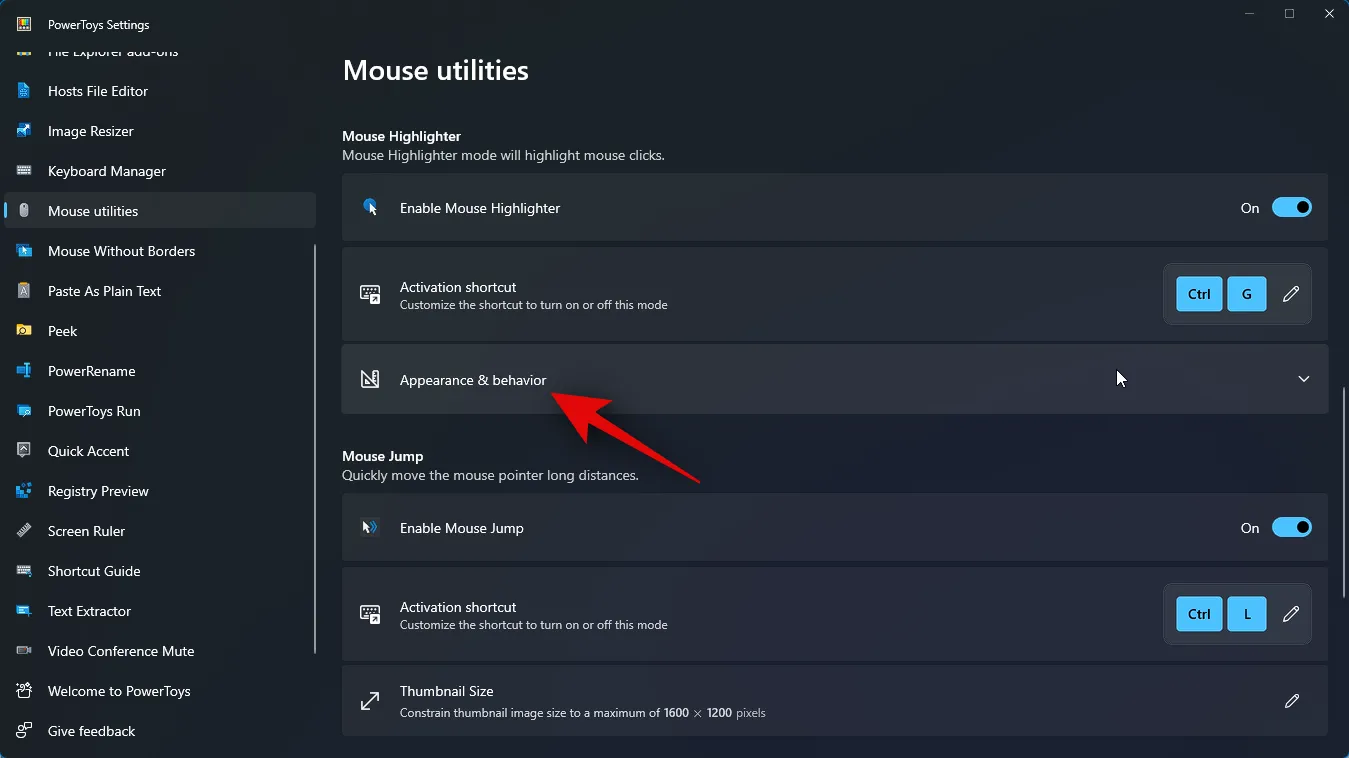
接下來,單擊外觀和行為。
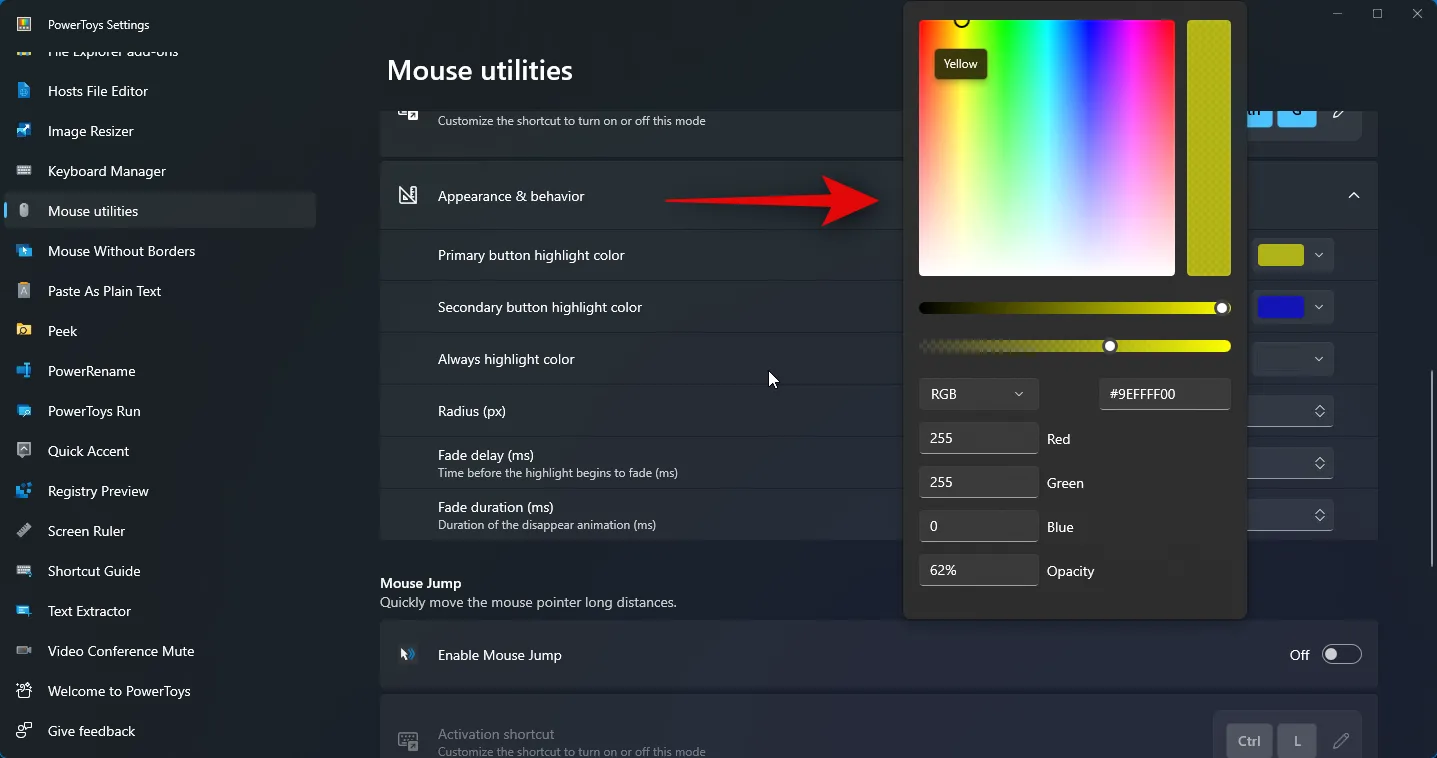
單擊主要突出顯示顏色的下拉列表。

現在選擇您喜歡的主要突出顯示顏色。
同樣,單擊“輔助按鈕突出顯示顏色”的下拉菜單,然後選擇您喜歡的顏色。
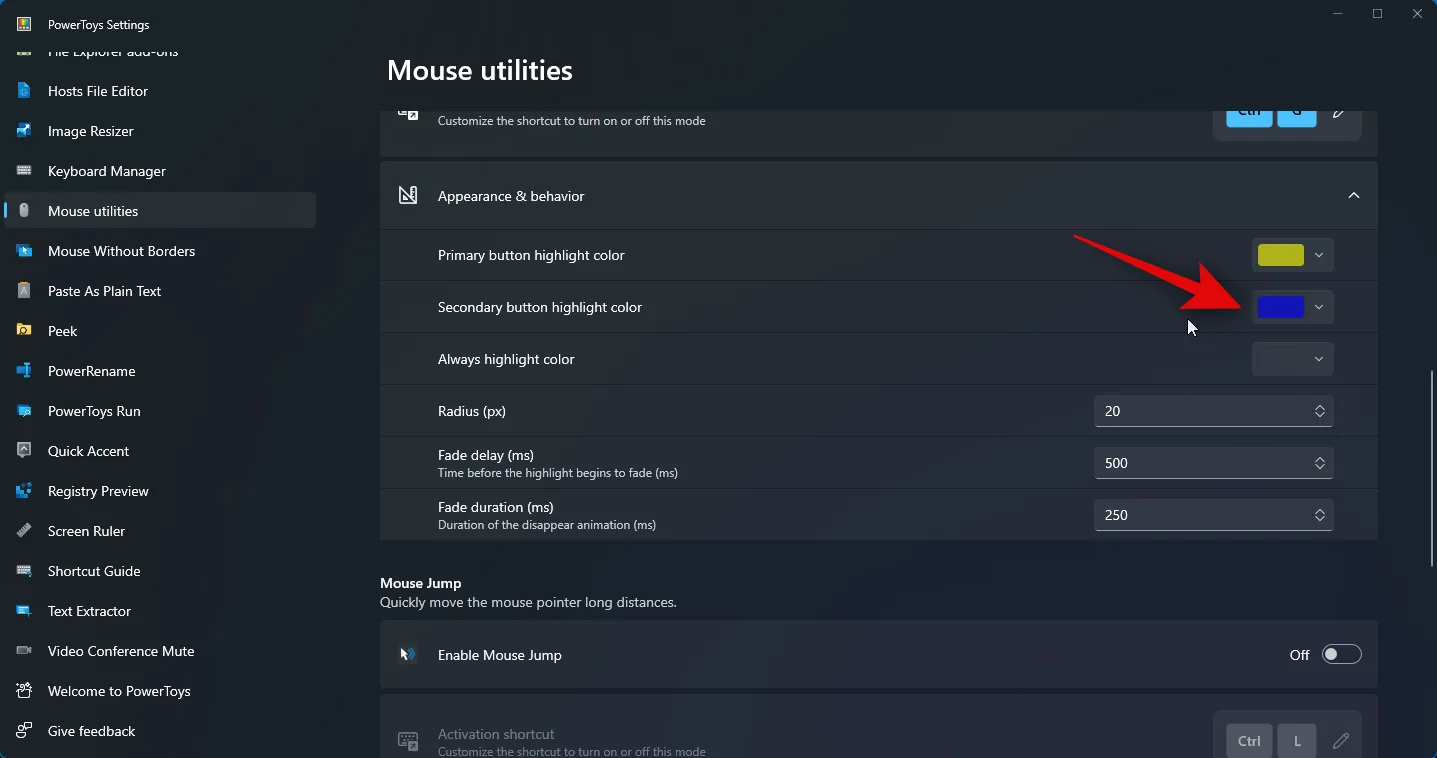
始終突出顯示顏色允許您選擇始終突出顯示鼠標指針的顏色。單擊始終突出顯示顏色的下拉菜單。

現在選擇您喜歡的顏色。

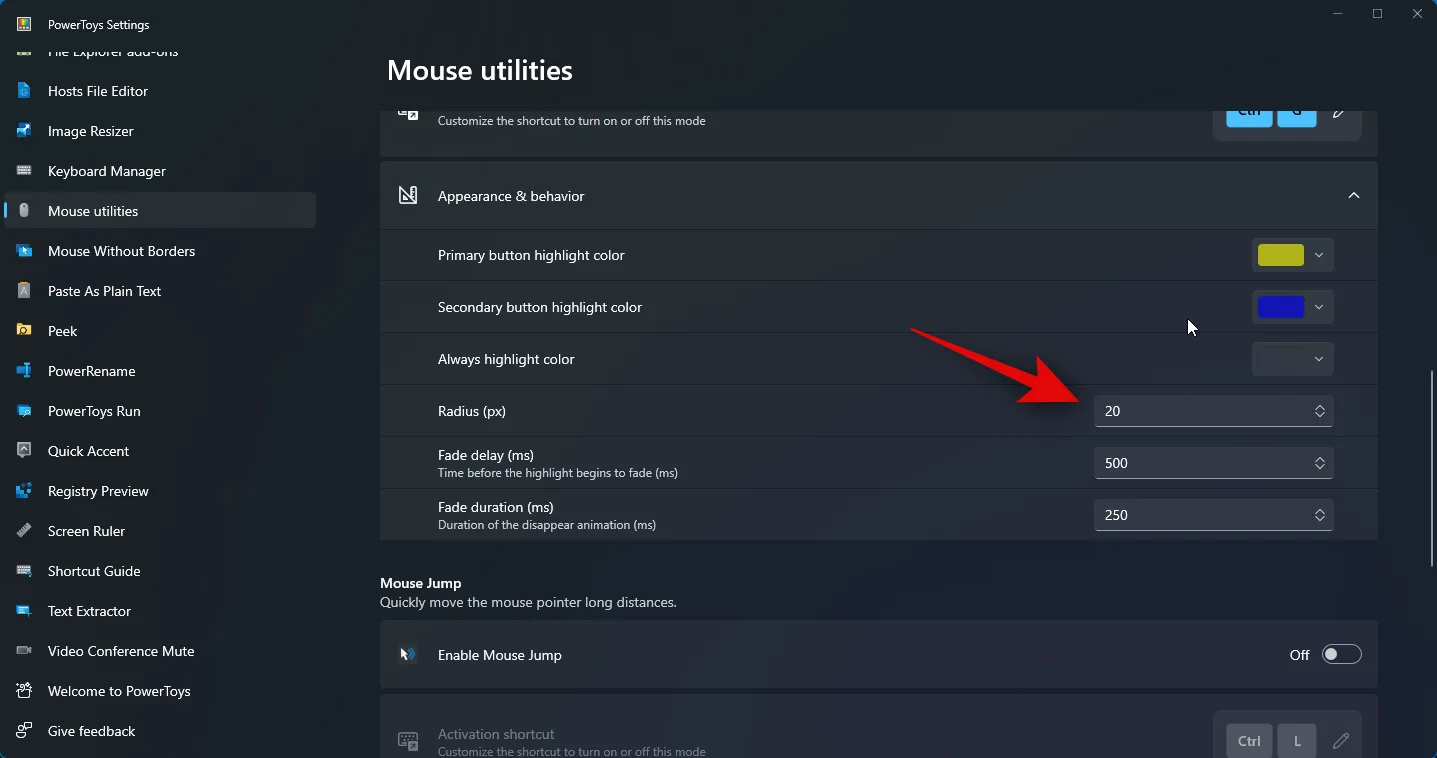
現在輸入您首選的半徑 (px)值。
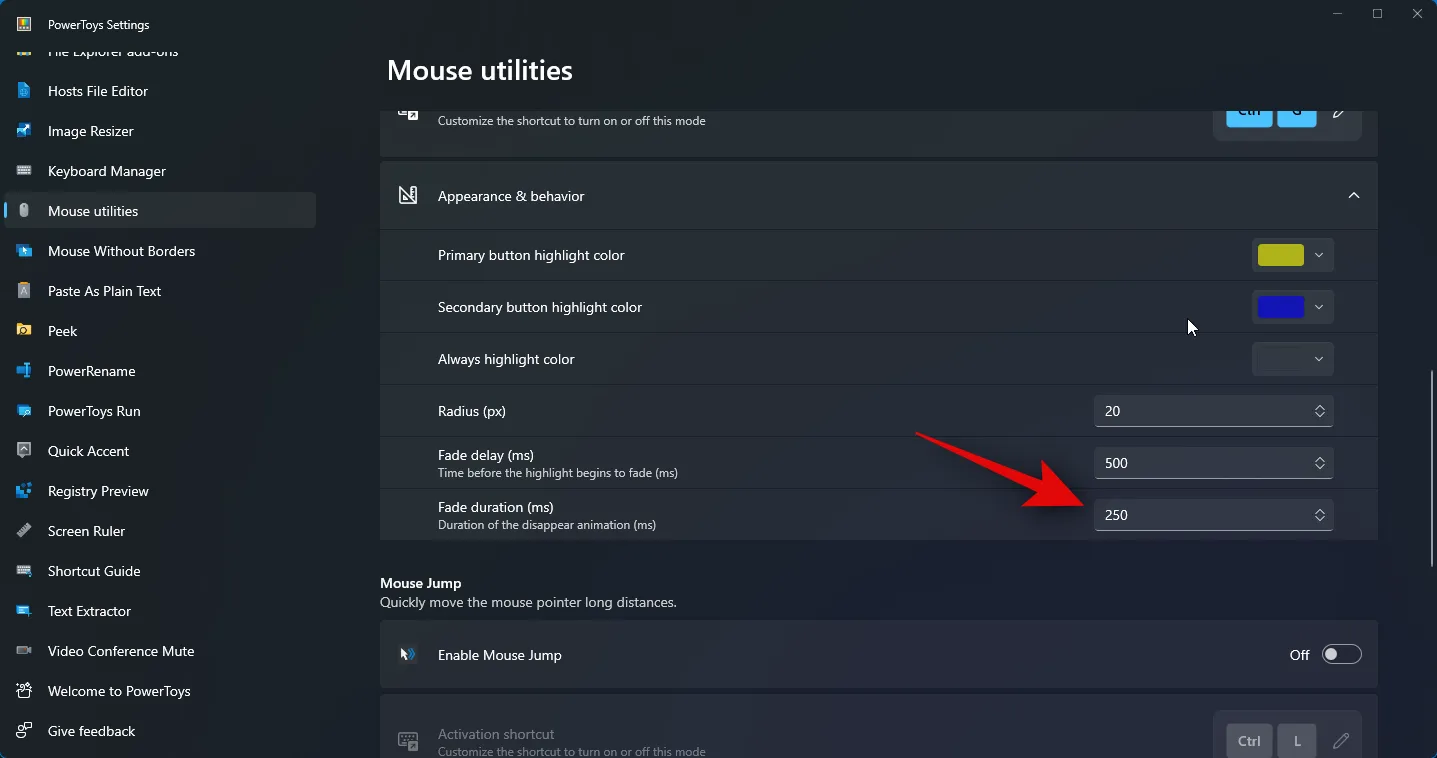
鼠標熒光筆具有淡入淡出動畫,您可以對其進行自定義。在旁邊的文本框中輸入您首選的淡入淡出延遲(毫秒) 。

同樣,在“淡入淡出持續時間 (ms)”旁邊輸入您首選的動畫持續時間。
您現在已經自定義了鼠標熒光筆的所有必要設置。現在,您可以按在上述步驟中設置的組合鍵來激活鼠標熒光筆。這是它在你的電腦上的樣子。

這就是您如何自定義和使用鼠標熒光筆來突出顯示您電腦上的鼠標點擊。
我們希望您能夠使用上面的帖子輕鬆突出顯示鼠標點擊。如果您遇到任何問題或有任何其他疑問,請隨時使用下面的評論與我們聯繫。
有關的


發佈留言