
如何在 Instagram 上創建和使用動態個人資料照片
Instagram 最近一直非常專注於升級其功能。該公司最近為該平台發布了安靜模式,讓您可以從 Instagram 中休息一下,更好地專注於手頭的任務。你可以安排安靜模式,讓它在你忙碌的時候自動打開,Instagram 會在青少年每次深夜在平台上花費太多時間時通知他們。Meta 現在為 Instagram 發布了另一個美學功能,稱為動態個人資料圖片。那麼這個新功能是什麼?您如何在 Instagram 上使用它?讓我們找出答案!
什麼是 Instagram 上的動態個人資料照片
早在 2020 年,Instagram 就發布了創建頭像(如 Snapchat)的功能。您可以根據自己的真實面貌設計和創建頭像,這樣您就可以用您的頭像問候您的關注者並介紹訪客。遺憾的是,這項新功能的唯一缺點是您在編輯個人資料時必須在個人資料圖片和頭像之間做出選擇。
動態個人資料圖片現在通過在您的個人資料上同時顯示您的個人資料圖片和頭像來幫助改變這種情況。此外,新功能還為您的頭像添加了動畫,可以進一步增強您個人資料的美感。動態個人資料圖片現已向全球用戶發布,這意味著您現在可以立即在您的個人資料中使用它。
如何在 Instagram 上創建和使用動態個人資料照片
您只需將您的頭像添加到個人資料圖片即可使用此功能。只要您創建了頭像,將動態頭像添加到您的頭像後,它就會自動發揮您的優勢。但是,如果您還沒有創建頭像,請按照以下步驟幫助您在 Instagram 上創建頭像。然後,您可以通過將其添加到您的個人資料照片來啟用動態個人資料照片功能。讓我們開始吧。
第 1 步:創建您的頭像
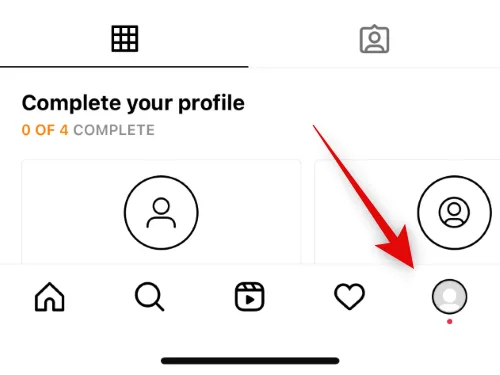
打開 Instagram 並點擊右下角的頭像。

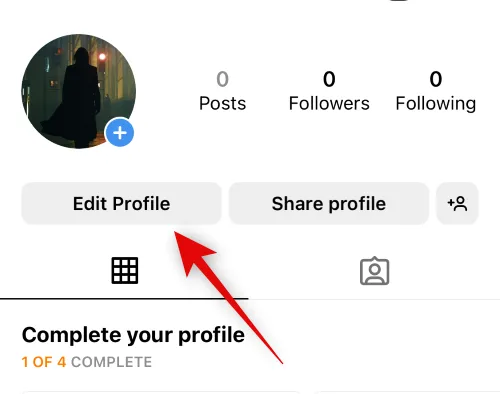
現在點擊頂部的編輯個人資料。
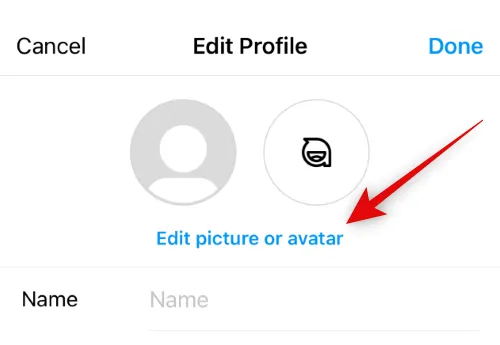
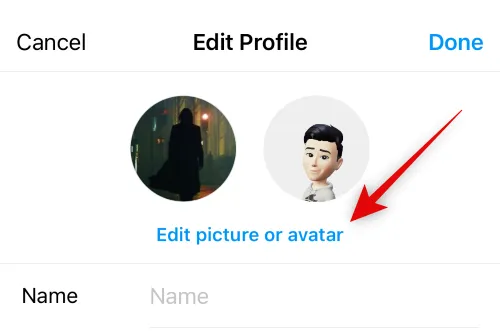
點擊頂部的編輯圖片或頭像。
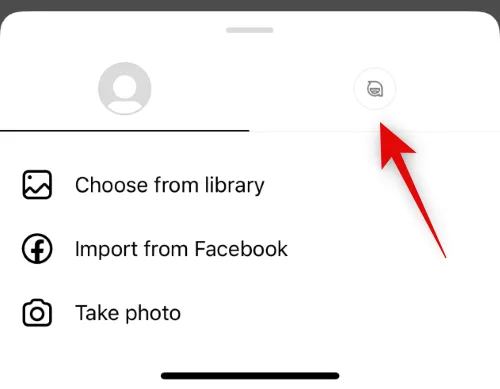
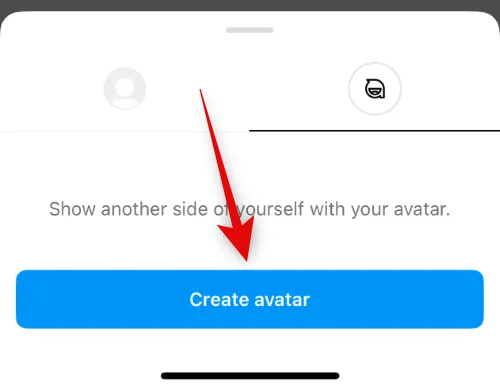
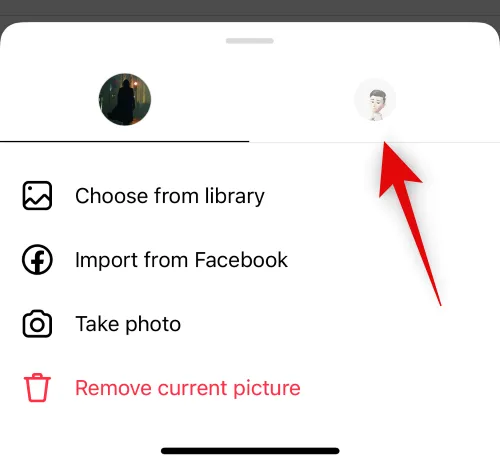
點擊並切換到頭像選項卡。
點擊創建頭像。
點擊並選擇您的膚色。
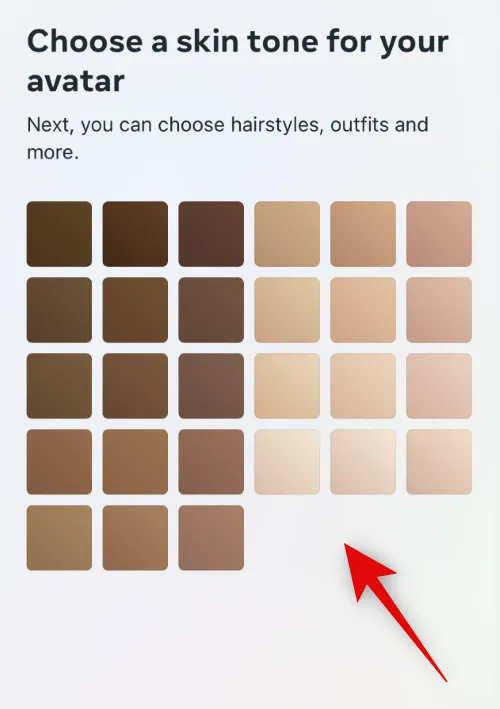
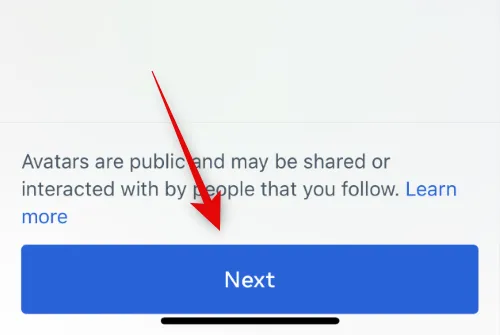
現在點擊底部的下一步。
如果您希望在您的頭像旁邊實時查看您的臉,請點擊完成下的鏡像圖標。
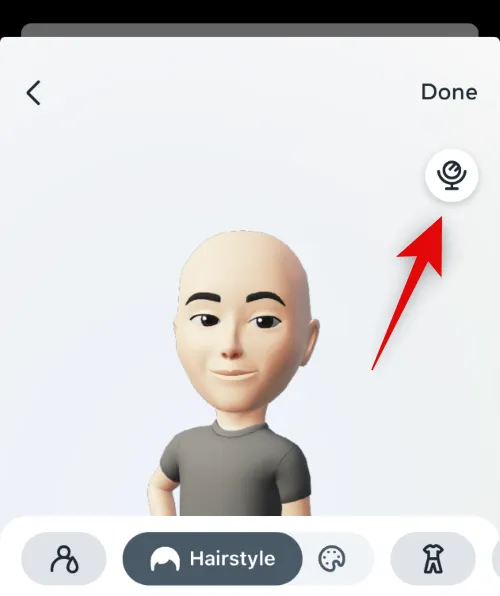
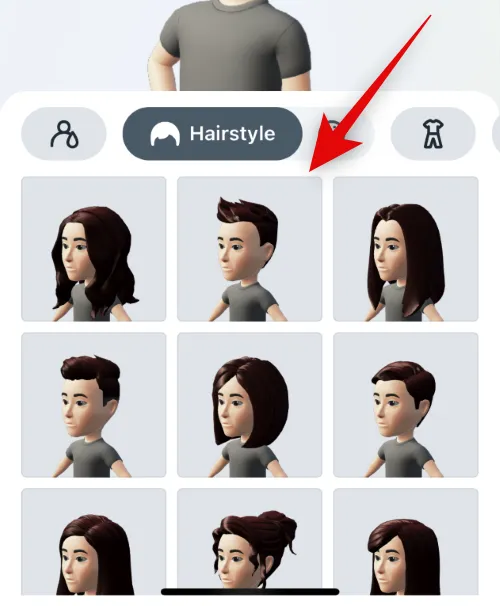
滾動底部的選項並選擇您喜歡的髮型。
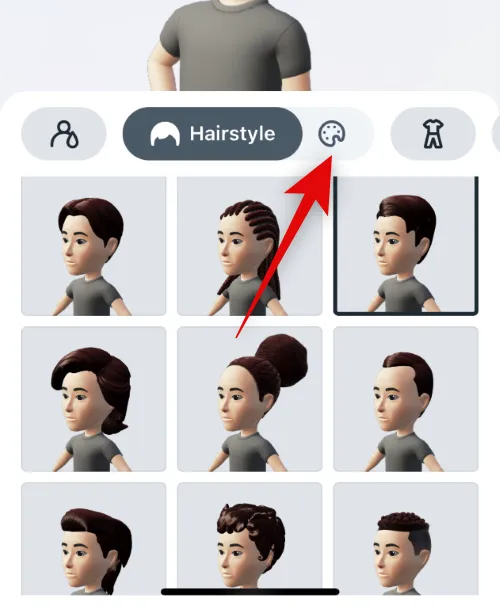
完成後,點擊頂部髮型旁邊的顏色選項。
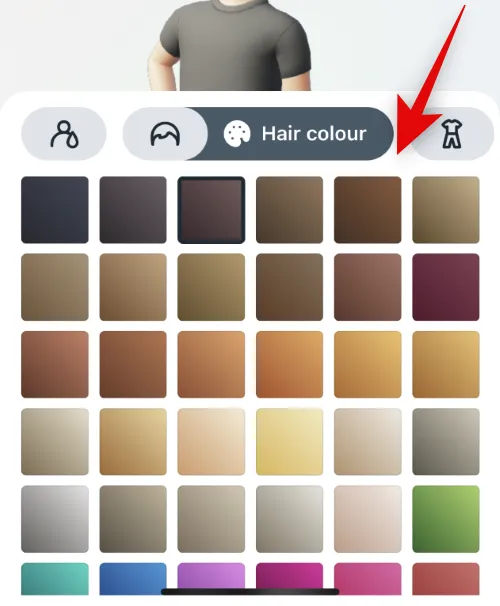
選擇您喜歡的頭髮顏色。
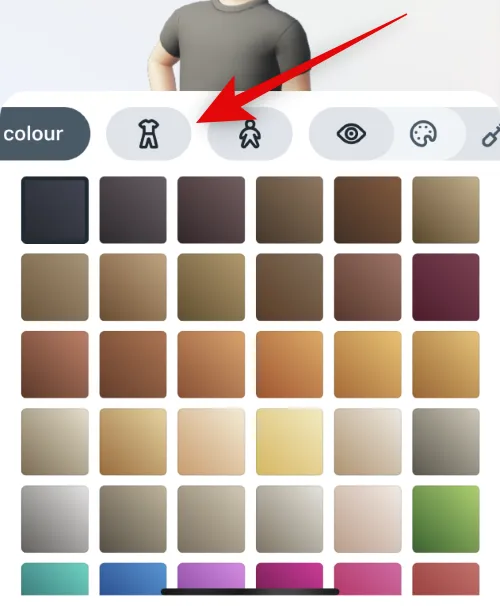
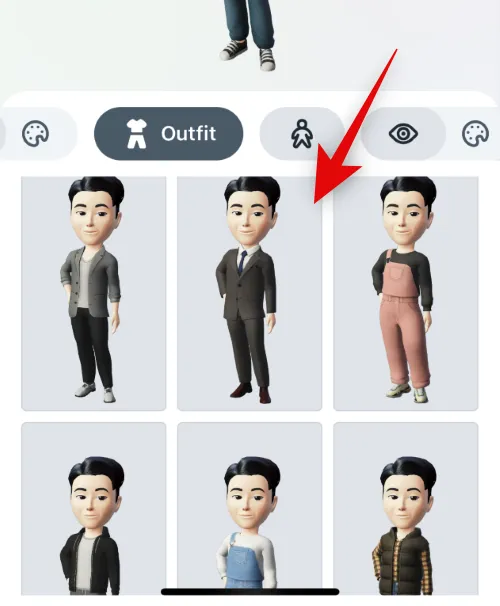
現在點擊服裝圖標。
滾動選擇並點擊並選擇您喜歡的服裝。
點擊頂部服裝旁邊的體型圖標。
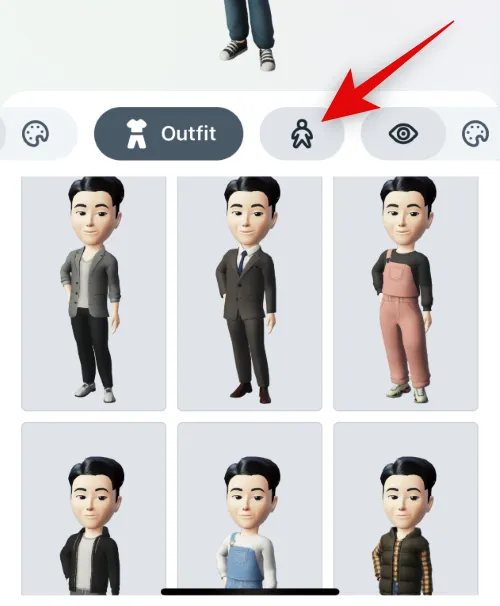
從底部可用的選項中選擇您喜歡的體型。

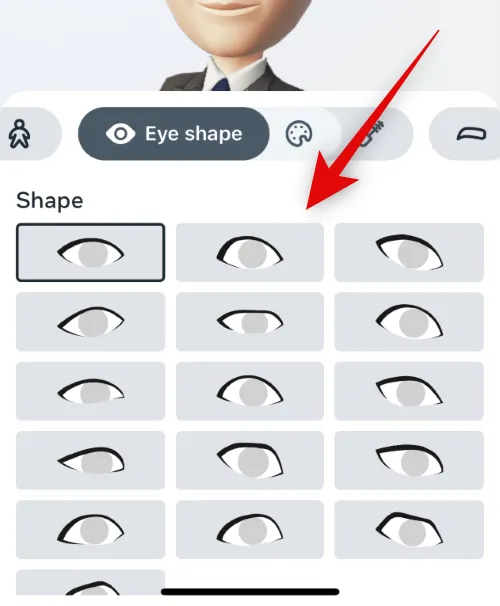
接下來,點擊眼睛形狀圖標並選擇您喜歡的眼睛形狀,就像我們對上述其他選項所做的那樣。
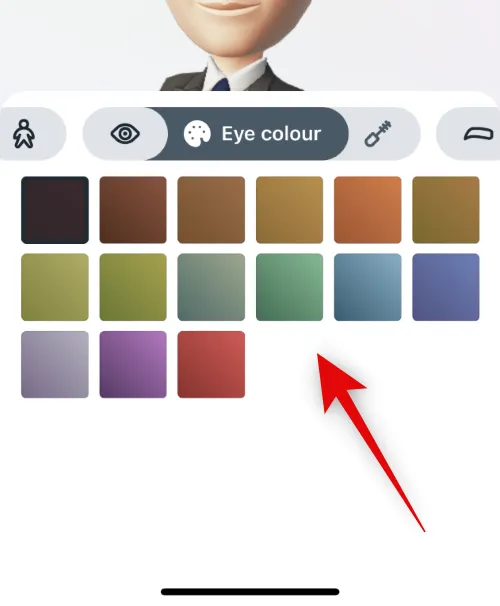
點擊它旁邊的顏色圖標,然後選擇您喜歡的眼睛顏色。
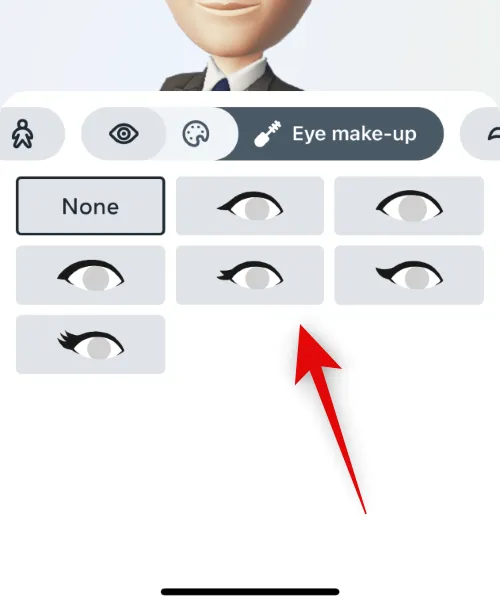
點擊眼妝圖標並選擇您喜歡的眼妝。如果您不想給頭像塗眼妝,請點擊無。
現在點擊眉毛圖標並選擇您喜歡的眉毛形狀。
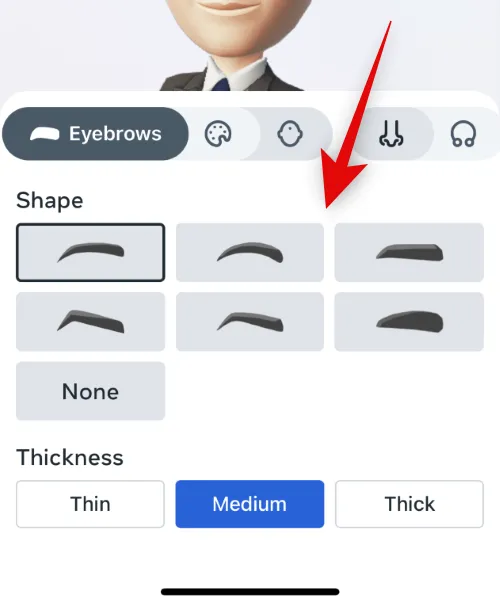
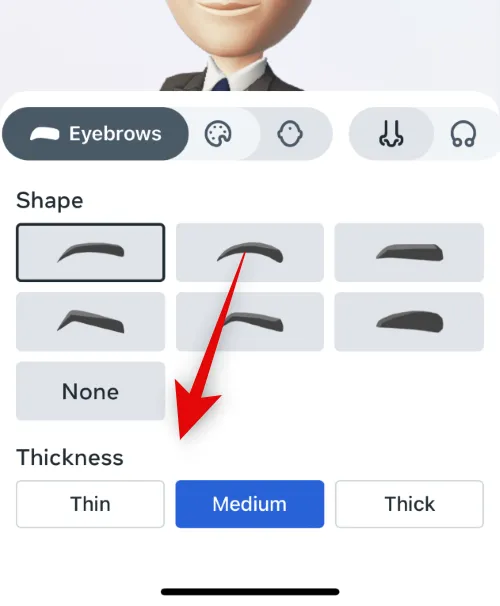
您可以從底部的選項中選擇頭像眉毛的粗細。
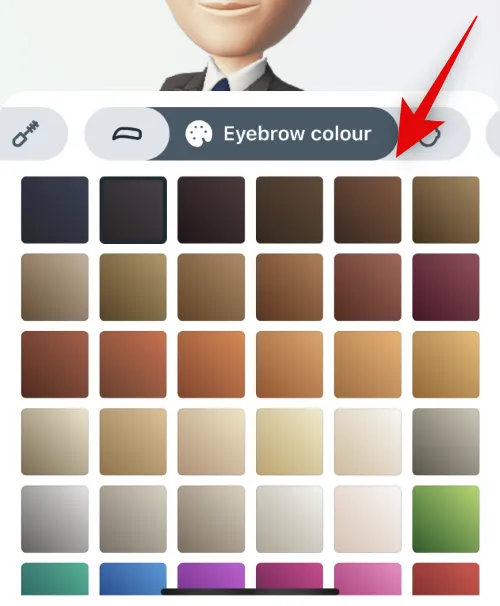
點擊顏色圖標並選擇您喜歡的眉毛顏色。
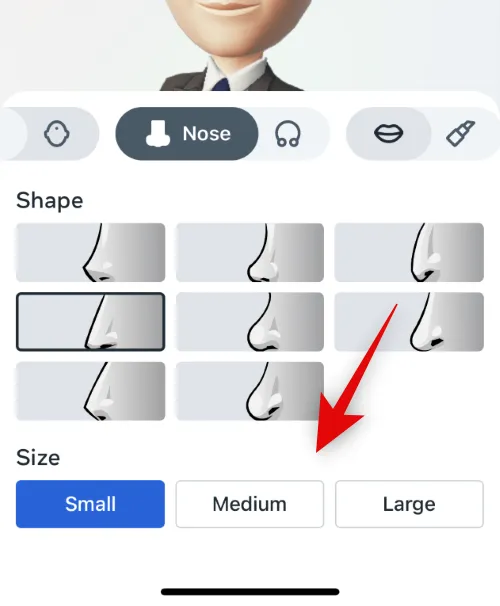
現在點擊鼻子形狀圖標並選擇您喜歡的鼻子形狀。
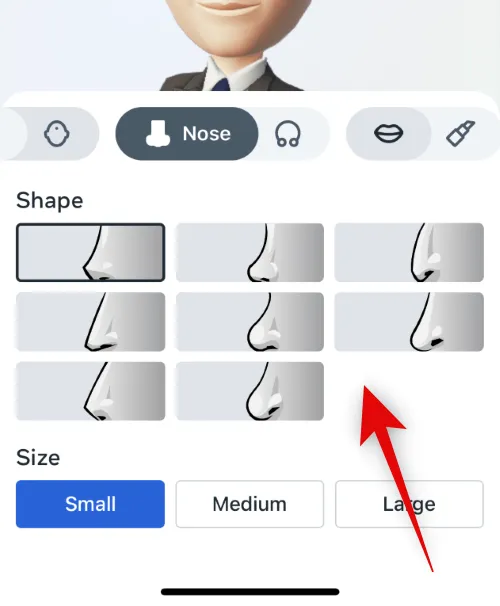
通過點擊尺寸下的首選選項來選擇您喜歡的尺寸。
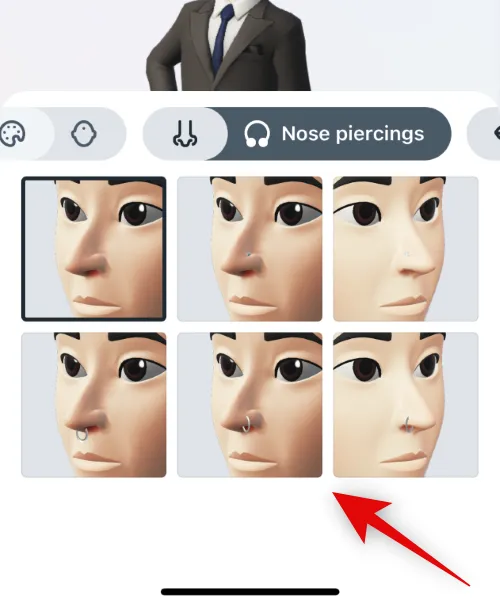
點擊鼻子穿孔圖標,然後根據需要選擇一個首選的穿孔。
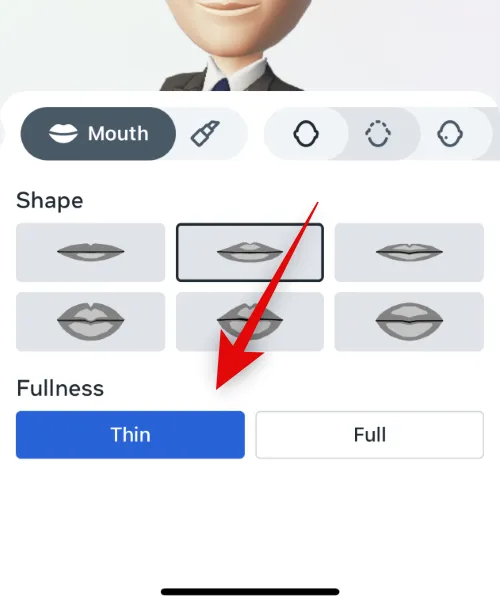
點擊唇形圖標並選擇您喜歡的唇形。
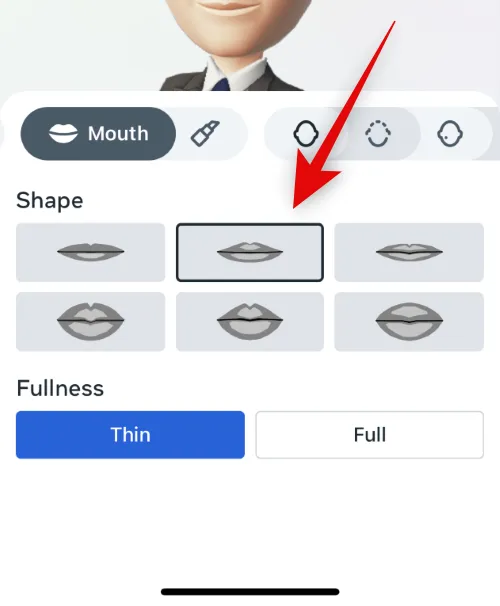
在Fulness下選擇您喜歡的厚度。
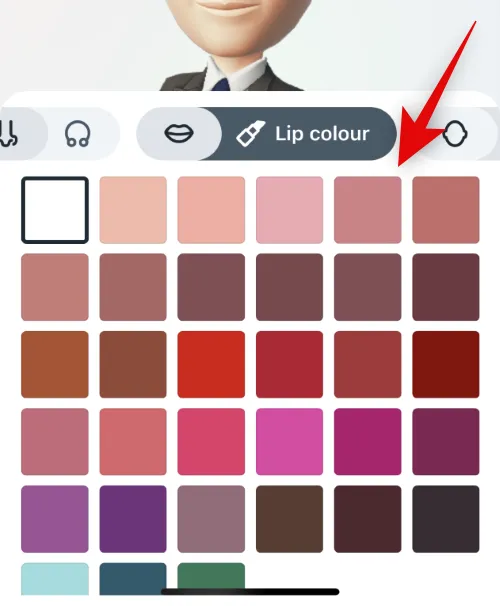
接下來,點擊顏色圖標以選擇喜歡的唇色。
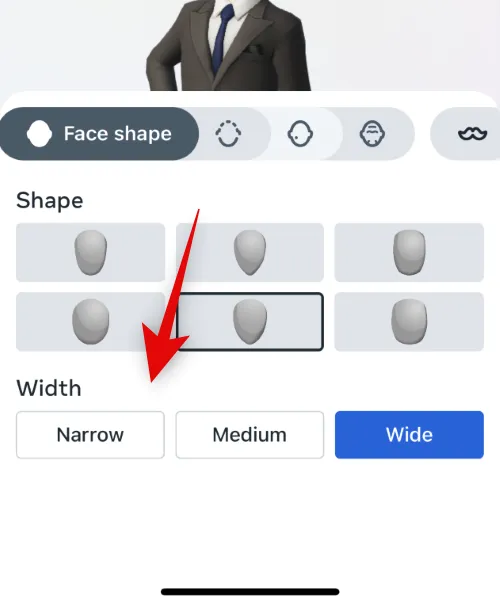
點擊臉型圖標並選擇您喜歡的臉型。
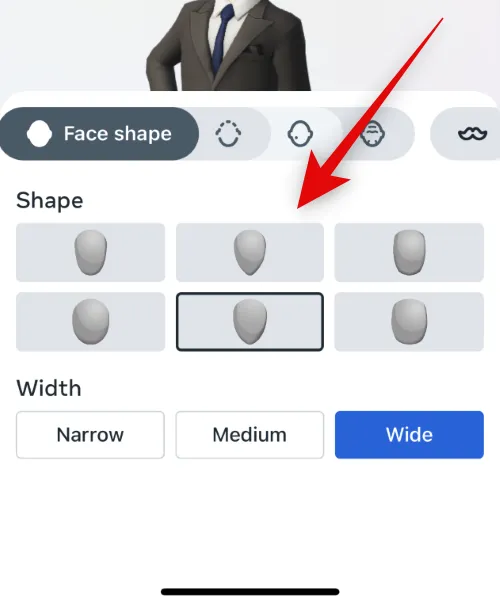
在屏幕底部的寬度下選擇您喜歡的尺寸。
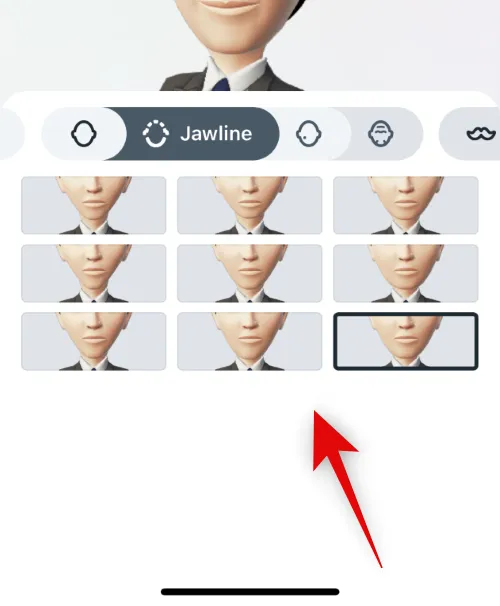
點擊下頜線圖標並選擇您喜歡的下頜線。
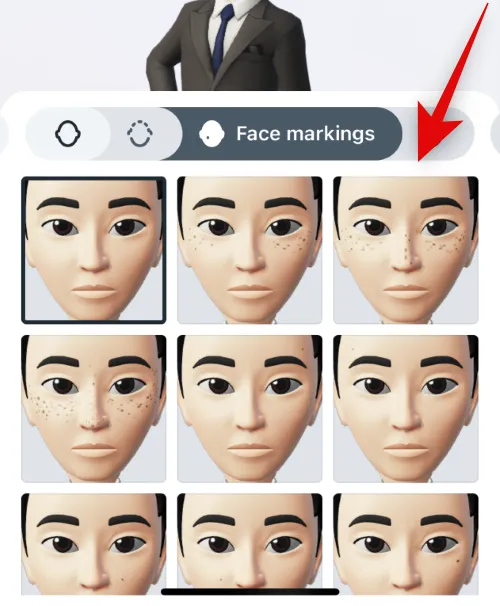
點擊下一個圖標並選擇面部標記,以備不時之需。
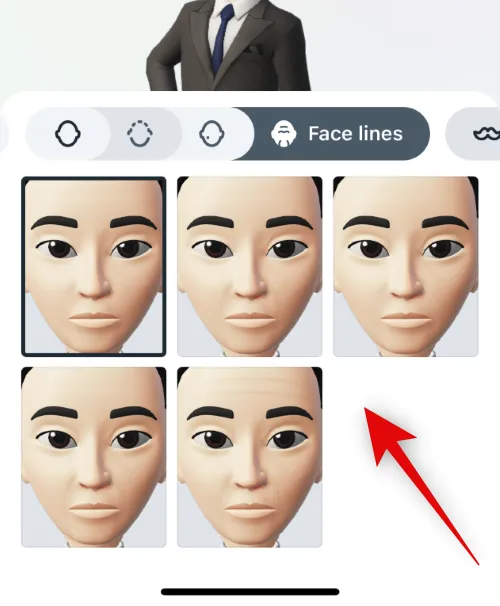
點擊下一個圖標並根據您的喜好選擇面部線條。
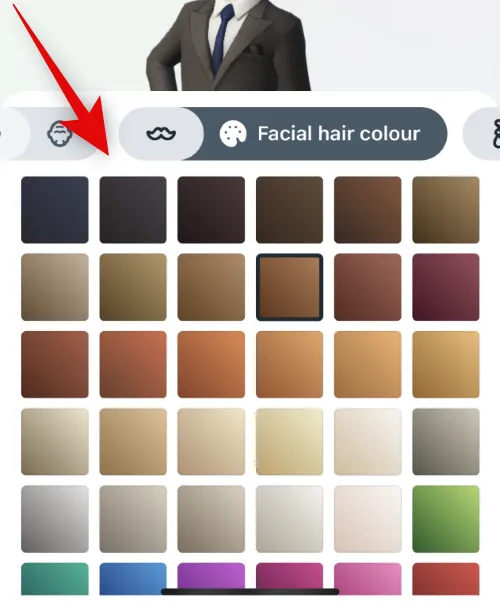
點擊面部毛髮圖標並選擇您喜歡的面部毛髮。
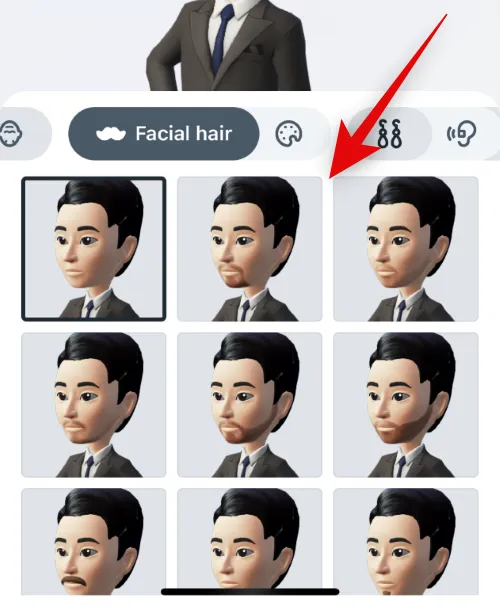
接下來,點擊顏色圖標並選擇您喜歡的面部毛髮顏色。
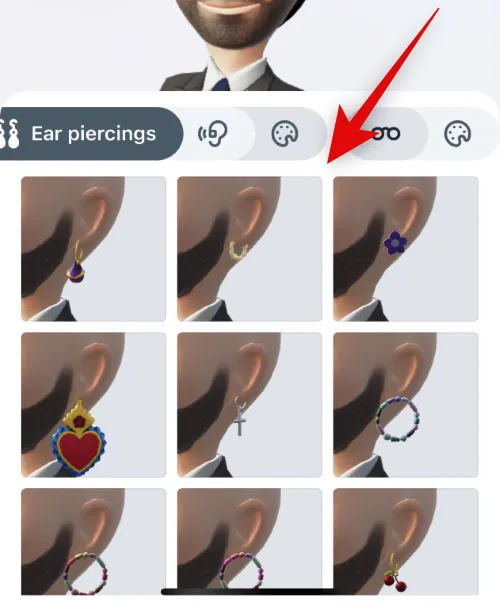
點擊下一個圖標並選擇您喜歡的耳洞。
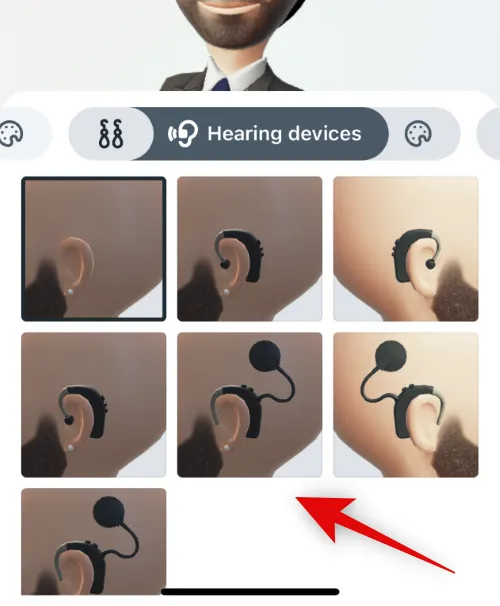
如果您使用助聽器,請點擊下一個圖標以應用助聽器。點擊並從底部的選項中選擇您喜歡的輔助工具。
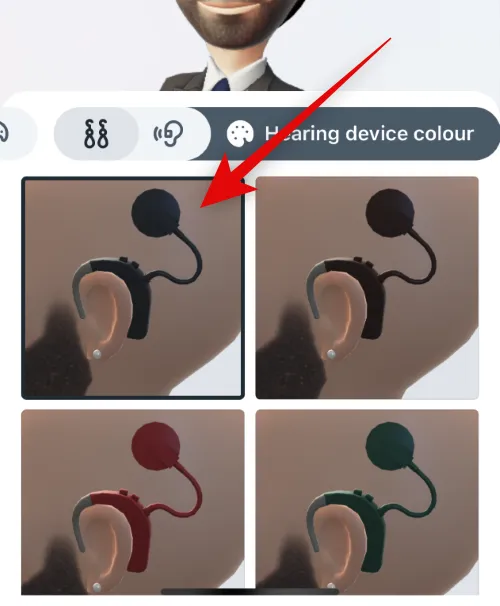
點擊下一個圖標以更改助聽器的顏色。點擊並從底部的選項中選擇喜歡的顏色。
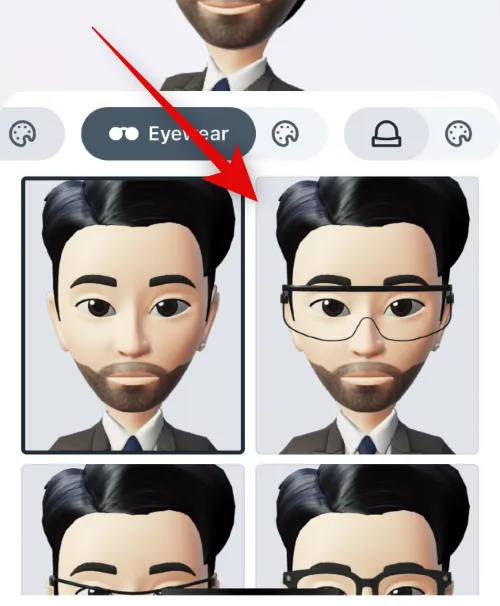
點擊下一個圖標將眼鏡添加到您的頭像。點擊並從底部的選項中選擇您喜歡的眼鏡。
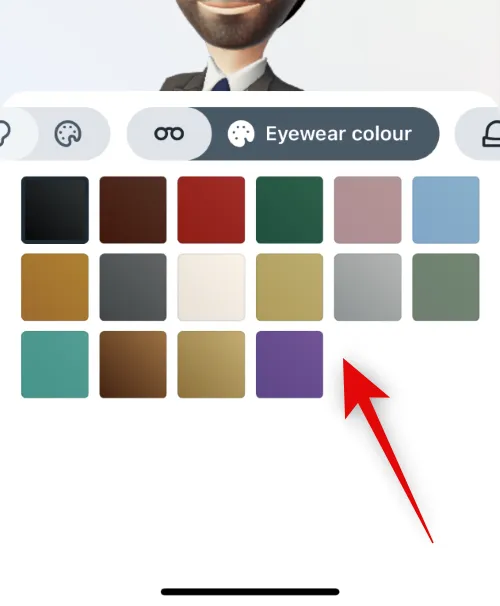
點擊下一個圖標以更改眼鏡的顏色。點擊並選擇一種喜歡的顏色以應用於您的眼鏡。
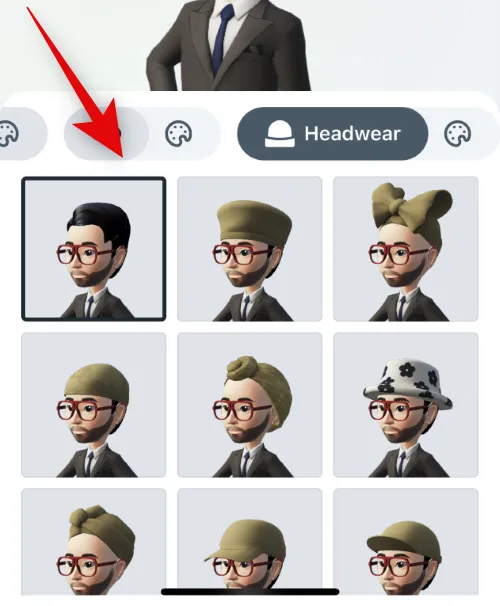
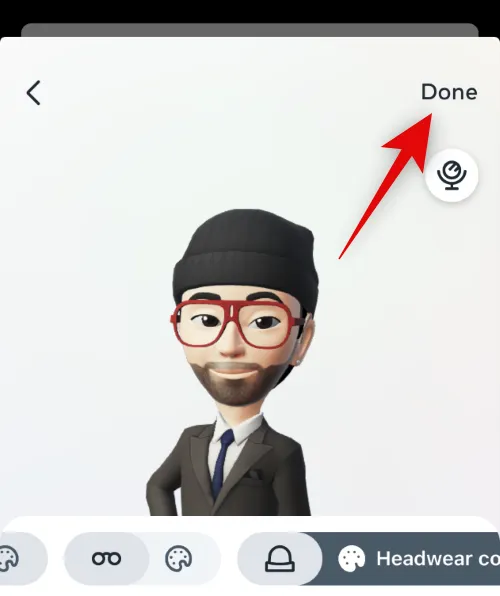
最後,如果您想將頭飾應用到您的頭像,請點擊下一個圖標。點擊並選擇您喜歡的頭飾以應用於您的頭像。
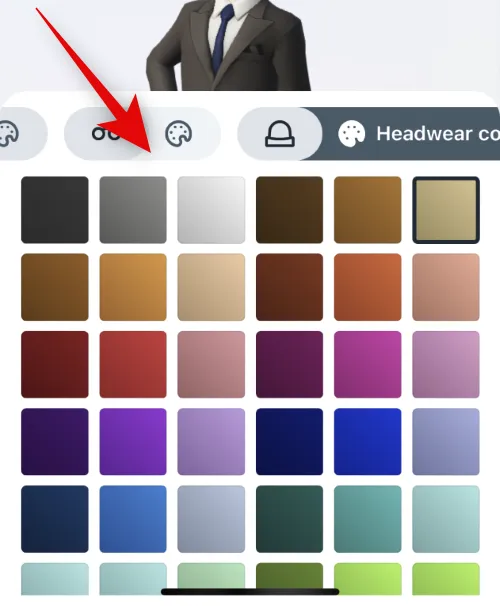
點擊下一個圖標並選擇您喜歡的頭飾顏色。
完成創建頭像後點擊完成。
就是這樣!您現在已經創建了您的頭像。
第 2 步:將您的頭像添加到您的頭像
以下是如何將頭像添加到個人資料圖片,以便為您的 Instagram 個人資料啟用動態個人資料照片。
打開 Instagram 並點擊右下角的頭像。
現在點擊編輯個人資料。

點擊頂部的編輯圖片或頭像。
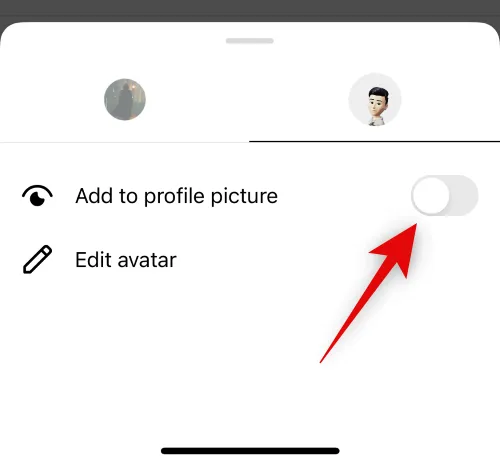
點擊頭像圖標切換到頭像選項卡。
現在點擊並打開添加到個人資料圖片的開關。
點擊空白區域以關閉彈出窗口。
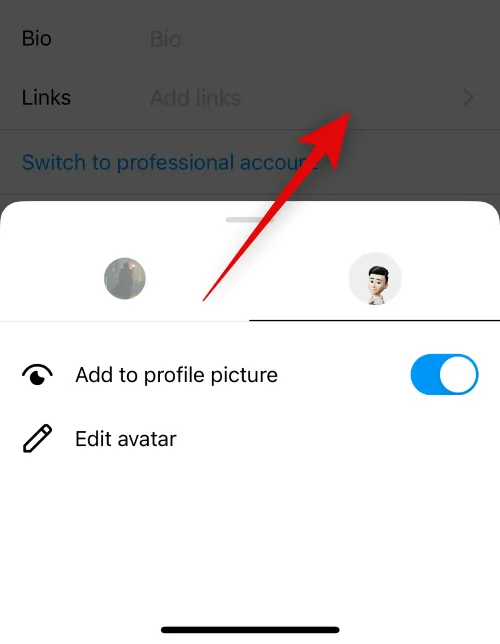
您現在可以通過滑動頂部的個人資料圖片預覽來測試動態個人資料照片。
點擊完成。
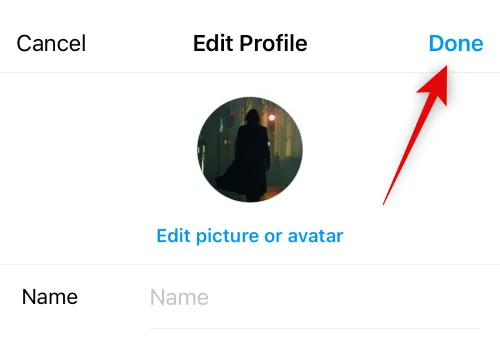
就是這樣!您現在將為您的 Instagram 個人資料啟用動態個人資料圖片。
誰可以查看我的動態頭像
訪問您個人資料的任何人都可以查看您的動態個人資料照片。這包括您的關注者、您關注的人、陌生人以及選擇訪問您個人資料的企業。他們只需在您的個人資料照片上滑動即可將其翻轉並在另一側查看您的頭像。
如何查看某人的動態頭像?
您可以訪問某人的個人資料以查看他們的動態個人資料照片。只要用戶創建了頭像,您就可以在他們的頭像上滑動並翻轉它來查看他們的動畫頭像。然後您可以再次滑動以返回到他們的個人資料照片。
我什麼時候可以使用動態個人資料照片?
在撰寫本文時,Meta 已向全球所有用戶發布此功能。如果您似乎缺少它,那麼我們建議您檢查應用程序更新或等待一兩天。可能是該功能尚未在您所在的地區發布,這應該會在接下來的幾週內發布。
我們希望這篇文章能幫助您熟悉 Instagram 上的動態個人資料照片。如果您遇到任何問題或對我們有任何疑問,請隨時在下面的評論中提出。


發佈留言