
如何修復 Windows 11 中的 0x80042306 系統還原錯誤
這可能會產生問題,因為系統還原在許多情況下都會派上用場。值得慶幸的是,該問題已有詳細記錄,因此有多種方法可以解決該問題。
1.確保有足夠的空間
您應該檢查的首要事項是您希望為其創建系統還原點的驅動器上是否有足夠的可用空間。清理垃圾文件的最佳方法是運行磁盤清理嚮導。
轉到“開始”菜單並輸入“磁盤清理”。然後,從搜索結果中單擊“磁盤清理”磁貼以打開嚮導。

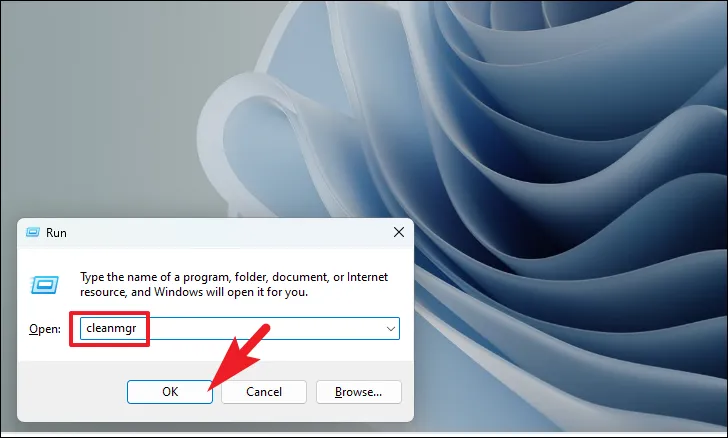
或者,您可以使用運行實用程序啟動磁盤清理嚮導。為此,請同時按鍵盤上的Windows+鍵以調出“運行”實用程序。R然後,cleanmgr在文本框中鍵入內容並敲擊Enter鍵盤。
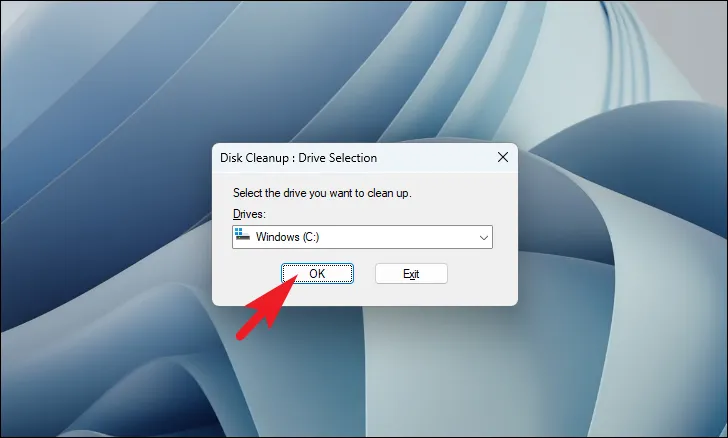
在磁盤清理嚮導中,單擊下拉菜單並選擇其中一個驅動器。然後,單擊“確定”繼續。屏幕上將打開一個新窗口。
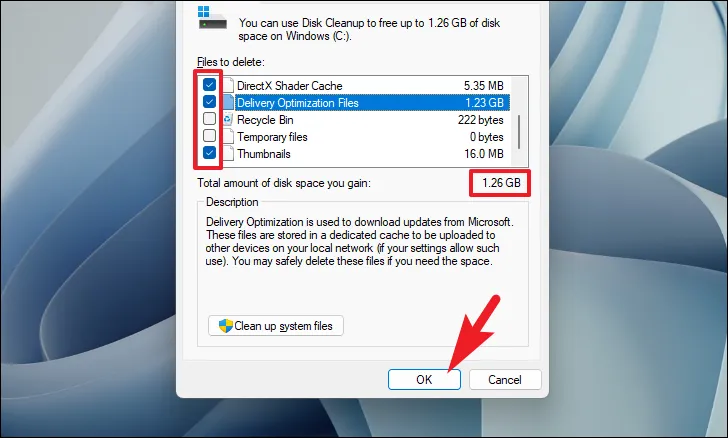
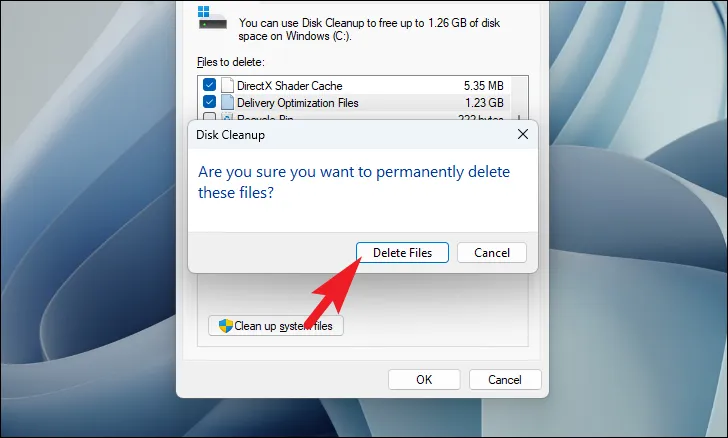
在下一個窗口中,您應該能夠通過單擊前面的每個複選框來選擇文件類別。您可以根據需要選擇任意數量。刪除您的選擇後將釋放的總磁盤空間將在列表下方提及。最後,單擊“確定”。
現在,單擊警報窗口上的“刪除”以確認您的操作。
之後,嘗試再次運行系統還原。如果錯誤是由於存儲空間不足而出現的,那麼現在應該已經解決了。
2.運行SFC和DISM
部署映像服務和管理掃描將檢查並修復設備上安裝的現有操作系統文件以及 PC 上當前的其他系統文件。眾所周知,這可以解決許多用戶的問題。
前往“開始”菜單並輸入“終端”。然後,右鍵單擊“終端”磁貼,然後從上下文菜單中選擇“以管理員身份運行”選項以繼續。

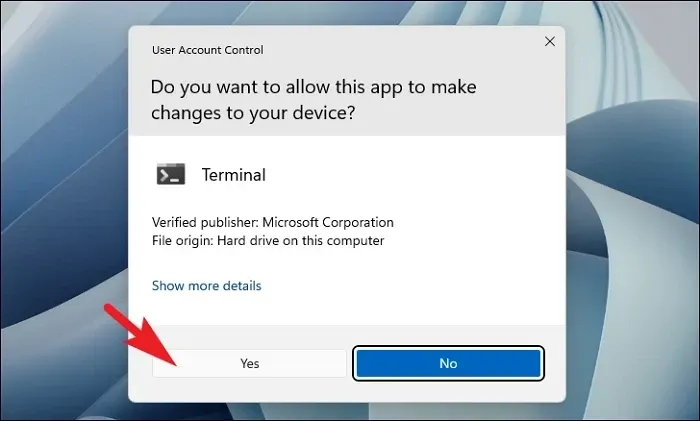
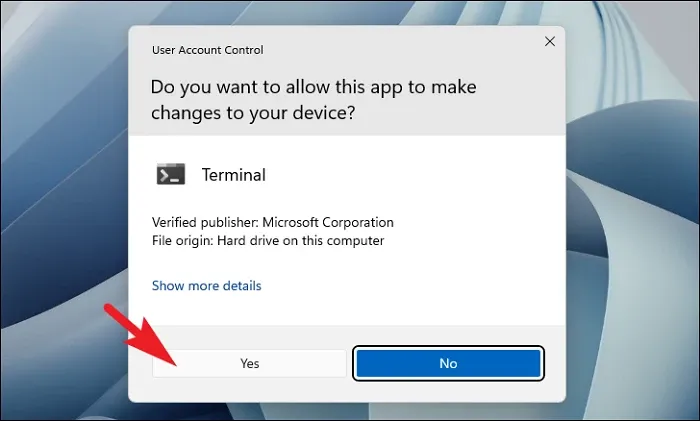
接下來,如果您沒有使用管理員帳戶登錄,請輸入管理員帳戶的憑據。否則,請單擊“是”按鈕繼續。
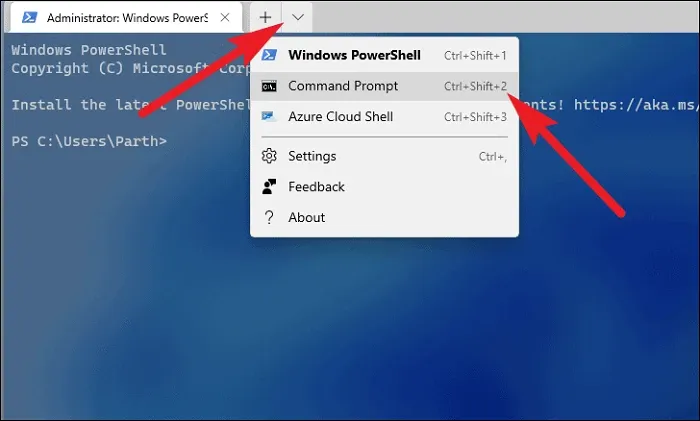
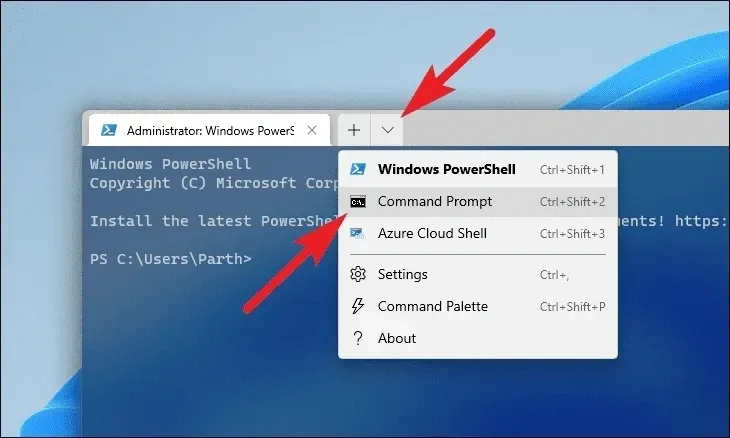
之後,單擊“V 形”(向下箭頭)圖標並選擇“命令提示符”選項。

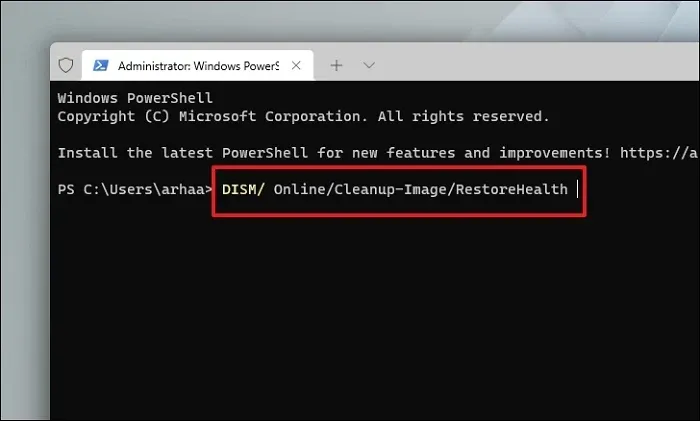
然後,鍵入或複制+粘貼下面提到的命令並敲擊Enter鍵盤。這將恢復您設備上當前安裝的操作系統映像。
DISM/ Online/Cleanup-Image/RestoreHealth
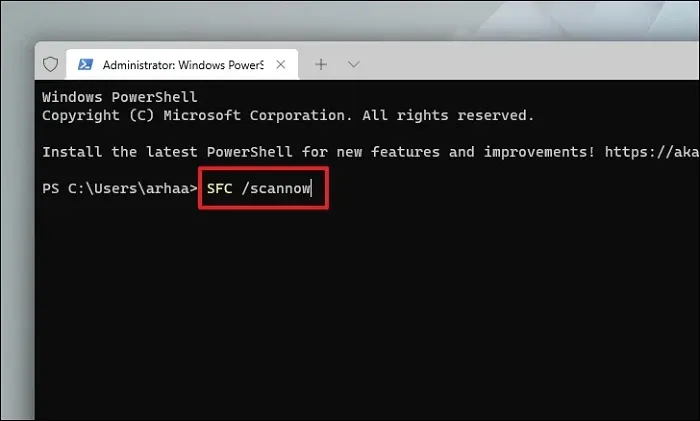
完成後,鍵入或複制並粘貼以下命令來檢查並修復電腦上的系統文件。SFC 是 Microsoft 的內置工具,可以幫助您查找並恢復 PC 上損壞的文件。
SFC/ scannow
該工具將開始掃描您的系統是否存在問題。這可能需要一段時間,所以請耐心等待。完成後,重新啟動計算機並檢查系統還原問題是否已解決。
3.運行CHKDSK
CHKDSK 掃描將檢查您的硬盤是否存在物理壞扇區和邏輯錯誤。這將幫助您查明輔助存儲設備的問題。
首先,轉到“開始”菜單並鍵入Terminal以執行搜索。之後,右鍵單擊“終端”圖塊並選擇“以管理員身份運行”選項繼續。

然後,如果您未使用管理員帳戶登錄,請在 UAC 屏幕上輸入管理員憑據。否則,請單擊“是”按鈕繼續。
之後,單擊 V 形(向下箭頭)並選擇“命令提示符”選項繼續。這將在單獨的選項卡中打開命令提示符。
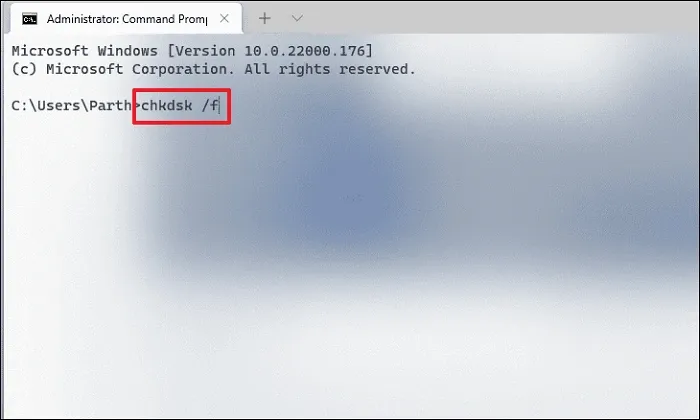
接下來,鍵入或複制+粘貼下面提到的命令,然後點擊Enter鍵盤來執行該命令。
chkdsk /f
之後,Y按鍵安排下次啟動電腦時啟動掃描。
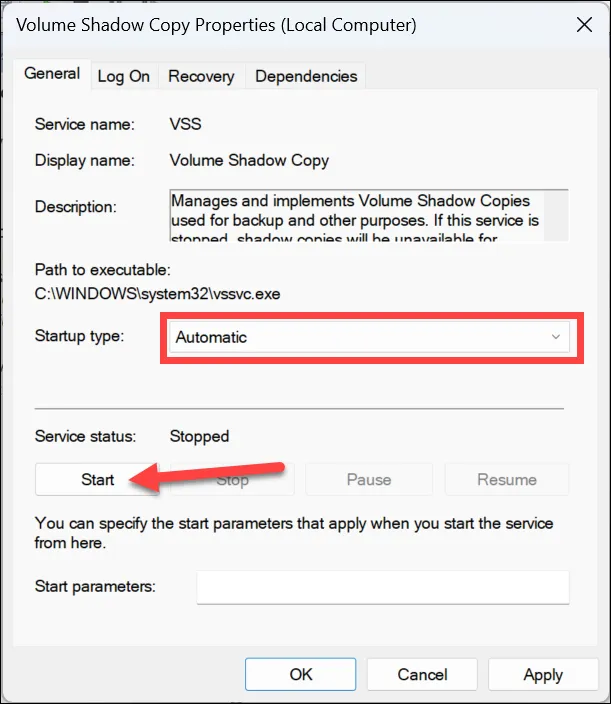
4. 重新啟動卷影複製服務
卷影服務對於系統還原過程非常重要,因為它有助於創建您想要備份的捲和驅動器的快照,然後當您想要回滾電腦時,系統還原將使用該快照。
打開“開始”菜單並輸入“服務”以執行搜索。然後,單擊搜索結果中的“服務”圖塊。

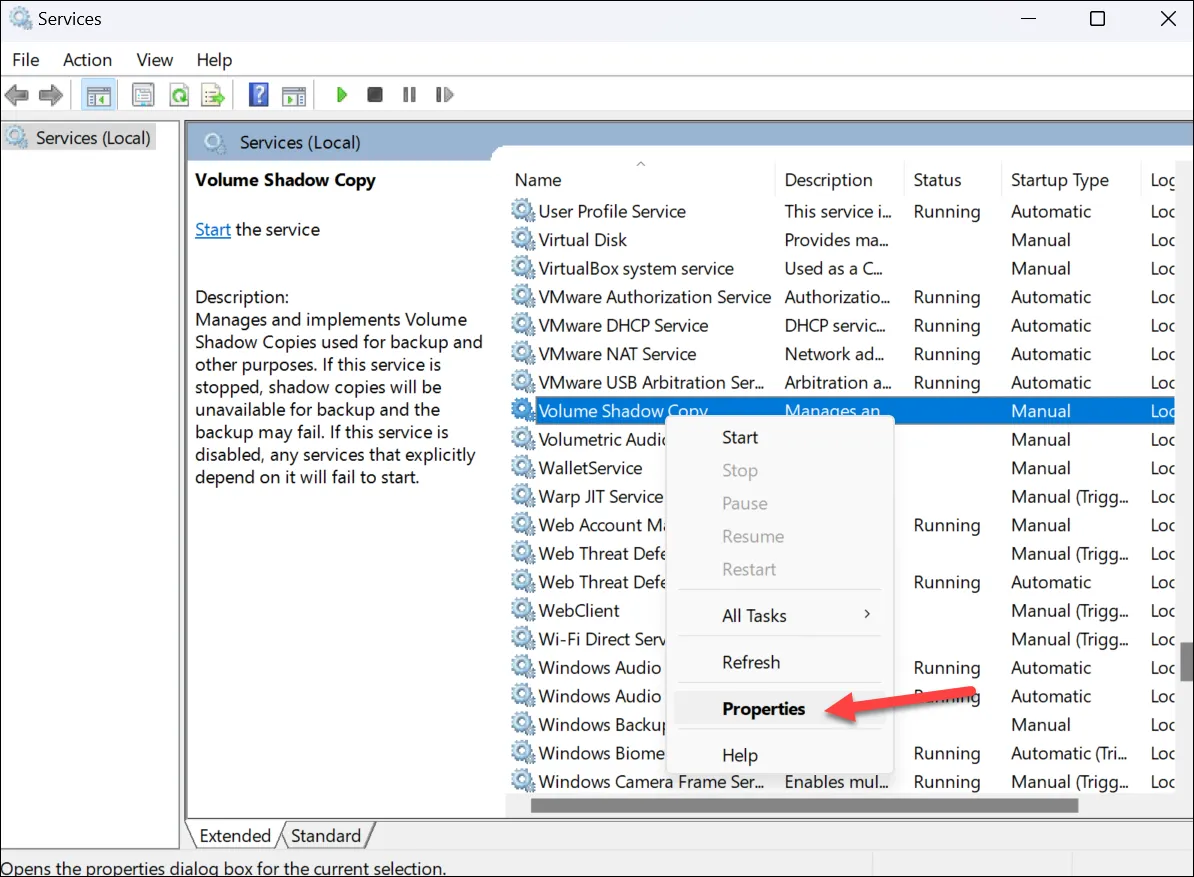
之後,手動向下滾動或按V鍵盤上的按鍵可跳轉到從字母開始的服務。找到“卷影複製”服務後,右鍵單擊它並選擇“屬性”。
在“屬性”窗口中,單擊“停止”並點擊“應用”。不要關閉窗戶。幾分鐘後,單擊“開始”並再次單擊“應用”。另外,在點擊“開始”之前,確保“啟動類型”設置為“自動”;如果沒有,請從下拉菜單中進行設置。然後,單擊“應用”和“確定”按鈕。
現在,重新啟動您的電腦並嘗試再次創建系統還原點。如果存在進程干擾或錯誤導致此服務無法按預期工作,只需重新啟動該服務即可解決問題。
5. 重新註冊VSS組件
前往“開始”菜單並輸入“終端”。然後,右鍵單擊“終端”磁貼,然後從上下文菜單中選擇“以管理員身份運行”選項以繼續。
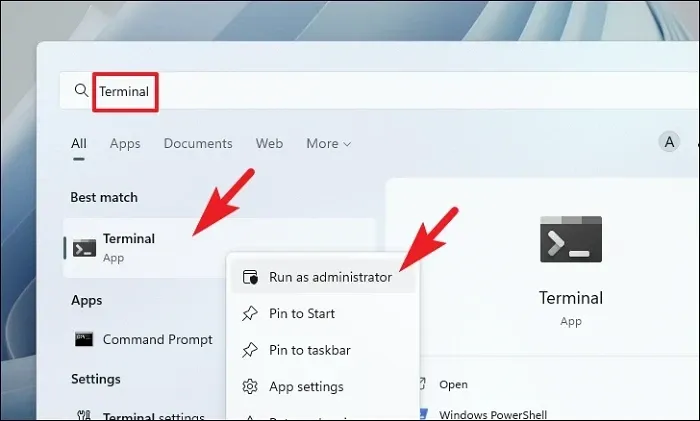
接下來,如果您沒有使用管理員帳戶登錄,請輸入管理員帳戶的憑據。否則,請單擊“是”按鈕繼續。

之後,單擊 V 形(向下箭頭)圖標並選擇“命令提示符”選項。
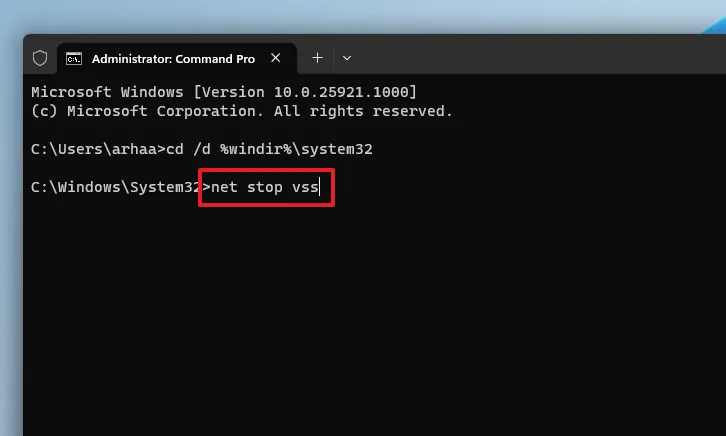
然後,鍵入或複制並粘貼以下命令,然後點擊Enter鍵盤上的每個命令以分別執行它們。
cd /d %windir%\system32
net stop vss
net stop swprv
regsvr32 /s ole32.dll
regsvr32 /s oleaut32.dll
regsvr32 /s vss_ps.dll
vssvc /register
regsvr32 /s /i swprv.dll
regsvr32 /s /i eventcls.dll
regsvr32 /s es.dll
regsvr32 /s stdprov.dll
regsvr32 /s vssui.dll
regsvr32 /s msxml.dll
regsvr32 /s msxml3.dll
regsvr32 /s msxml4.dll
vssvc /register
net start swprv
net start vss
該過程完成後,重新啟動電腦並嘗試再次創建還原點。
6.禁用防病毒軟件
一些用戶已經能夠通過暫時關閉防病毒軟件來解決此問題。儘管我們在這裡展示了使用 Windows Defender 的過程,但即使使用第三方軟件,該過程在宏觀層面上也將保持不變。
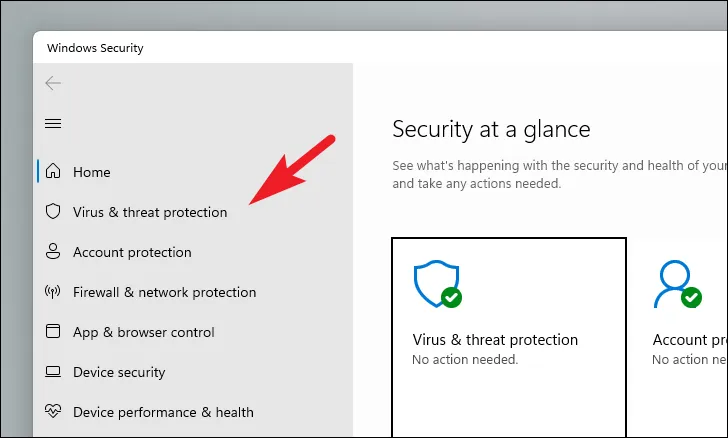
打開“開始”菜單並輸入“Windows 安全”。然後,從搜索結果中單擊“Windows 安全”圖塊以繼續。

接下來,從窗口的左側部分選擇“病毒和威脅防護”以繼續。
之後,單擊右側部分的“管理設置”以繼續。
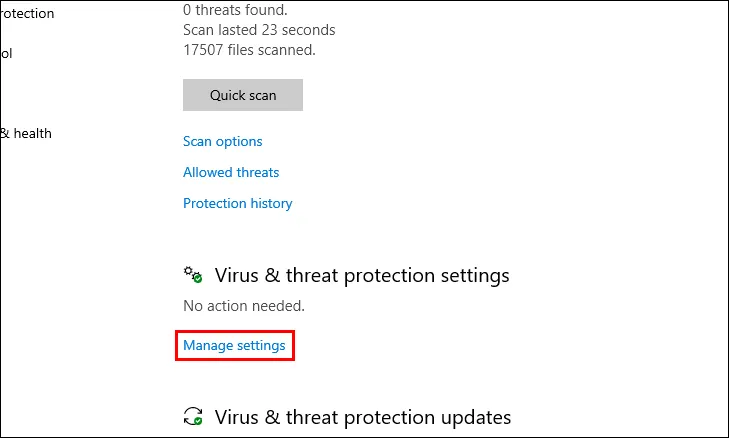
最後,找到“實時保護”部分,然後單擊該選項下的切換開關,將其置於“關閉”位置。

當實時保護關閉時,嘗試創建系統還原點並查看防病毒軟件是否是罪魁禍首。
7.在安全模式下創建還原點
要以安全模式啟動電腦,請打開電腦,並在第一次啟動時按住物理電源按鈕三十秒或直到電腦關閉。
重複這個過程三次,第四次讓你的電腦正常啟動。Windows 將自動加載 WinRE(Windows 恢復環境)。
如果出現“自動修復”屏幕,請單擊左下角部分中的“高級選項”按鈕繼續。
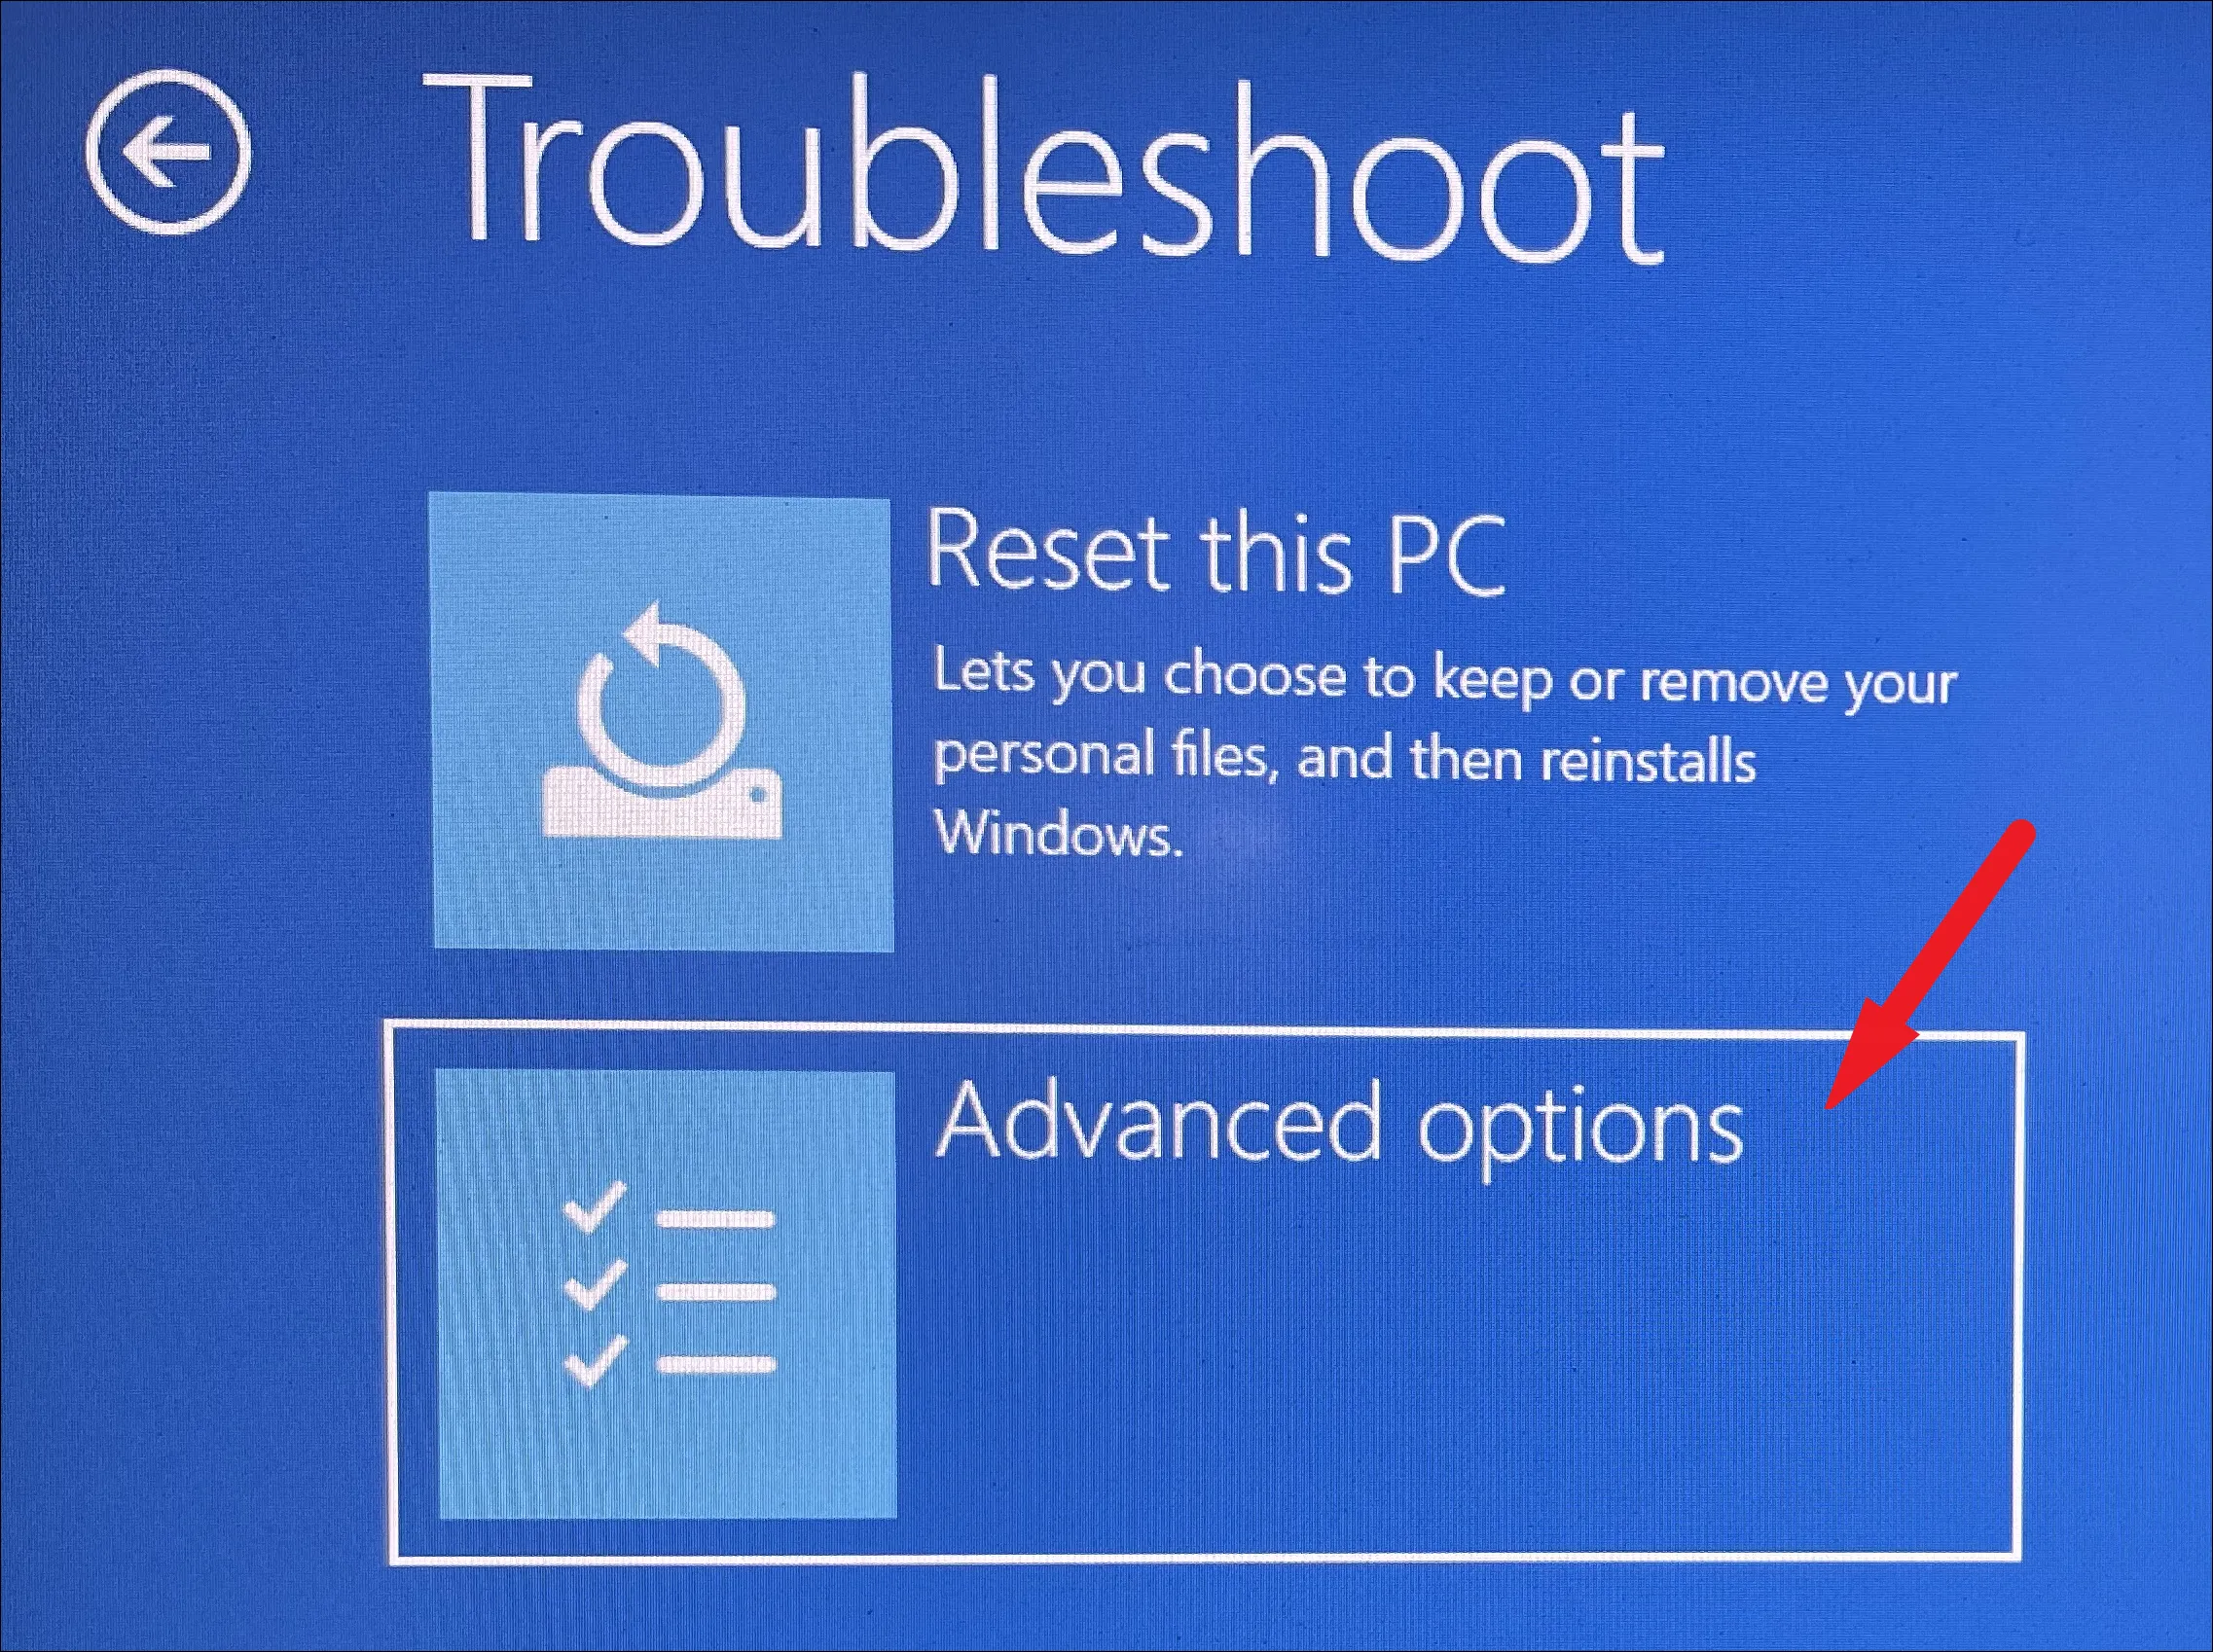
接下來,在“選擇一個選項”屏幕上,單擊“疑難解答”圖塊以繼續。

接下來,在“疑難解答”屏幕上,找到並單擊“高級選項”圖塊以繼續。
之後,在下一個屏幕中,從屏幕上的選項網格中找到並單擊“啟動修復”選項。
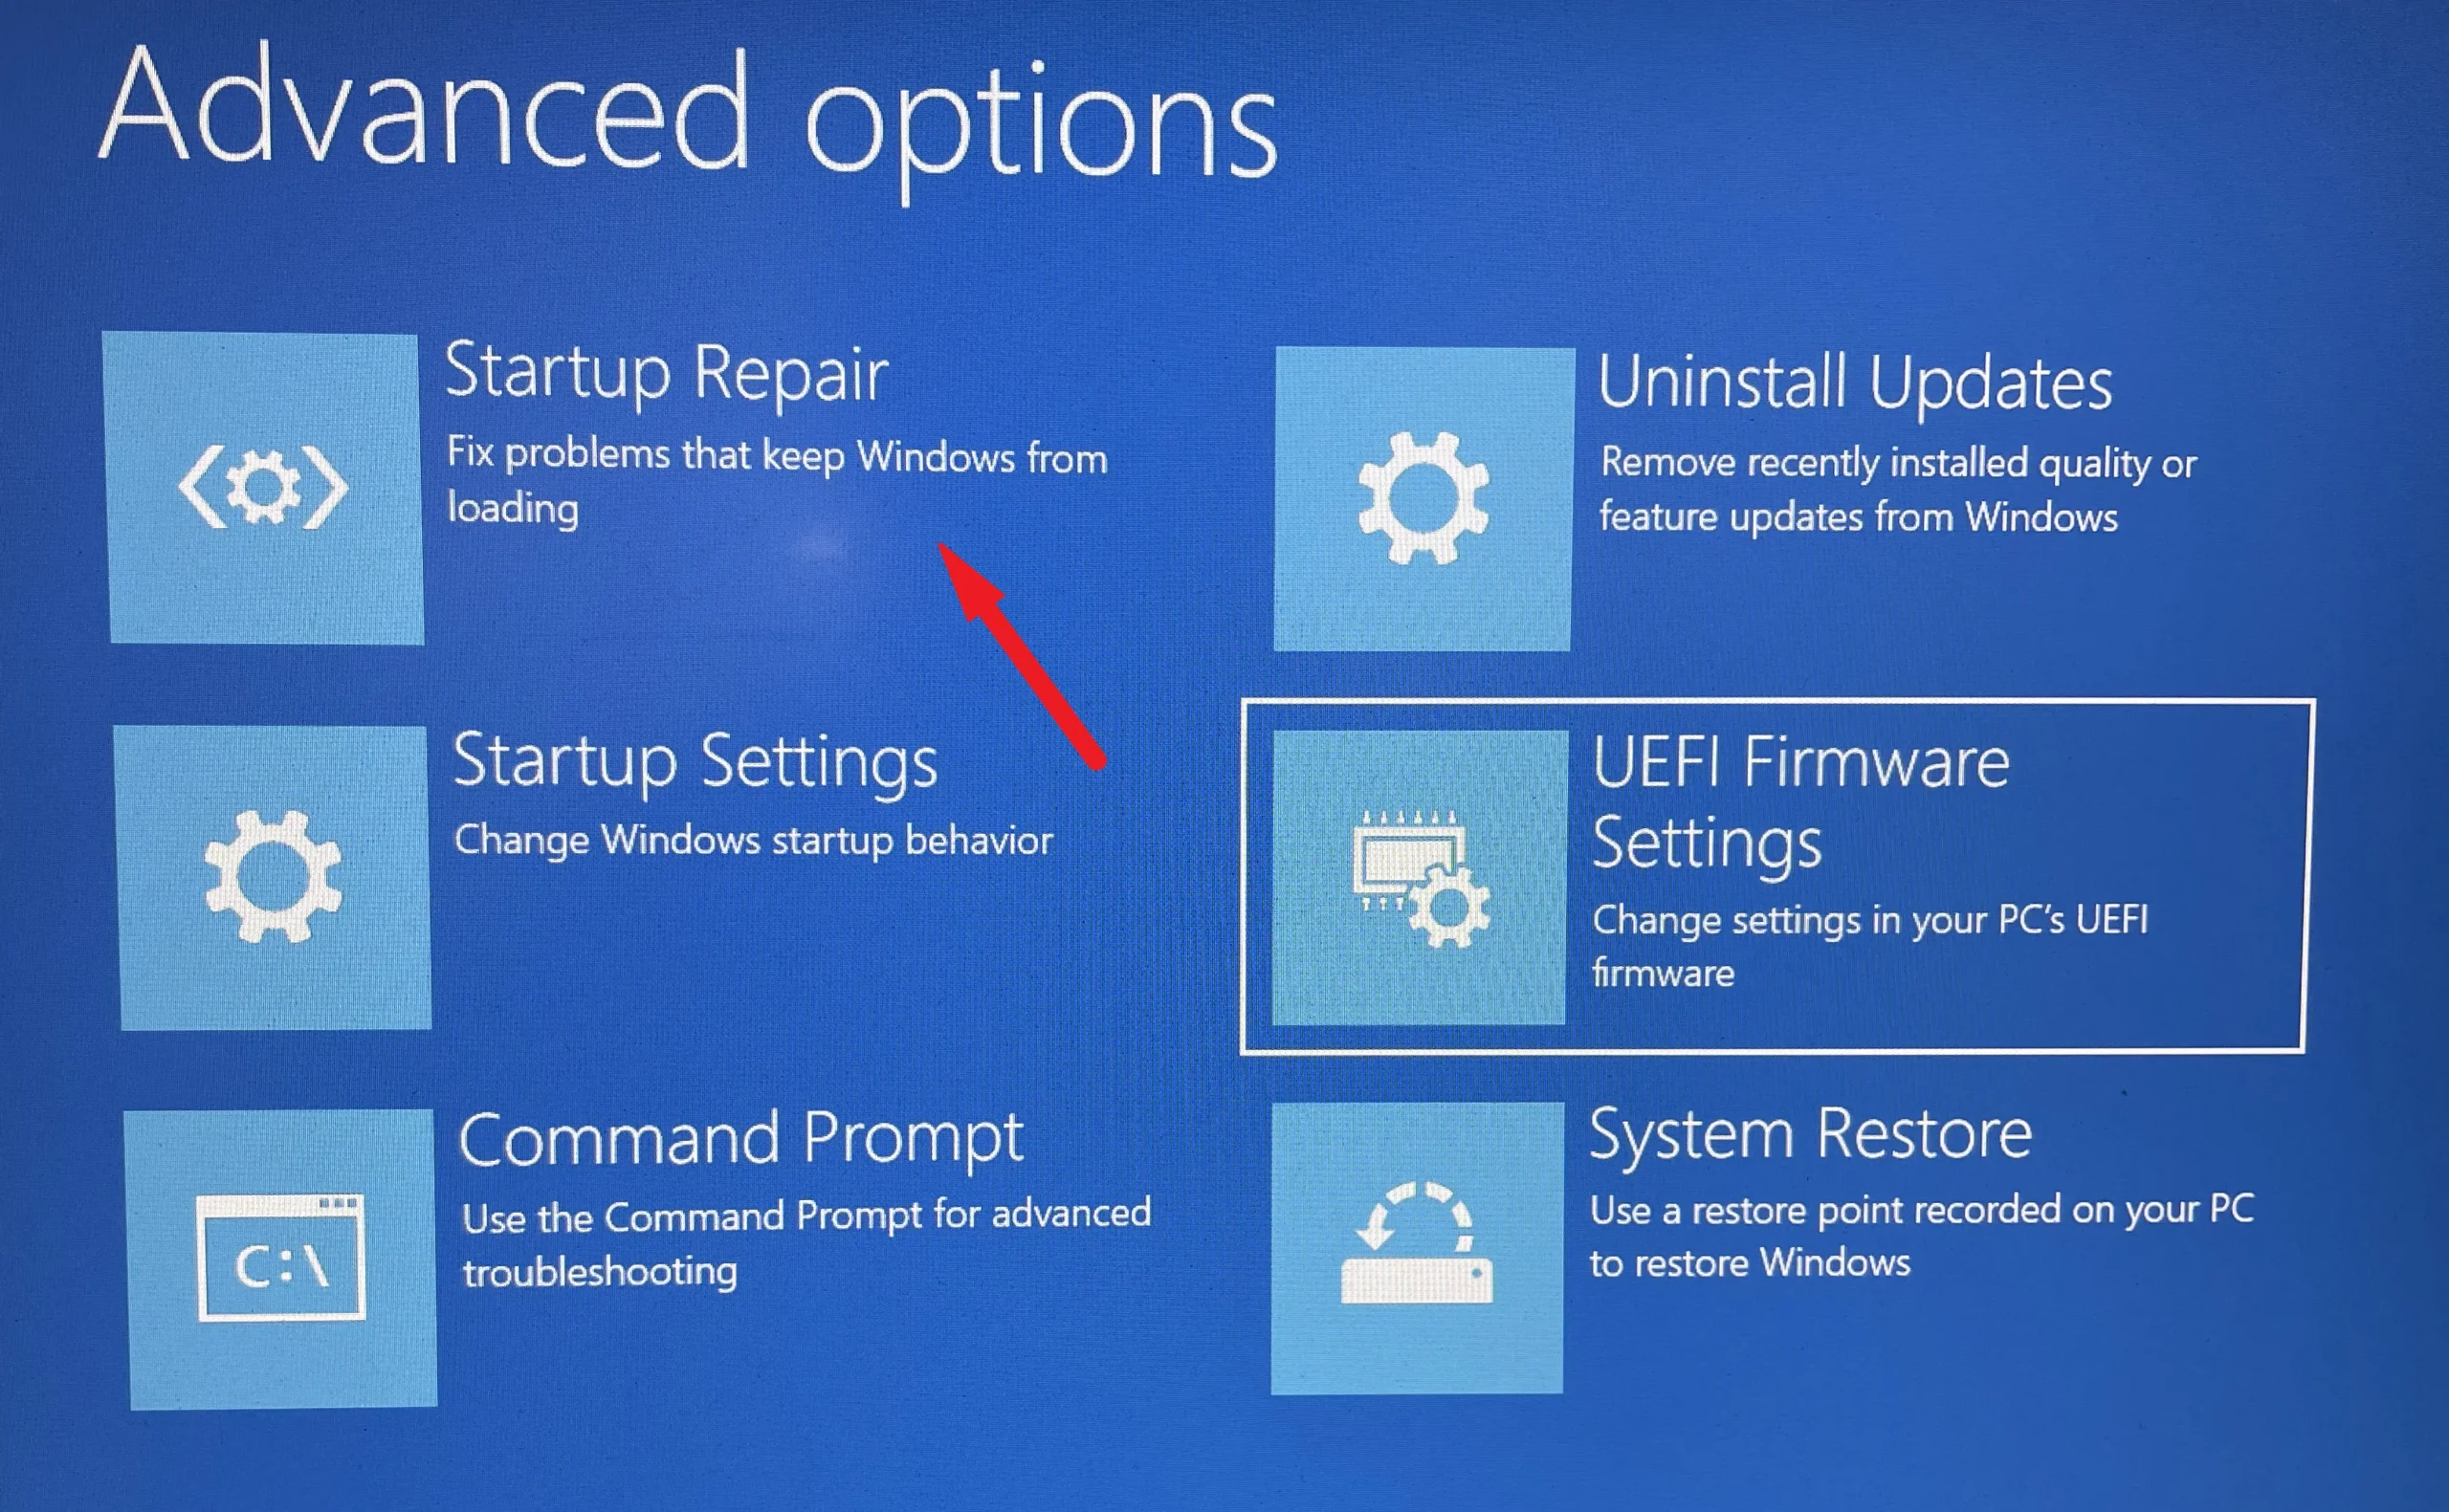
現在,在下一個屏幕上,Windows 將列出操作系統為在計算機上啟動啟動修復而採取的操作。開始之前請仔細閱讀列表,然後單擊“重新啟動”按鈕繼續。
您的電腦現在將以安全模式啟動,無需加載任何第三方軟件和服務。現在您可以開始創建還原點。
為您的 Windows 11 電腦啟用系統還原
由於系統還原默認處於禁用狀態,因此您需要先啟用它,然後才能為您的電腦創建系統還原檢查點。如果您已經創建了一個,則可以跳到下一部分。
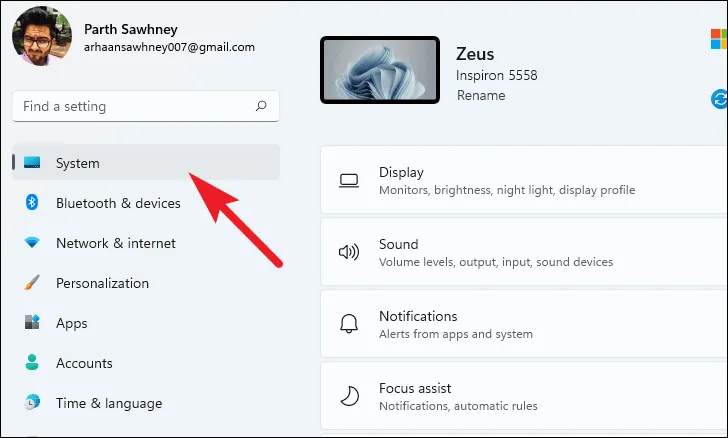
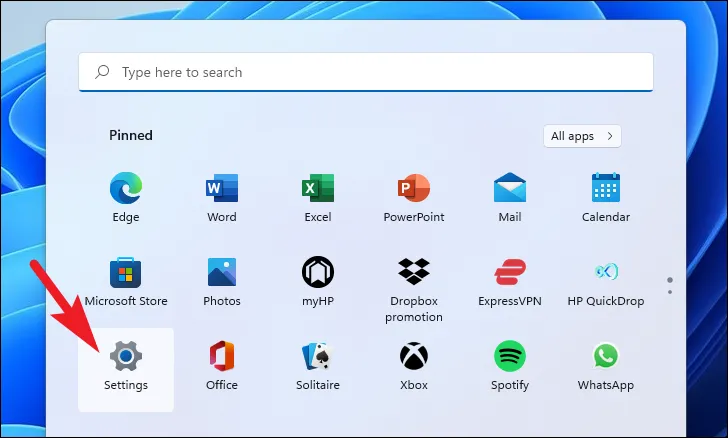
前往“開始”菜單並單擊“設置”圖標。

然後,單擊“設置”屏幕側邊欄中的“系統”選項卡。
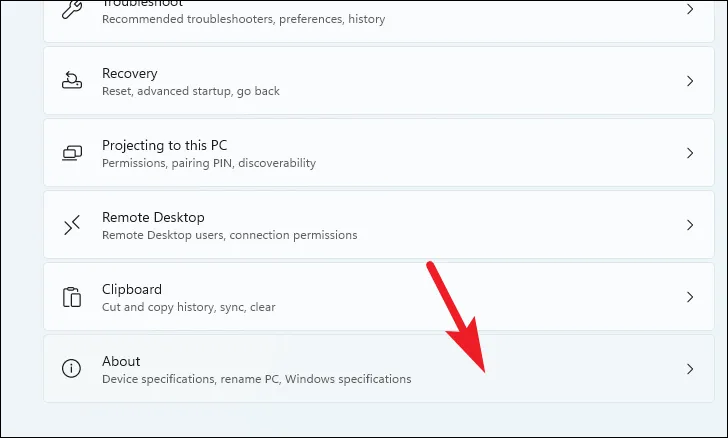
之後,向下滾動並從屏幕右側的列表中找到“關於”圖塊,然後單擊它。
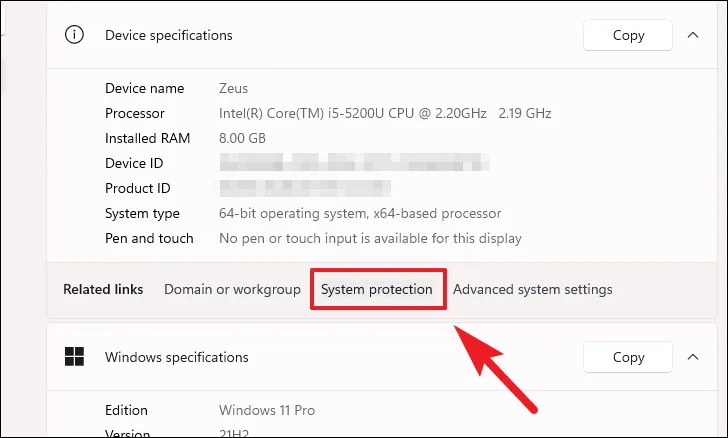
要打開“系統還原”,請從保護設置部分單擊您的首選驅動器,然後單擊其下方的“配置”按鈕。
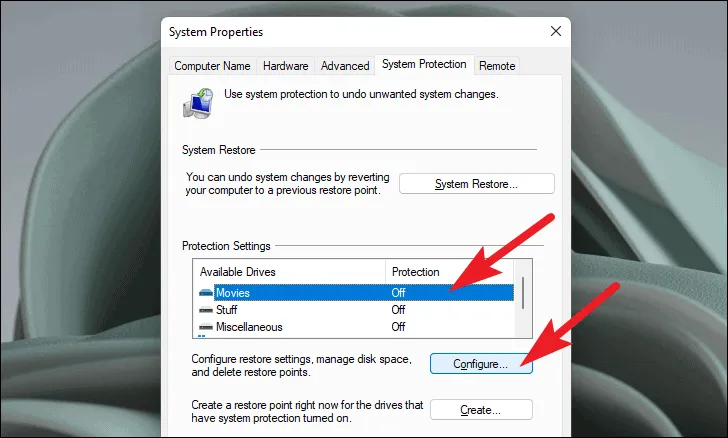
接下來,單擊“打開系統保護”選項。然後,拖動“磁盤空間使用情況”部分下的滑塊來調整要分配給系統還原點的空間量。

之後,單擊“應用”按鈕確認更改,然後單擊“確定”按鈕關閉窗口。

系統還原功能現已在您選擇的驅動程序上啟用。每當您安裝應用程序或更新電腦時,Windows 都會自動創建系統還原點。
8.重置你的電腦
如果這些方法都不適合你,那麼是時候拿出大槍了。重置您的電腦會重新安裝完整的 Windows,同時保持您的個人文件和文件夾完好無損。
要重置您的電腦,請從“開始”菜單轉到“設置”應用程序。
之後,確保您已從“設置”窗口的左側邊欄中選擇了“系統”選項卡。

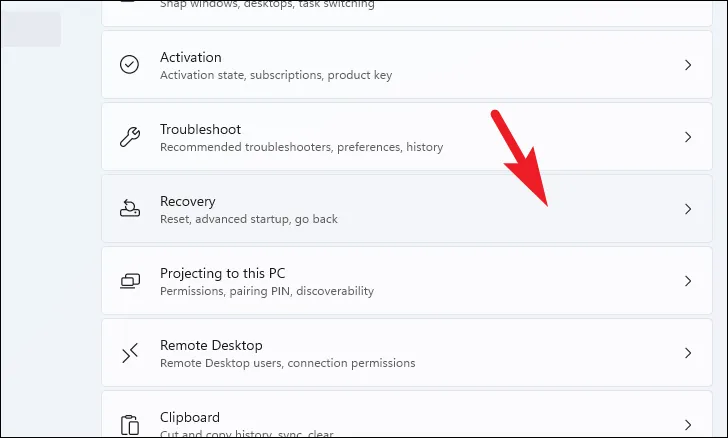
接下來,從窗口的右側部分,向下滾動找到並單擊“恢復”圖塊以繼續。
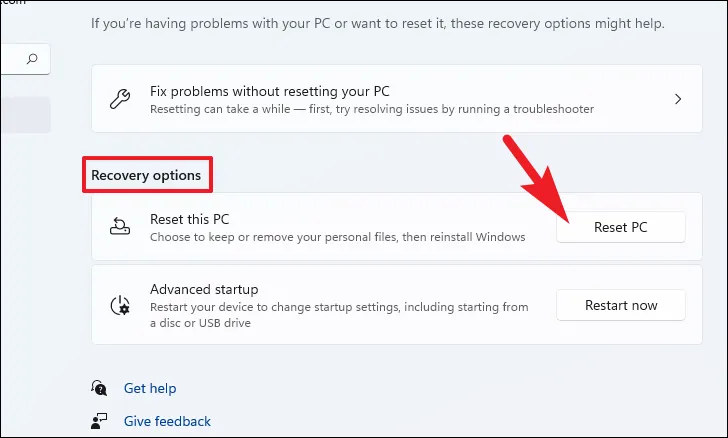
現在,找到“恢復選項”部分下的“重置此電腦”圖塊,然後單擊該圖塊最右邊緣的“重置電腦”按鈕。這將打開一個單獨的窗口。
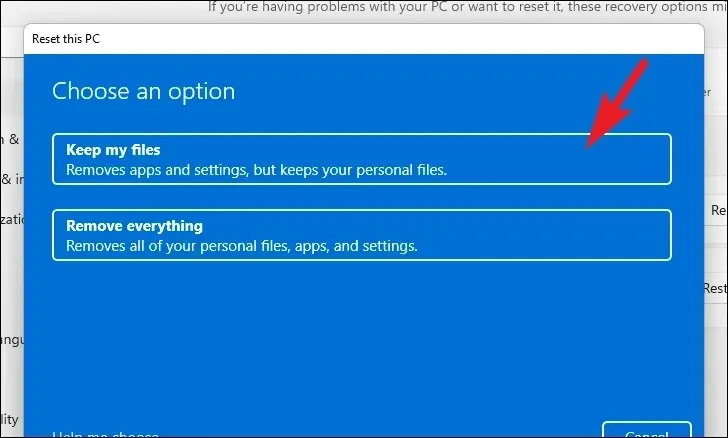
在出現的單獨的“重置此電腦”窗口中,您將有兩個選項。單擊“保留我的文件”選項,將系統設置和應用程序重新啟動,同時保持您的個人文件和文件夾完好無損。
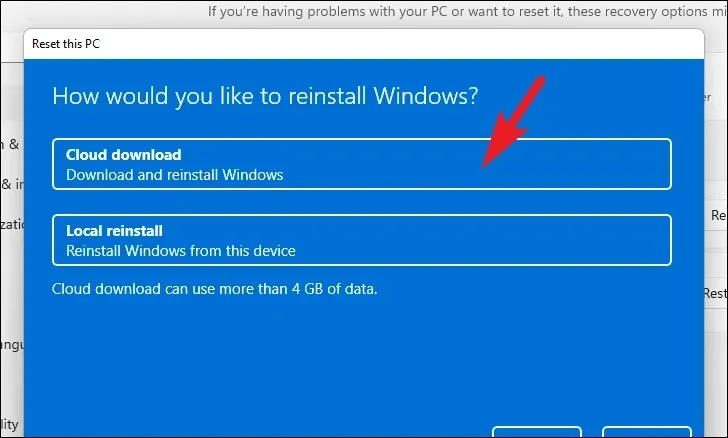
在下一個屏幕上,您需要選擇在計算機上重新安裝操作系統的方法。由於系統中已有的副本可能存在問題,因此建議您單擊“雲下載”選項。
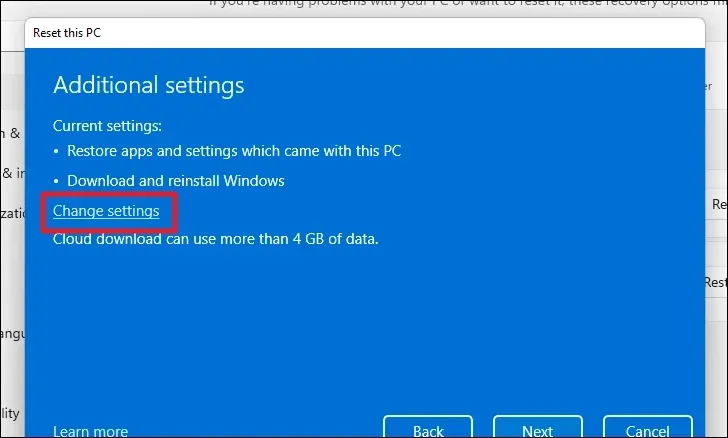
之後,Windows 將列出您選擇的設置。如果您想更改其中任何一項,請單擊“更改設置”選項繼續。
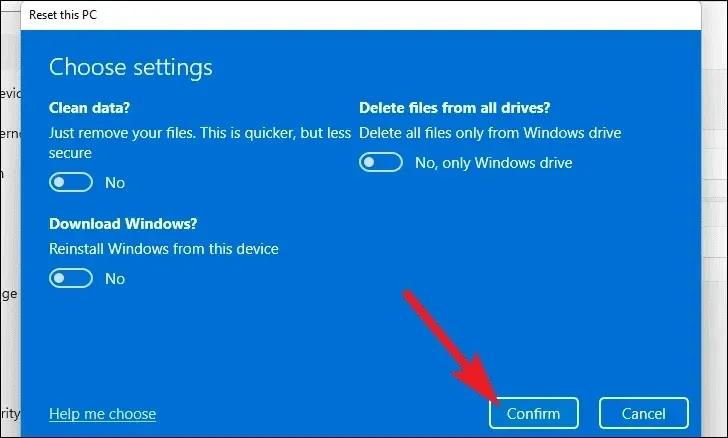
如果您選擇更改設置,則可以在下一個屏幕上配置以下設置。您可以通過單擊“恢復預裝應用程序?”下的切換開關來選擇不恢復應用程序和設置。選項並將其置於“否”位置。您甚至可以通過單擊“下載 Windows?”從 Cloid 下載切換到本地安裝。切換。調整完畢後,點擊“確認”繼續。
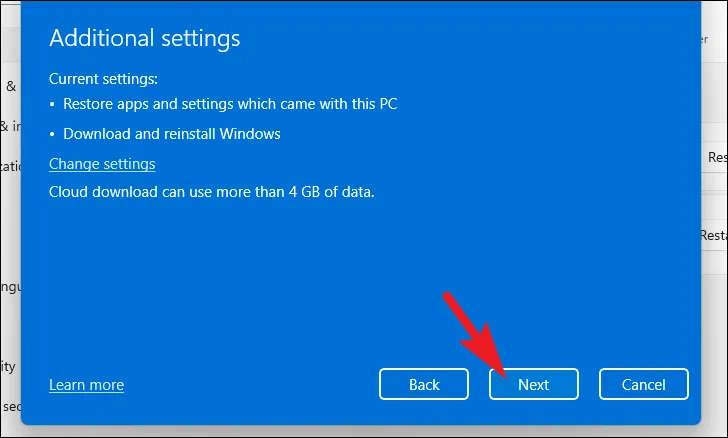
然後,單擊右下角的“下一步”繼續。
Windows 可能需要一段時間才能加載下一個屏幕。Windows 將列出重置電腦的影響。仔細閱讀它們並單擊“重置”以啟動該過程。

系統還原點是一個重要的實用程序,可以在您的電腦出現問題時幫助您重新訪問系統。通過上述方法,它應該再次開始正常工作。


發佈留言