How to create Certificate Signing Request (CSR) in Windows Server?

Here is a guide showing you how to create a Certificate Signing Request in Windows Server. A Certificate Signing Request (CSR) is an encrypted message sent from an applicant for a Secure Sockets Layer (SSL) digital certificate to a Certificate Authority (CA). This request typically includes details such as the organization name, domain name, locality, country, public key, and other relevant information.
A CSR is commonly created on the server where the certificate will ultimately be installed. Now, if you are looking for a tutorial to create a CSR on Windows Server, this tutorial will help you out.
")
How to create Certificate Signing Request (CSR) in Windows Server?
To create a Certificate Signing Request (CSR) on Windows Server, we will be using Microsoft Management Console (MMC). It is a Windows component that allows administrators to configure and monitor the system. You can generate a CSR through this console app. Let us find out how:
- Open Microsoft Management Console.
- Go to File.
- Click on Add/Remove Snap-in.
- Select Certificates.
- Click on Add.
- Choose Computer Account and press Next.
- Choose Local Computer and click on Finish.
- Click on OK.
- Expand Certificates (Local Computer).
- Right-click on the Personal folder.
- Choose All Tasks > Advanced Operations > Create Custom Request.
- Click on Next.
- Choose Proceed without enrollment policy and press Next.
- Set Template.
- Choose a Request Format.
- Press Next.
- Expand Details.
- Tap on Properties.
- Enter a Friendly Name and Description.
- Go to the Subject tab and enter the subjects to which the certificate is issued.
- Move to the Private Key tab.
- Expand Key options.
- Set the Key size to 2048 bytes.
- Configure other options.
- Click on OK, then Next.
- Set the location to save CSR and press Finish.
Let us elaborate on the above steps.
First, open the Run command box using Win+R and enter mmc in the Open box to launch the Microsoft Management Console window.
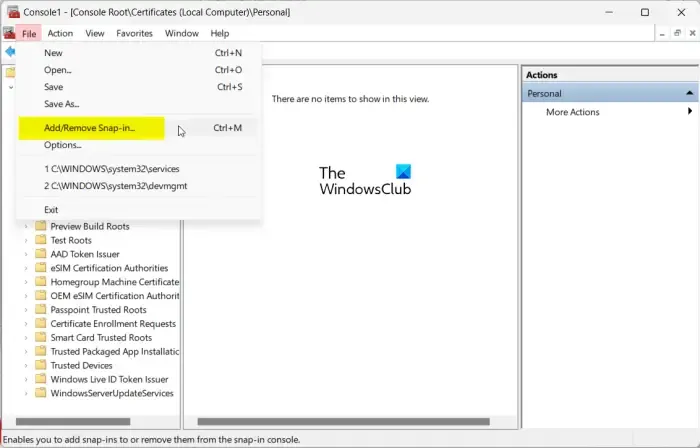
In the Console window, click on the File menu and choose the Add/Remove Snap-in option.
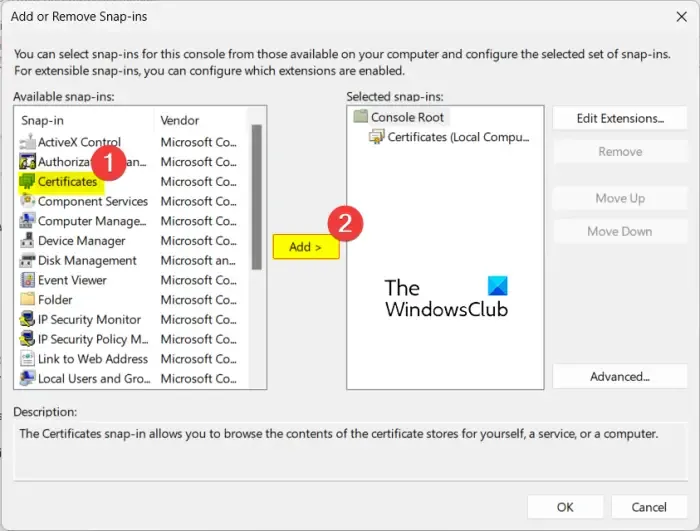
From the Available snap-ins section, choose Certificates and press the Add button.
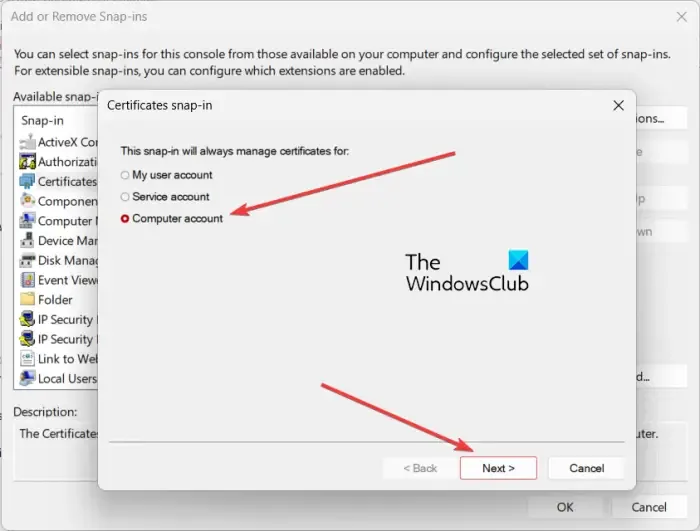
Then, choose Computer Account and press the Next button.
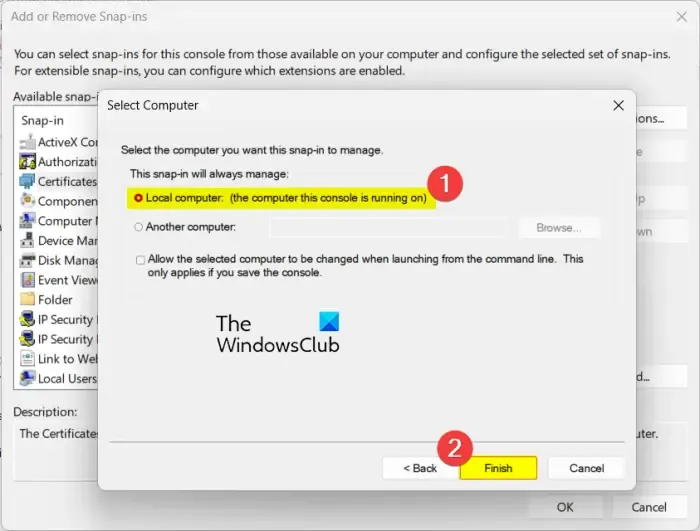
Now, select Local Computer, and click on the Finish button in the opened prompt. And, press OK in the snap-in dialog to close the window.
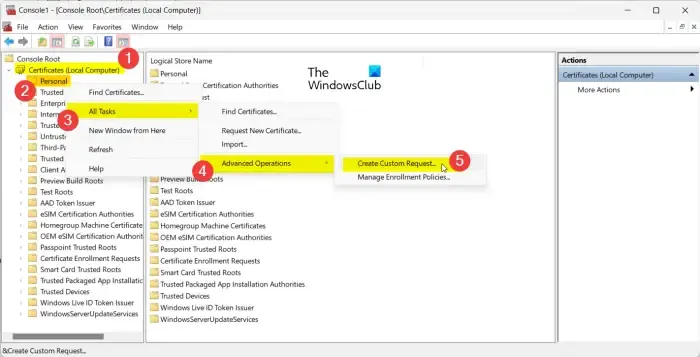
After that, expand the Certificates (Local Computer) from the left-side pane and then right-click on the Personal folder.
From the appeared context menu, click on the All Tasks > Advanced Operations > Create Custom Request option.
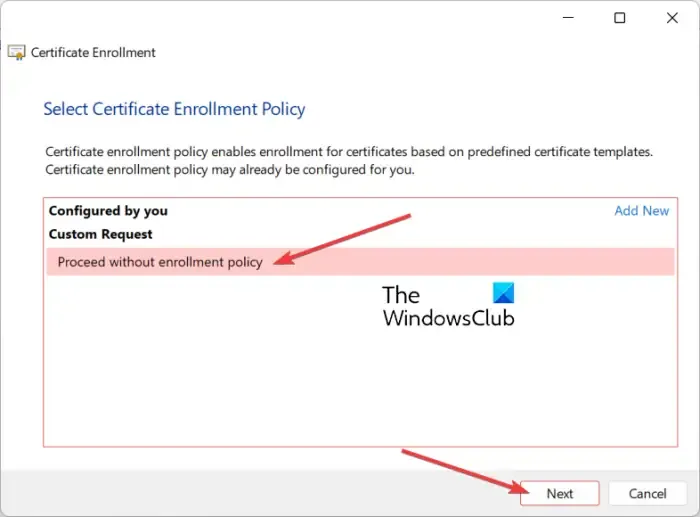
Next, in the Certificate Enrollment wizard window, click on the Next button, choose the Proceed without enrollment policy, and press the Next button.
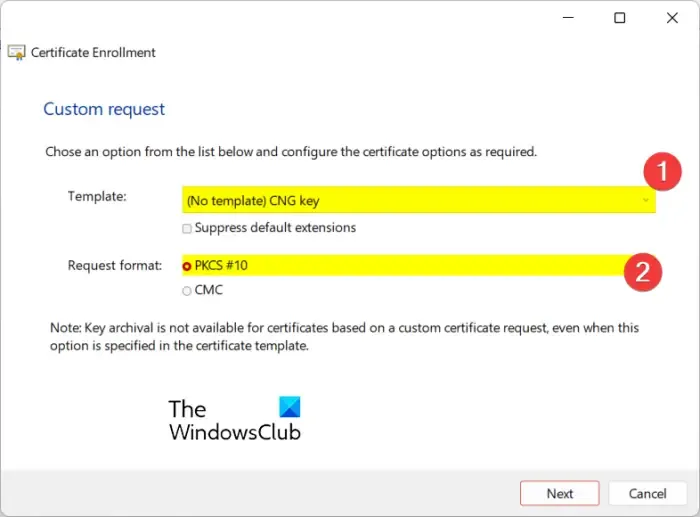
- Template: (No Template) Legacy Key
- Request format: PKCS #10
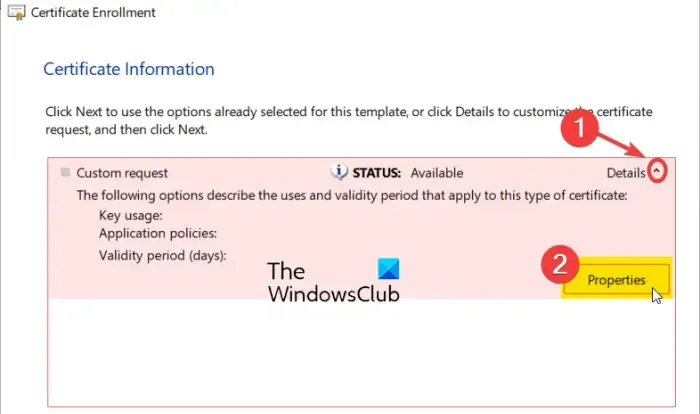
After that, expand the Details option by clicking on the arrow button present next to it and then click on the Properties button.
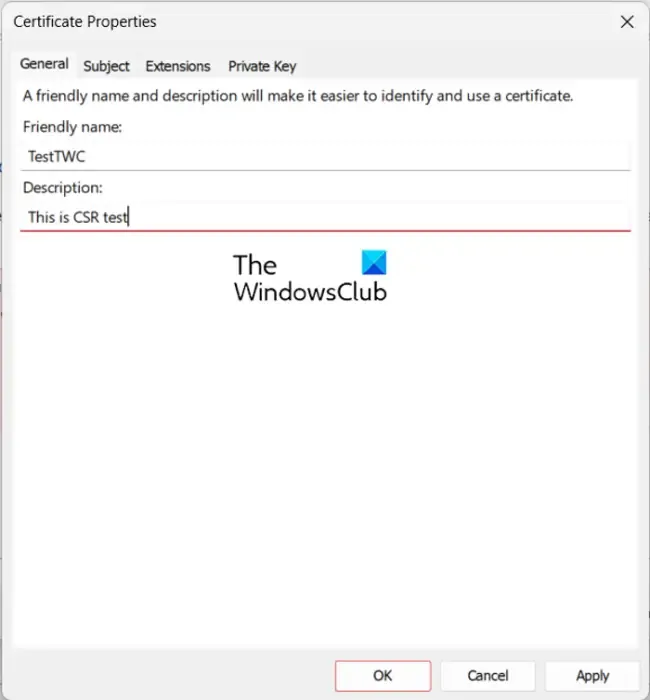
In the opened dialog, enter a name and description for the certificate in the General tab.
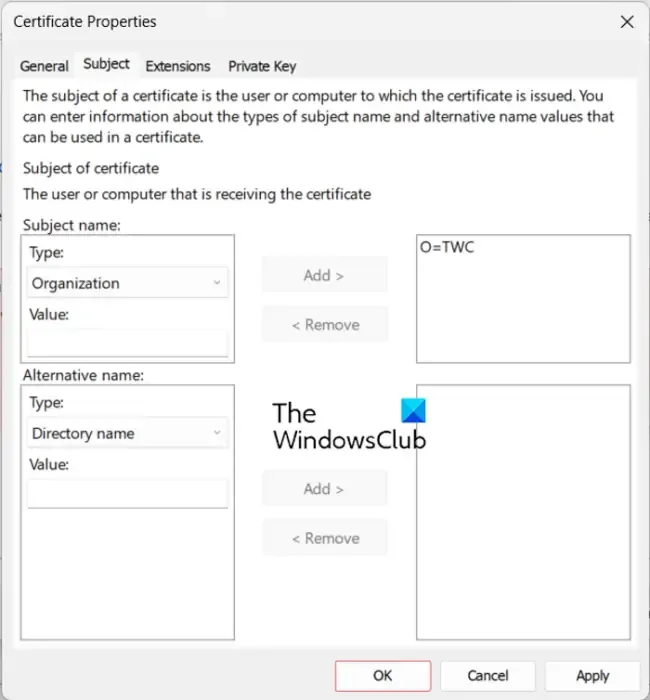
Next, navigate to the Subject tab and add the subjects to which you wish to issue the certificate. Simply select a subject type, enter the respective value, and click on the Add button. Here are some different types of subjects you can add:
- Common name (CN): Domain which is to be secured by certificate.
- Organization (O): The legal business name of the organization.
- Organizational Unit (OU): A particular department of the organization.
- Locality (L): The registered location/city of the business.
- Email (E): Registered business email address.
If required, add alternative subject names too.
Now, go to the Private Key tab and expand the Key Options section.
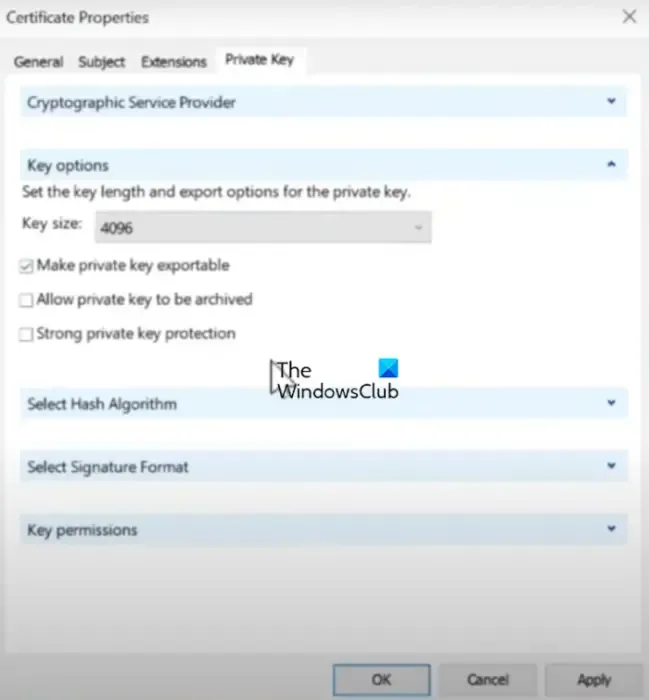
Next, set the Key size to 2048 bytes (or greater), and tick the Make private key exportable checkbox.
After that, press the Apply > OK button to return to the Certificate Enrollment window.
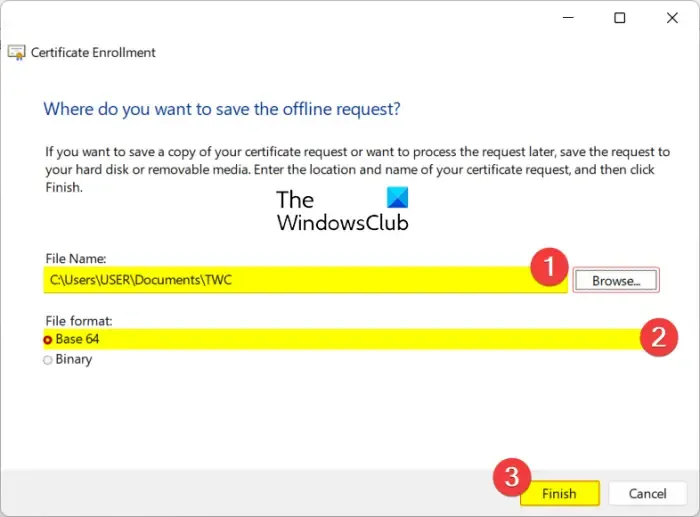
Then, press the Next button and browser the location where you want to save a local copy of the certificate. Make sure the File format is set to Base 64.
Finally. click on the Finish button to create and save the CSR.
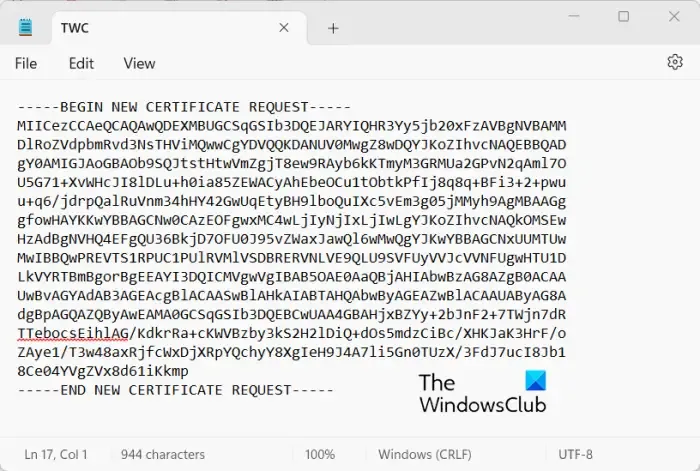
You can open the certificate in Notepad; here’s a sample of how it will look like:
This is how you can create a CSR using Microsoft Management Console on your Windows Server.
See: Can’t connect because you need a certificate to sign in WiFi Windows.
How do I add CSR to certificate authority?
To add a CSR to Windows Server CA, connect to your Windows server and start Server Manager. After that, click on Tools, Certification Authority and then select your computer name. Next, go to Action > All Tasks, Submit new request, choose your CSR file, and select Open. Now, double-click on Pending Requests, select the pending request, and choose Action > All Tasks, Issue. You can then check all signed certificated under Issued Requests.
How to generate CSR for SSL certificate in Windows command line?
You can generate a CSR in Windows using the command line with the help of OpenSSL.


Deixe um comentário