How to Create and Manage a Slack Workspace

Whether it’s for business, networking, or playing games with friends, it’s easy to create a Slack workspace for free. Keep your workspace as simple as you like or learn how to create channels, add bots, and much more.
How to Create a Slack Workspace
While you can upgrade your workspace to get extra features, the free version is all you need to get started. Visit Slack and click the Get Started button in the top right to begin. If you’re already signed in to Slack, click Create a new workspace button instead.
Log in (if you haven’t already), or create a new Slack account, then click Create a workspace. Enter a name for your workspace. By default, Slack assumes your email domain is the company domain. Uncheck the Let anyone with an @domain email join this workspace if this isn’t a company account.

Add your name and a profile image (optional), then invite other users. If you don’t have anyone to add right now, skip this step.
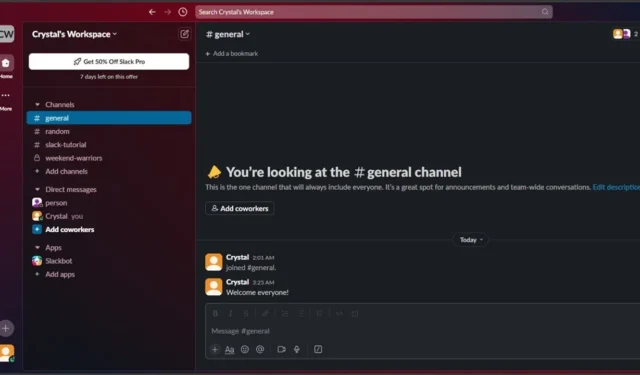
Once you create a Slack workspace, you also need to create a channel. These are categories or themed conversations. For businesses and teams, these could also be projects, departments, etc. When prompted, name your first channel, and press Next. By default, you also get #general and #random channels, which you’re free to delete or change.

The last step to creating a Slack workspace is to choose your plan: Free or Pro. The two biggest limitations with Free are that you only get 90 days of messages (older messages are archived) and 10 apps/integrations. You can upgrade or downgrade at any time.
How to Manage a Slack Workspace
Now that you have a shiny new Slack workspace, what do you do with it? Customize, add integrations, invite people, and make the space perfect for your members. Please note that some changes and settings are easier to perform on a desktop.
Customize a Slack Workspace
You don’t have to do anything fancy, but when you create a Slack workspace, it’s nice to make it more personalized to your team, business, or interest. Start by clicking your workspace name just above the list of channels. Select Tools & settings -> Customize workspace.

There are several options for quickly customizing your Slack workspace:
- Emojis – select three default one-click reaction emojis and add custom emojis for your members
- Slackbot – customize Slackbot responses to help answer common questions from members
- Workspace Icon – add a custom icon to represent your workspace, versus the default initials Slack uses
- Statuses – edit the five default status messages and default clear time (members can create their own custom message at any time, too)
- Channel Prefixes – create rules for naming channels (if you’re the only one with permission to add channels, you don’t need to worry about this one)
It’s also a good idea to let your workspace members know that they’re free to change the color theme, layout, accessibility options, and more. Click the profile icon (at the bottom left on desktop and top right on mobile), and select Preferences.
Add Channels to Slack
Before you start filling your Slack community with members, add some channels to keep everything organized. It’s one of the easiest ways to manage a Slack workspace. By default, Slack creates the #general and #random channels, and all members are invited to these for general announcements and random discussions. You’re free to delete these, but it’s a good idea to have at least one channel where all members can participate.
Add a new channel by clicking Add channels below the list of channels, then select Create new channel.

Choose a channel name (up to 80 characters). Click Next and choose a visibility option: Public or Private. Private channels are by invitation only and ideal for keeping specific projects, teams, or interests separated. Click Create to finish.

Invite New Members
Every new Slack workspace needs members. While you can invite members when you first create a Slack workspace, you can also invite members at any time later on. Click your workspace name just above the channel list. Select Invite people to. Add all the email addresses you want to add (just press space between each), and click Send.

You can also click Copy invite link to just copy and paste the link elsewhere, such as a company-wide email, forum, website, etc.
For private channels, open the channel, and select Add coworkers. Enter the names or email addresses of current workspace members.
As you’re inviting members, consider customizing their profile fields. Select your workspace name, and choose Tools & settings -> Workspace settings.

Select Profiles in the left sidebar, scroll through, and add/remove fields. Add new fields at the bottom of most sections by clicking +Add. Select Publish changes when you’re done. For instance, add the option for users to add their pronouns.

Assign Roles and Permissions in Slack
To assign roles and manage certain permissions in Slack, you must upgrade to a premium plan. However, some options are available in the free plan, such as assigning a member to a standard member or an administrator.
Access all permission- and role-related settings by clicking your workspace name and selecting Tools & settings -> Workspace settings. Under Administration in the left sidebar, you can manage settings, permissions, member roles, user groups, authentication methods, and more.

Connect Tools and Bots to Your Workspace
While it’s not required, adding tools and bots is a great way to manage a Slack workspace, be more productive, and even boost morale. For instance, you could connect Google Calendar to get reminders, send invites, and see upcoming events within Slack. Or, send birthday wishes to each team member automatically to give them the recognition they deserve.
Just below the list of channels and direct messages, there’s a list of currently added apps. Select Add apps to connect to various tools and bots. If you only want to add an app or bot to a specific channel, open that channel, select the channel name at the top of the channel window, and select Integrations. Select Add an app.

Once you see the list of apps, select any of the recommended ones, or search for something else. See even more results by selecting App directory in the top right.

Once an app is added, members can receive a request to connect their accounts. This all depends on the app or bot added. If you’re looking to boost productivity, try these Slack bots.
Take some time when you create a Slack workspace to explore all your options. To make it easier to use and manage a Slack workspace, master these keyboard shortcuts. And, check out these must-know Slack commands.
All images and screenshots by Crystal Crowder.


Deixe um comentário