How to enable Windows Sandbox on Windows 11, 10
- To enable Windows Sandbox, open “Windows Features,” check “Windows Sandbox,” click “OK,” and restart the computer.
- You can also enable the feature with commands using Command Prompt and PowerShell.
On Windows 11 (and 10), “Windows Sandbox” is a minimal installation of Windows isolated from the main installation that allows you to run untrusted applications without exposing your device.
Sandbox is available on the Pro and Enterprise editions of Windows, and it uses Microsoft’s Hyper-V technology to create a disposable lightweight virtual machine on-demand to run a separate kernel that separates the Windows Sandbox session from the host.
In other words, this is a small installation of Windows 11 (or Windows 10) of just around 100MB, enough to run the desktop environment and test applications. You can even copy and paste files from the host to the isolated environment. Once you finish testing the application, closing the feature will delete the Sandbox environment, which means that every time you start the feature, you will start with a fresh install of Windows 11.
Windows Sandbox requires virtualization in the Unified Extensible Firmware Interface (UEFI) on Windows 11 or 10 or Basic Input/Output System (BIOS) on Windows 10 before you can use the feature. You can use these instructions to enable hardware virtualization in the motherboard before proceeding with the steps below.
In this guide, I will teach you the steps to enable Windows Sandbox on Windows.
- Enable Windows Sandbox from Windows Features
- Enable Windows Sandbox from PowerShell
- Enable Windows Sandbox from Command Prompt
Enable Windows Sandbox from Windows Features
To enable “Windows Sandbox” to run untrusted apps on Windows 11 (or 10), use these steps:
-
Open Start on Windows.
-
Search for Turn Windows features on or off and click the top result to open the experience.
-
Check the Windows Sandbox option.

-
Click the OK button.
-
Click the Restart now button.
After you complete the steps, you can start the app from the Start menu.
If you want to disable the feature, you can use the same instructions, but in step 3, clear the option.
Enable Windows Sandbox from PowerShell
To enable Windows Sandbox with PowerShell commands, use these steps:
-
Open Start.
-
Search for PowerShell, right-click the top result, and select the Run administrator option.
-
Type the following command to enable Sandbox users and press Enter:
Enable-WindowsOptionalFeature -Online -FeatureName "Containers-DisposableClientVM"-All

-
Type “Y” and press enter to restart the computer
Once you complete the steps, the feature will be enabled and ready from the Start menu.
변경 사항을 취소하려면 동일한 지침을 사용할 수 있지만 3단계 에서 명령 을 실행하십시오 Disable-WindowsOptionalFeature -Online -FeatureName "Containers-DisposableClientVM".
명령 프롬프트에서 Windows Sandbox 활성화
명령 프롬프트 명령으로 Windows Sandbox를 켜려면 다음 단계를 따르세요.
-
시작 을 엽니다 .
-
명령 프롬프트를 검색하여 맨 위의 결과를 마우스 오른쪽 버튼으로 클릭하고 관리자 실행 옵션을 선택합니다.
-
다음 명령을 입력하여 Windows Sandbox를 활성화하고 Enter를 누릅니다 .
Dism /online /Enable-Feature /FeatureName:"Containers-DisposableClientVM"-All

-
“Y”를 입력 하고 Enter를 눌러 컴퓨터를 다시 시작하십시오.
단계를 완료한 후에는 Windows Sandbox를 사용하여 앱을 테스트하고, 기본 설치에 영향을 주지 않고 신뢰할 수 없는 웹사이트를 방문할 수 있습니다.
변경 사항을 취소하려면 동일한 지침을 사용할 수 있지만 3단계 에서 명령 을 실행하십시오 Dism /online /Disable-Feature /FeatureName:"Containers-DisposableClientVM".
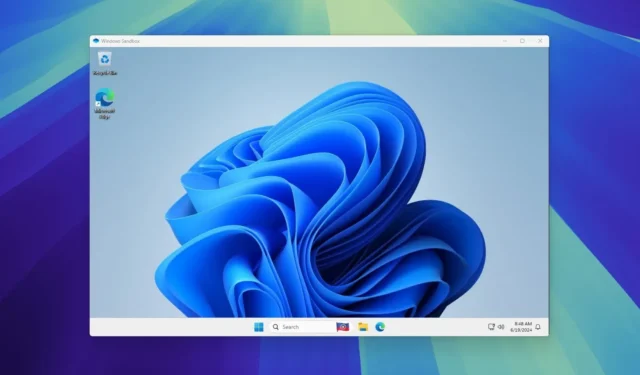
시작하려면 시작 메뉴에서 Windows Sandbox를 열면 현재 설치에 영향을 주지 않고 신뢰할 수 없는 응용 프로그램을 설치하고 실행할 수 있는 일반 Windows 데스크톱 환경이 표시됩니다. 앱 닫기를 마치면 전체 가상 머신과 설치한 모든 항목이 삭제됩니다.
2024년 6월 19일 업데이트: 이 가이드는 정확성을 보장하고 프로세스의 변경 사항을 반영하기 위해 업데이트되었습니다.


답글 남기기