xTool D1 Pro 20W Laser Cutter and Engraver Review
If you’re a maker in 2023, there are two things you need for modern makery: a 3D printer and a laser cutter. While 3D printers are getting smaller and cheap with greater quality, the same is now also true of laser cutters and engravers. What was once a $20,000 hulking slab of workshop machinery is now a 9 kilo computer add-on and easily priced within the grasp of hobbyists and small business makers. The xTool D1 Pro 20W Laser Cutter and Engraver is an exciting addition to the xTool lineup. Find out more in this review.
This is a sponsored article and was made possible by xTool. The actual contents and opinions are the sole views of the author who maintains editorial independence even when a post is sponsored.
Unboxing
The xTool D1 Pro 20W Laser Cutter and Engraver is a smart, modern, usable desktop laser cutter that also serves as an engraver. It can engrave and sometimes cut flat items in a range of materials, such as wood, metal, rubber, glass, etc. It’s very versatile and modern with the ability to update its firmware and work via Wi-Fi, USB or TF card.
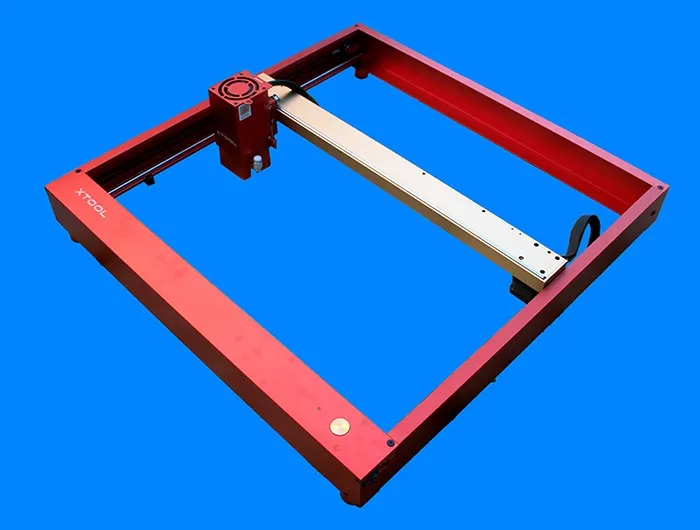
You will receive the device unassembled. This is not hard but does require some effort, as you have to join the reasonably heavy metal sides of the unit together, and this is a three-handed job. Luckily, the instructions are very clear, and all you have to do is follow the pictures. All of the required screws and a screwdriver are supplied, all in a neat little toolbox, and assembly only takes about an hour end to end.
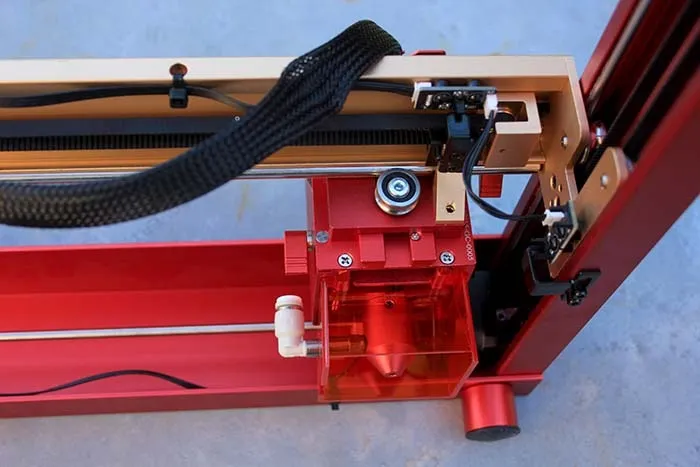
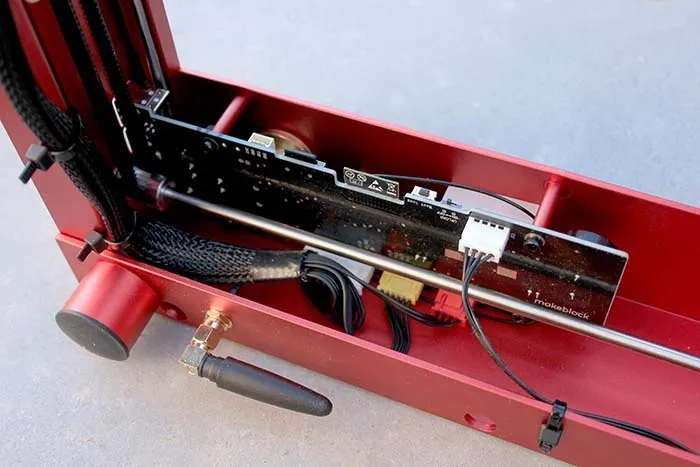
The trickiest part is tensioning the belts that drive the head back and forth across the frame. I’ll give you a hint: the screws on the end tighten the belt. Give them more slack to fit the belt and tighten them up until taut. The connectors are tucked away inside the machine, so you can’t fit them before. Fitting them after assembly requires small fingers and steady hands. I had neither but got there in the end.
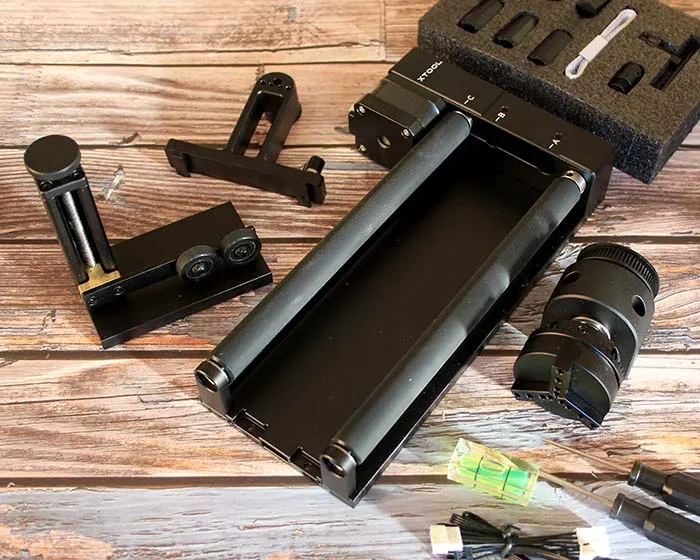
There are many accessories you can buy at the same time as your cutter. As part of the package I received the RA2 rotary unit (for inscribing bottles and other cylinders) and the standoffs to raise it to make that possible. I also received the Air Assist unit (cools the point of cutting and blows away any debris from the cutting area) and the honeycomb panel set for cutting.
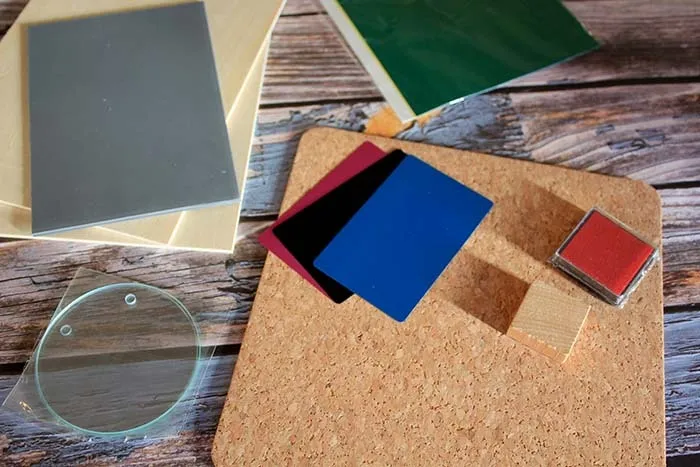
Included in the xTool D1 Pro 20W Laser Cutter and Engraver kit is a pack of materials to get you started: some plywood, some metal business cards, some rubber for making rubber stamps and a piece of wood to stick it to so that you can stamp it, a small ink pad for testing your stamps, a piece of cork, a couple of glass tree ornaments and some pieces of laser marking paper to engrave glass. The paper is stuck to the glass to give the laser something to engrave, as if the glass is transparent, it would just go through the glass without touching it.
Assembled, the unit is really nice-looking, and the new red and gold paint job really makes you feel like Tony Stark.
For cutting, you really need the optional honeycomb panel and aluminum sheet underneath the material to be sliced. This is a special hexagonal metal grill for cutting that enables the laser to go beyond the material without scarring your table. It also features four little magnets to clamp the material to the panel.
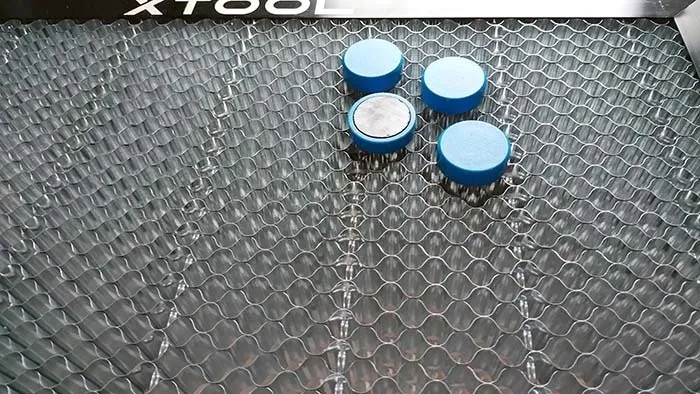
Also under the honeycomb there is an additional layer of aluminum. The honeycomb grid disperses any laser beams going beyond the material and makes it safe. This is not included in the base kit but is available as an add-on.
Setting Up the Machine
There are a few cautions that should be observed with the xTool D1 Pro 20W Laser Cutter and Engraver. You should use it in a well-ventilated area, as it burns whatever it cuts or engraves, and there are fumes. You should wear the supplied laser safety goggles and shouldn’t walk away when it’s working.
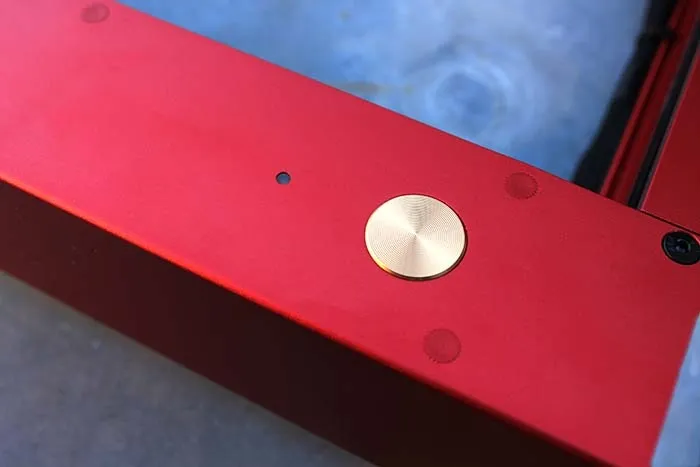
The best safety feature is the big gold button. Before the laser starts its run, you have to press the Start button. This prevents you from firing off the laser accidentally when using the software and ensures that you are standing by the cutter when it’s running.
You will need to download the xTool Creative Space software, which is used to either load or draw your designs. This software connects to the cutter with a USB cable, but you also have the option to connect through Wi-Fi. Setting up via Wi-Fi is a bit fiddly, but it’s a good option.
Once you set you Wi-Fi, you can put your machine somewhere other than right next to your computer. My computer is in an office, and it’s not entirely convenient to burn wood in there. If I use Wi-Fi, then I can put the xTool D1 outside the back door and send signals to it from the office. This is yet another good reason to have the big gold GO button as a failsafe. Send the job to the cutter, walk to the cutter, push the button to start, so the cutter won’t be running without your supervision.
Loading Your Image
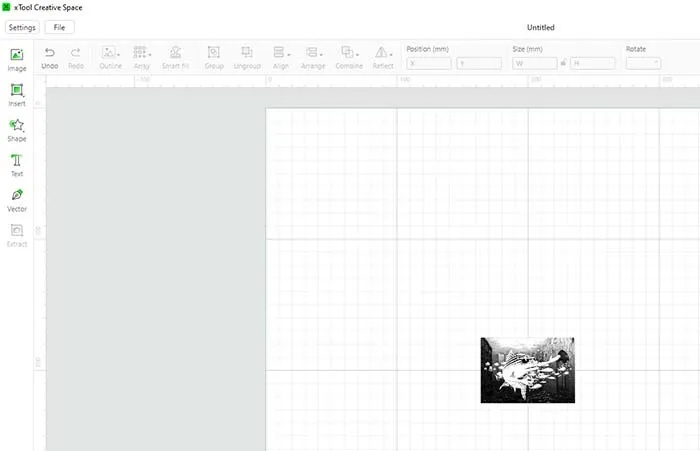
I loaded a picture from one of my favorite games into the software, and it popped up on the virtual bed on the screen. For imported graphics, I recommend using software like Photoshop or Inkscape that can set the physical size and DPI. The size of the image on the screen grid is actual size, but you can resize it to fit your work area with the mouse.
Process the job with the Process button. (You can set the model of the cutter you are using, and the software will resize the work area to reflect your device on screen.)
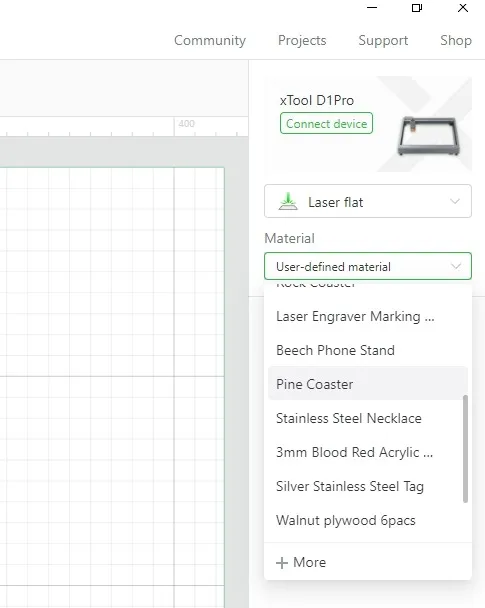
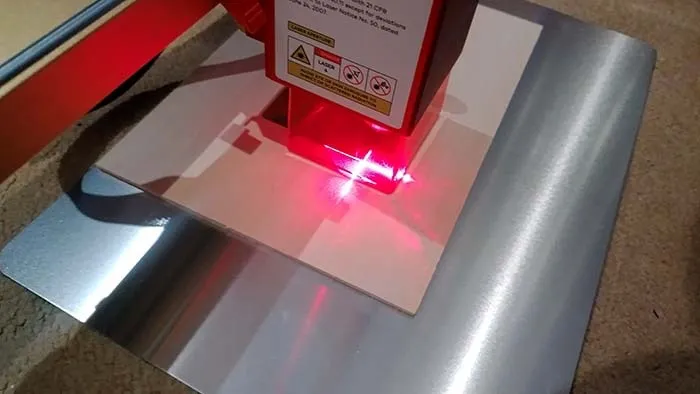
Once the design is processed, and you’re ready to cut or engrave, you can preview or “frame” it. The laser head will trace around the total area of the print without firing so that you can see how far around the material the laser is going to cut. This prevents you from printing anything too large and engraving your dining table accidentally. There is an aluminum protective sheet supplied to make sure you don’t do that, but it’s quite modestly sized, so framing is a must.
Engraving and Cutting
The bed is “bottomless” (as in it has no bottom – it’s an empty square like a picture frame), so when you are using it, you are engraving directly onto your bench (or dining room table or floor). The laser is only separated from your floor or table by the thickness of the material you are cutting. Of course, the laser is focused just a millimeter or two beyond the surface of the material, further if you are cutting. This is the reason you need to use the optional hexagonal panel set: to disrupt the beam and stop the laser from damaging your workbench or table when you are cutting.
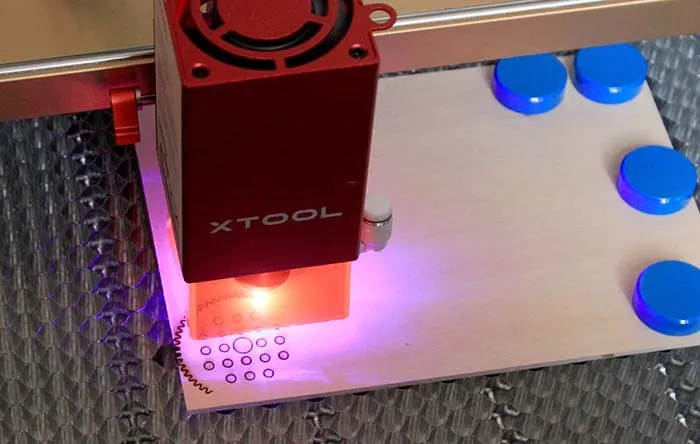
This is another reason to wear the goggles. You have no reason to be especially afraid when using the cutter, and the goggles are merely a precaution. It’s rare that the beam strays out from under the head. It also has a protective orange shield around it, so you shouldn’t have any stray beams cutting your t-shirt into a crop top accidentally.
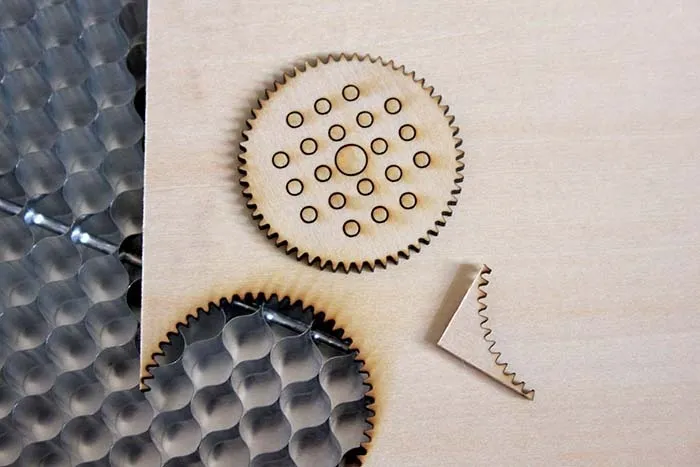
The quality of the cutting is astonishing and fast. That 50mm cog took about a minute to cut – and check out those tiny teeth around the edge! I should probably slow it down a bit next time, as some of those holes in the middle didn’t cut all the way through at the default setting, but that’s about par for the course with laser cutting. Trial and error to get your favorite settings.
The Air Assist module is a nice touch. It’s a small pump that feeds air down a tube onto the laser head at the point of contact. It serves two purposes: makes the cuts more precise and less burned and blows away any debris from the cutting zone. The quality and precision of your cutting and engraving goes up, especially with materials that have a fondness for catching fire, like wood. Burning makes the images, but we don’t want flames.
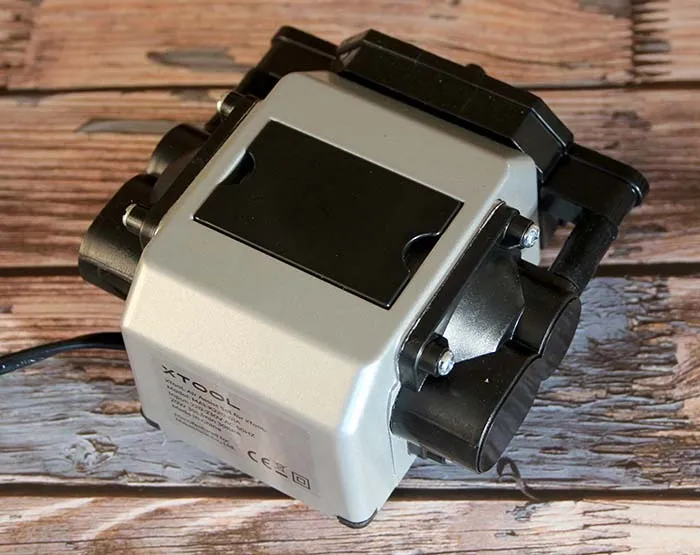
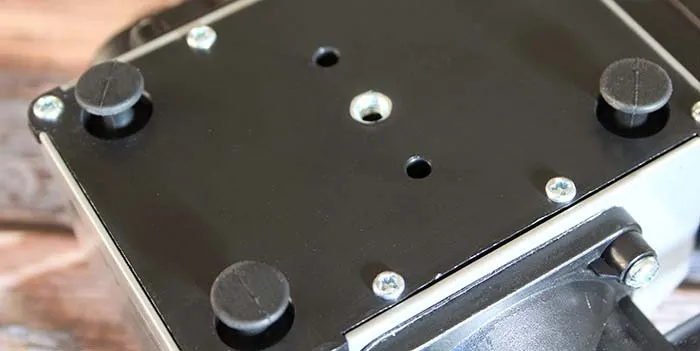
In operation, it’s really quiet. I was expecting more of a racket. This must be the reason it has these amazing wobbly feet that look and feel like the analog joysticks on a PlayStation controller.
Whether or not you have the Air Assist attached or blowing, there is a sensor in the head which tells you if it detects any flames, and it does this by shutting down the laser and sounding an alarm. This is another reason you mustn’t leave when the cutter is in operation. The cutter will stop the laser but can’t blow the flame out for you.
Finally, the RA2 rotary attachment allows you to engrave cylindrical items, especially things like metal water bottles. The unit attaches to the cutter’s circuitry and contains its own motors to rotate the bottle in time with the laser, allowing you to put your logo on a bottle. As the laser engraves the bottle, it turns obligingly to face the laser, rolling it back and forth.
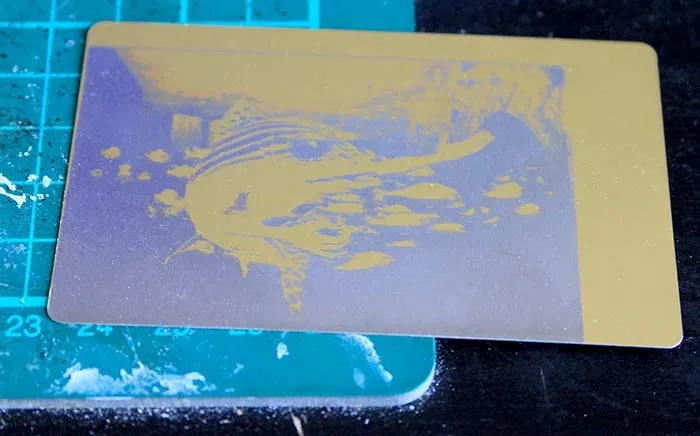
The amount of materials the xTool D1 Pro 20W Laser Cutter and Engraver can work on is a bit overwhelming. The list includes things you expect, like wood and metal, but also slate, rubber stamp mats, felt, glass, acrylic, brown kraft paper, and cork. This kit is pitched hard as a way to start a business, personalizing household items and making things to SELL.
Summary
The xTool D1 Pro 20W Laser Cutter and Engraver is a proper professional tool for home or workshop use. It’s priced at $1,199.99 (around £1,139), sturdily built like a tank, and the documentation is thorough and clear. Everything is beautifully well machined and fits together very smoothly. This is a quality item.
The laser is much finer than other laser cutters I’ve seen, so the results will be quite finely detailed. It’s also very solid on its feet and doesn’t move around at all, to give you accurate prints. The xTool D1 Pro 20W Laser Cutter and Engraver could open up a world of possibilities in your making.
- Tweet
Leave a Reply