Microsoft is testing iOS-like widget picker for Windows 11, here is how to enable it
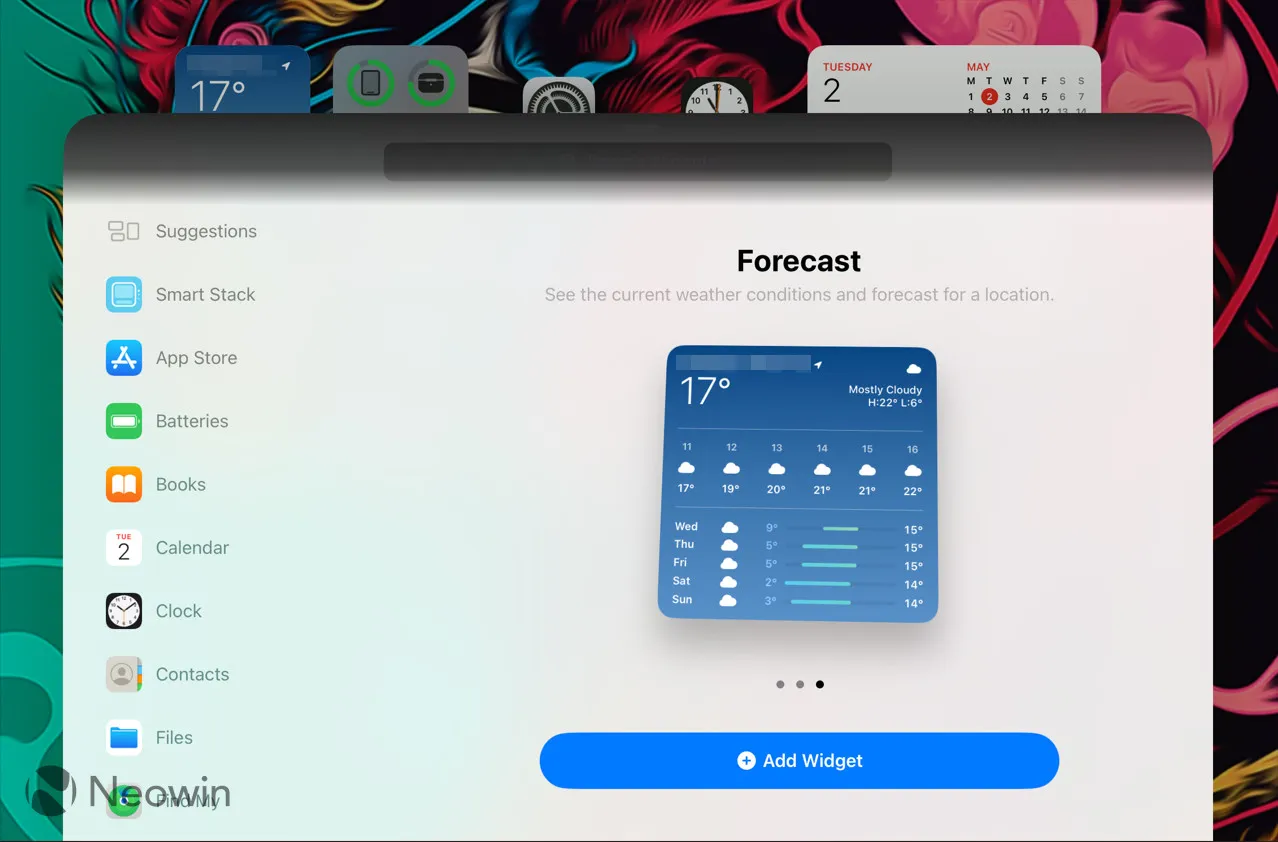
Microsoft recently announced a redesigned widget picker for Windows insiders in the Canary and Dev channels. The new variant allows previewing a widget before adding it to the board and overall looks suspiciously similar to what iOS and iPadOS offer. Here is how the new variant compares with what we have in the Stable Channel:

And here is what iPadOS users have:

The updated widgets picker is rolling out gradually, which means some will receive it much later than others. If you do not want to wait, here is how to enable the new widget experience using the ViVeTool app (via @thebookisclosed).
Caution: Back up important data before using ViveTool. Remember that using stable Windows builds is the best way to ensure your system remains as bug-free as possible.
How to enable the new widgets picker in Windows 11 preview builds?
- Launch Microsoft Store and update Windows Web Experience Pack to the latest version (523.11500.0.0 or higher). Note that the updated variant is only available in the Canary and Dev channels.
- Download ViveTool from GitHub and unpack the files in a convenient and easy-to-find folder.
- Press Win + X and select Terminal (Admin).
- Switch Windows Terminal to the Command Prompt profile with the Ctrl + Shift + 2 shortcut or by clicking the arrow-down button at the top of the window.

- Navigate to the folder containing the ViveTool files with the CD command. For example, if you have placed ViveTool in C:\Vive, type CD C:\Vive.
- Type vivetool /enable /id:43040593 and press Enter.
- Restart your computer.
To revert the changes, replace /enable with /disable on step 6 and restart your computer.
Do you like the new variant or tend to prefer the old one? Share your thoughts in the comments.
Leave a Reply