How to use Microsoft Loop
Microsoft Loop is a new app from Microsoft that has been included in the Microsoft 365 package. This tool is designed for collaboration where users can work together on tables, tasks, or notes from within a chat, documents, or email.
You might be wondering why we need to have this Microsoft Loop app since there are several ways to collaborate using Microsoft 365 for quite a long time. For example, folks can share OneNotes with multiple people, and work together closely by using Word, and presentations.
How to use Microsoft Loop
Visit the website and sign in with your Microsoft account. From there, you must create a workspace and add a title, along with the content relating to that title. Finally, you can share it with co-workers.
- Go to Loops main screen
- Create a new Loop workspace
- Change the design
- Add title and content
- Share the Loop workspace
1] Go to Loop’s main screen
Before we can get down to the nitty-gritty, we must first open the main menu area of Loop. To get this done, you must open your favorite web browser.
After that, navigate to the official Loop web page.
Ensure to sign in with your Microsoft account or else you will not be granted permission to go forward.
You should now be greeted with the main page of Loop, and it should look similar to the photo above.
2] Create a new Loop workspace

The next step is to create a new workplace. One is there by default, and it is called Getting Started. It will give the user ideas of what to do, but it’s quite basic from our point of view.
Click on the plus button in the right-top section of the page.
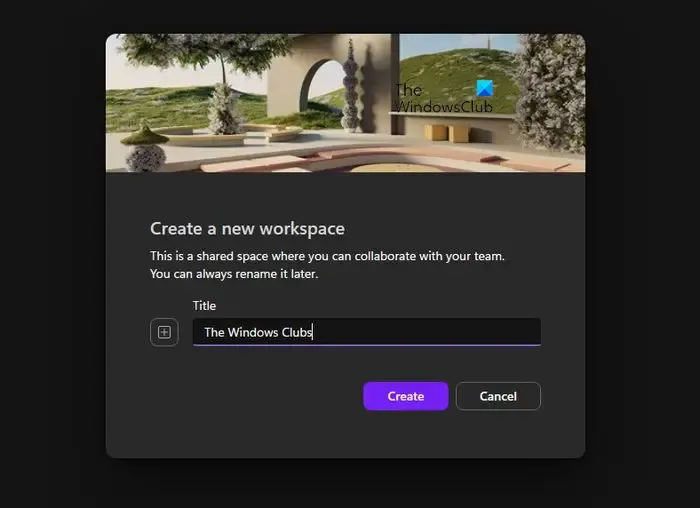
You will be required to type a name, and once done, click the Create button.
There is also the option to invite members of your team to the Loop workspace.
3] Change the design

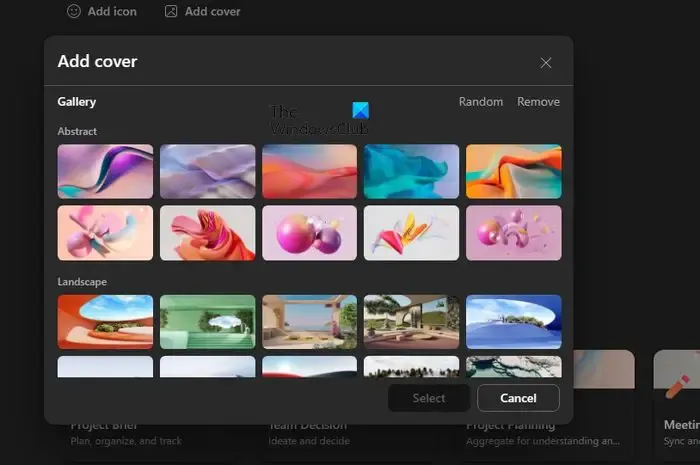
After creating your workspace, we suggest adding a cover. At the moment, there is no option to add your own cover, therefore, you must use what is made available via the Gallery.
Simply click on Add Cover, and right away the Gallery will appear.
Options in the gallery are limited at this time since there are only 35 cover photos available.
But you should not be surprised because Microsoft Loop is currently in public preview, so things will get better.
So, select one of the images from the gallery for your cover.
Click on the Select button, and that’s it, you should now see a cool cover for your workspace.
4] Add title and content

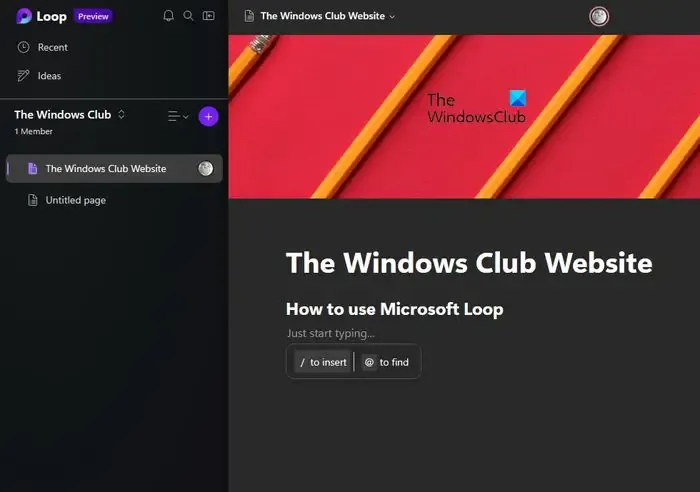
Click within the section that reads, Untitled Page.
Type a name for the page. It can be whatever you deem fit, just as long as it fits with the theme of the workspace.
After you’ve done that, go ahead and click the area that reads, Just Start Typing.
Here you can add content relating to the newly created workspace.
Now, when you click inside the typing area, you will see a forward slash and an at button.
Insert the forward slash to add a heading, table, checklist, bulleted list, numbered list, and divider.
The at button, then, will help you tag members of the Loop workspace.
5] Share the Loop workspace

Now, after creating the workspace, the ability is there to share it with others. This can be accomplished with ease, so let us look at what to do.
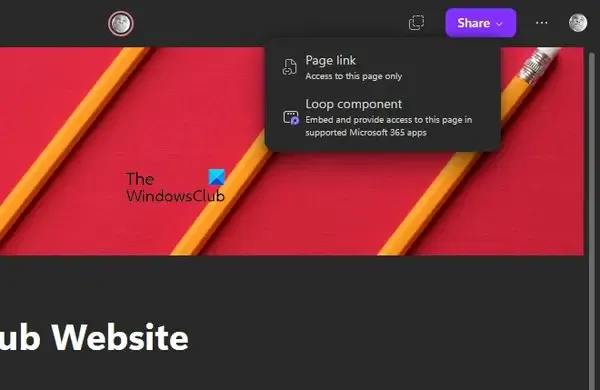
Click on the Share button at the top-right section of the page.
You should see a small dropdown menu.
Select either to share as a Page Link or Loop Component.
Is Microsoft Loop available now?
Microsoft Loop is now available in Public Preview on the web, and for iOS and Android devices. The service was first shown back in 2021, and the idea is to allow people to work on projects with components that can be updated live. Not only that but these components can later be dropped into Microsoft 365 apps such as Word and Outlook.
How do I get Microsoft Loop?
Open your web browser and navigate to https://loop.microsoft.com/. Sign in with your Microsoft account, then create a new workspace among other things. Bear in mind the app is also available for iOS and Android devices, so go to the relevant store and download it.
Leave a Reply