How to Use Diff Files in Linux

Diff is a command line tool for Unix systems that allows you to compare two files or directories and see the differences between them. It’s ideal for comparing old and new versions of files to see what’s changed. In this article, we show you how you can use diff to easily compare files in Linux.
Comparing Files with diff
- Open a terminal window.
- Type
diffand the paths to two files you’d like to compare. In this case, I’m comparing two small C programs on my desktop using the following command:
diff ~/Desktop/hello.c ~/Desktop/hello-1.c
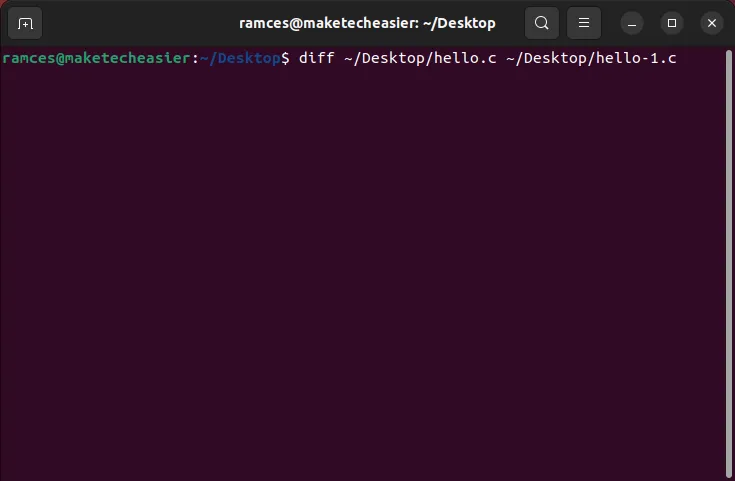
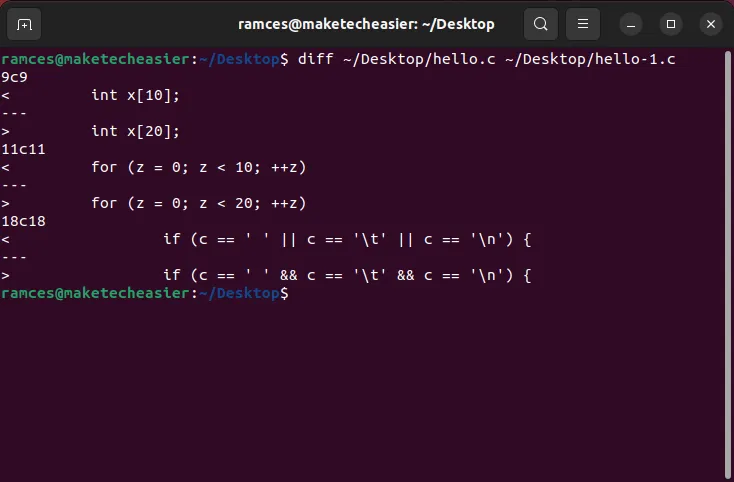
- Press Enter to submit the command. The resulting display will show you all the different lines between the files. Compared line numbers will be shown as “1c1,” meaning the first line was changed, and the following differences were found.
- To see a side-by-side view of the files and their differences, use the
-yflag afterdiff. For example:
diff -y ~/Desktop/hello.c ~/Desktop/hello-1.c
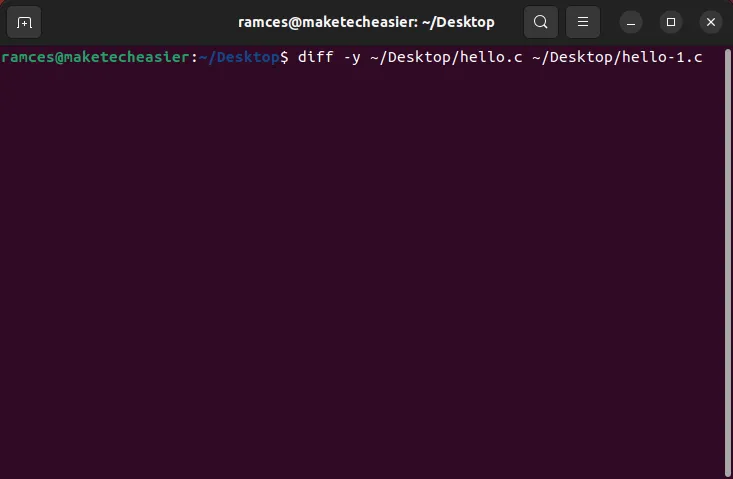
Any line with a pipe symbol (|) is a line with a difference. Just be sure to expand your terminal window first, or you may have a hard time seeing the display.

Comparing Files with Meld
The functionality of diff can also be accessed through Meld, a GUI for diff. Considering that diff’s user interface can be hard to get a handle on, Meld is a useful tool.
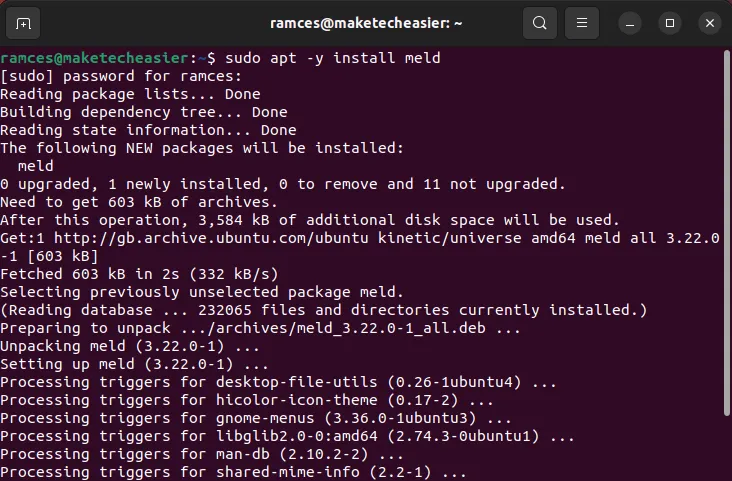
- Install Meld from the command line by opening terminal and typing:
sudo apt -y install meld
or
sudo dnf -y install meld
for RPM-based distros.
This will initialize the apt package manager and begin installing Meld. Note that the -y flag will automatically say “yes” to any prompts; please remove it if you’d rather confirm those prompts manually.
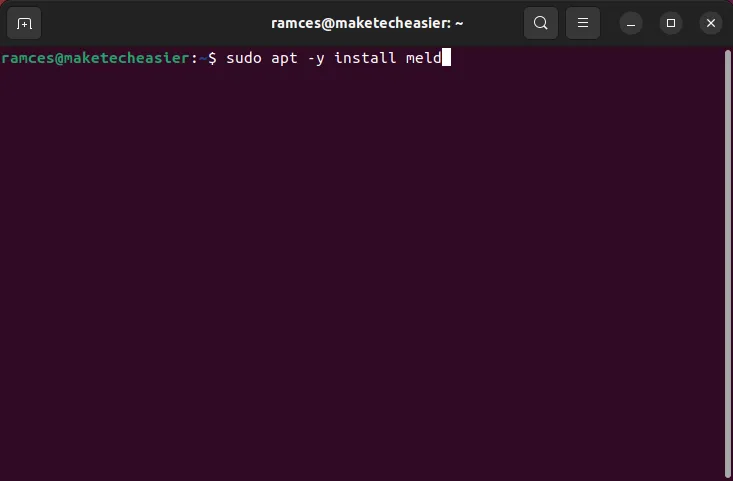
- Enter your admin password when prompted. When you see the command prompt again, the install is finished and Meld can be opened.
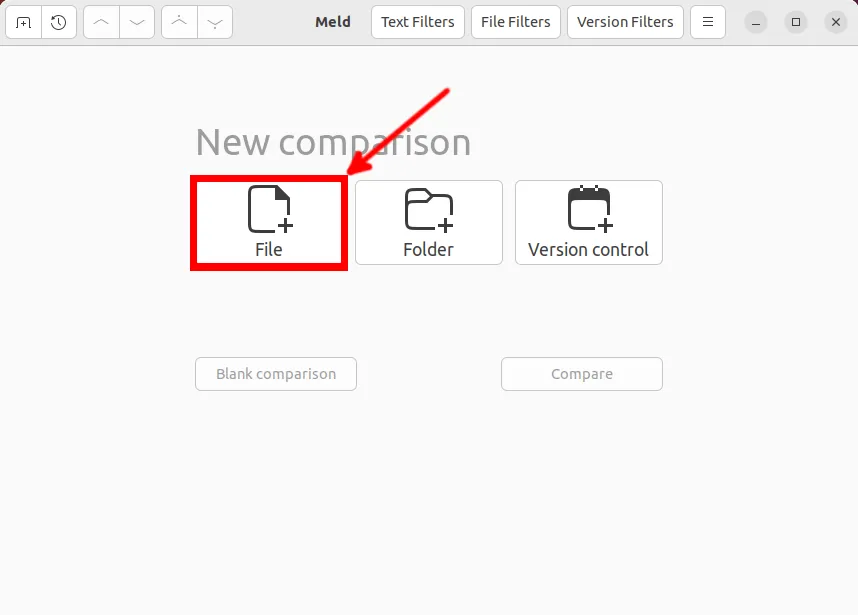
- When you open Meld, you’ll see three options: File comparison, Directory comparison and Version control view. Click on “File.”
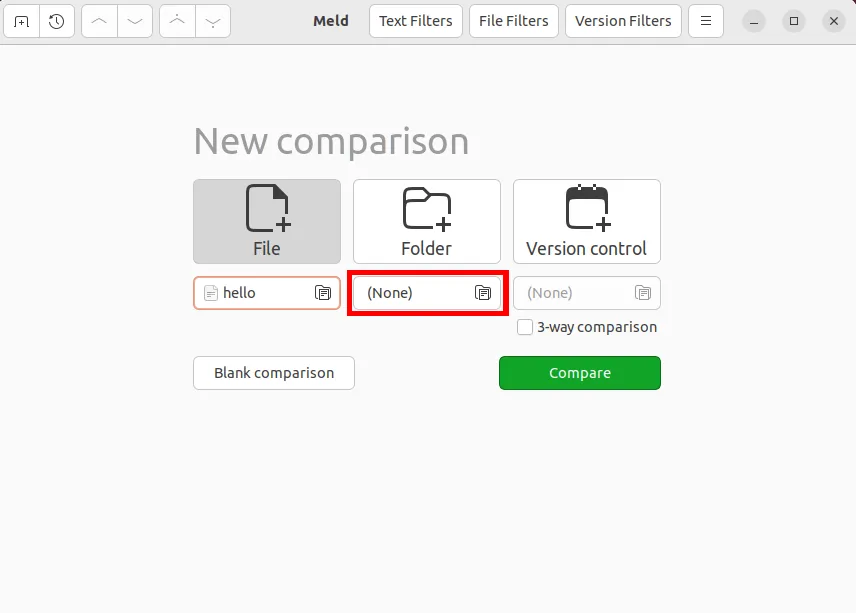
- Two drop-down menus will appear, both reading “(None).” Click on one to select a file for comparison.

- Click on the other drop-down menu to select a second file for comparison.
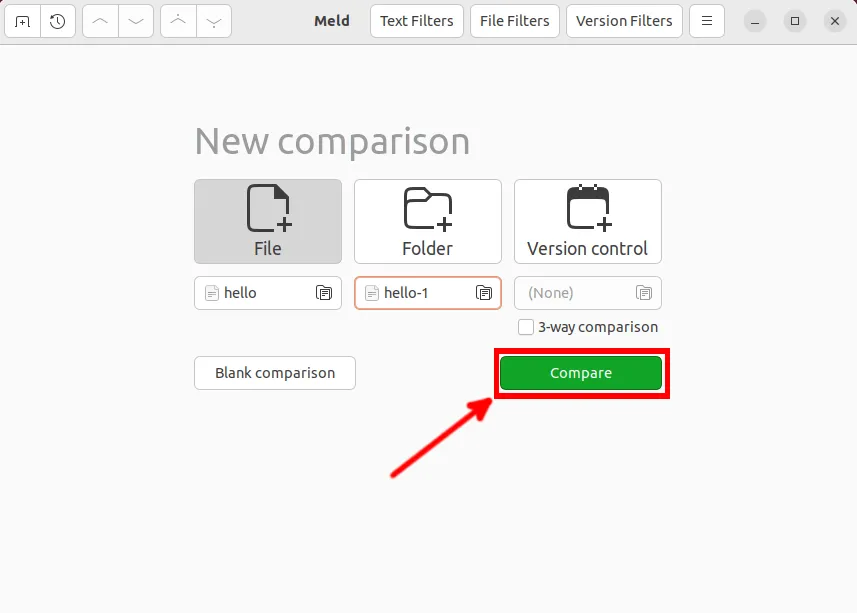
- Click the “Compare” button.
- The next window summarizes any differences found between two files. Red characters are differences, and the blue background indicates that there is a difference in that line. A green background indicates that a line exists in one file but not in the other.
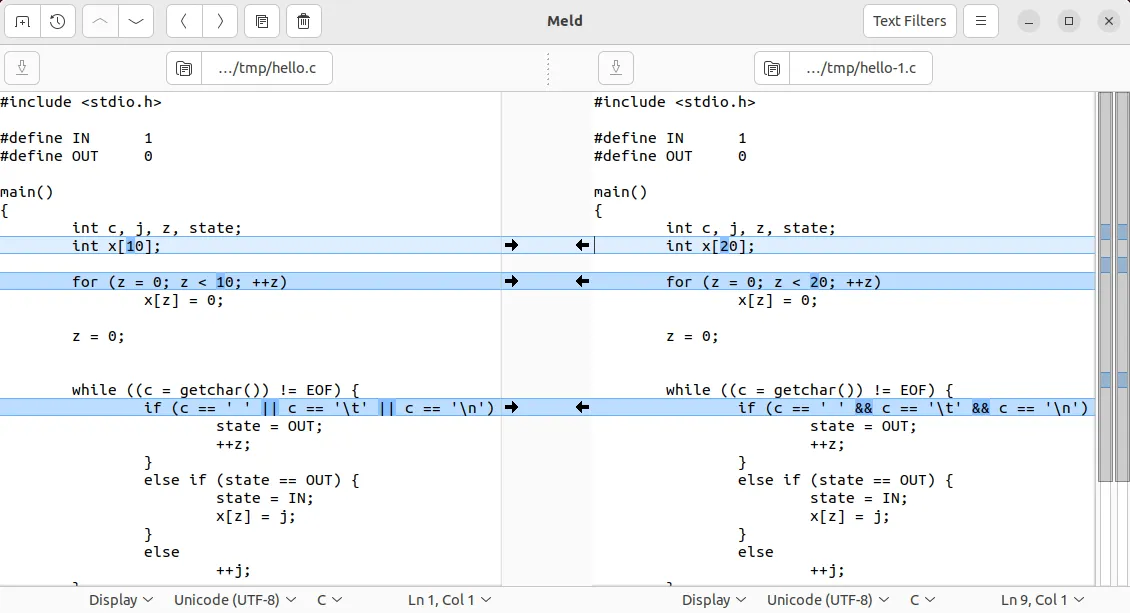
- To navigate between differences, click the up and down buttons in the menu bar. You can also click directly in the document with your mouse.

Manipulating Files in Meld
In addition to making comparisons, Meld allows you to change compared files. Meld will continue to analyze the document for changes as you modify either version, and you can press Ctrl + Z at any time to undo the changes.
- To copy changes from one file to another, click the small black arrows between the changes. Clicking the arrow on the left side, for example, will use the left document’s line to overwrite the document on the right.
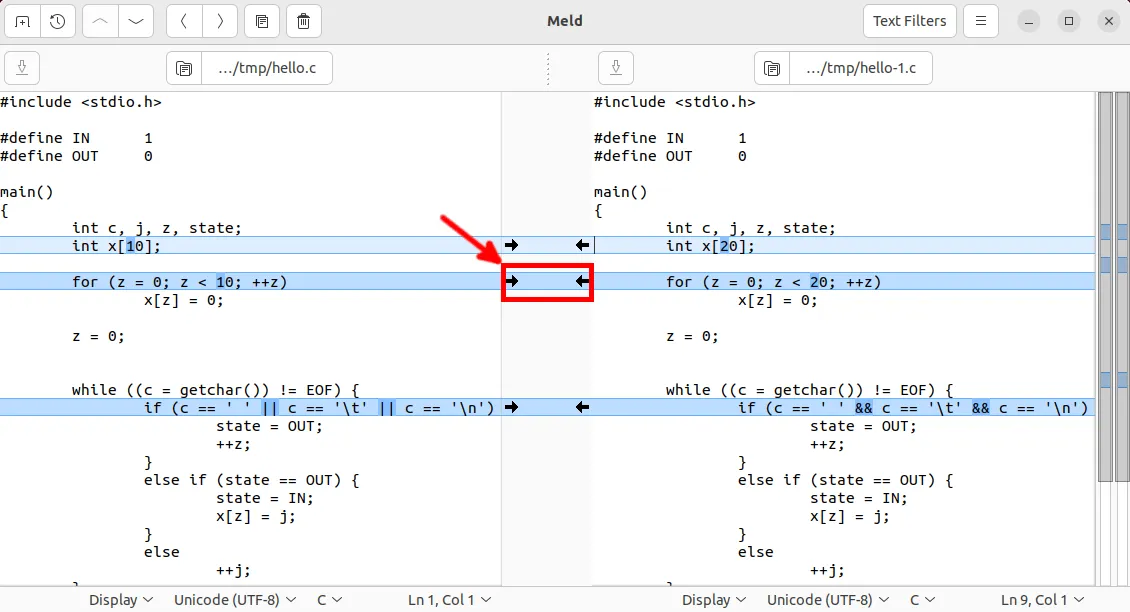
- Lines can also be inserted into documents without overwriting. If you hold down the Ctrl key, you’ll see the arrows from the last step turn into plus signs. Click the icon to open a small dialog box where you can choose where to insert a new line.

- Finally, type directly into your document. Just insert your cursor as you normally would and begin typing.
- Once you’re done making changes, click the “Save” button to save your files.

Creating diff Files Using Meld and diff
Aside from showing the differences between two files, you can also use Meld to create “diff files.” These are small pieces of text that contain instructions on how to apply changes from one file version to another. This is useful if you want to quickly distribute code updates without resharing the entire source archive.
- Open the two files that you want to compare.
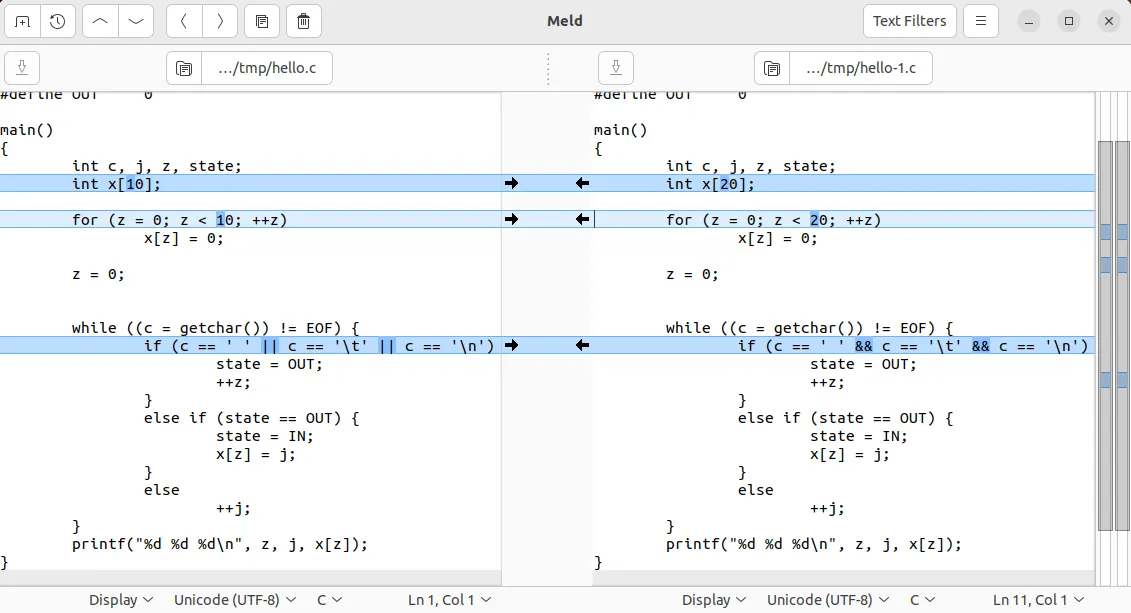
- Click the Options menu in the window’s upper-right corner.

- Select the “Comparison” submenu.
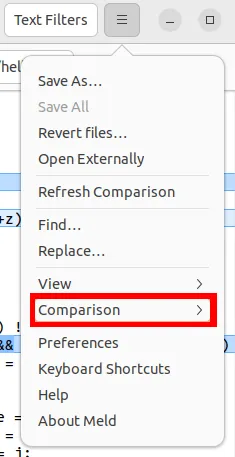
- Click the “Format as a Patch” suboption.

- This will open a small window where Meld will print the entire diff file between your two files. At this point, you can either copy this text to your clipboard or save it to a file. To do the latter, click the “Save Patch” button.

While creating diff files inside Meld is simple and straightforward, there are cases where it may not be possible to access a GUI while editing code. For that, you can also use the diff program to generate a diff file.
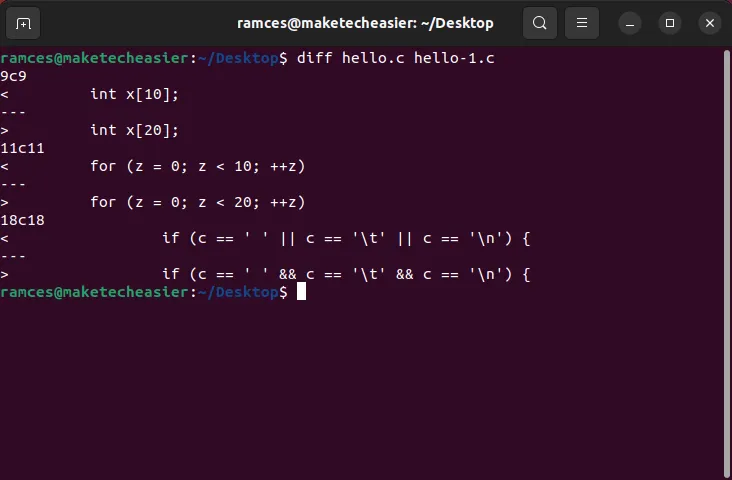
- Open a terminal and check whether there are differences between the two files:
diff hello.c hello-1.c
- Create a simple diff file by using the
-cflag:
diff -c hello.c hello-1.c > hello.diff

- Optionally, use the
-uoption that combines the two streams of text into a single unified diff block. This can be helpful if you are changing a lot of code and want to save disk space:
diff -u hello.c hello-1.c > hello.diff

Using diff Files to Patch Source Code
As discussed above, a diff file allows you to create an easily shareable summary of changes to your source code. However, diff itself cannot apply these to existing files. To do that, use diff’s companion program, patch.
- Determine the original source code that the diff file is trying to change:
cat hello.diff | sed 1q

- Create a backup of your original source code:
cp hello.c hello.c.old
- Run the patch program with the original file on the first argument and the diff file on the second:
patch hello.c hello.diff

It is important to note that a diff file can also contain changes that span multiple files. Apply this by placing all the files needed to update on a single directory and running patch < multi-file.diff.
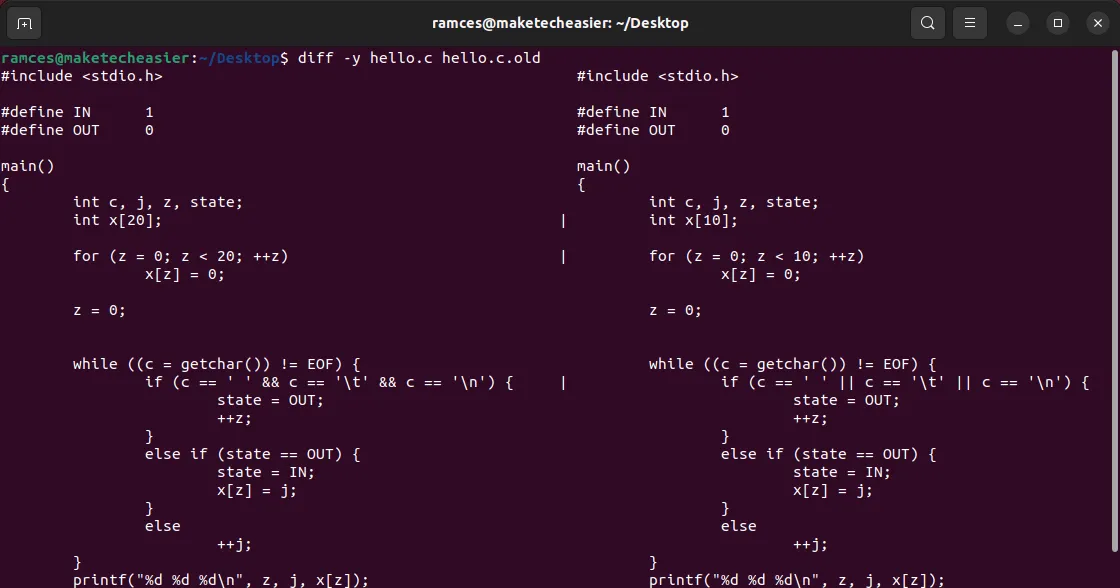
- Check whether the patch program successfully updated your source file by comparing it to your backup:
diff -y hello.c hello.c.old
FYI: Git is a powerful cross-platform version control program. Learn how you can use it to manage your source code repositories in Linux.
Frequently Asked Questions
Is it possible to patch a file multiple times?
Yes. However, it is important to note that the line number value inside a diff file is static. For example, applying a diff that adds five lines of code on line 1 will adjust the entire file by five lines. While modern tools can compensate changes from single diffs, applying more than one can create unnecessary code conflicts.
Is a diff file similar to a Git patch?
Yes. Both diff and Git use a similar type of format for their code patches. As a result, you can interchange the two utilities when applying updates to your source code. For example, running git apply hello.diff is equivalent to running patch < hello.diff.
Can you use Meld with a version control program such as Git?
Yes. One of the most powerful features of Meld is that it can work transparently with any version control program. This gives you the ability to easily interact with your repositories outside the terminal interface.
To do this, press Ctrl + N, then click the “Version control view” button. Next, click the drop-down box below it and select “Other.” This will bring up a small window where you can see and load your Git repository.
Image credit: Unsplash. All screenshots by Ramces Red.


Leave a Reply