How to Trace an Object or Image in InDesign
With the rise of digital art, it is very important to digitize physical art. It may be a painting, sketch, or anything done in any medium. This makes it important to learn how to trace an image or object in InDesign. It is not only a physical art piece that sometimes needs to be traced, but you may also have a low-quality logo or other artwork that you need to, and the easiest thing is to trace it.
Tracing in InDesign is the same as tracing on paper. When you trace on paper, you place the object that you want to trace under the paper on which you will make the marks. You then use a pen or a pencil to trace the lines from the object onto the blank paper. You start at one end and continue until you cover all the objects.
How to Trace an Object or Image in InDesign
Tracing in InDesign is the same, the marks are traced over the object. Depending on the complexity of the image you can use either the Pen tool or the Pencil tool to trace the image. You may find one easier to use than the other. In his article, both the Pen tool and the Pencil tool will be used to trace to show the differences, however, you can use either of the two for your tracing. The procedure involved is as follows:
- Open and prepare InDesign
- Place the image into InDesign
- Turn down the opacity of the image
- Trace with Pencil tool
- Trace with Pen tool
- Delete original image
- Group traced lines
1] Open and prepare InDesign
The first step to tracing any object in InDesign is to open and prepare InDesign. Double-click on the InDesign icon to open it. You will see the InDesign window open, look under Create new and click Document.
The New document options window will appear, choose the options that you want for the document then press OK. You will see a blank document page open for you to start working on. You will need to place the image that you want to trace into InDesign.
2] Place the image into InDesign
This is where you will place the image that you will trace into InDesign.
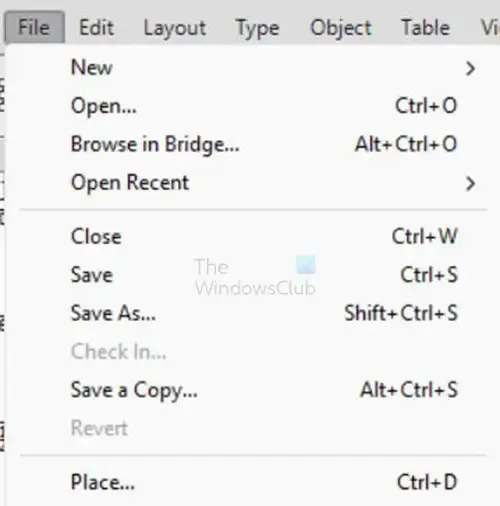
To place the image into InDesign, go to the top menu bar and press File then Place or press Ctrl + D.
The Place window will open for you to search for the file that you want to place in InDesign. When you find the file click it and press Open.
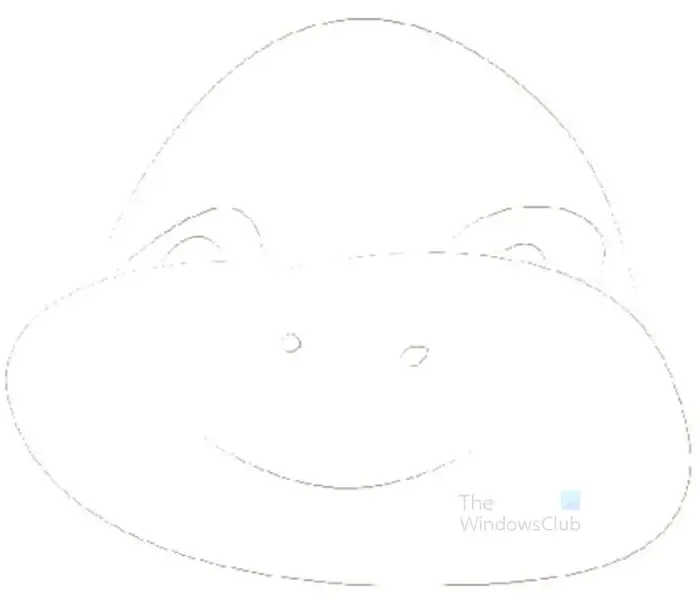
This is the original image that will be traced.
3] Turn down the opacity of the image
This step is where you turn down the opacity of the image so that it is easier to trace over it. This step is optional as the original image may already be dull. If you have a bright image as the original, you can turn down the opacity.
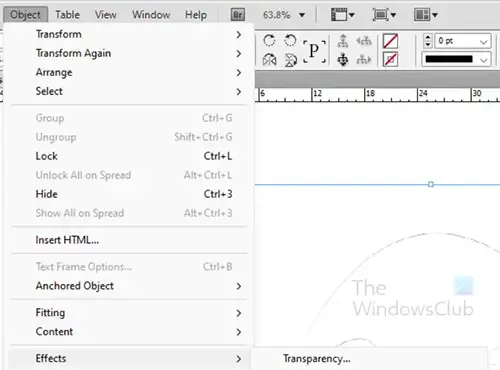
To turn down the opacity of the image select the image then go to the top menu and click Object then Effects then Transparency. You can also right-click on the image and choose Effects then Transparency.
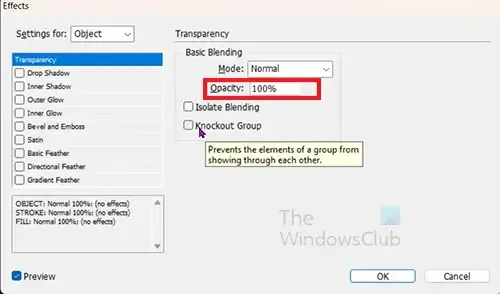
The Effects options window will appear. Look for the Opacity option and lower it to Fifty percent (50%).
4] Trace with the Pencil tool
This is where you will now use the Pencil tool to trace over the image. The pencil tool is located on the left tools panel. The pencil tool is located under the pen tool, click it or press N to select it. you can choose to zoom in so that you can see the image better you can zoom in by pressing Ctrl + + or zoom out by pressing Ctrl + –.
With the pencil tool selected click a starting point on the image, hold the left mouse button, and drag to trace the line. You can let go at the end of the line. You can start another line and drag then keep following the step until the whole image is traced.
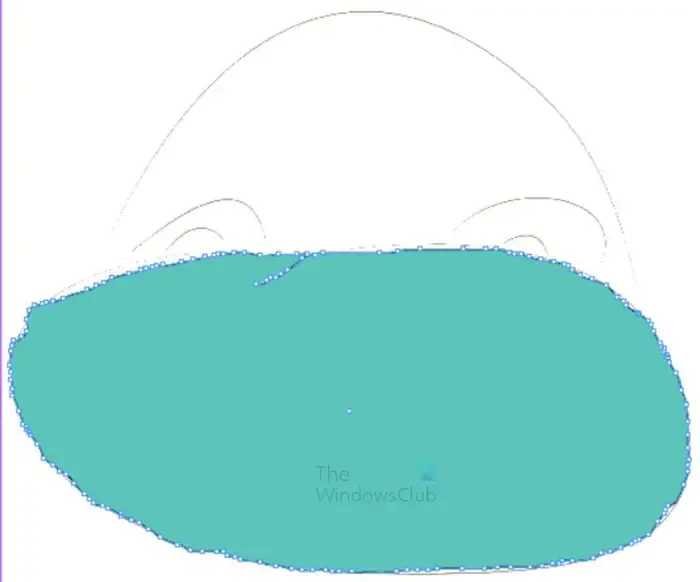
This is the first trace that is made with the Pencil tool. Fill color is enabled so you will see the color added when you complete the trace. You can see the handles (little squares) on the line.
You will see that the trace is not perfect, you can edit the lines with the Pencil tool. Just draw the pencil tool across the points that are not even and the line will straighten.
If you made the line inactive then it is best to use the Smooth tool to straighten the line. If you go over the line with the Pencil tool after you have made it inactive, it can delete some aspects of the line.
To see the line without the handles, click on the selection tool. You will see the line without the handles. If the line is crooked, select the line then select the Smooth tool to trace and smooth the line. As you trace along the line with the Smooth tool you will notice that handles get less as the line is straightened.
Edit a line Pencil tool trace
The line you just traced will be active, you know that the line is active if it is blue and has anchor points. If you need to edit the line you can go to the left tools panel and click the Smooth Tool. The smooth tool is in the same group as the Pencil tool, long press the Pencil tool to see the flip-out menu then select the smooth tool. You then draw along the Pencil tool line and smooth it out with the smooth tool.
You can also use the Pencil tool to edit the active line. You can use the pencil tool to click an anchor point and you can extend, break or change the direction of the line.
If the line is no longer active but you need to edit it, you can still do so. You can edit the inactive line by selecting the Direct selection tool and then clicking the inactive line. You can shorten the line or make it longer, change directions, or curve the line. When you have finished editing, click the Pencil tool if you need to continue tracing the lines.
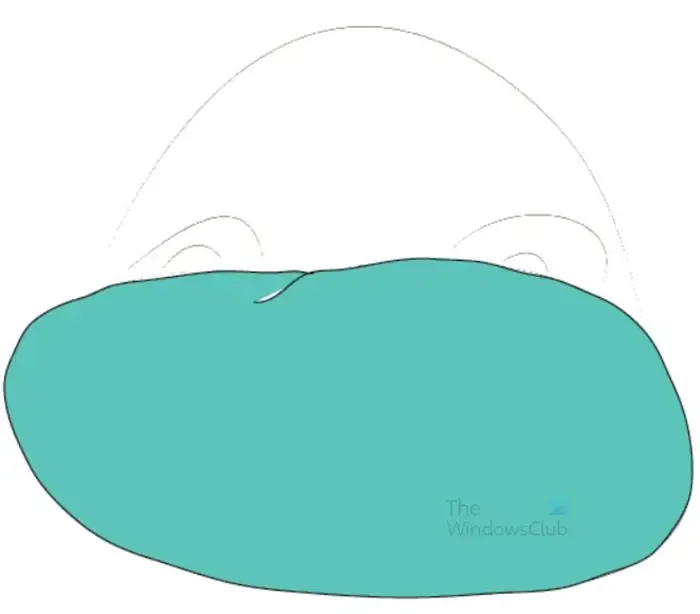
This is the image when the Smooth tool is used to make the lines smoother.
To trace the rest of the image, you just need to follow the steps above. You may need to turn off the layer that is blocking the image below. If they are blocking the image, you will not be able to trace the image. Note that the image used may differ from what is used here in this article. To get the nostrils in this image you would have to turn off the trace layer which is the lower part of the image traced. You can also choose to turn off the fill color so that no color is present as you trace. you can then add color when the image is finished.
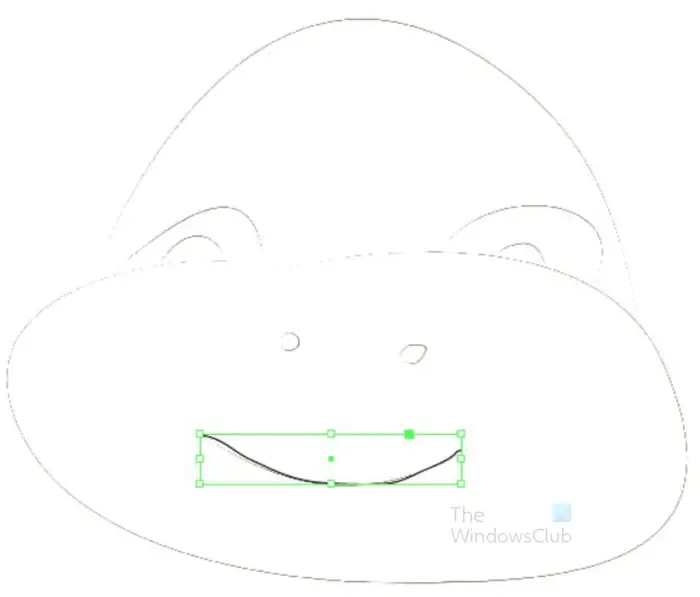
This is the mouth added to the image. The lower part of the face is not seen, it was made invisible because it was hiding the rest of the image below. You can fix this problem by also turning off the fill color until all the pieces are drawn.
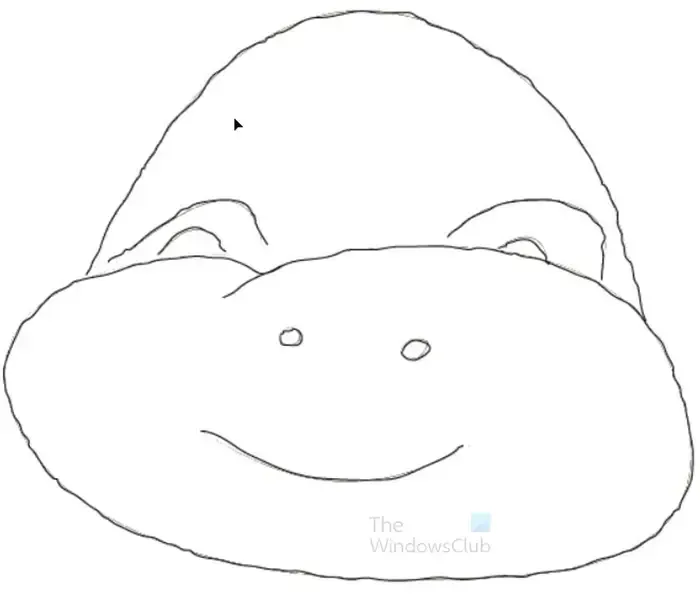
This is the complete pencil-traced image. Note that the image that was traced over is not removed.
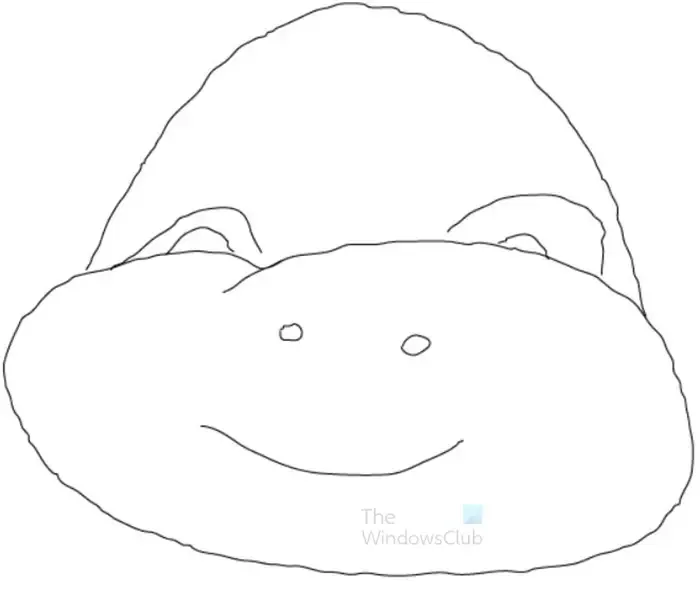
This is the image pencil traced with the original image removed. Each of the traces is independent so they can be moved and adjusted as you see fit.. No fill color is added. This image can stay as it is especially if it going to be used for coloring when it is printed.
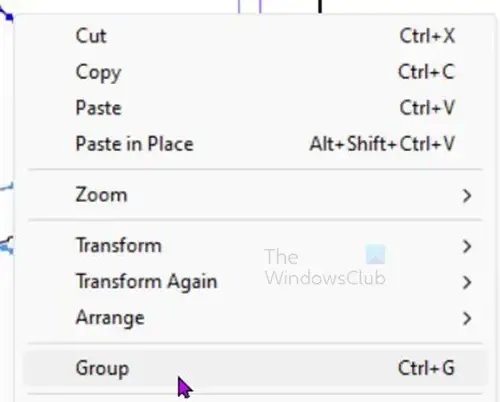
If you want to group the parts into one so that they can be moved together click on each line while holding Shift. When all the lines are selected, right-click on the artwork, and from the menu select Group or press Ctrl + G.
5] Trace with the Pen tool
Tracing with the Pen tool takes a little more expertise but with practice, you can do it. you can trace the object two ways with the Pen tool, you can use short clicks or long clicks with curving so that the lines match the image.
Trace with short clicks
When you trace using short clicks, you make more handles and they may be harder to straighten out. This is however an easier way to trace with the Pen tool, especially for beginners.
The Pen tool is located on the left tools panel. You can find it below the Line tool or you can press P to select it. With the pen tool selected, go to the original image that you want to trace and make short to medium clicks from the starting point to the endpoint. You may have to make multiple traces to cover all of the images, then group them. This is dependent on the complexity of your image. You can also choose to create a separate layer for the Pen tool trace or you can keep using the same layer as the original image.
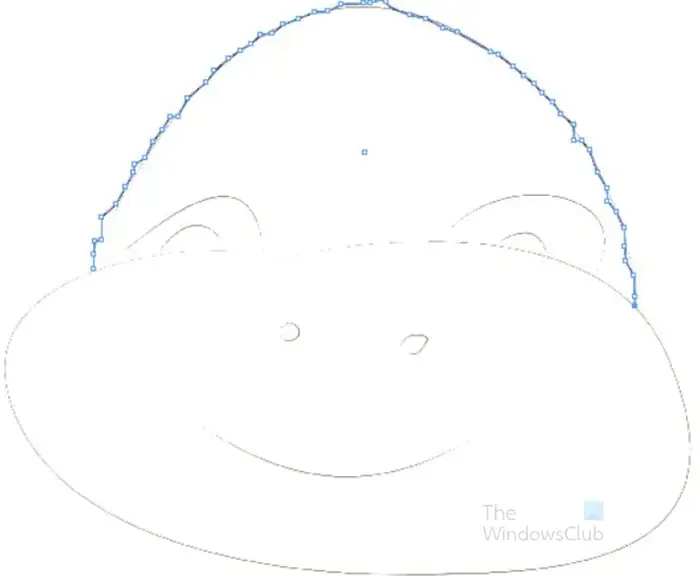
This is the image showing the Pen tool short clicks to trace. You can see that there are a lot of handles. They are not necessarily straight but they can be corrected. You could continue that path for all the outer parts of the image. or you could break it up into sections. For example, the top of the head could be one traced line, then the bottom of the face another, then the eyes, then the mouth then the nostrils. Each part would have its own set of traces that would then be grouped.
Note that the mouth, eyes, and nostrils would have to be traced separately since they are inside the image. You may need to use shapes to make the nostrils since they may be too small for the pen tool to accurately trace. You can zoom in on the image to make the image larger if you decide to use the pen tool to trace the nostrils.
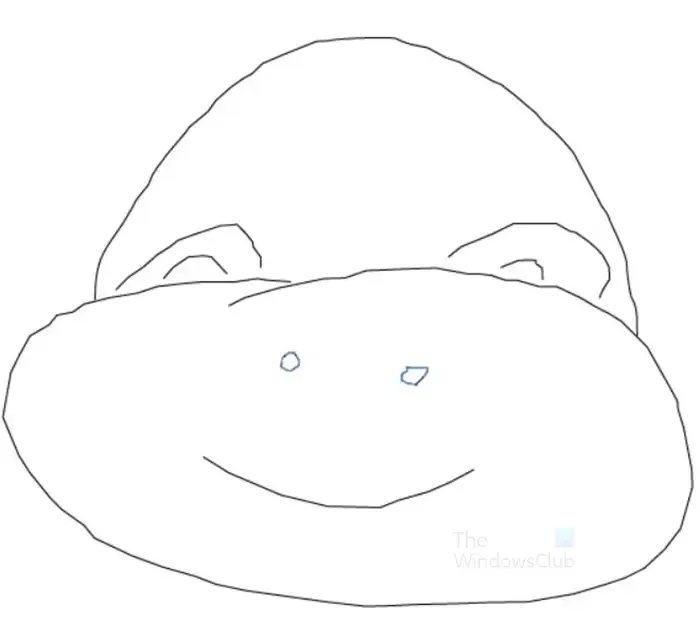
This is the complete image traced using the short pen tool clicks. The image has some crooked sections but they can be further fixed by adding or removing handles/anchors.
Trace with long Pen tool clicks and adjusting
The Pen tool can be used to trace using longer clicks and adjusting. This is done by clicking the start point then going to another point and clicking then dragging to create the adjustment handle at that end. You would then drag in the direction that you want the line to be adjusted/curved.
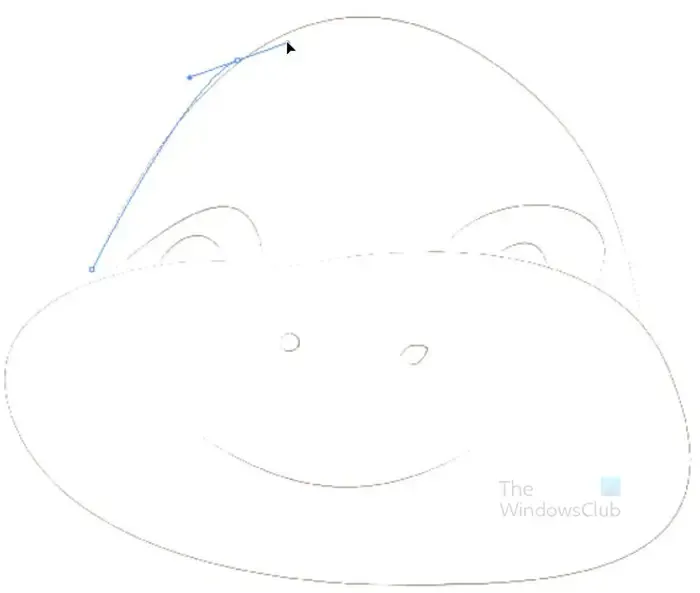
This is the image showing the first long pen tool trace. Notice that the trace takes a longer path along the original image. You can also see the handle created when you clicked the endpoint and drag. That handle is the adjustment handle. Adjust it in different directions to fit the curve of the original image. when you are finished adjusting to get the curve, you then click another spot to create the next line. You do this until you finish tracing the image. you can choose to make different parts/sections of the image have their own set of pen strokes then group them when they are all finished.
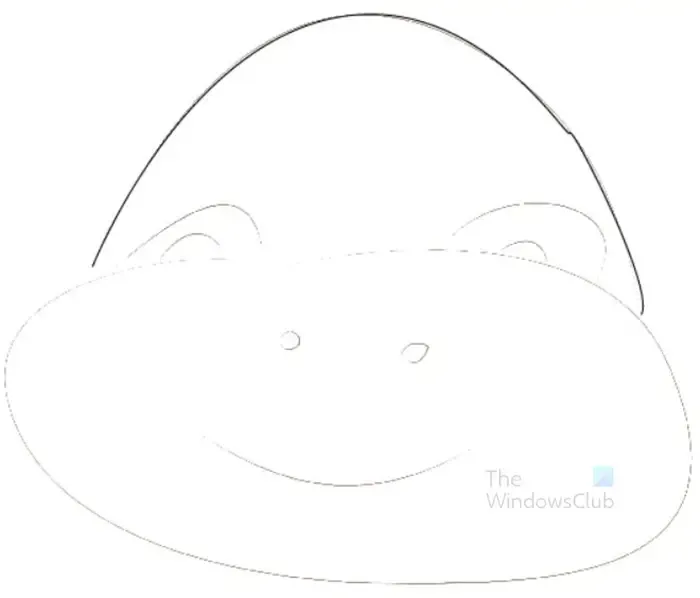
This is the top of the image with the long pen strokes. You will notice that the trace is much more perfect with just minor corrections needed. This is much better than the shorter pen strokes or the pencil trace. However, the longer pen strokes take more practice and even then, it can be harder to use especially on more complex images. This top of the image was traced with three separate points. If your image is less complex, you can use two points (the start and the endpoint).
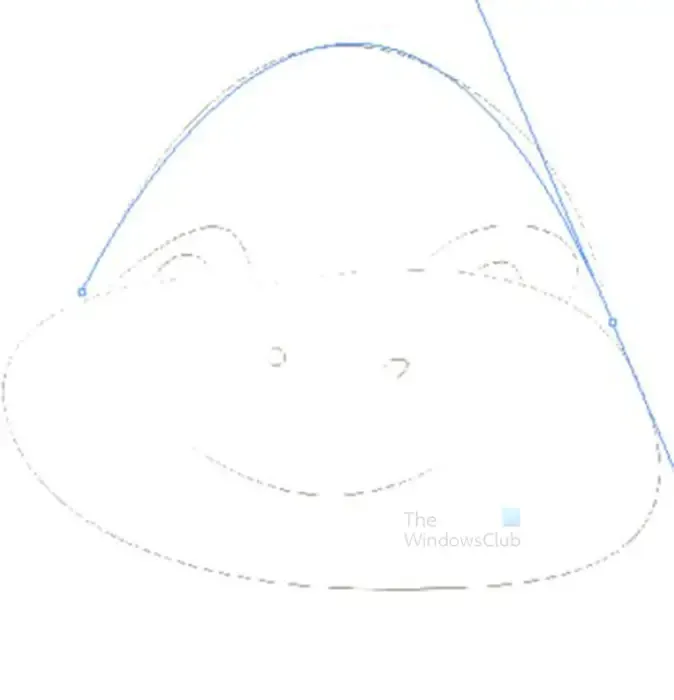
Note that you may need to use a mixture of long and short pen tool strokes depending on the complexity of the image that you have to trace.
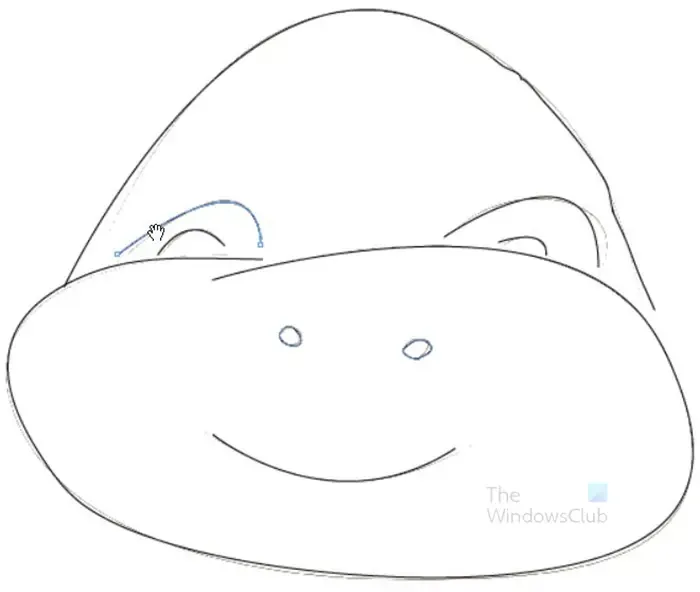
This is the image with the long Pen tool traces. The original image is still in the background. A mixture of the Smooth tool, adding and removing anchor points, and using the Direct selection tool was used to make the Pen tool fit as close as possible to the original image.
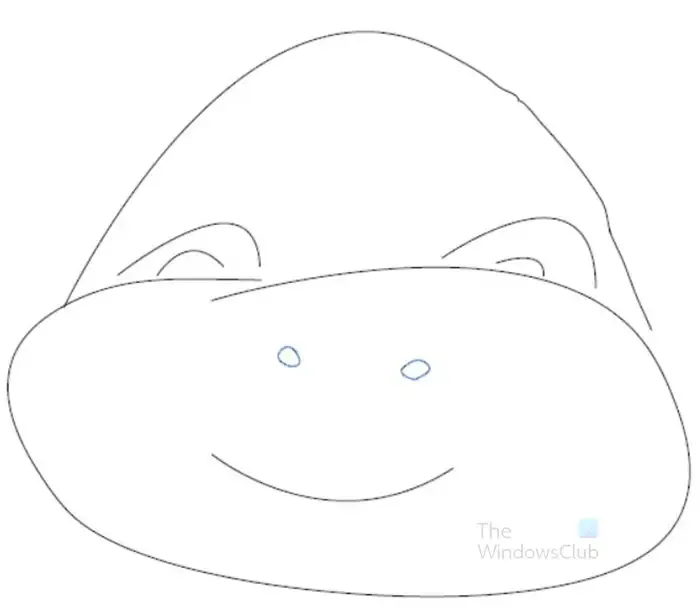
This is the complete image with the long Pen tool strokes, the original image was removed from behind the traced image.
Fixing crooked pen traces
Important note – you will see the word handles or anchor points used, they are the same. They are the little squares that appear on lines where you started or ended a line when you traced with the Pencil tool or Pen tool.
To make Pen tool traces smoother you can use the same pen tool to do it. The crooked traces can be fixed by deleting handles, adding handles, or moving the handles. To do any of these just hover the pen tool over a handle or line segment and you will see the cursor have a different symbol beside it. The + symbol appears when you hover over a line segment and it means that you will add a handle at that point when you click. The – symbol appears when you hover over a handle and it means that you would delete the handle if you click. The inverted V tool appears when you hover over an anchor point and it allows you to convert that point into a direction handle. If you click and drag you will see the anchor point change and you can use it to change the direction of the line.
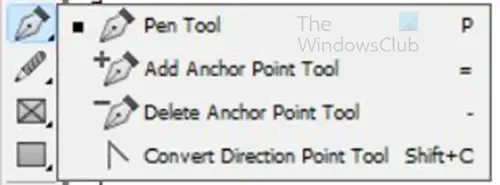
Note that you can find those tools in the same group as the Pen tool on the left toolbar. However, it is much easier to just use the same Pen tool and hover and allow it to change to each of the tools instead of having to go to the tools panel each time you need one of these tools.
You can also fix crooked pen traces by using the Smooth tool. select the Smooth tool then click hold and draw along the part of the pen trace that is crooked. It will remove anchor points and straighten the line in the direction that you draw.
6] Delete the Original image
Now that the image is traced, it is time to delete the original image that is below the trace. The original image can either be on the same layer as the trace or it can be on a separate layer.
Same layer
If the original image and the trace are on the same layer, you will have to open the layer and turn off the visibility or delete the original image. You open the layer by going to the layers panel then clicking the arrow at the layers name. you will see a list of the elements that fall under that layer. Look for the one that is the original image and click the eye icon to turn off the visibility. If you want to delete it, click and drag it onto the Bin icon.
Separate layer
If the original image is on a separate layer then you just need to click that layer and turn off the visibility. If you want to delete it just click and drag it onto the Bin icon.
7] Group traced lines
Whether you use the Pencil tool or the Pen tool to trace the image, you may have used different traces for different parts of your image. for example, you may use different traces for the eyes, mouth, top of the head, etc. this means that each part will be separate. You may choose to group them so that they are easy to move and resize together. To group the different strokes, click one then hold Shift then click each piece when all pieces are selected press Ctrl + G or right-click then from the menu click Group.
This is the image that was traced, color was added to it. The mouth was given a thicker stroke to make it stand out more.
How do you outline text in InDesign?
To outline text in InDesign, select the text with the Selection tool. You then go to the top menu bar and select Type then Create Outline or press Shift + Ctrl + O. The Create outline option allows you to place a stroke or outline around the text. if you write text in InDesign and then choose the stroke color, the stroke will be placed around the frame that is around the text. However, if you go to Type then Create outline you will be able to place an outline/stroke color around the text.
How can I trace with the Pen tool in Illustrator?
To trace with the Pen tool in InDesign, select the Pen tool from the left tools panel. The next step is to click to create a starting point. You then click another point to create a line between the start and the current point. as you click around the object the line and anchor points will take the shape of the object.
Leave a Reply