How to Share Your Google Passkey
What to know
- You can share your passkey using a QR code.
- This allows you to sign into a new device by using the QR code to transfer the passkey from another device.
- You can also use a QR code to authorize a new device and create a new passkey on it from a trusted device that is already using your account.
Google has introduced a new way to authenticate and sign in to your accounts on the occasion of World Password Day: Passkeys. Google Passkeys are a replacement for passwords that are stored on authenticated devices that then use biometric or PIN authentication methods to verify your identity and sign you into your account.
The process is a bit complicated, but essentially, two keys are created for an authenticated device: the cryptographic private key stored on your approved device and a public key that is uploaded and saved to Google.
When you authenticate using your passkey, a unique signature is generated for your authorized device, which is then verified using the public key stored by Google. Once approved, you are signed in without ever having to type in your password.
If you’re excited to try out this new feature, we have the perfect guide for you. Follow the sections below to help you create a passkey and subsequently share it with other devices you own using a QR code. Let’s get started.
Step 1: How to create a Google Passkey
Here’s how to create a Google Passkey in your Google account using your PC and phone.
Method 1: Create a Google Passkey on PC
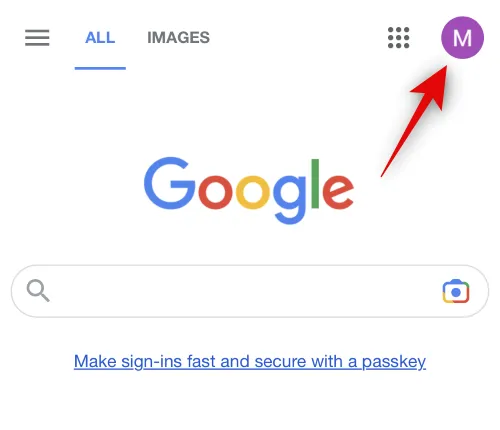
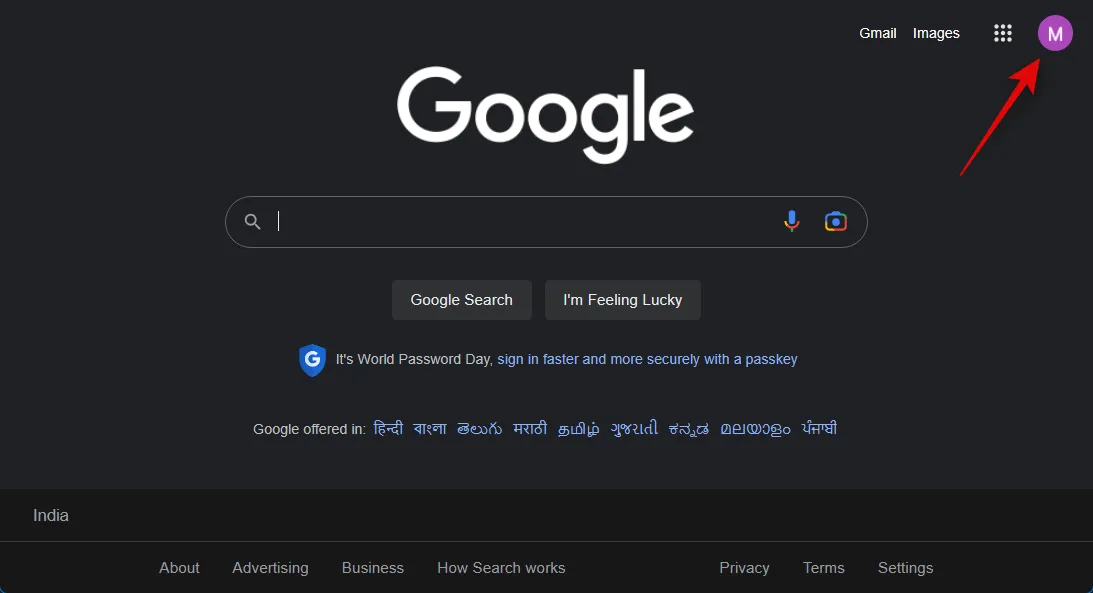
Visit google.com and log into your account if needed. Once you’re logged in, click your profile icon in the top right corner.

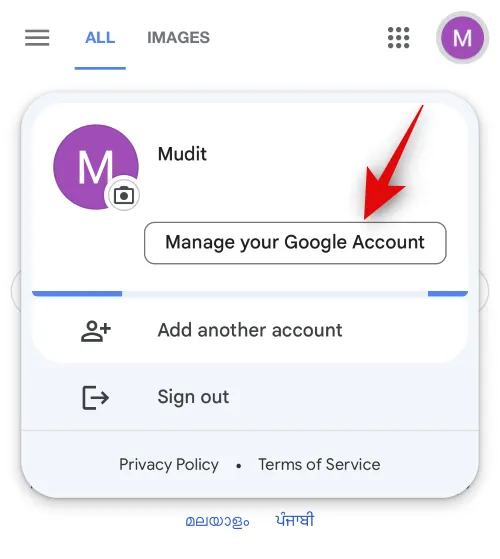
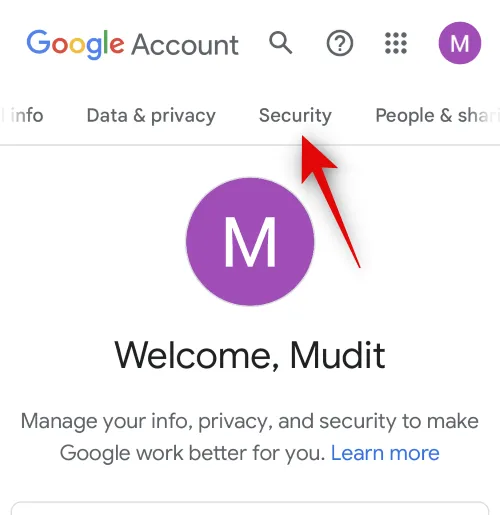
Now click Manage your Google Account.

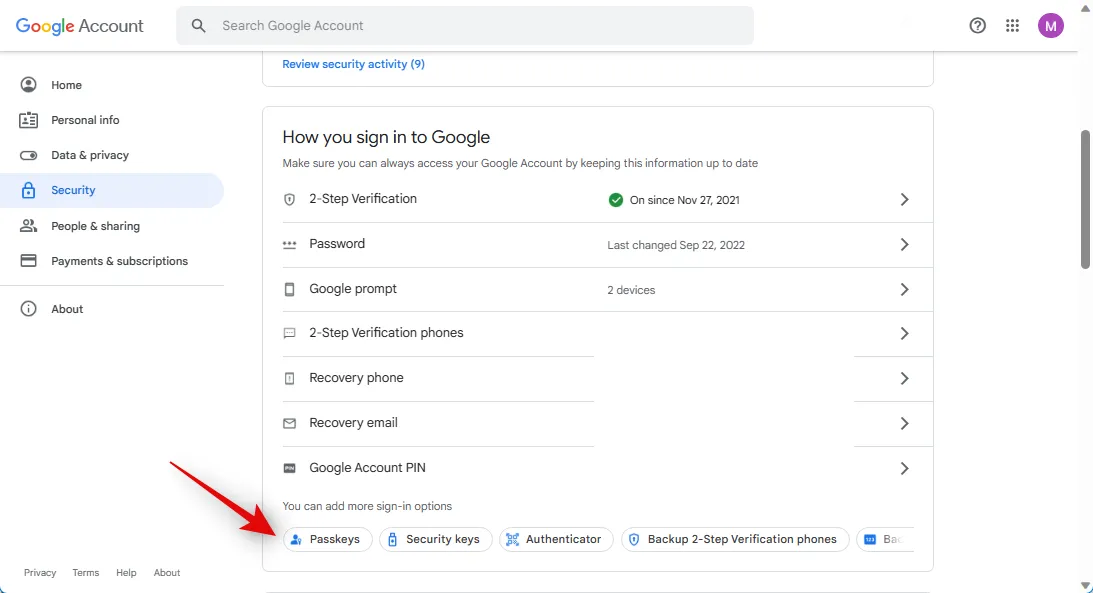
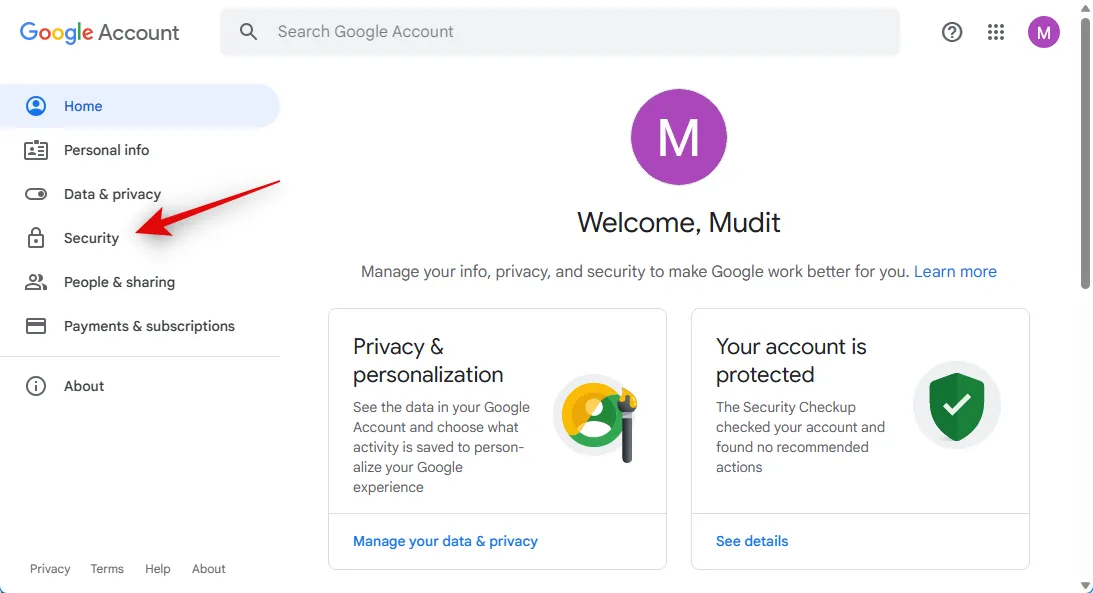
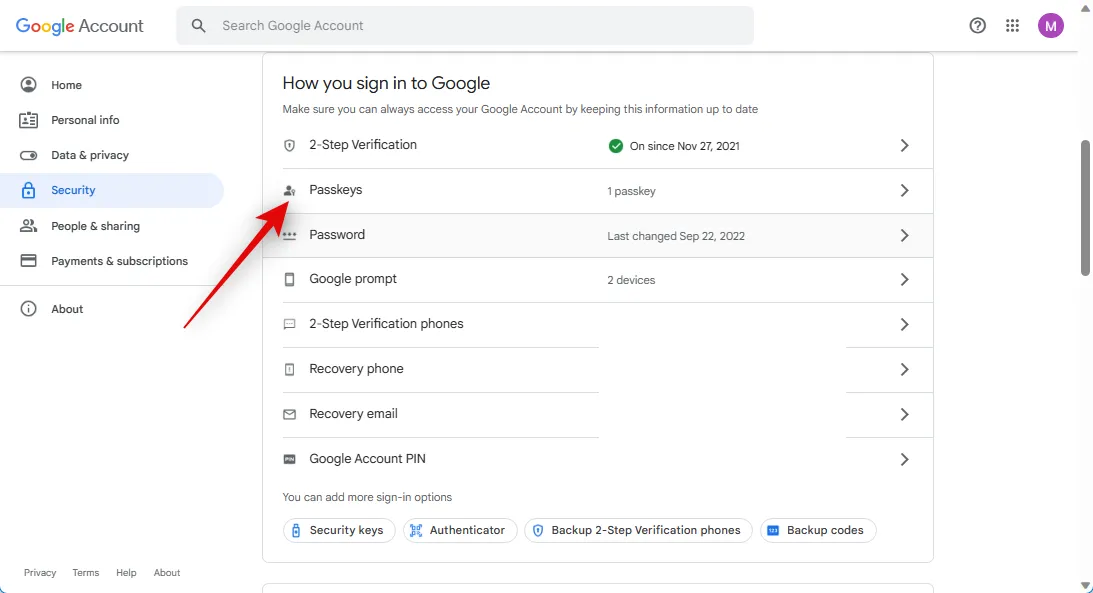
Once your account settings are open, click Security in the left sidebar.

Scroll down to How you sign in to Google and click Passkeys at the bottom.
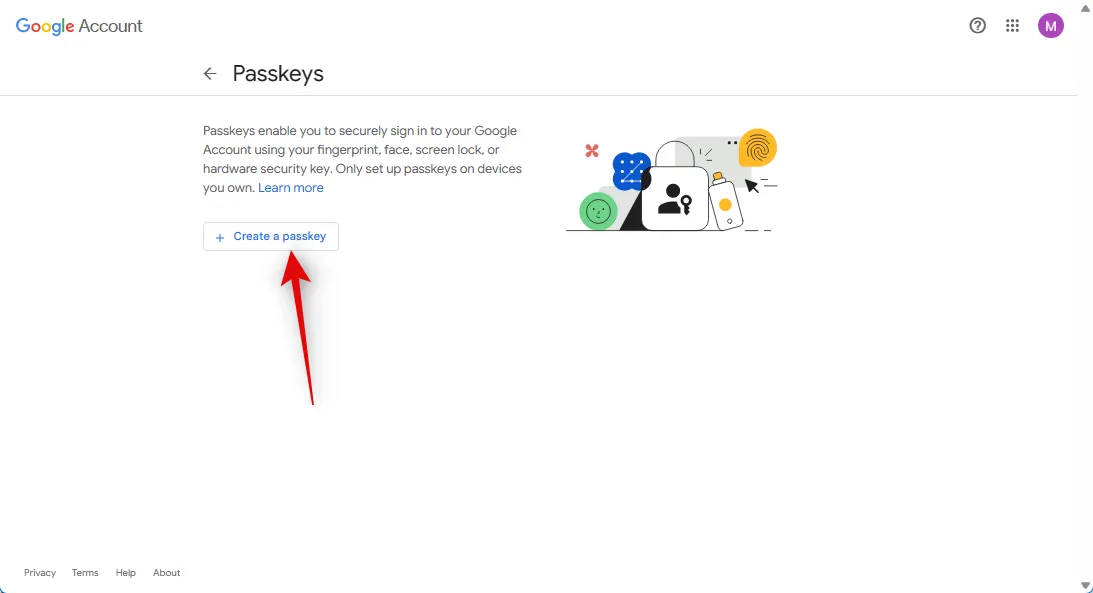
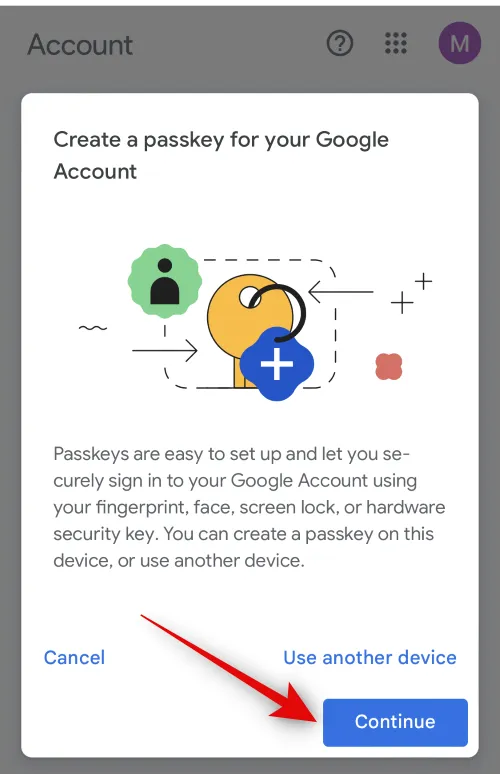
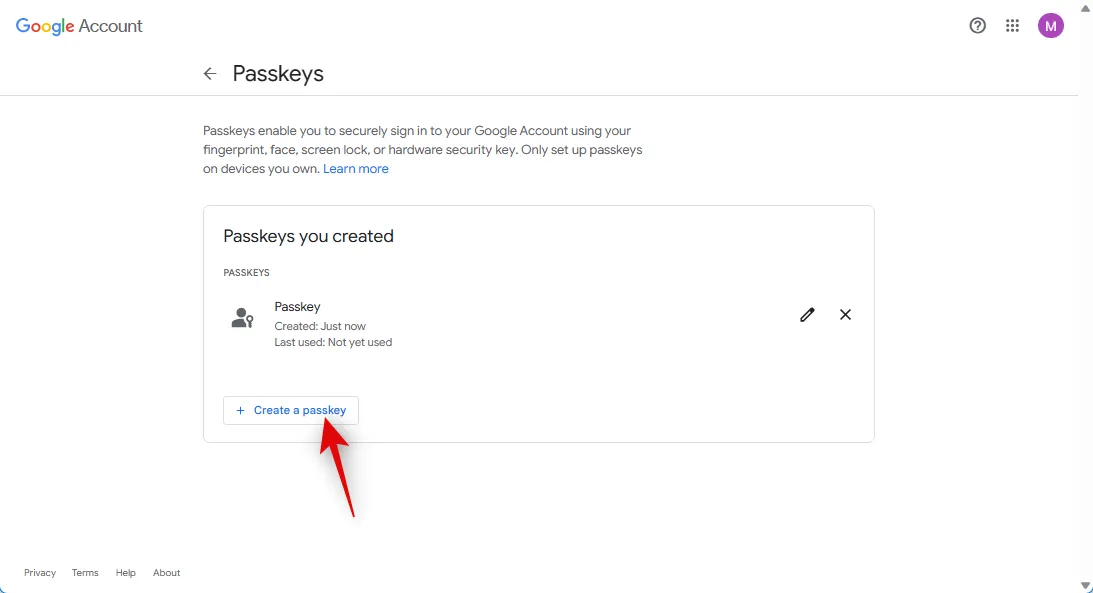
Click + Create a passkey.
Note: Ensure you’re creating a new passkey on a device you own, trust, and is protected by you. The current device can be used to sign into your Google account whenever needed. Thus we recommend you do not create passkeys for shared or organization-issued devices.
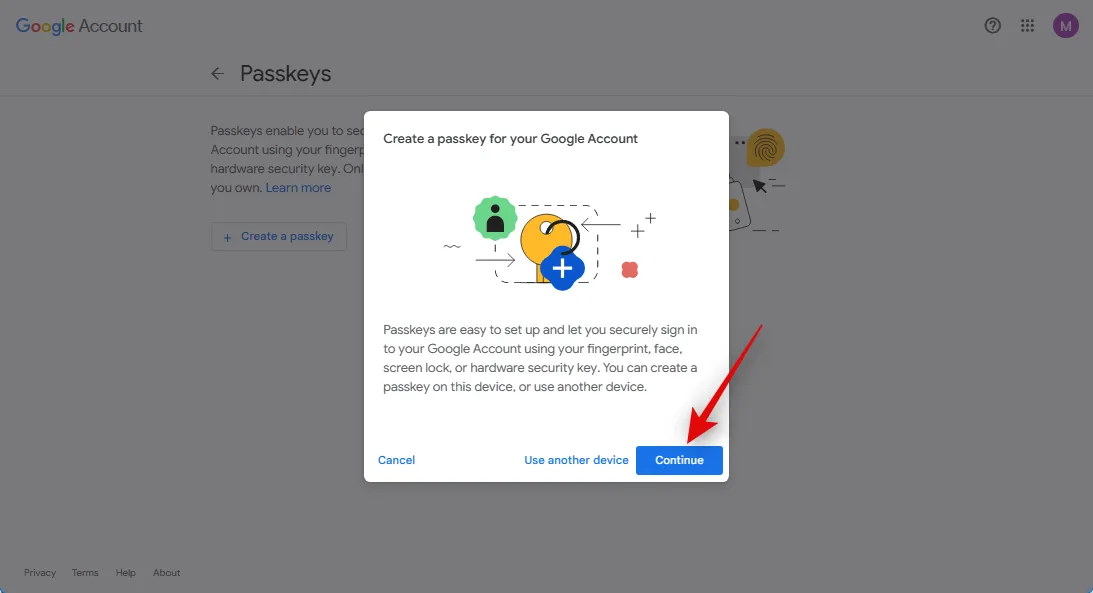
Click Continue.
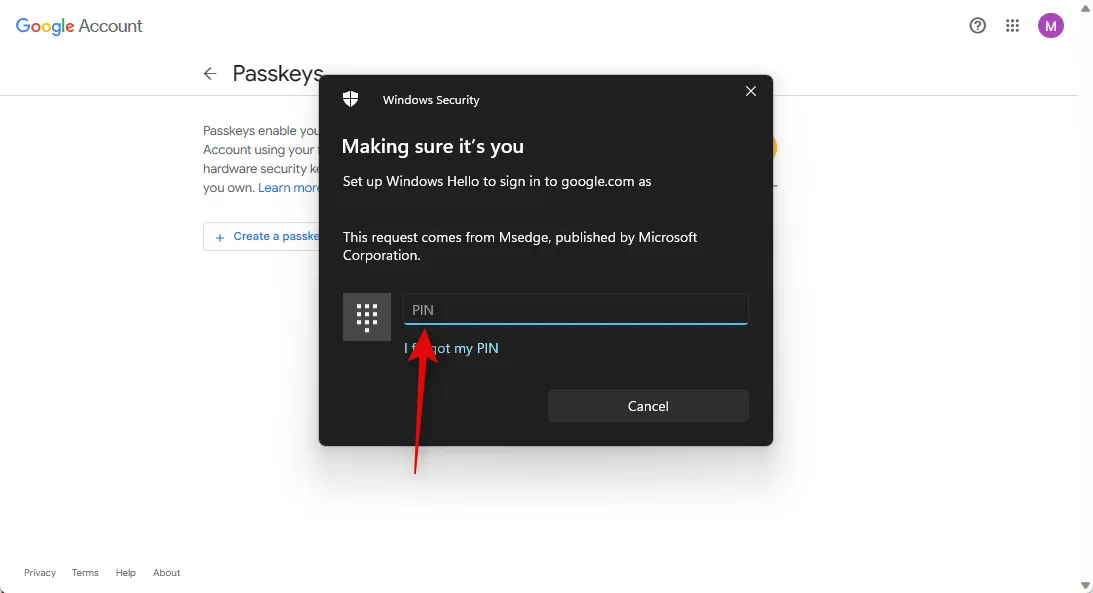
You will now be asked to enter your device password or pin. Enter your credentials as needed.
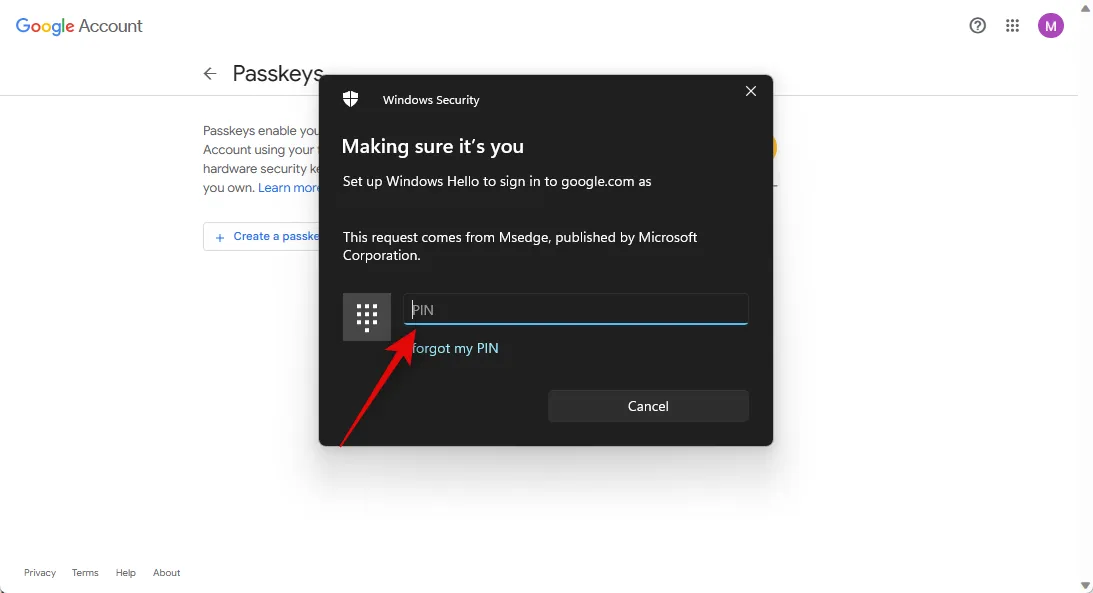
You will be asked to confirm your choice. Enter your password or pin once more to confirm your choice.
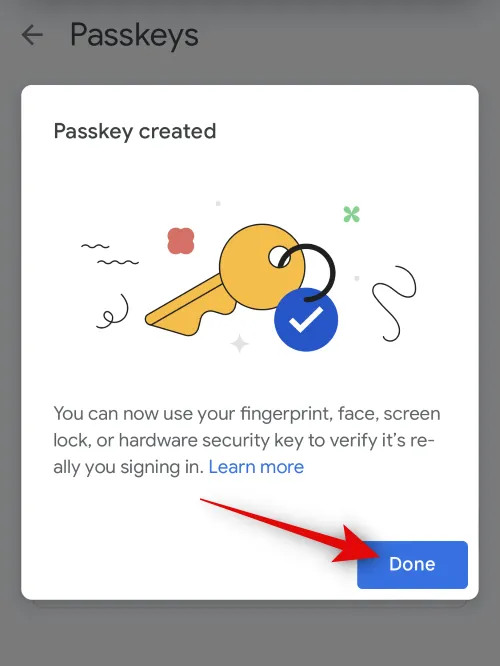
Click Done.
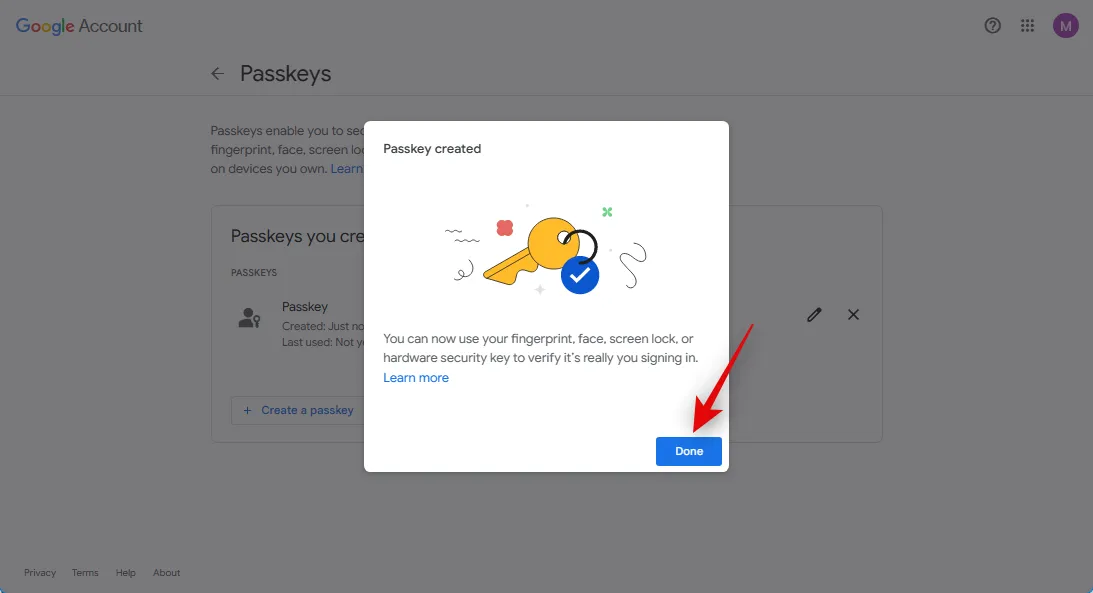
And that’s it! A passkey will now be created for the current device. You can now use this device to authenticate your sign-in whenever you wish to sign into your Google account on a new device.
Method 2: Create a Google Passkey on iPhone or Android
You can also create passkeys from your mobile device as long as you’re signed into google.com in your browser.
Open your browser, visit google.com in your browser, and tap your profile icon in the top right corner.
Now tap Manage your Google Account.
Scroll the options at the top and tap Security.
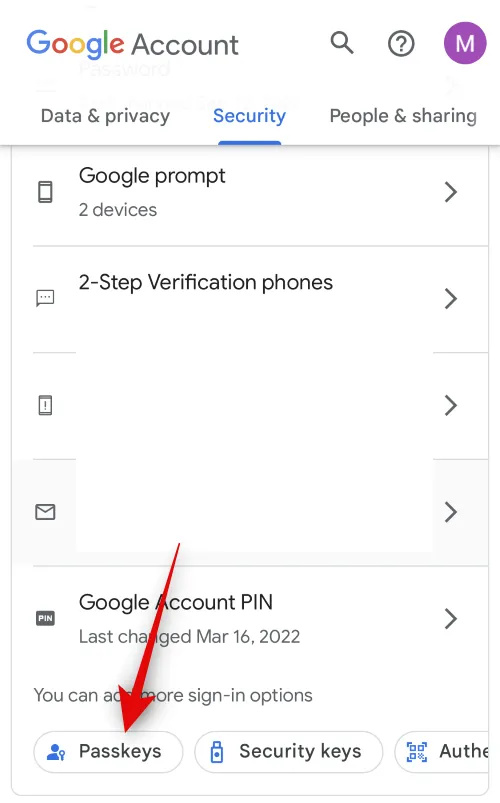
Scroll to the bottom and tap Passkeys.
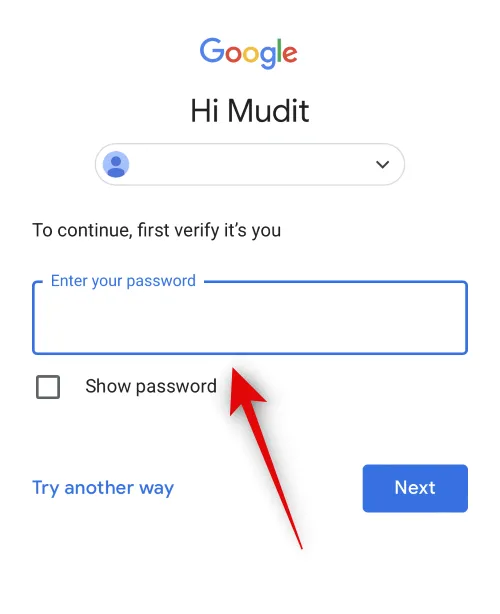
You will now be asked to verify your identity. Type in your Google account password and tap Next.
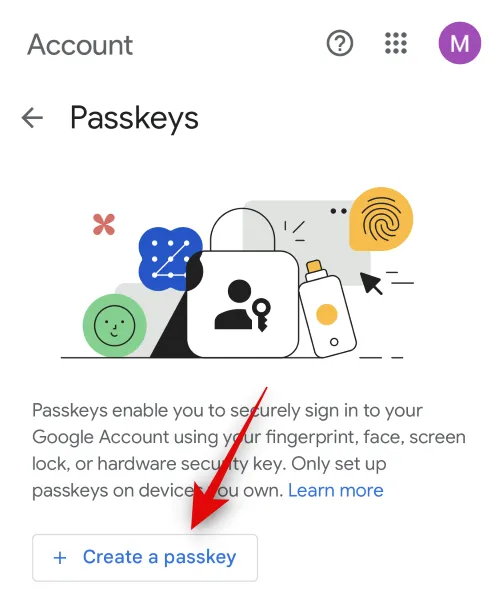
Now tap + Create a passkey.
Tap Continue.
Tap Continue again.
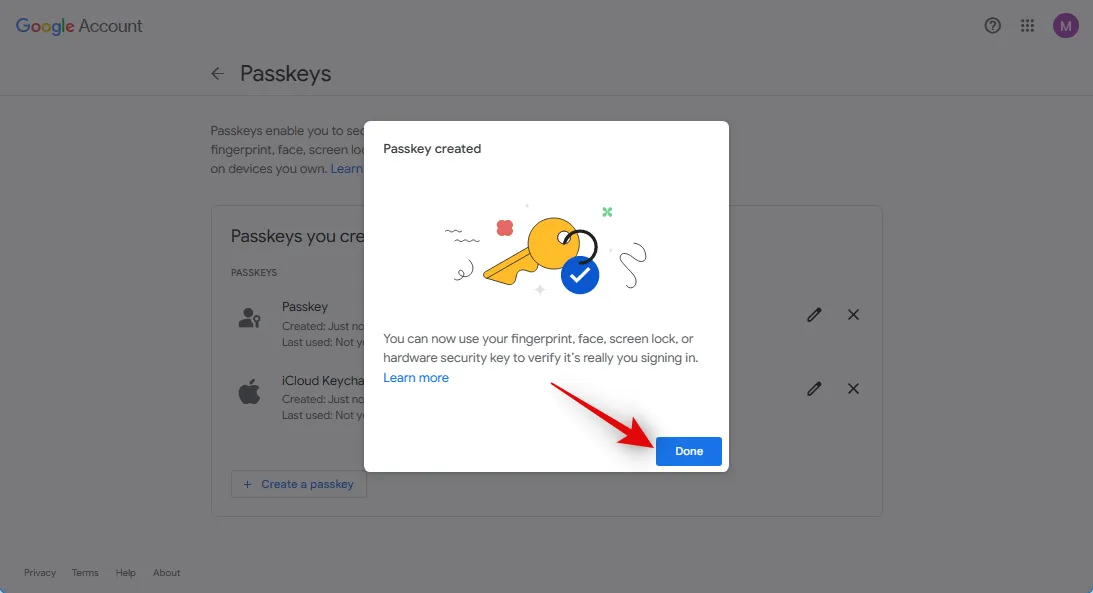
Your identity will now be verified using your mobile device. As we’re using an iPhone for this guide, our identity was automatically verified using the Face ID. Tap Done once the passkey has been created.
And that’s it! The passkey will now be stored on your device, and you can now use this mobile device to sign into Google whenever you wish to sign into your account in the future.
You can also share a passkey to another device using a QR code. You can either share a key from a trusted device to another device so you can create a passkey on it. Or, you can use another trusted device to scan the QR code and sign into a new device. Let’s take a quick look at both of these scenarios.
Method 1: Sign in to your Google account on another device
Let’s use our mobile device for this example. We will be using an iPhone. However, you should be able to use the camera app similarly on your Android device to scan the QR code. For this example, let’s try to sign in to our Google account on a PC. You can follow along with this process to test out your newly created passkey on your mobile device on your PC.
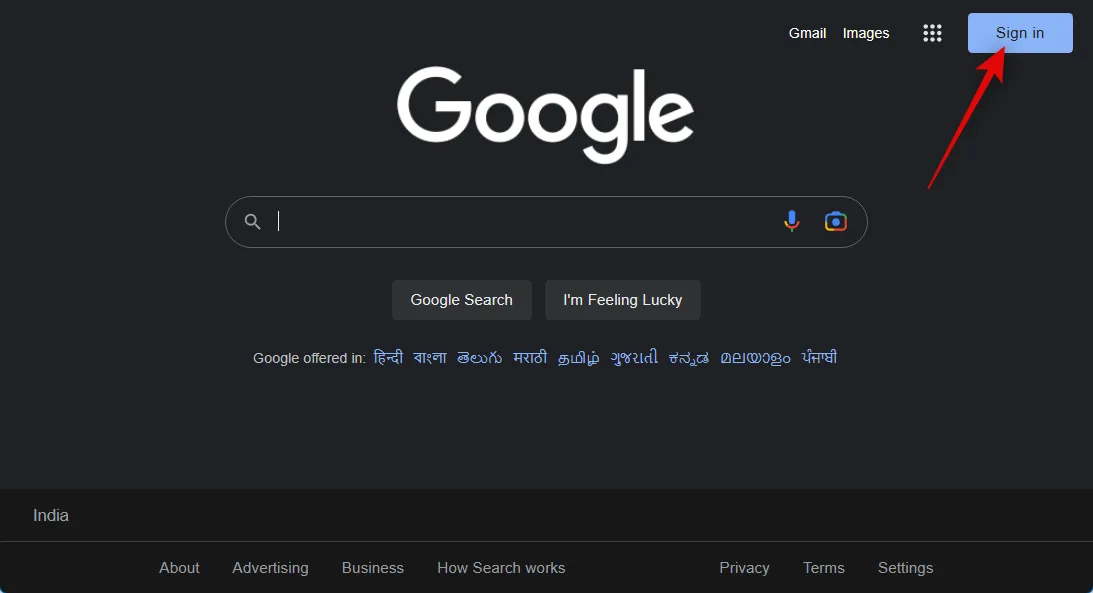
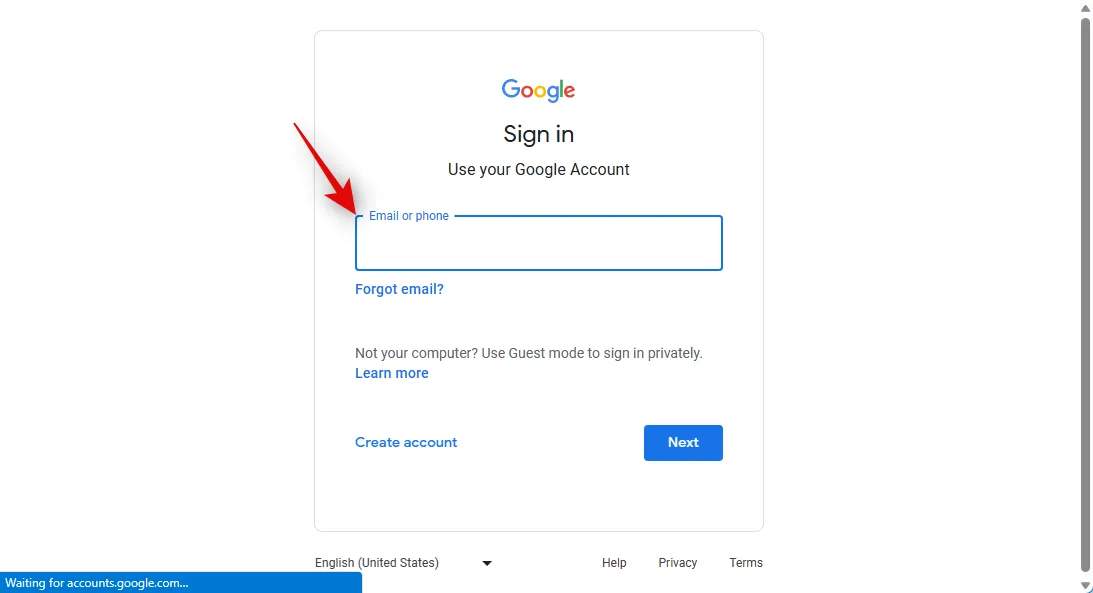
Visit google.com in your browser and click Sign in in the top right corner.
Type in your email address and press Enter or click Next.
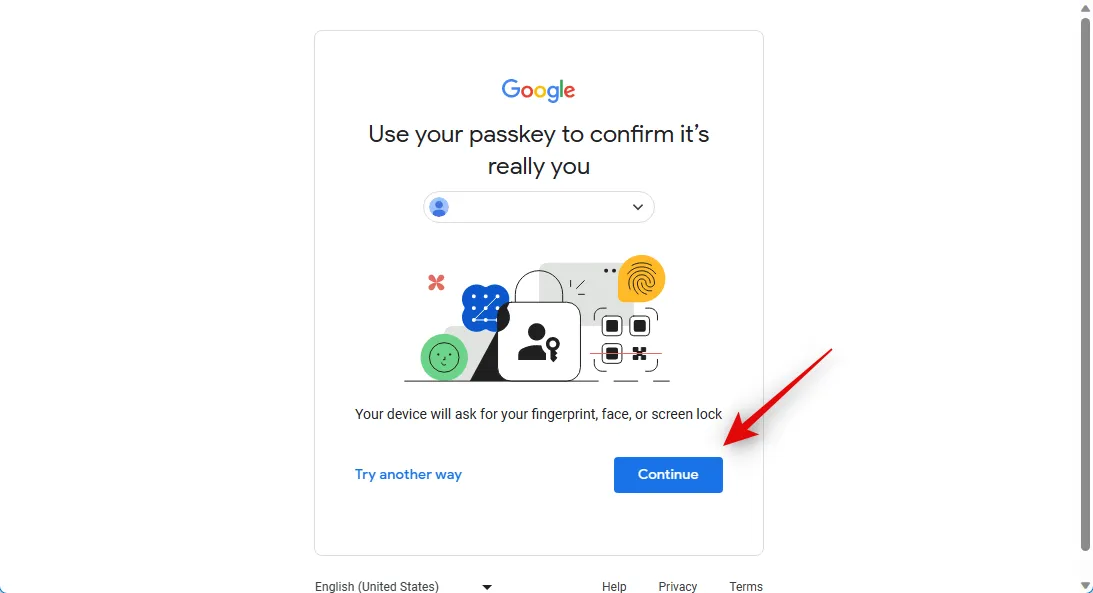
As you recently created a passkey, you will be prompted to sign in using the same. Click Continue.
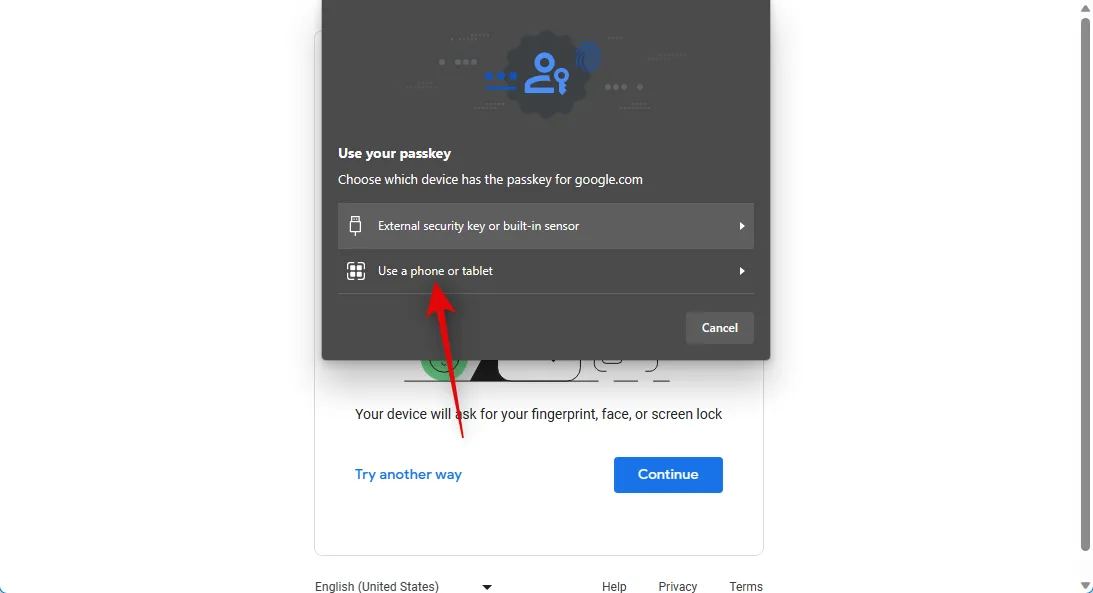
We’re using a Windows 11 PC. So we will click Use a phone or tablet when prompted.
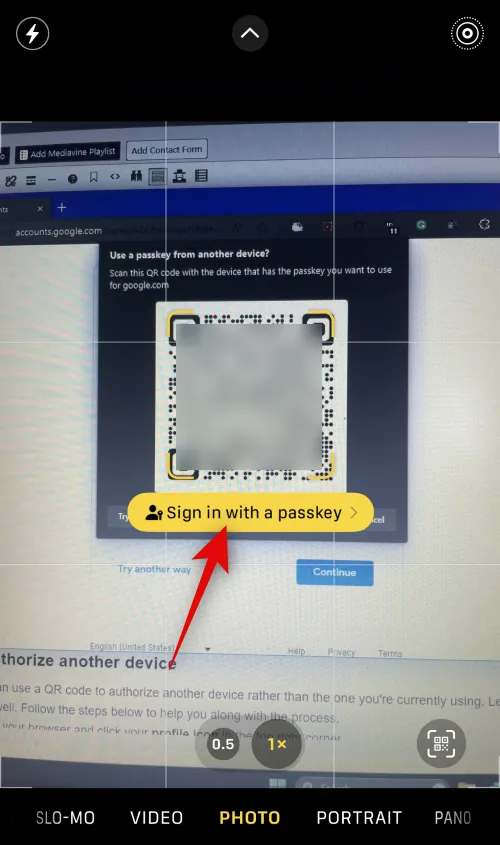
A QR code will now be displayed. We will use our camera app to scan this QR code.
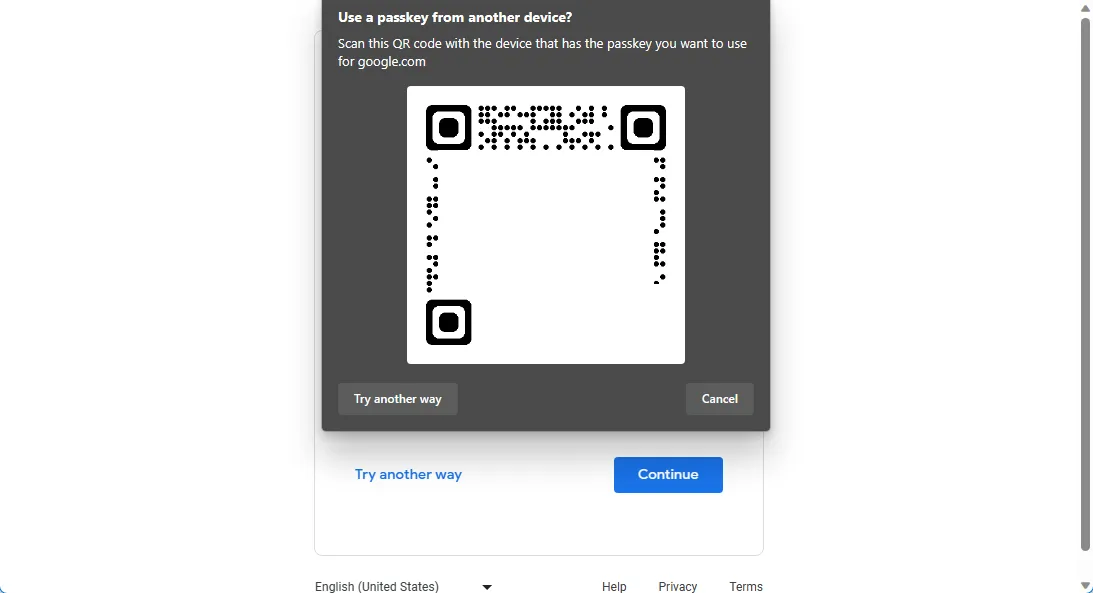
Once the code is detected, tap Sign in with a passkey.
You will now be asked for confirmation on your mobile device. Tap Continue.
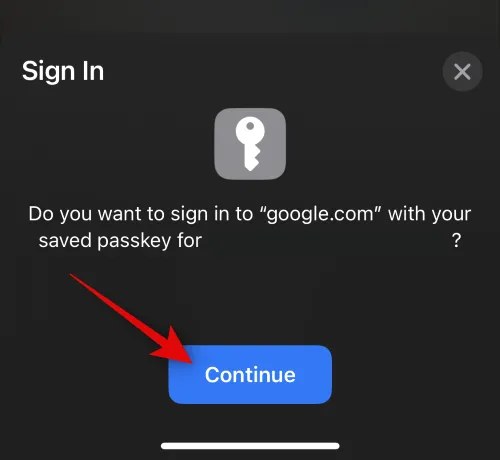
Your identity will now be verified depending on the security used by your mobile phone, be it biometric authentication or a security PIN.
Once authenticated, you should automatically be signed into your account.
When creating a passkey, you can use a QR code to authorize another device rather than the one you’re currently using. Let’s use our PC, for this example, to authorize our mobile device so that it can use a passkey as well. Follow the steps below to help you along with the process.
Open google.com in your browser and click your profile icon in the top right corner.
Click Manage your Google Account.

Click Security in the left sidebar.
If you’ve already created a passkey for your account, click on Passkeys under How you sign in to Google. If this is your first time creating a passkey for your account, click Passkeys at the bottom.
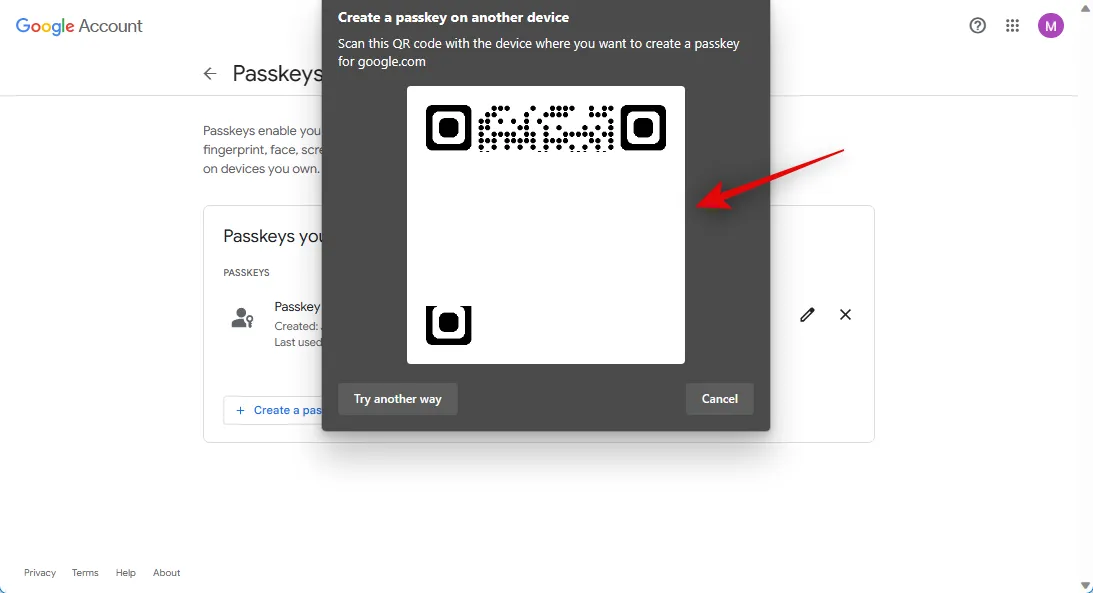
Now click on + Create a passkey.
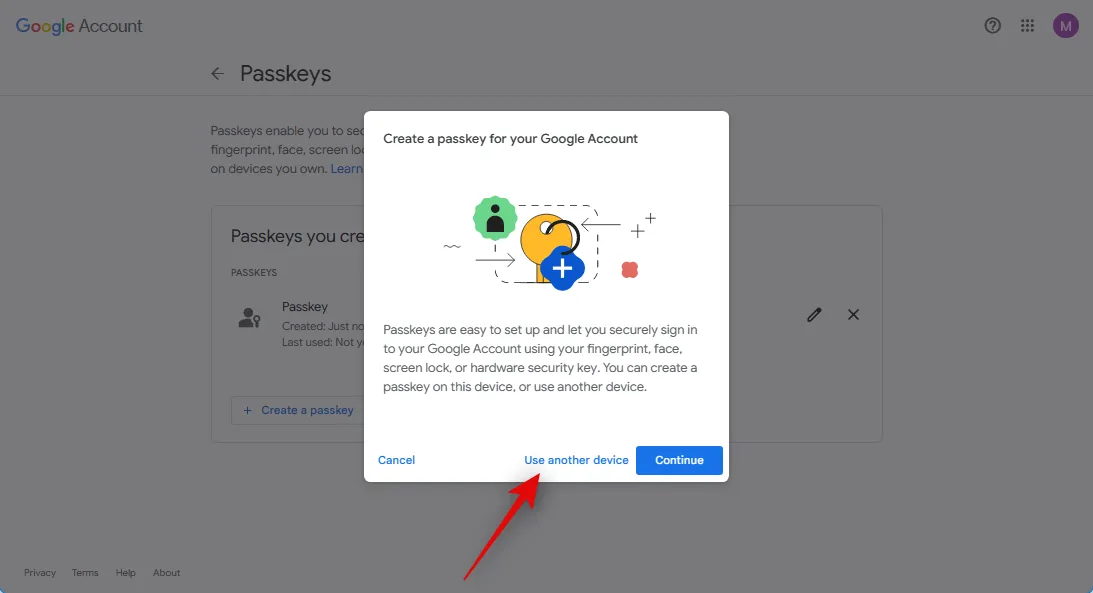
Click on Use another device.
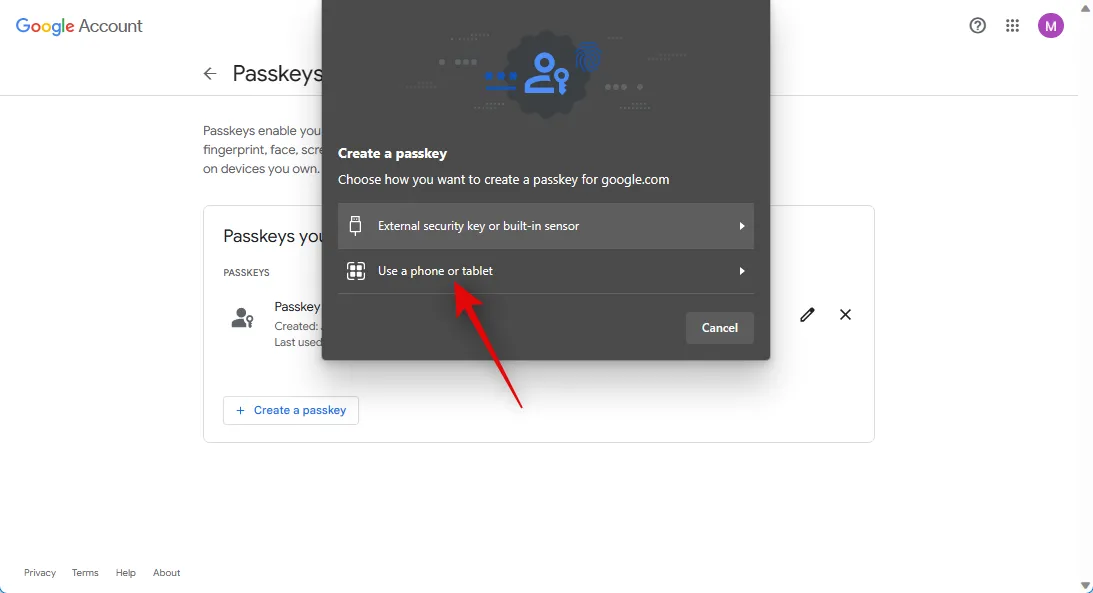
As we’re using a Windows PC, we will click on Use a phone or tablet. Click on the relevant option depending on your PC.
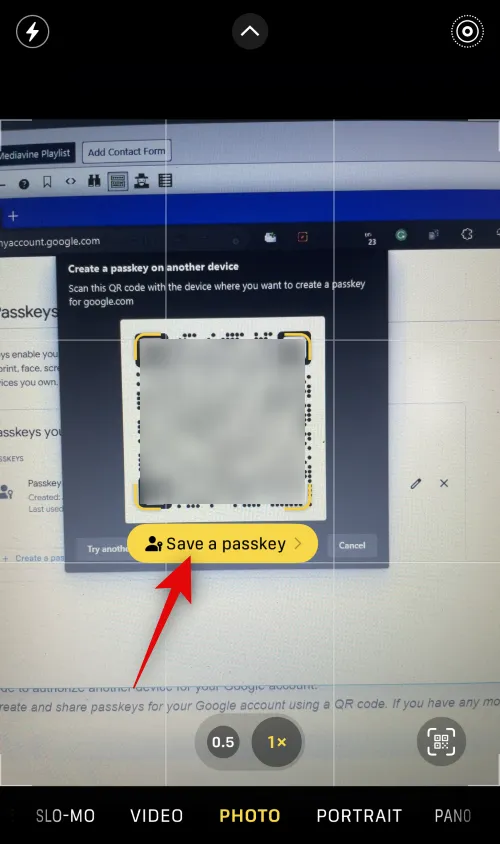
Now open the camera app on your mobile device and scan the QR code presented to you.
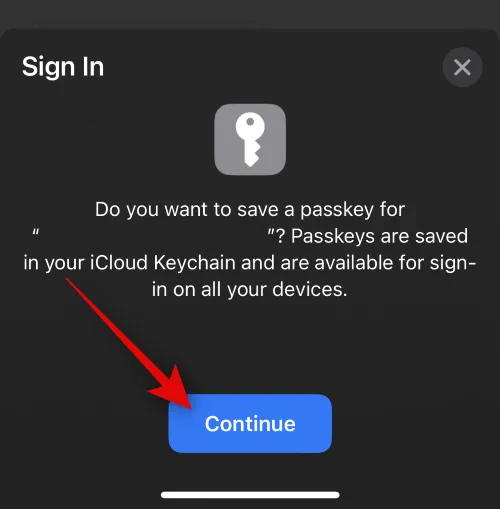
Tap Save a passkey when you’re prompted.
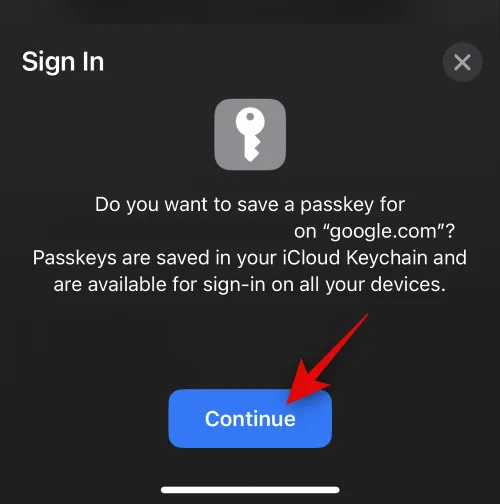
Tap Continue.
The passkey will now be saved to your mobile device.
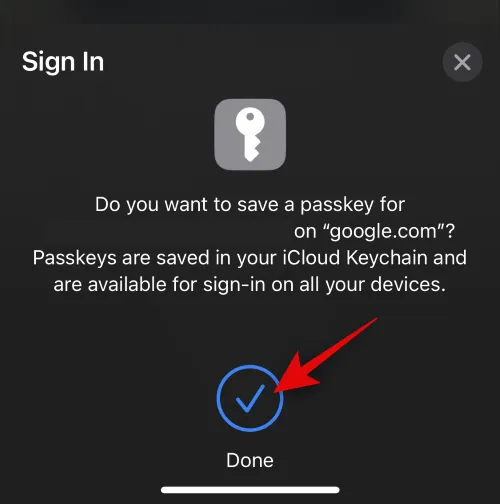
Click on Done on your PC.
And that’s how you can share a QR code to authorize another device for your Google account.
We hope this post helped you easily create and share passkeys for your Google account using a QR code. If you have any more questions, feel free to reach out to us using the comments below.
Leave a Reply