How to flatten InDesign File for print
InDesign uses layers to make up the documents that we see. Layers are like transparent pages or canvases that make up the document. When the layers come together, they make up the full document. In this post, we will show you how to flatten an InDesign file or document.
When you have created an InDesign document using multiple layers, you will save it just like that. The multiple layers allow you to be able to edit different aspects of the document. However, the multiple layers cause the document to be large. The InDesign document is also not very easily shared if you need to send the document for printing or digital view by persons without InDesign.
How to flatten InDesign File
Knowing how to flatten InDesign files will make it easier to store and print your InDesign documents.
- Open the InDesign document
- Select the layers for flattening
- Right-click and choose Merge
- Save
1] Open the InDesign Document
The document that has the layers that you want to flatten may be a document that you created at some point in the past. The document may also be a document that you are working on now. If it is a document that you created in the past, just locate it and double-click it to open it.

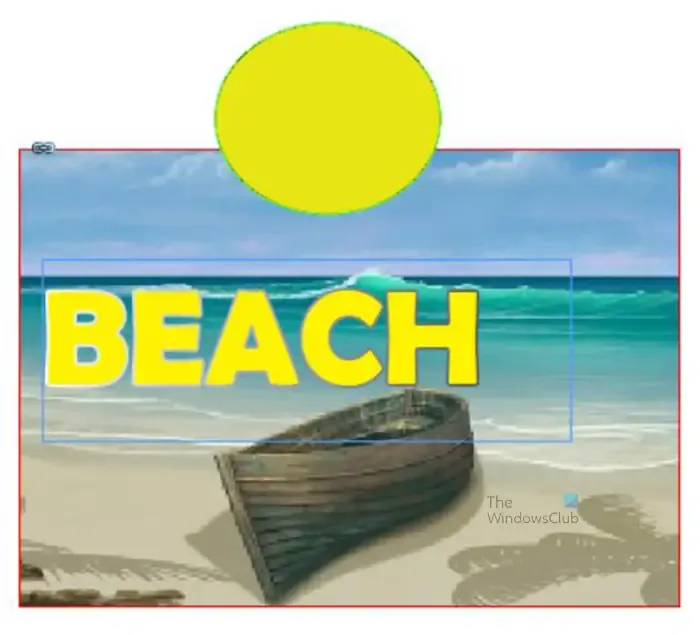
These are the elements in the InDesign document.

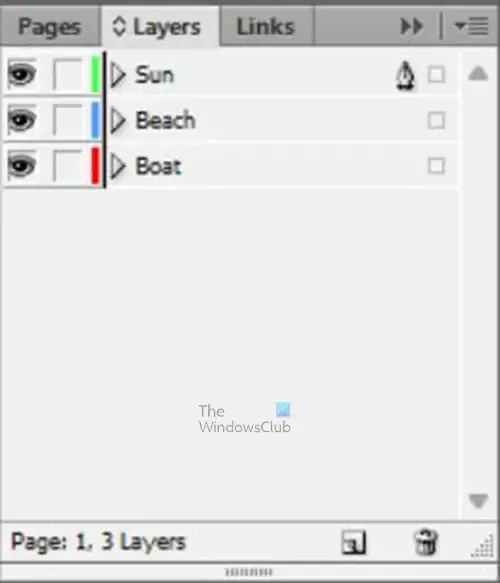
These are the different layers; the names were added to make them easily identifiable.
2] Select the layers for flattening
This is where you will be selecting the layers that you need to flatten. Note that you don’t have to flatten all the layers, however, flattening some will make your InDesign file size smaller. You may want to flatten some of the layers so that you have fewer layers in InDesign. Flattening layers also reduces the size of the InDesign document.
To select the layers, click one then hold Ctrl and click the other layers that you want to flatten. If you want to flatten all the layers, you can click the layer at the top then hold Shift and click the layer at the bottom. This will select the first top layer. The bottom layer and all the layers in between.
3] Right-click and choose Merge
With the layers you want to flatten now selected, right-click any of the layers, and from the menu choose Merge.
You will notice that there is now only one layer in the layers panel. This layer contains all the elements in the InDesign document.
Troubleshoot
You may notice that one of the elements in the document gets hidden behind another element. You can avoid this by selecting the layer which represents the larger image. You will notice a Pen icon appear on this layer. You then select the rest of the layers and do the merge.

You can also fix this by clicking on the image that is in front of the hidden one. You then go to the top menu bar and click Object then Arrange then Send backward or Sent to Back.
That’s it.
How to reduce InDesign file size?
To reduce InDesign file size, you can do the following.
- Go to the top menu bar in InDesign and click File then Export
- Give the file a name, choose a destination, change the file format then click Save
- You will be taken to the Export options. Here you can change the Resolution to a lower value and change the Quality to low, or medium. If you choose Adobe PDF (Print) as the file format, you can then click the Compression option on the left then change the Resolution, and the Image quality to Zip or JPEG. You can also change the sizes under the color image or grayscale to a smaller number.
How to save an InDesign file as a JPEG?
To save an InDesign file as a JPEG you would need to use the Export option.
- Go to File then Export
- From the export, window give the file a name, choose a save location and choose JPEG as the file format then click Save
- The Export window will appear, here you will choose the other options that you want for your JPEG file then click Export.
Leave a Reply