How to create a Newsletter in Google Docs
There is a lot you can do with Google Docs since it is a powerful word processor. It’s not on the same level as Microsoft Word, of course, but there is quite a lot you can do with it. For example, you can create a newsletter in Google Docs with relative ease.
Google Docs is a free word processor that is cloud-based and is included as part of the Google Suite productivity tools. A Newsletter is a tool used by organizations and businesses to share valuable and important information with customers on their network.
Does Google have a newsletter format?
When it comes down to creating newsletters, many tend to use premium software, but if you are on a strict budget, you don’t have to. That’s because it’s possible to create a newsletter via a document processor such as Google Docs.
The newsletter template for Google Docs is great because it allows the user to create a newsletter without needing prior skills or experience. With this template, folks can share news or other information with hundreds of people with relative ease.
How to create a Newsletter in Google Docs?
Creating a newsletter in Google Docs will require you to use the Newsletter template and perform some customizations to make it your own. So open Google Docs, visit the Template Gallery, select the Newsletter template, and finally customize it to meet your requirements.
Open Google Docs
First, you must launch into your favorite web browser, and from there, navigate to the official Google Docs webpage.
Once that is done, please sign in with your Google account information if you haven’t done so already.
Select the Newsletter template

The next step, then, is to click on the arrows next to Template Gallery.
Doing this will reveal additional templates.
Scroll down to the Work category, then click on the Newsletter option.
Customize the Newsletter
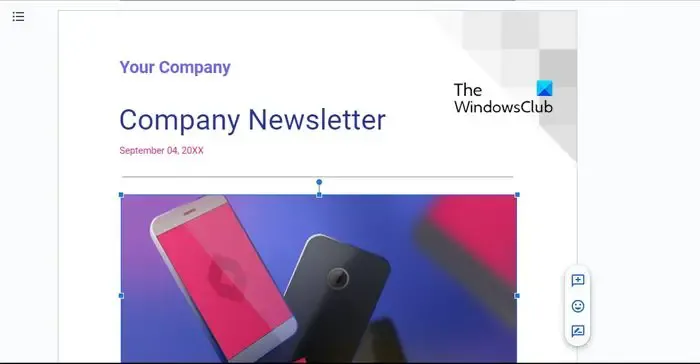
We now want to customize the newsletter template for it to better fit your overall requirements. Let us give you an example of what to do.
Begin by replacing the text and images with your preferred options.
If you want the newsletter to address recipients personally, please click on Add-ons in Google Docs.

Once you’ve accomplished that task, select Get Add-ons, then search for Mail Merge. Choose the second app that shows up in the results to install the free add-on. Bear in mind it is the add-on made by Quicklution, so you cannot miss it.
When you’re done, you can share your Google Docs newsletter with others by clicking the Share button that is located at the top-right corner. You can decide if the recipient can edit the document or view it only.
Tips to think about while creating a newsletter
- Write a title or subject line in your Newsletter for your users to have something to think about.
- Ensure your newsletter is short and delivers information that is straight to the point.
- If you can, please add some multimedia content so that your newsletter isn’t just a wall of text.
- The last thing to consider here is to make sure the content is designed for the target audience. That’s because going off-script can be detrimental and drive readers away.
How to create a newsletter in Google Slides?
Open Google Slides and create a new document. From there, give it the name, Newsletter. Add a title and a content box at the top of the newly created slide. From the title box, type an easy-to-remember name for your newsletter. Next, add a subtitle box at the bottom of the title, and type a short description. Once you’re done, add a text box below the subtitle area, and proceed to type your newsletter content. Customize the newsletter with images, tables, charts, and other visual elements before saving your work.
Leave a Reply