Fix Oculus Runtime Service Error in Windows 11/10
The Oculus Runtime Service Error in Windows 11/10 usually occurs due to a problem with the Oculus software or its drivers. If you encounter an error with this service, it can prevent your Oculus VR device from working correctly. The complete error message reads:
Can’t Reach Oculus Runtime Service
Your Oculus software may be updating. Please wait a minute and try again. If the issue continues, contact Oculus Support.
Fortunately, you can follow the suggestions in this post to fix the error.
Fix Oculus Runtime Service Error in Windows 11/10
To fix the Can’t Reach Oculus Runtime Service error, update the Oculus software and see; and if that does not help, follow these suggestions:
- Restart the Oculus VR Runtime Service
- Launch Oculus from its directory
- Update Graphics Drivers
- Use Oculus Rift Patch
- Disable Windows Defender Firewall temporarily
- Reinstall the Oculus app
Let’s now see these in detail.
1] Restart the Oculus VR Runtime Service
Firstly, check if the Oculus VR Runtime service is running or not. The service could get disabled sometimes. However, if it’s running, restart it. Here’s how:
- Press the Windows key, search for Services, and open it.
- Scroll down and search for Oculus VR Runtime service.
- Right-click on the service and select Start or Restart as required.
2] Launch Oculus from its directory
Next, you can try opening Oculus directly from its installation directory instead of the shortcut file. Here’s how you can do it:
- Press Windows key + E to open File Explorer.
- Now, navigate to the following path:
C:\Program Files\Oculus\Support\oculus-runtime - Search for the OVRServer_x64.exe file, right-click on it, and select Run as Administrator.
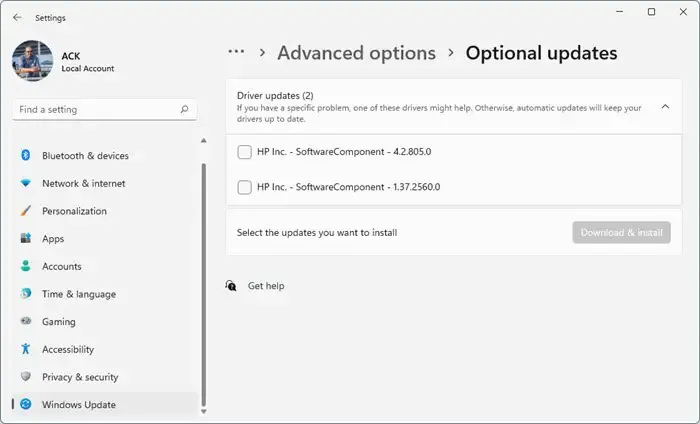
3] Update Graphics Drivers

Oculus needs high-end graphics to run smoothly on any system. Your graphics drivers may be outdated or corrupted, causing Oculus Runtime Service Error on your device. Update your graphics drivers, restart your device, and see if the error’s fixed.
You can also install graphics drivers from your device manufacturer’s website. Other than that, you can also use tools like NV Updater, AMD Driver Autodetect, Intel Driver Update Utility, or Dell Update utility to update your device drivers.
4] Use Oculus Rift Patch
The Oculus Rift Patch is an update by Oculus to fix runtime errors and improve the stability and performance of the Rift VR headset. These patches contain bug fixes, security updates, and some features to enhance user experience. Here’s how you can use the Oculus Rift Patch:
- Download the Oculus Rift Patch and open its download location.
- Double-click on the downloaded file to open it.
- The application will now open, click on Repair and follow the on-screen instructions.
- Restart the Oculus Software and see if the Oculus Runtime Service error is fixed.
5] Disable Windows Defender Firewall temporarily
Windows Defender Firewall can sometimes interfere with the application’s processes and make them malfunction. Disabling it temporarily can help fix runtime errors with Oculus. Here’s how you can disable Windows Defender Firewall.
6] Reinstall the Oculus app
If the error isn’t fixed, reinstall the app as a last resort. The error may lie within the application’s core files and cannot be fixed manually. Reinstall and see if the Oculus runtime error gets fixed.
Let us know if these suggestions were helpful.
Is Windows 11 compatible for VR headset?
Yes, Windows 11 is compatible with most VR headsets, including those from Oculus, Valve, etc. The Windows Mixed Reality Platform enables users to enjoy the VR experience without additional software or hardware. Nevertheless, it may not support all VR headsets and require additional drivers to function correctly.
How do I fix Oculus Service Error?
Restart the designated service and update the graphics drivers to fix the Oculus service error. If that doesn’t help, use the Oculus Rift patch and disable Windows Defender Firewall temporarily.
Leave a Reply