advpack.dll Missing Error: How to Fix It
If we look through the Windows directory, there would be hundreds of DLL files. Besides, many specific third-party programs are stored in dedicated folders. Remember, when a DLL is missing or corrupt, errors start appearing. And advpack.dll is a common troubling factor for users.
The error message with the advpack DLL usually reads, Error creating process <path>. Reason: Windows\System32\advpack.dll. Also, re-registering the DLL throws the message, Make sure that “advpack.dll” is a valid DLL or OCX file and then try again. So, let’s find out!
What is the use of Advpack DLL?
The advpack.dll is a critical file in Windows that facilitates the installation of programs by identifying and reading the. inf files. Published by Microsoft, the DLL plays a vital role, and even simple issues with it can trigger a range of errors.
Here are the primary reasons you get the advpack.dll error with DirectX:
- Corrupt system files: One of the most common reasons, corrupt system files are often responsible when you get a DLL not found error.
- Malware infection: A system infected with malware doesn’t perform effectively and will keep throwing errors randomly.
- Missing redistributable packages: Some users reported that advpack.dll went missing after uninstalling Microsoft Visual C++ Redistributable packages, and reinstalling it did the trick.
What can I do if advpack.dll is missing?
Before we head to the slightly complex solutions, here are a few quick things to try:
- Check for pending Windows updates and install them.
- Make sure you are not installing a 64-bit program on a 32-bit version of Windows.
- Scan your PC for malware with the built-in Windows Security or use an effective antivirus.
- Copy the DLL to the System32 folder from another computer running the same OS.
If none work, move to the fixes listed next.
1. Use a dedicated DLL repair tool
When one of Microsoft’s DLLs is missing or throwing an error, you could go with the handful of built-in tools, but none guarantee results and users often have to fend for themselves. An ideal approach, in this case, is to use a DLL repair tool.
We recommend a tool with an extensive database hosting almost every DLL published to date. And the best part, the process to download advpack.dll is seamless and doesn’t take long.
2. Run the DISM and SFC scan
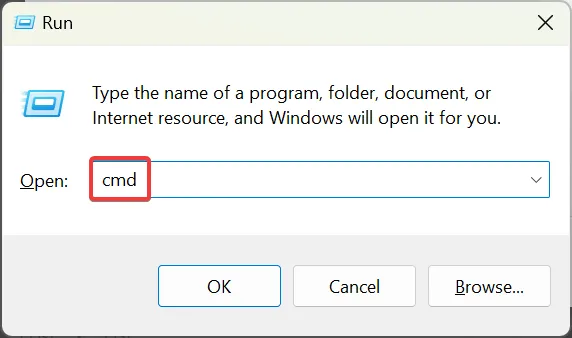
- Press Windows + R to open Run, type cmd, and hit Ctrl + Shift + Enter .
- Click Yes in the UAC prompt.
- Now, paste the following DISM commands individually and hit Enter after each:
DISM /Online /Cleanup-Image /CheckHealthDISM /Online /Cleanup-Image /ScanHealthDISM /Online /Cleanup-Image /RestoreHealth - Once done, execute this command for the SFC scan:
sfc /scannow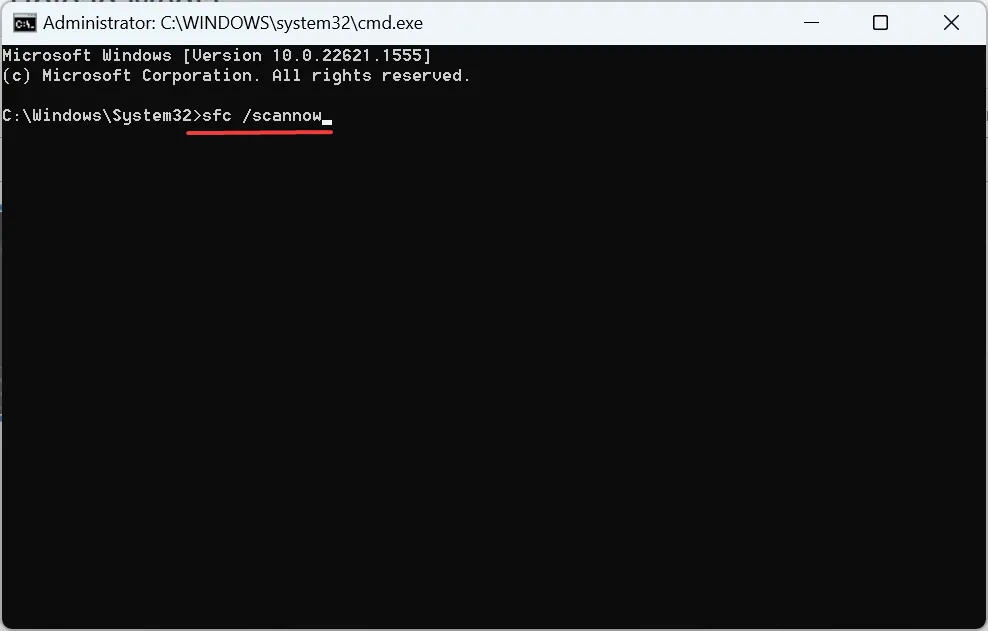
- Finally, restart the computer for the changes to come into effect.
3. Download Microsoft Visual C++ Redistributables
Since the advpack.dll is linked to MSVC, missing or deleted Microsoft Visual C++ Redistributables can also trigger the error when installing or updating DirectX in Windows.
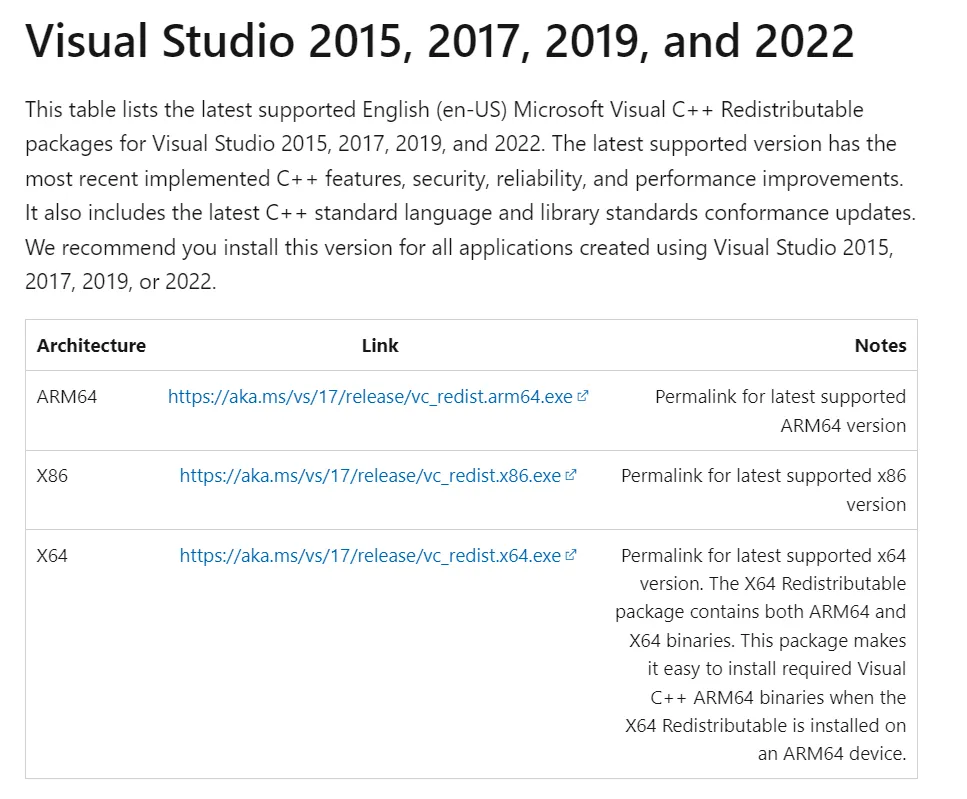
When faced with the situation, head to Microsoft’s dedicated webpage and download the latest redistributable packages. Make sure to get every package for a specific version to be sure, and install them. Once done, check whether the advpack.dll update error disappears.
4. Change environment variables
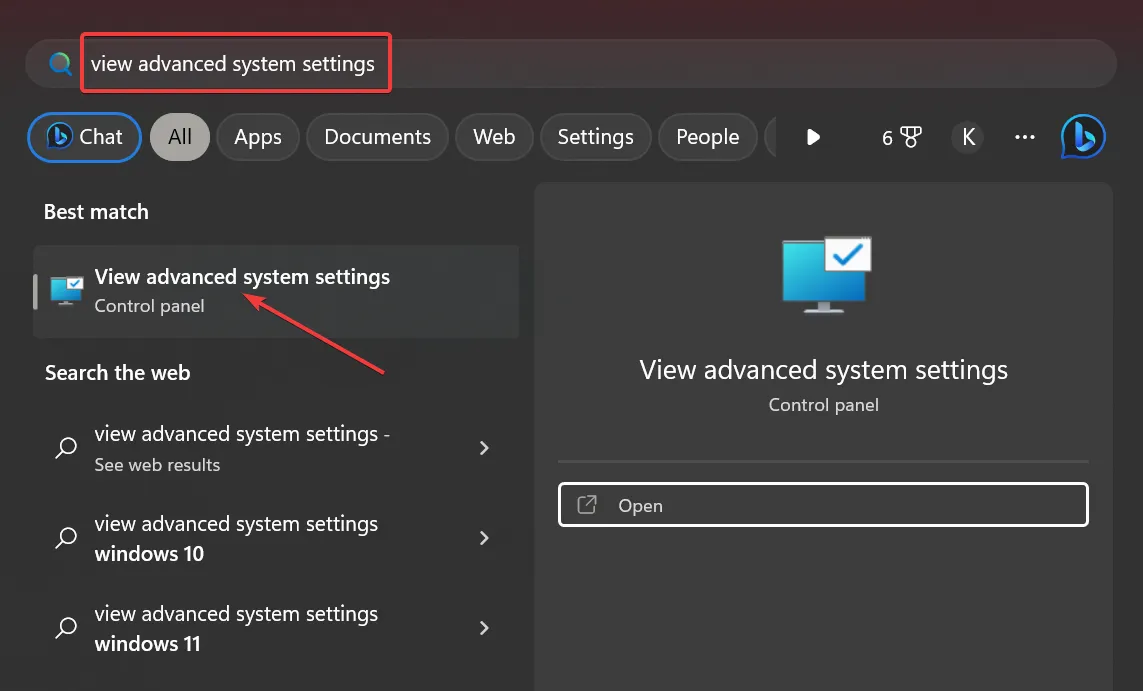
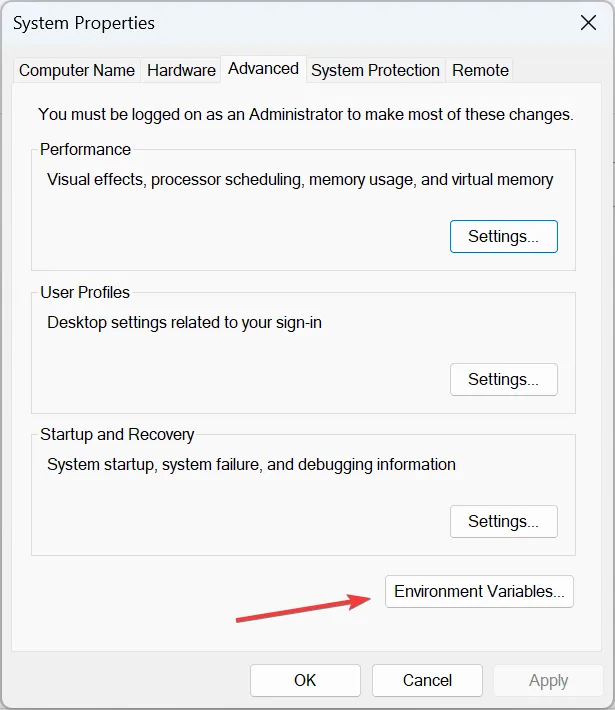
- Press Windows + S to open Search, type View advanced system settings in the text field, and click on the relevant search result.
- Click on Environment Variables.
- Select the Temp entry, and click on Edit.
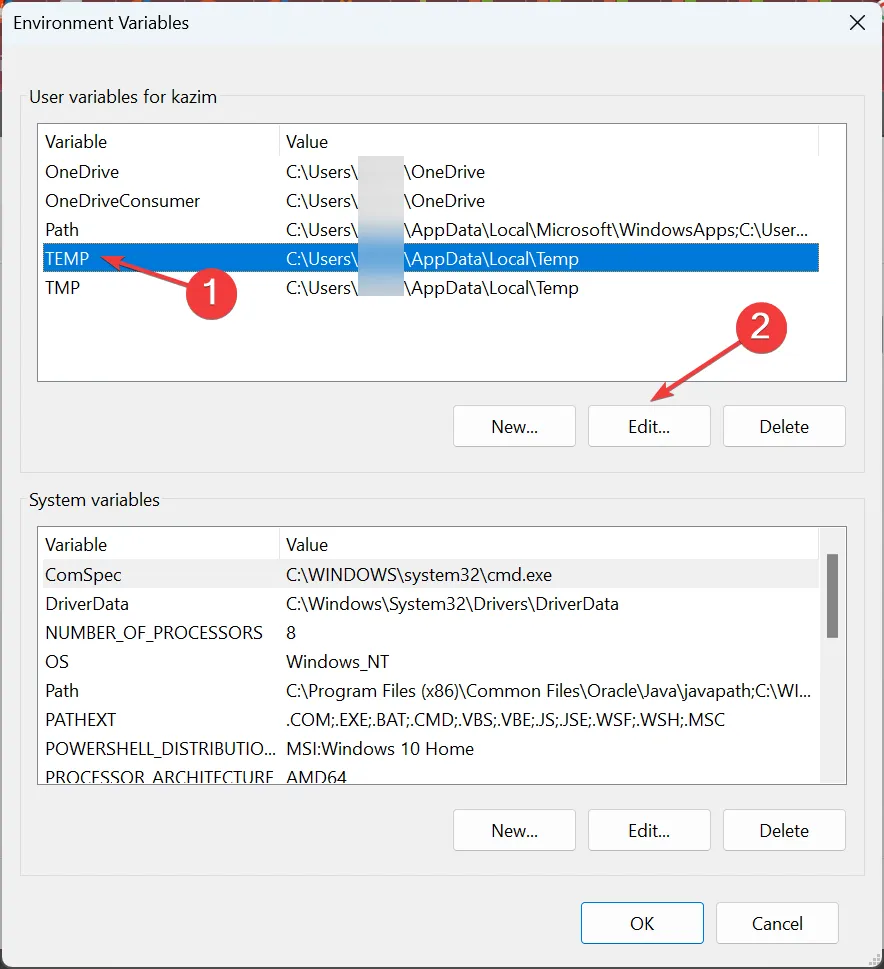
- Enter the following value in the Variable value field, and click OK:
C:\Temp
- Make similar changes to the TMP variable, and click OK to save the changes.
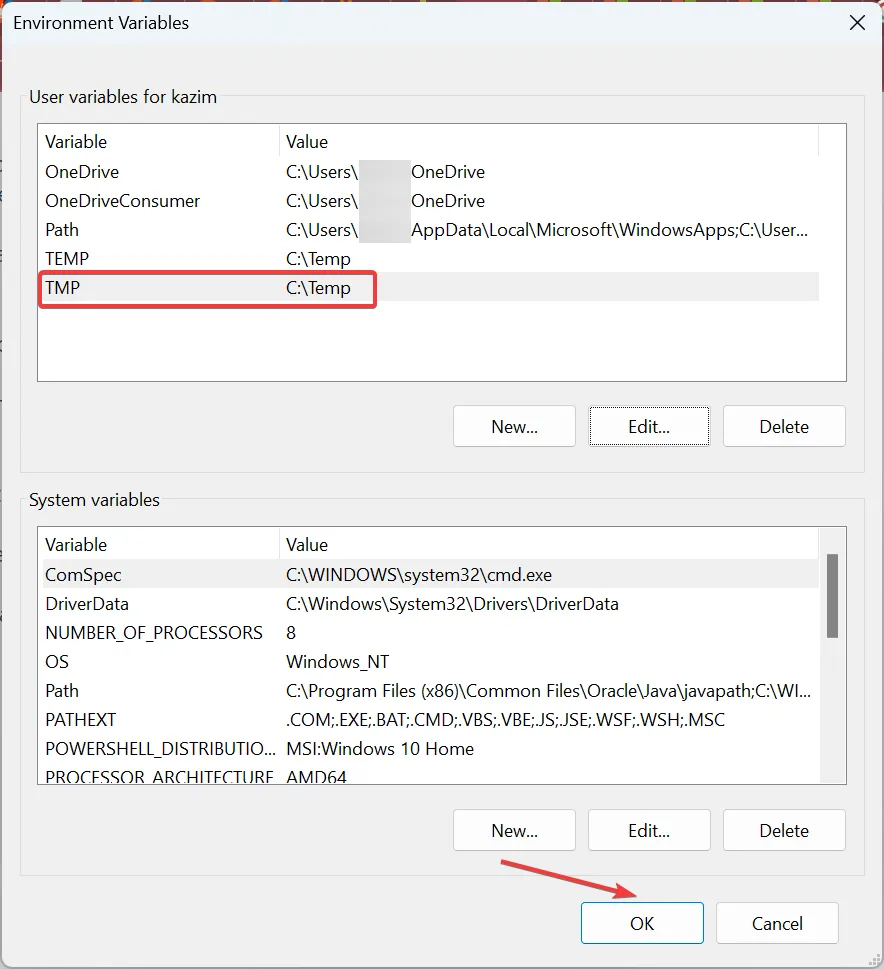
When the environment variables are misconfigured, you may come across the advpack.dll Error creating process message while installing programs in Windows. And reconfiguring them should instantly get things running.
5. Perform an in-place upgrade
- Go to Microsoft’s official website, select your edition of Windows, and click on Download.
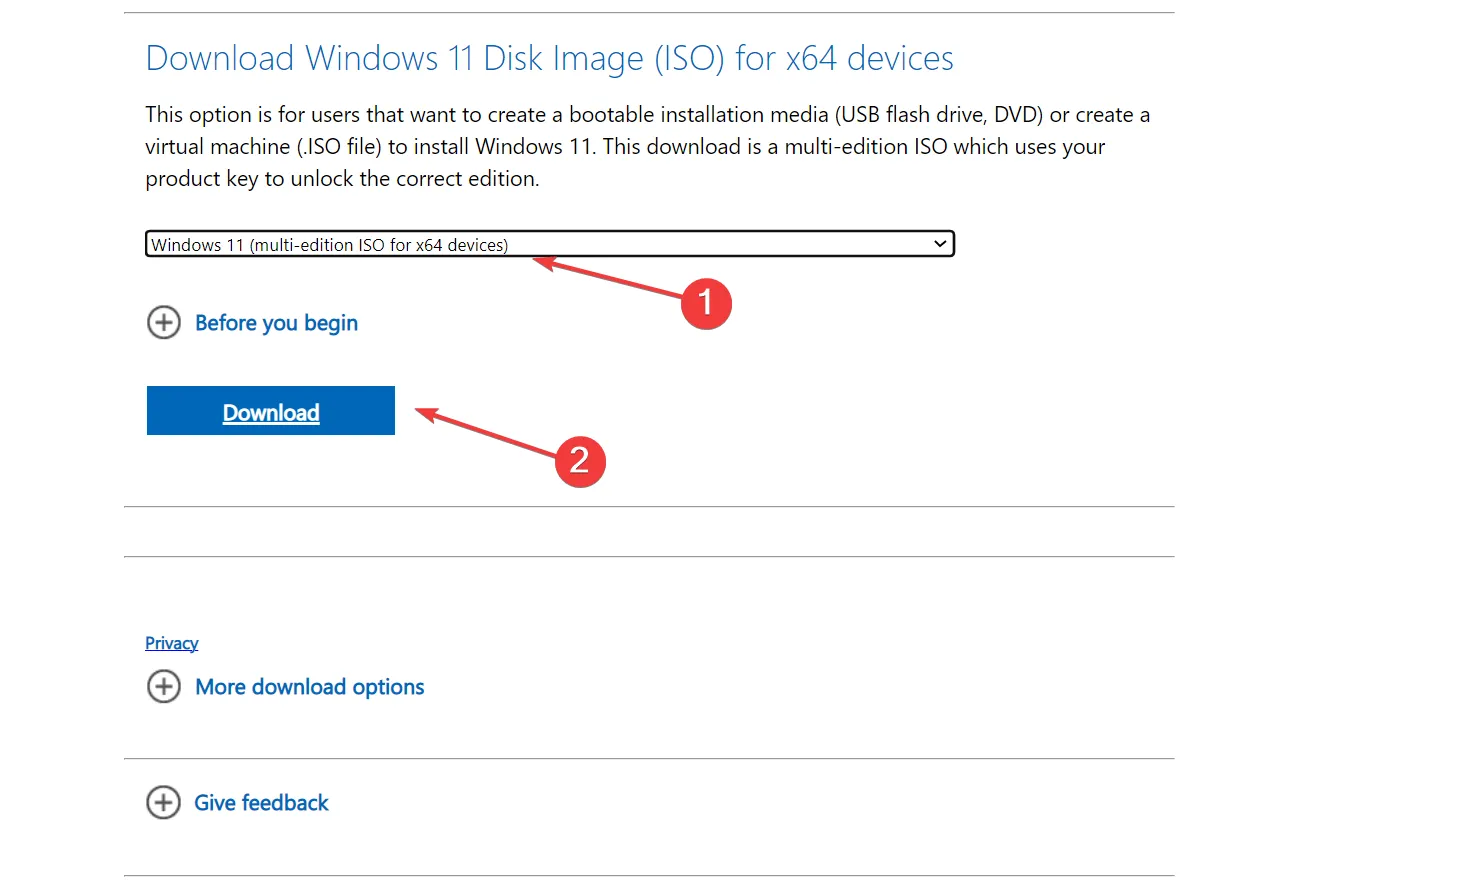
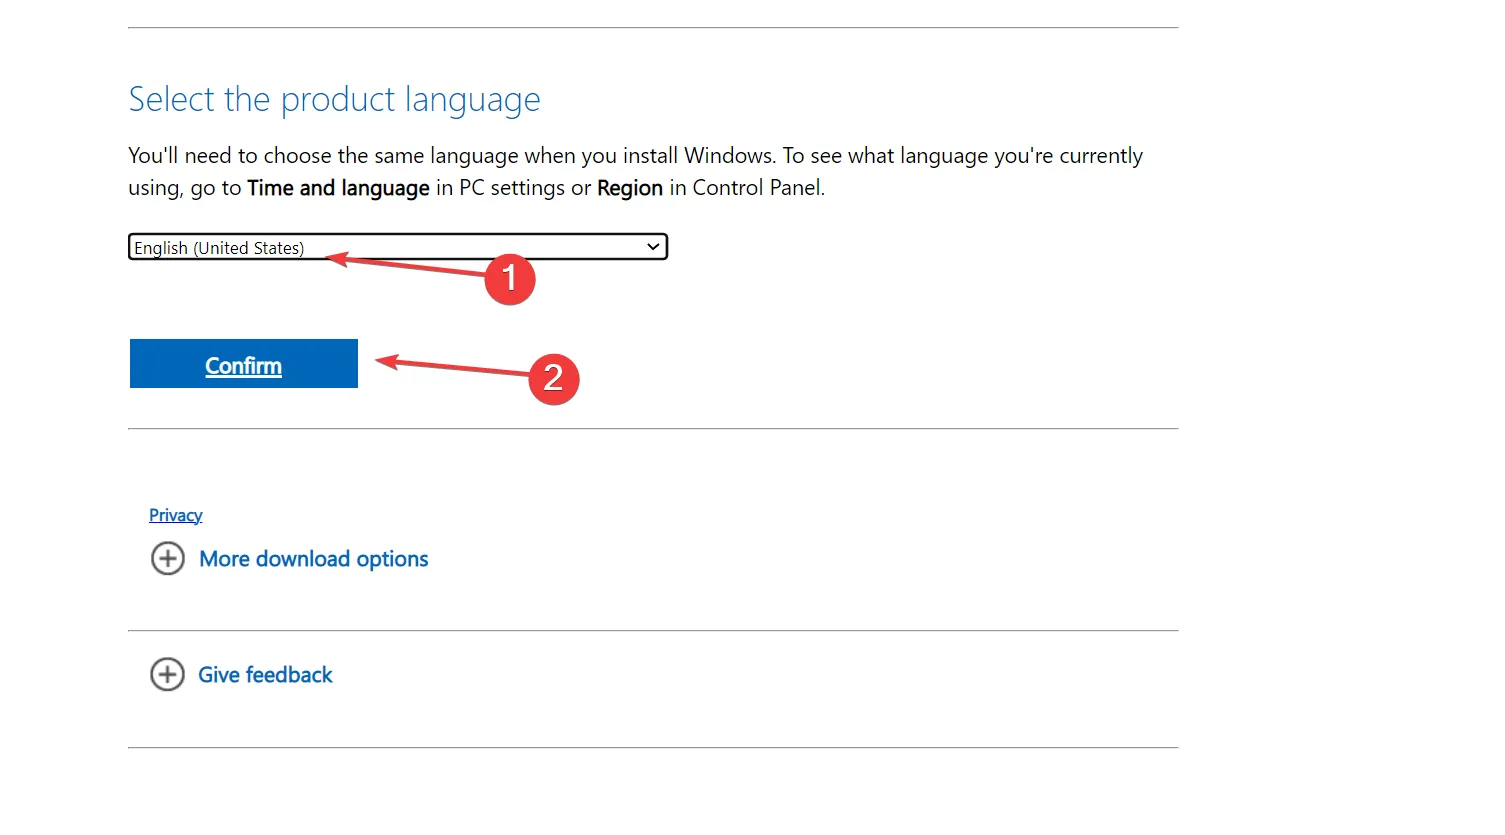
- Now, choose the product language from the dropdown menu, and click Confirm.
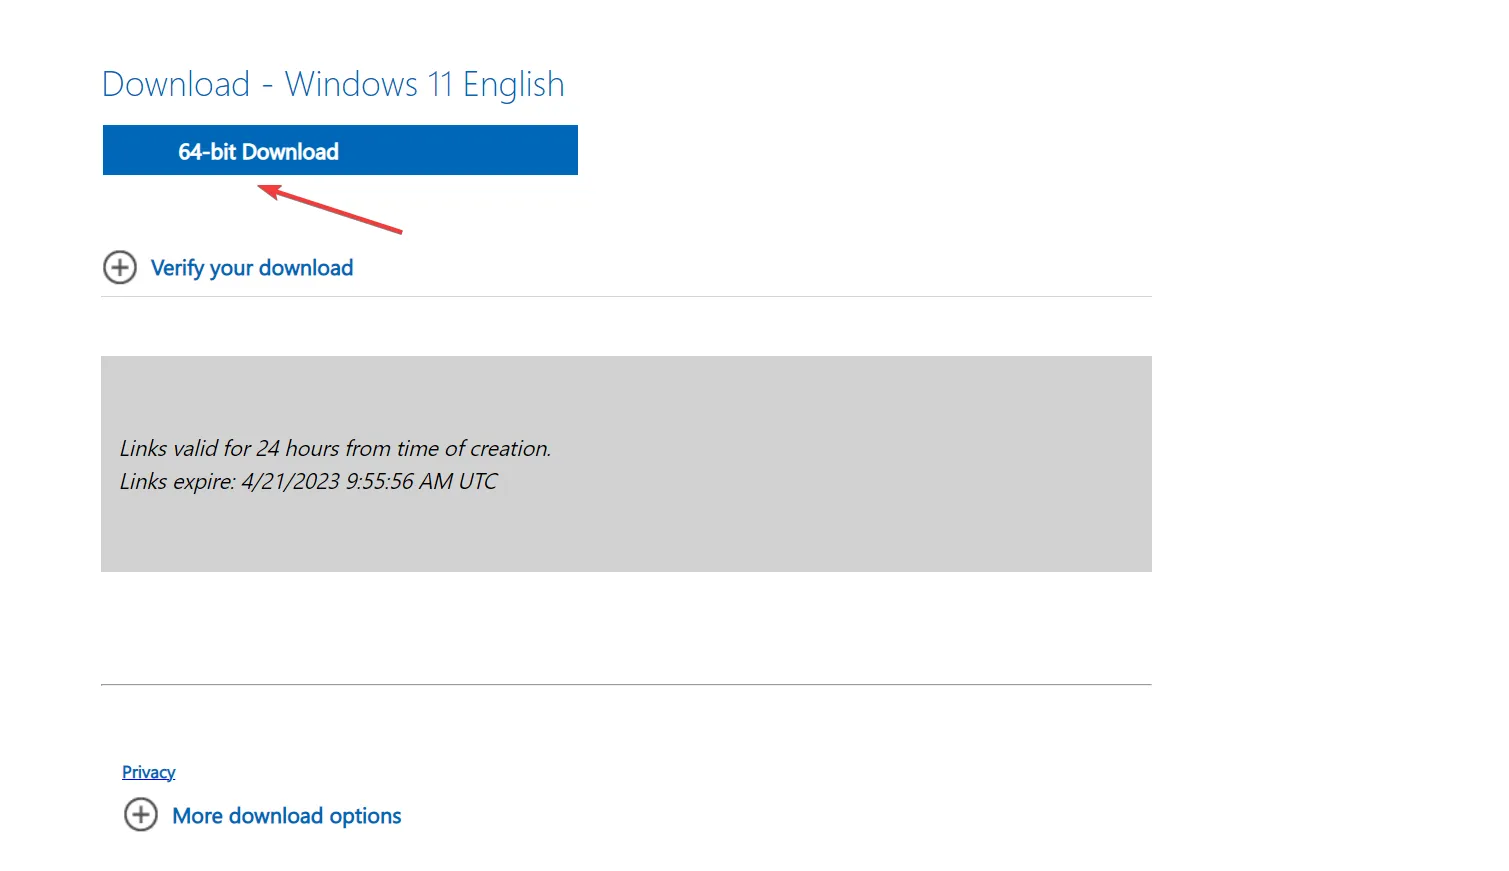
- Click on the link that appears to start downloading the Windows 11 ISO.
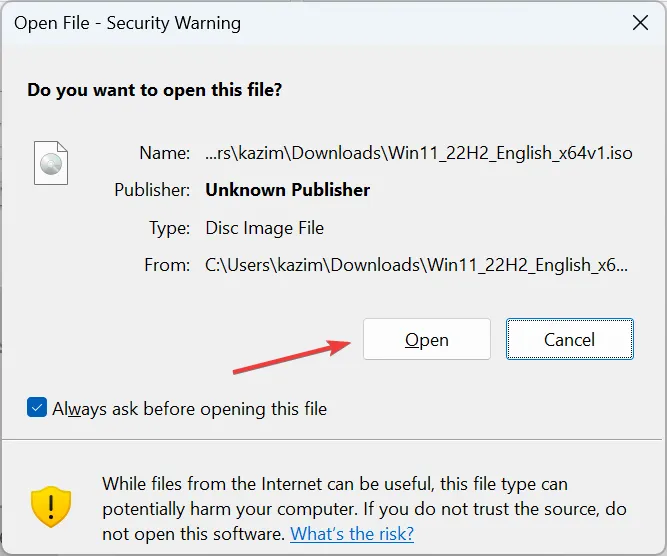
- Once done, double-click on the file and click Open to confirm.
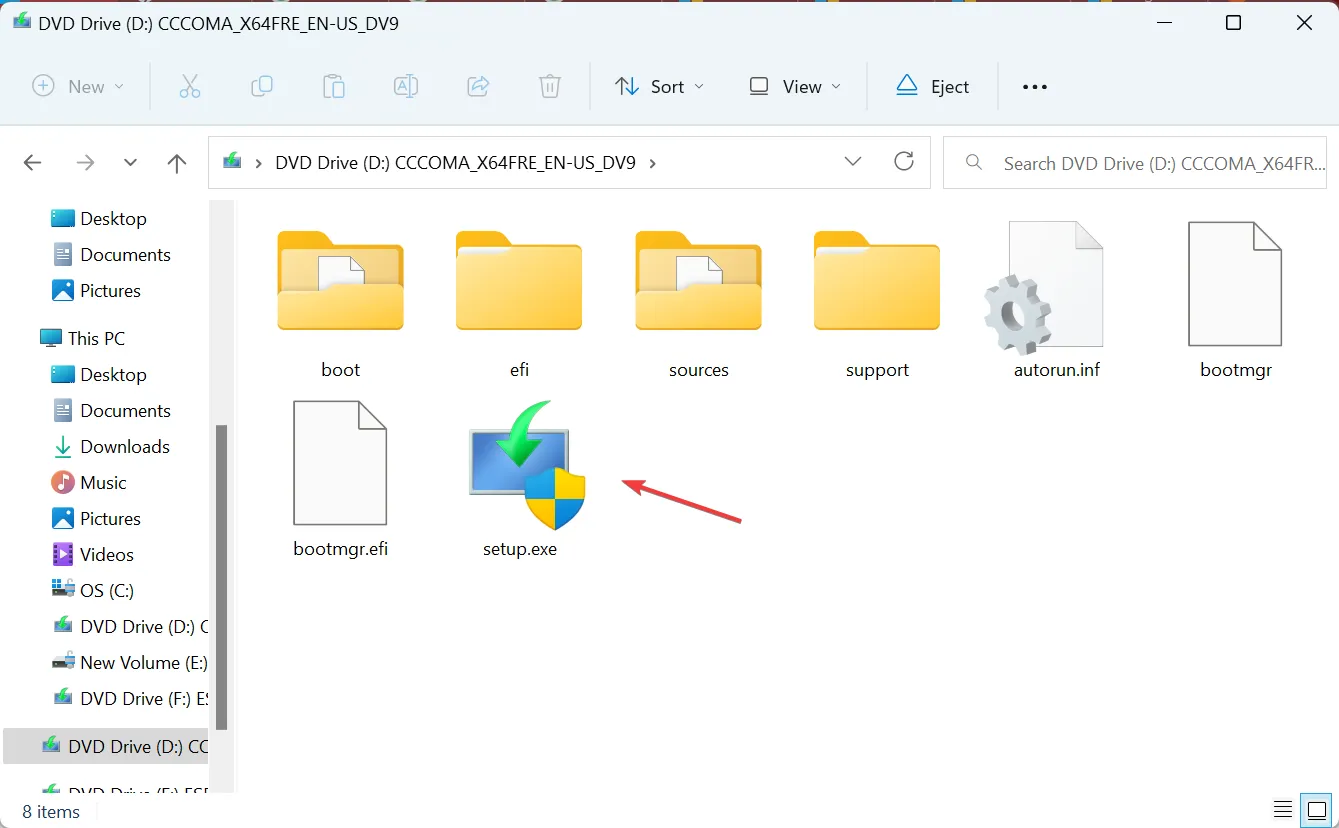
- Launch the setup.exe file.
- Click on Next to proceed.

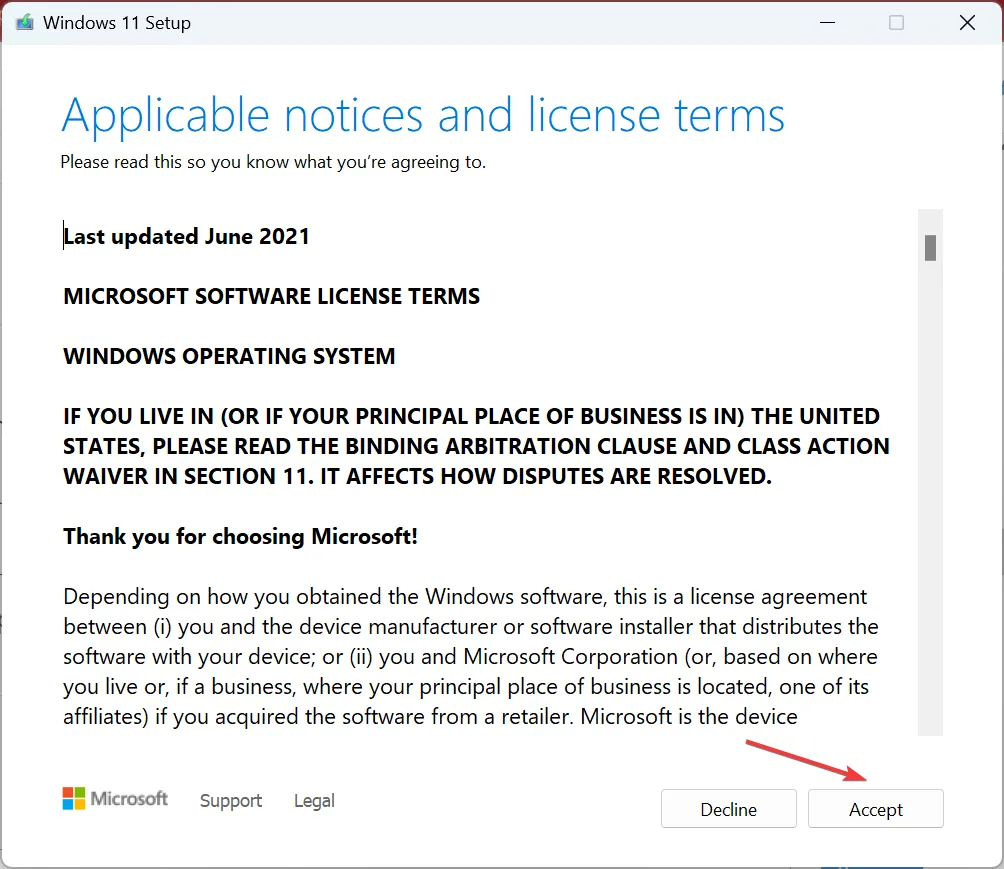
- Click Agree to accept Microsoft’s license terms.
- Finally, verify that the setup reads Keep personal files and apps, and then click on Install.

When nothing else works, the last option is to perform an in-place upgrade to eliminate the advpack.dll error in Internet Explorer and all other programs. Though the process takes a few hours, the personal files and installed apps remain unaffected.
For any queries or to share which solution worked for you, drop a comment below.
Leave a Reply