7 Effective Methods to Resolve HYPERGUARD_VIOLATION BSoD Error 0x0000018C
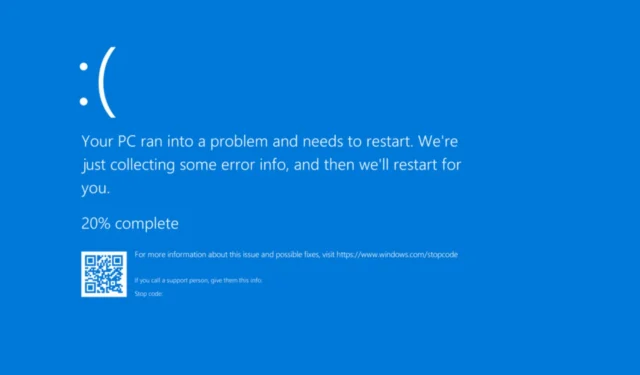
The HYPERGUARD_VIOLATION blue screen of death, accompanied by the error code 0x0000018C, occurs when the Windows operating system identifies corruption within critical kernel code or data.
Typical reasons for encountering this Hyperguard Violation blue screen encompass malfunctioning or incompatible drivers, software conflicts, damaged system files, and potential malware infections.
Prior to exploring solutions, you should restart your computer, disconnect all non-essential devices, and install any outstanding Windows updates. For many users, these fundamental troubleshooting steps may resolve the issue!
How to Resolve HYPERGUARD_VIOLATION Blue Screen?
Tip
If you consistently face HYPERGUARD_VIOLATION upon booting your PC, consider booting into Safe Mode with Networking to apply the solutions listed below.
1. Update All Drivers
- Press Windows + X to access the Power User menu, and choose Device Manager.
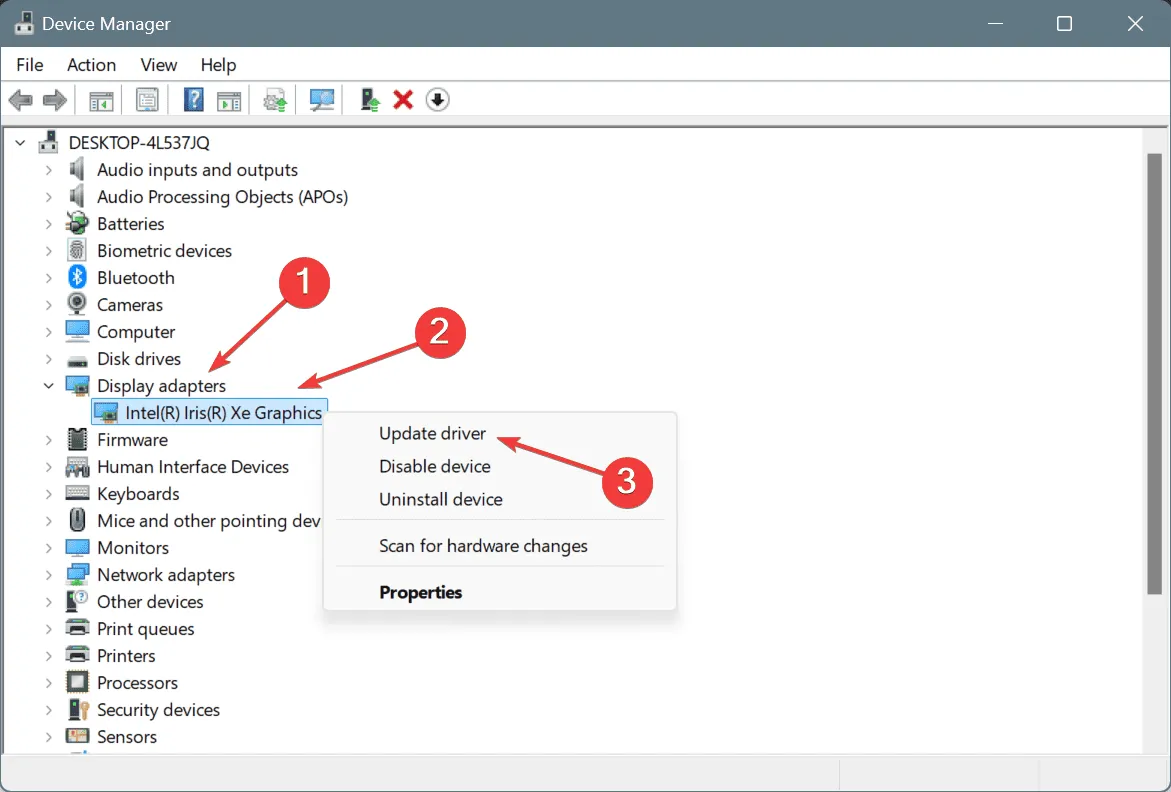
- Expand the device categories, right-click on each device listed, and select Update driver.
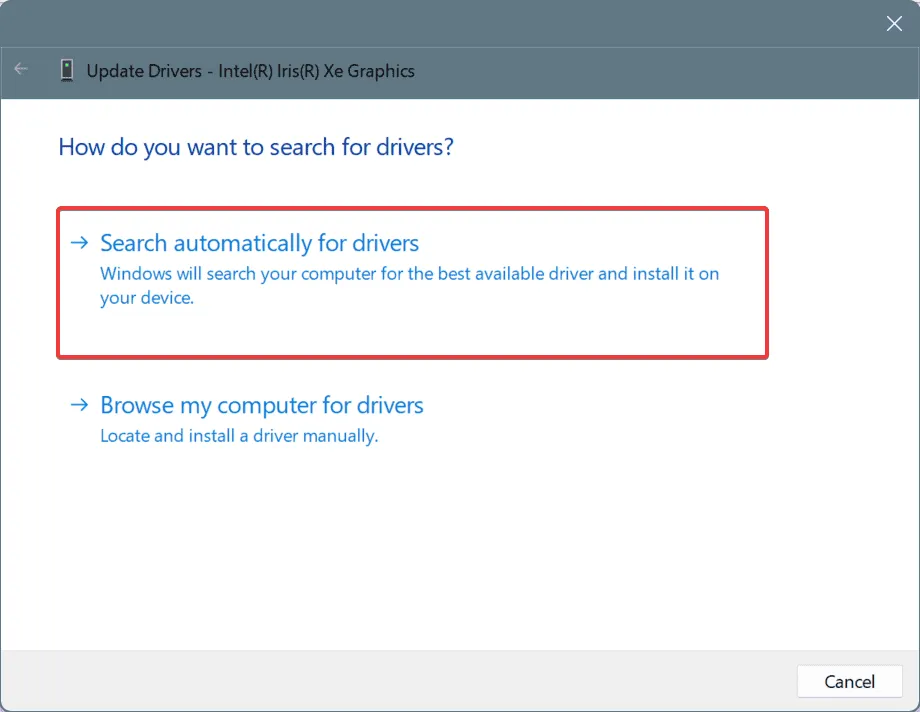
- Choose Search automatically for drivers to allow Windows to find and install the latest available driver.
- After all driver updates are complete, restart your PC to implement the changes.
Driver-related issues are a prominent cause of the HYPERGUARD_VIOLATION bug check in Windows. Thus, your first priority should be to ensure all drivers are up to date.
If Windows fails to locate a superior driver version, I advise visiting the manufacturer’s website directly to download and install the latest drivers manually!
2. Revert Recent Driver Updates
- Press Windows + R to launch the Run dialog, enter devmgmt.msc into the input box, and press Enter.
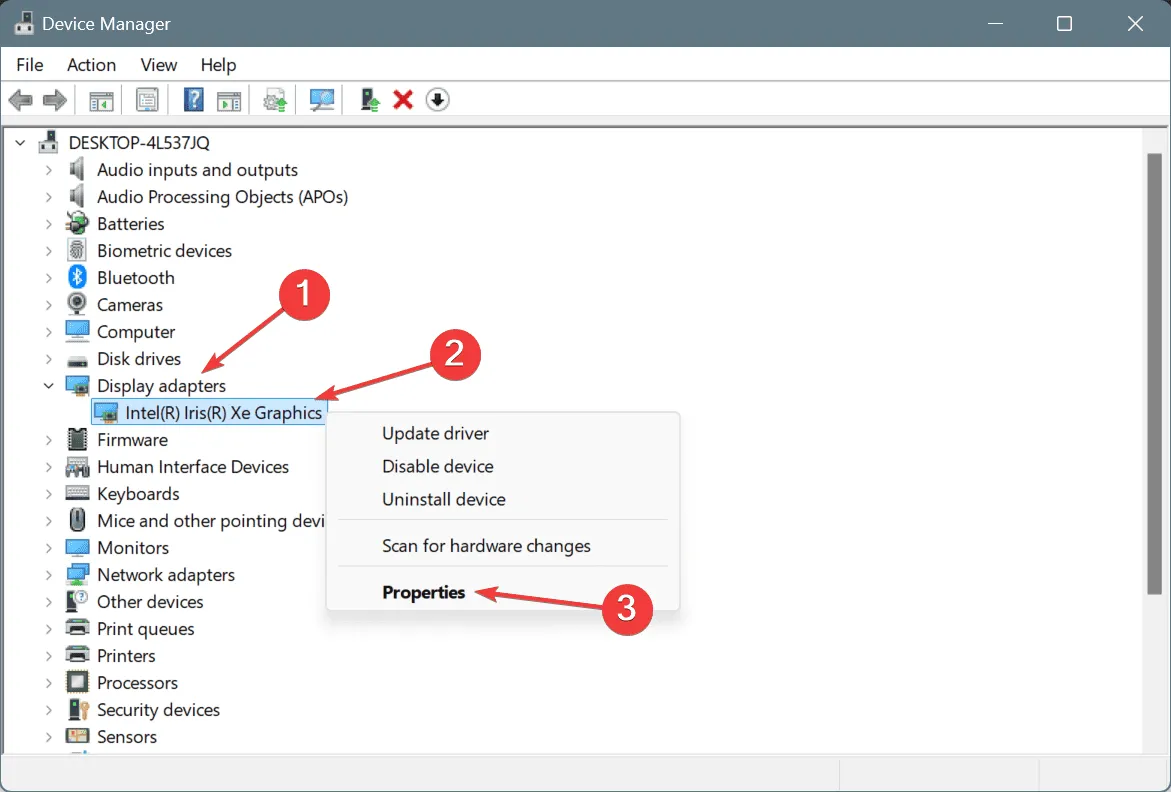
- Double-click the device categories, right-click on the specific device, and select Properties.
- Navigate to the Driver tab and click on Roll Back Driver.
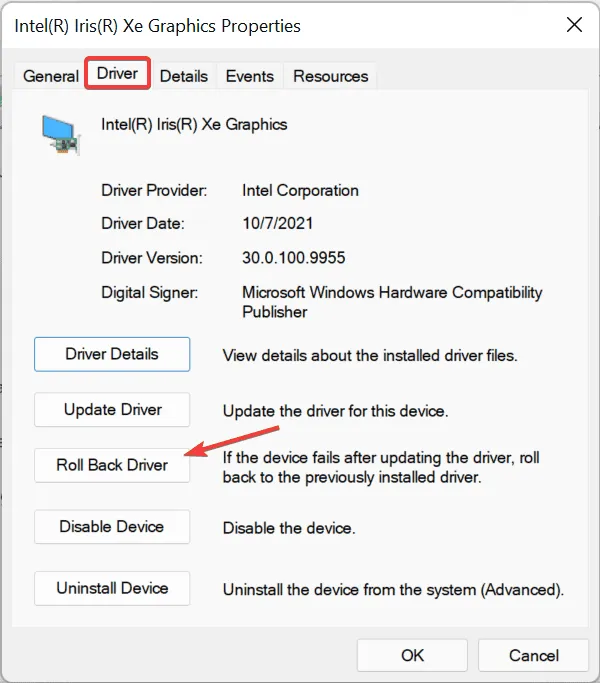
- Select a reason for the rollback or enter one, then confirm by clicking Yes.
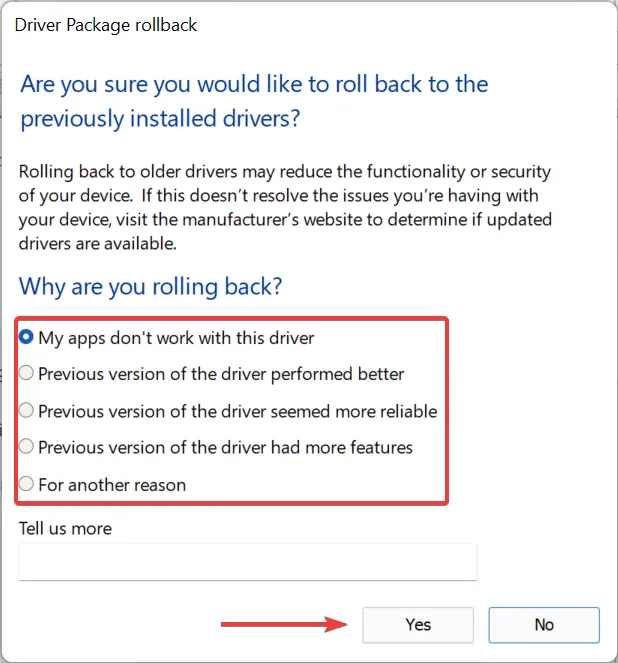
- Finally, restart your computer and check if the HYPERGUARD_VIOLATION error is resolved.
If the Roll Back Driver button is disabled, it indicates there were no recent updates for that driver, or Windows did not retain the necessary files. In such instances, you will need to manually install an older driver version from the manufacturer’s website.
3. Repair Corrupted System Files
- Press Windows + S to open the Search bar, type Command Prompt, and select the option to run it as administrator.
- Confirm the UAC prompt by clicking Yes.
- Individually input and execute the following DISM commands:
DISM /Online /Cleanup-Image /CheckHealth,DISM /Online /Cleanup-Image /ScanHealth,DISM /Online /Cleanup-Image /RestoreHealth. - Then, run the SFC scan by entering this command:
sfc /scannow
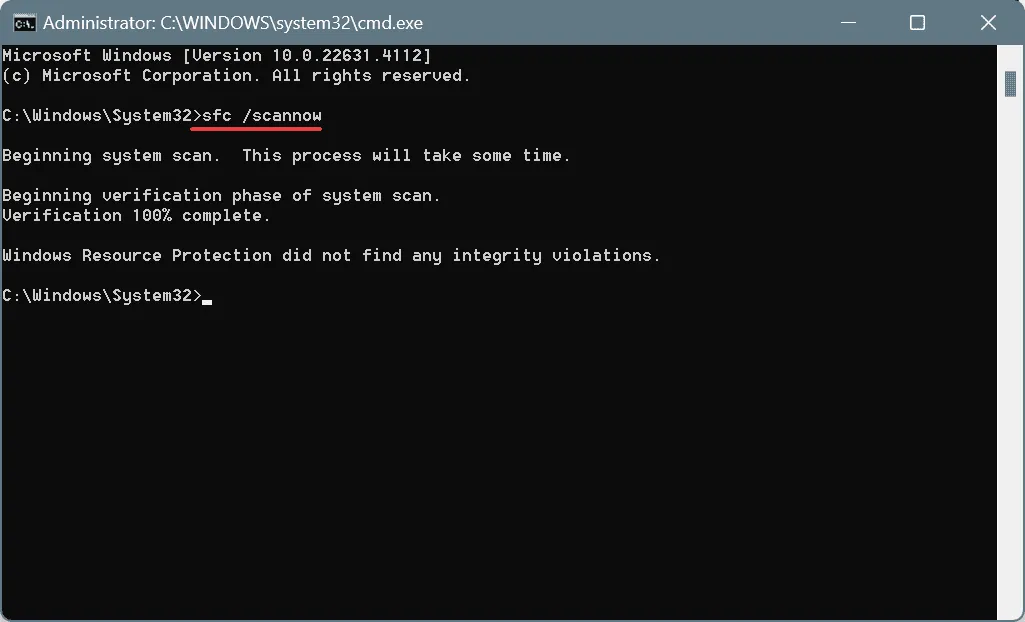
- Once completed, restart your computer to apply the repairs.
If corrupted system files are the culprit behind the HYPERGUARD_VIOLATION BSoD, running the DISM and SFC scans will help restore any damaged files with new versions.
4. Remove Conflicting Applications
- Press Windows + R to bring up the Run dialog, type appwiz.cpl, and hit Enter.
- Identify any recently installed or updated application, select it, and click on Uninstall.
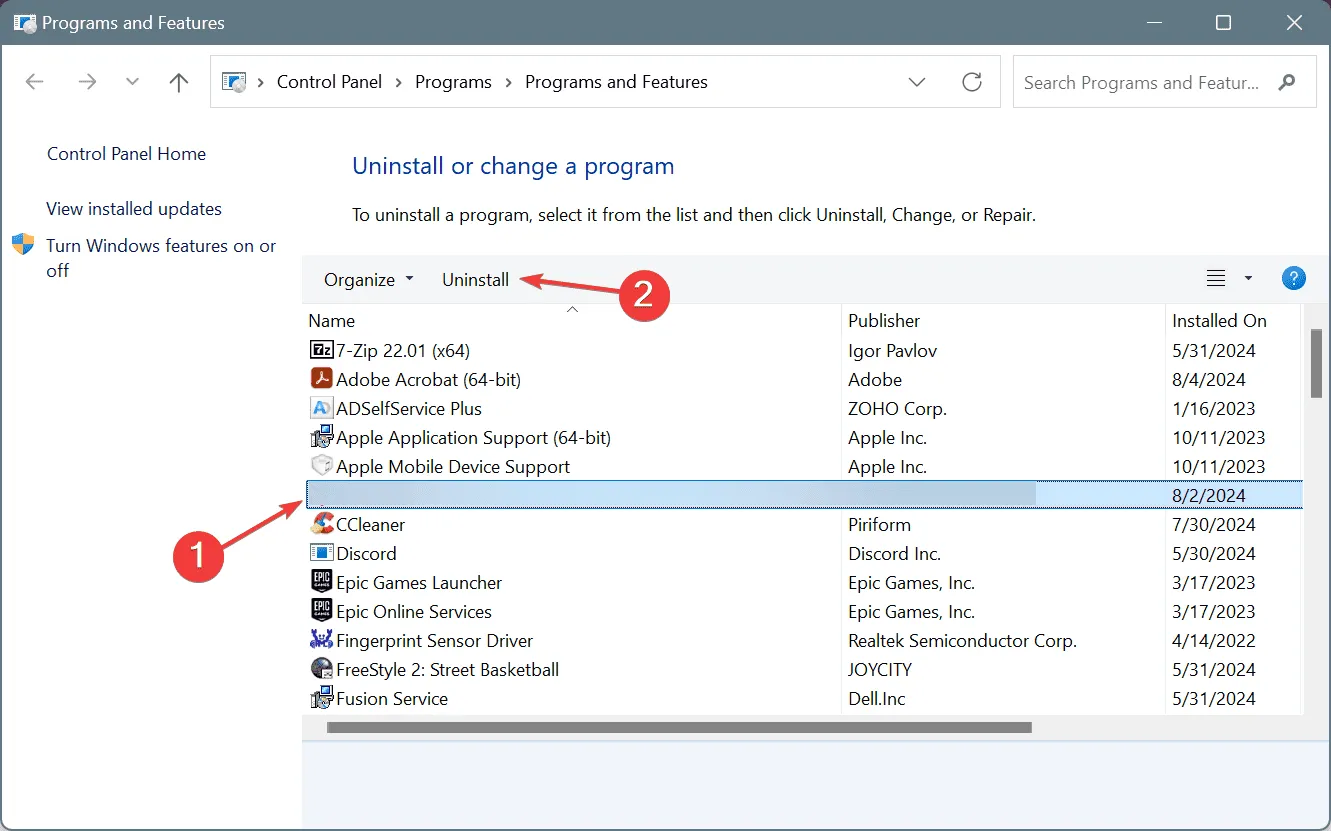
- Follow the on-screen prompts to finalize the uninstallation, then restart your PC.
If uninstalling does not resolve the HYPERGUARD_VIOLATION, residual files, caches, or registry entries may still be causing conflicts. Utilizing a trusted uninstaller tool will effectively remove all remnants of the program.
5. Conduct a Malware Scan
- Press Windows + S to open Search, input Windows Security, and select the corresponding result.
- Navigate to Virus & threat protection.
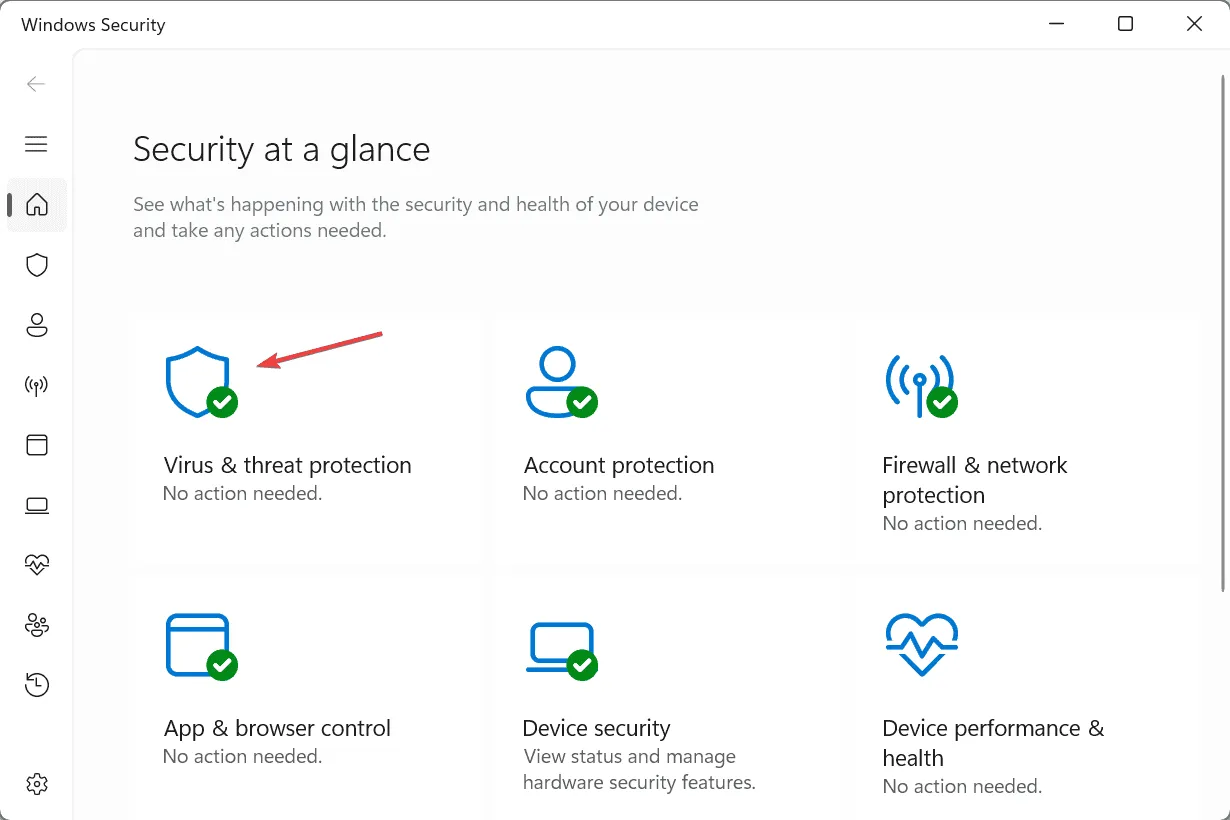
- Click on Scan options.
- Select Full scan and then click on Scan now.
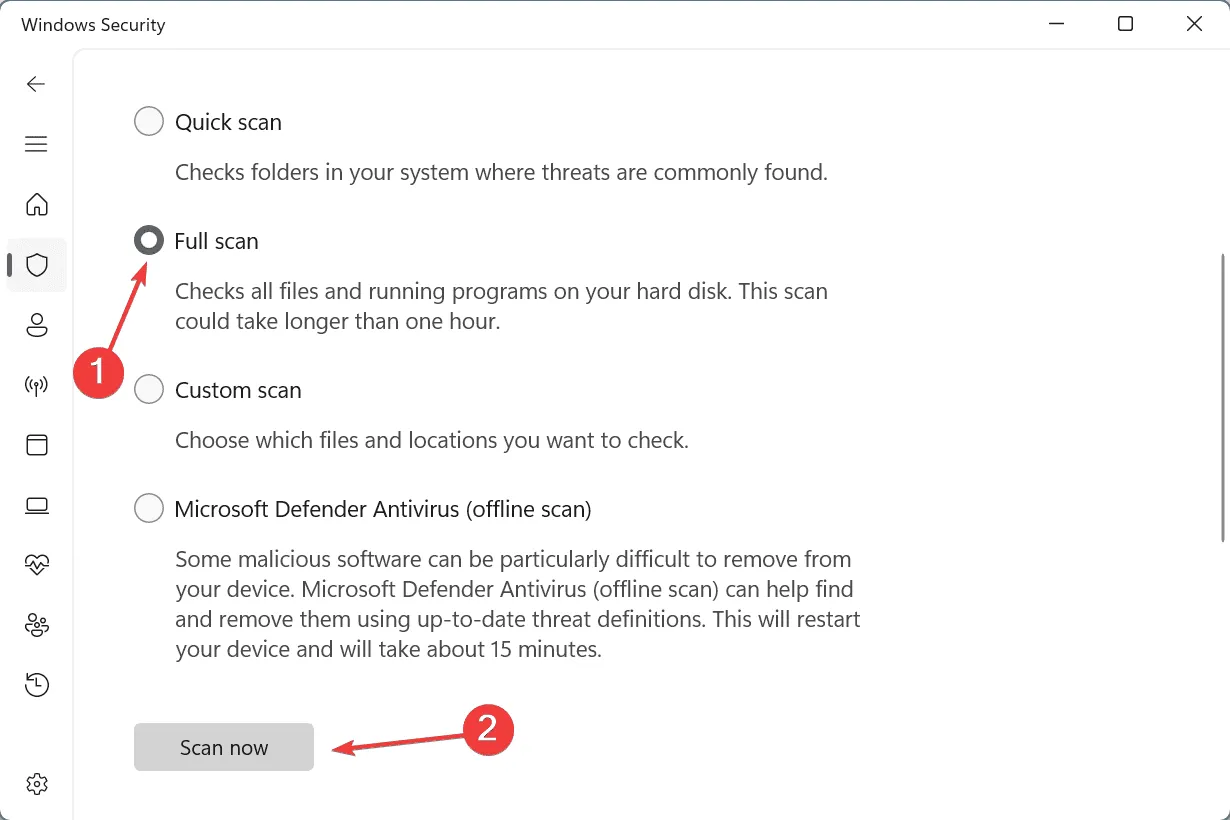
- Allow the scan to run, which typically takes around 15-30 minutes.
6. Test RAM Modules
- Press Windows + S to open Search, type Windows Memory Diagnostic, and select the appropriate outcome.
- Click on Restart now and check for problems.
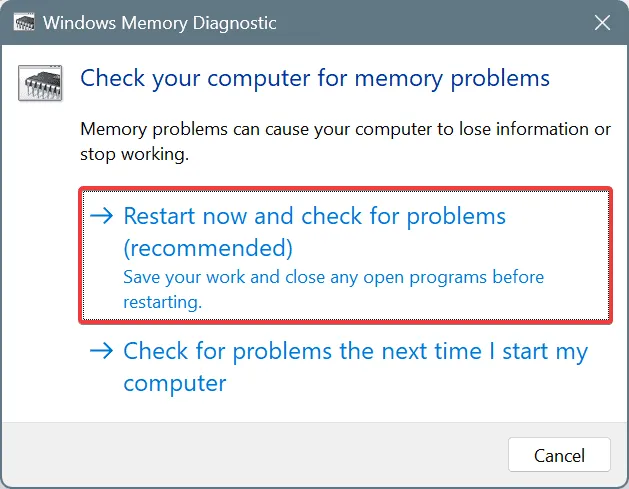
- Once the scan concludes, review the mdsched logs for any RAM-related issues.
If no issues are detected by Windows Memory Diagnostic, consider utilizing Memtest86+. This advanced open-source utility allows for comprehensive testing of individual RAM sticks and can identify even minor faults.
Should the scan uncover any problems, replacing the faulty RAM module is advisable, as failing RAM frequently causes HYPERGUARD_VIOLATION errors.
7. Reinstall Windows
If all other options fail, reinstalling Windows might be the ultimate solution to eliminate any software-related conflicts. Before proceeding, ensure that you back up all essential files to an external device to avoid data loss.
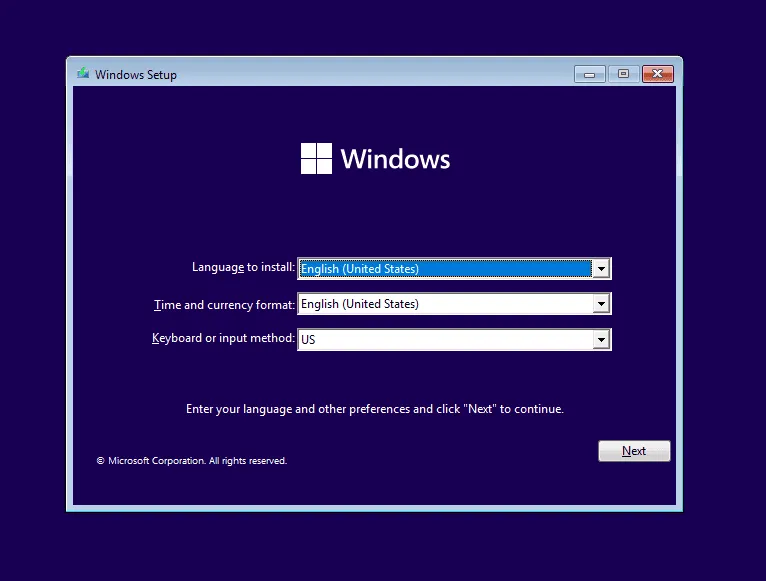
To perform a Windows reinstall, connect a USB drive to a separate computer > visit Microsoft’s official site > download the Media Creation Tool > use this tool to create a bootable USB drive > plug the USB into the troublesome PC > adjust the boot order to prioritize the flash drive > initiate the Windows setup > and follow the installation instructions.
If reinstalling fails to rectify the HYPERGUARD_VIOLATION blue screen error, it is advisable to reach out to the system manufacturer or consult a local repair service, as it would likely indicate a hardware problem.
Feel free to leave comments with your questions or share which solution worked for you!


Leave a Reply