Fixing Virtual Desktop Issues: Not Sysprep Generalized
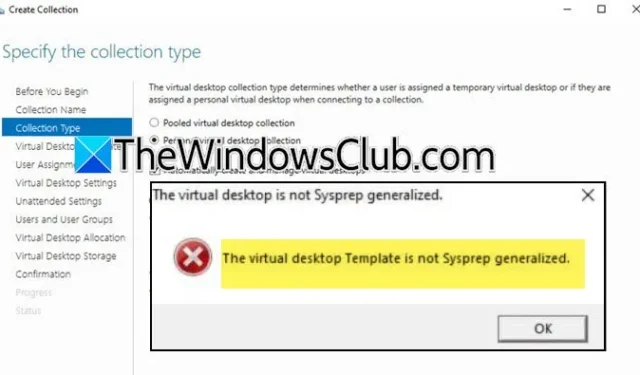
When you attempt to deploy a Windows image using Hyper-V or set up a new Virtual Desktop Infrastructure (VDI), you may encounter an error reading The virtual desktop is not Sysprep generalized. This could be perplexing, particularly for those unfamiliar with what Sysprep entails and how to address this specific issue.
The precise error message you might see is as follows:
The virtual desktop is not Sysprep generalized.
The virtual desktop template is not Sysprep generalized.
Resolving The Issue of Non-Sysprep Generalized Virtual Desktops
The System Preparation Tool, commonly referred to as Sysprep, is a crucial utility for system administrators and IT experts working with Microsoft Windows. Its primary function is to prepare and configure Windows operating systems for imaging or distribution across various machines. Generalizing an image eliminates specific device details such as installed drivers and the Computer Security Identifier (SID), facilitating the creation of a deployable system image. This tool is generally utilized in large environments like multinational corporations or educational institutions where uniformity across multiple systems is essential.
If you find that your virtual desktop is not Sysprep generalized, consider implementing the following solutions:
- Generalize the Sysprep process
- Resolve the fatal error
Let’s dive deeper into these solutions.
1] Generalize the Sysprep Process
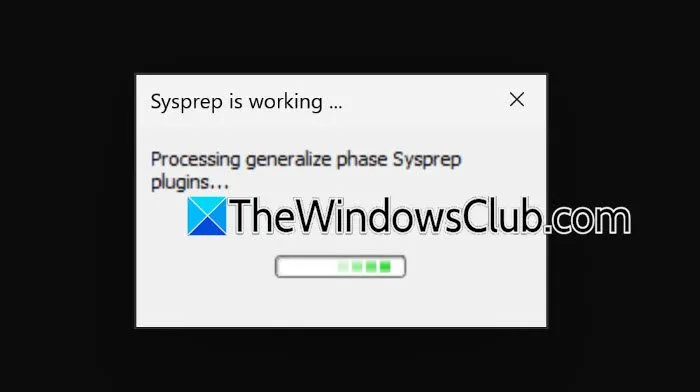
The error indicates that your image has not undergone Sysprep generalization. To rectify this, follow the steps below to generalize your Sysprep image:
- Launch Hyper-V Manager.
- Right-click on the template and select Start.
- Within the template, open Command Prompt with administrative privileges.
- Navigate to the Sysprep directory by using the Change Directory (CD) command. You can simply type –
cd sysprep. - Once in the directory, run the following command:
sysprep.exe /oobe /generalize /shutdown /mode:vm.
This command will initiate the cleanup process necessary for Sysprep generalization. You should see a confirmation stating, “Sysprep is working; Processing generalize phase Sysprep plugins.” After the process completes, the computer will shut down, and your VM will be Sysprep generalized. You can then attempt to deploy the image again, which should proceed without issue.
2] Resolve the Fatal Error
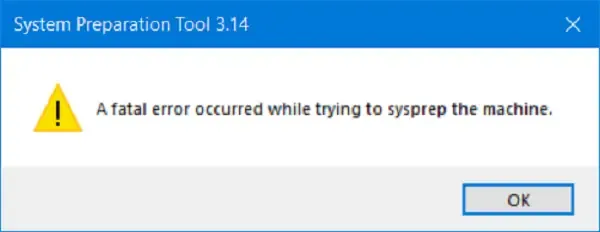
Occasionally, Sysprep generalization may fail due to a fatal error, resulting in the following message:
A fatal error occurred while trying to sysprep the machine.
In such cases, you may need to adjust the SkipRearm setting. This registry entry determines whether the Windows Software Licensing Rearm program will run, effectively resetting the Windows licensing state by removing or resetting all activation-related licensing and registry data.
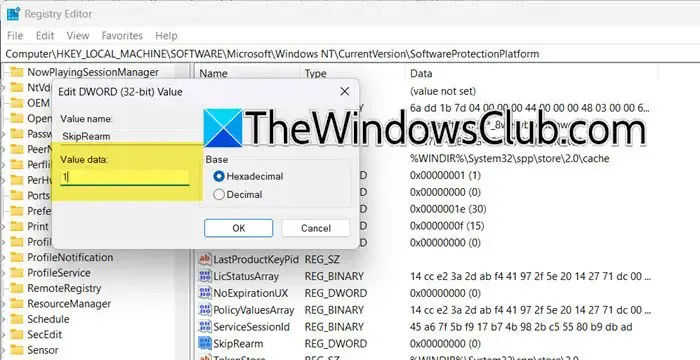
To modify this setting, launch the Registry Editor and navigate to the following path:
HKEY_LOCAL_MACHINE\SOFTWARE\Microsoft\Windows NT\CurrentVersion\SoftwareProtectionPlatform
Locate SkipRearm, double-click it, and change the Value data to 1. Click OK to confirm your changes.
If the problem persists, it may be helpful to consult our guide for additional solutions to address the fatal error encountered during the Sysprep process.
Common Causes of Sysprep Failure
Several factors can lead to a Sysprep failure on your system. For instance, an outdated Microsoft Store app, pending Windows updates, or an older version of the Windows image can all contribute to complications with the Sysprep process.
Location of Sysprep Logs
Sysprep generates two primary log files: setupact.log and setuperr.log. To locate them, open File Explorer and navigate to one of the following directories:
- C:\Windows\Panther
- C:\Windows\Panther\UnattendGC
- C:\Windows\System32\sysprep\Panther
You should be able to find the pertinent information you require within these log files.
Image Credits: Thewindowsclub.com


Leave a Reply