Transforming a Raspberry Pi into a First Computer for Kids
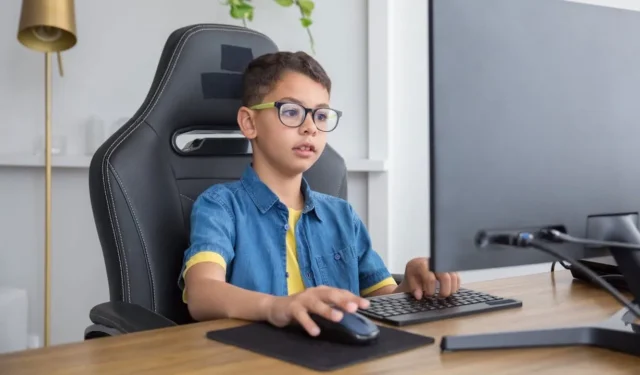
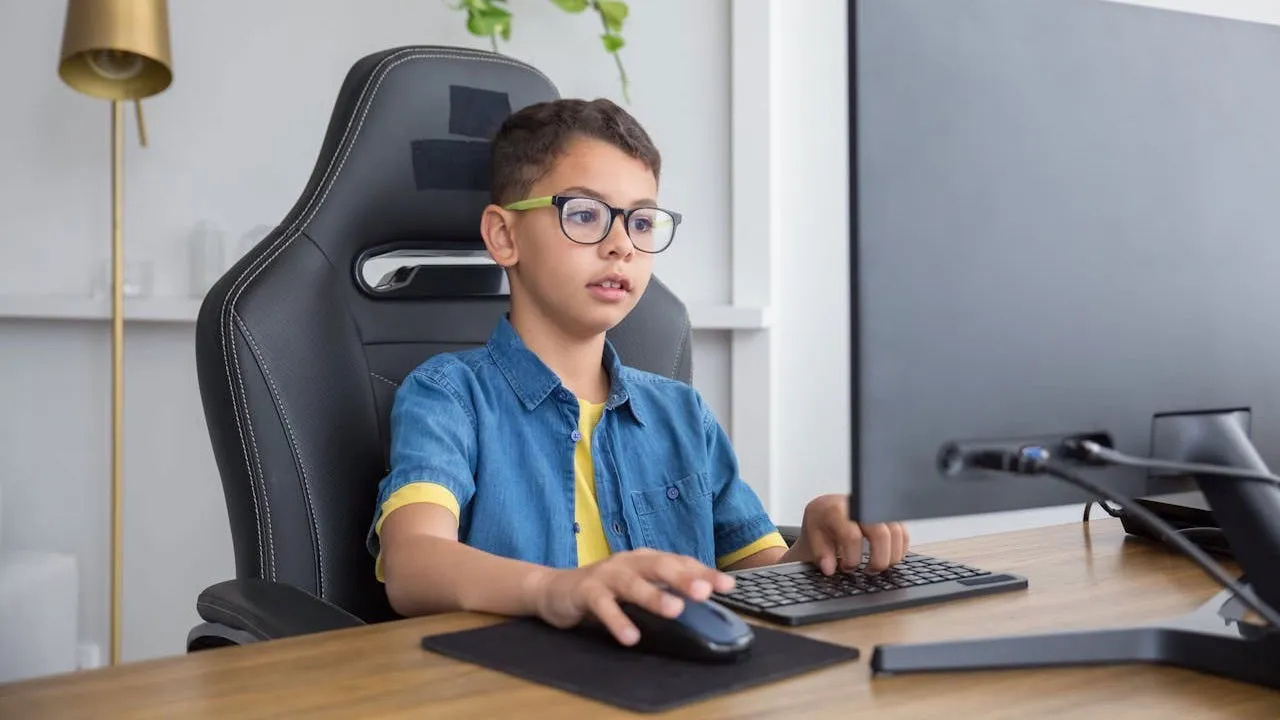
In today’s digital age, where young children can swipe screens before learning to tie their shoelaces, there’s a unique value in teaching traditional computer skills. For this reason, I decided to transform my Raspberry Pi into my child’s very first computer. Read on to learn how I accomplished this task.
Reasons for Selecting Raspberry Pi as a Child’s Computer
Many budget-friendly computing options exist to help children learn to use a mouse and keyboard, including mini PCs, laptops, all-in-one systems, and inexpensive desktops.

I opted for a single-board computer, specifically the Raspberry Pi, due to its numerous advantages:
- The overall cost of assembling a Raspberry Pi setup is much lower than that of most conventional computers, especially if you avoid purchasing the latest model.
- Power consumption is minimal; larger Raspberry Pi boards draw less than 10 watts, and idling uses around 3 watts. In comparison, standard laptops typically consume 30 watts or more, and desktops can require up to ten times that amount.
- The Raspberry Pi Foundation offers a wealth of resources and projects tailored for educational purposes, making it an ideal platform for introducing programming and electronics to young learners.
My daughter appreciates the compact size of her Raspberry Pi 5, which makes it easy for her to handle and inspect closely, even allowing her to peek into the case and see its inner workings.
Choosing Hardware and Software for My Child’s Computer
For my child’s first computing experience, I decided to invest in the latest Raspberry Pi 5 equipped with 8 GB of RAM. I wanted this system to last long enough for my second child to benefit from it and to be capable of running various games and educational applications without any hiccups.
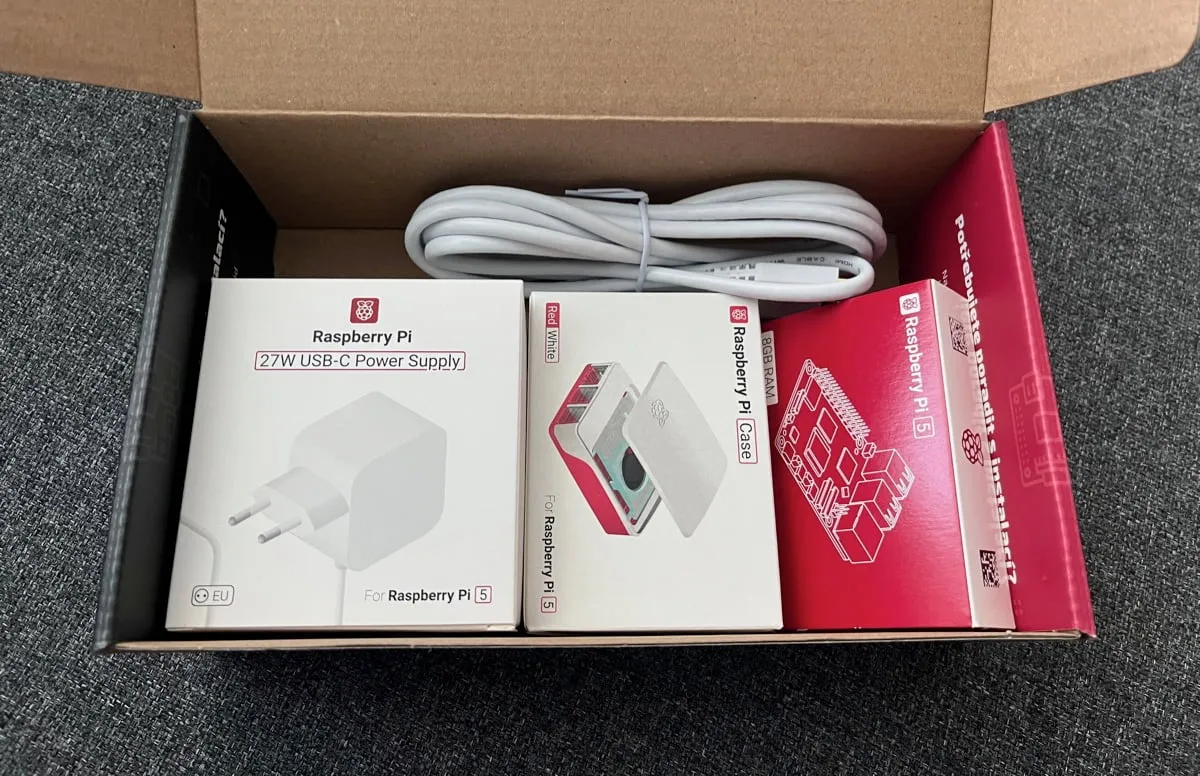
Even the Raspberry Pi 4 with 4 GB of RAM would suffice; I would just have to emphasize the importance of closing unused programs a little sooner.
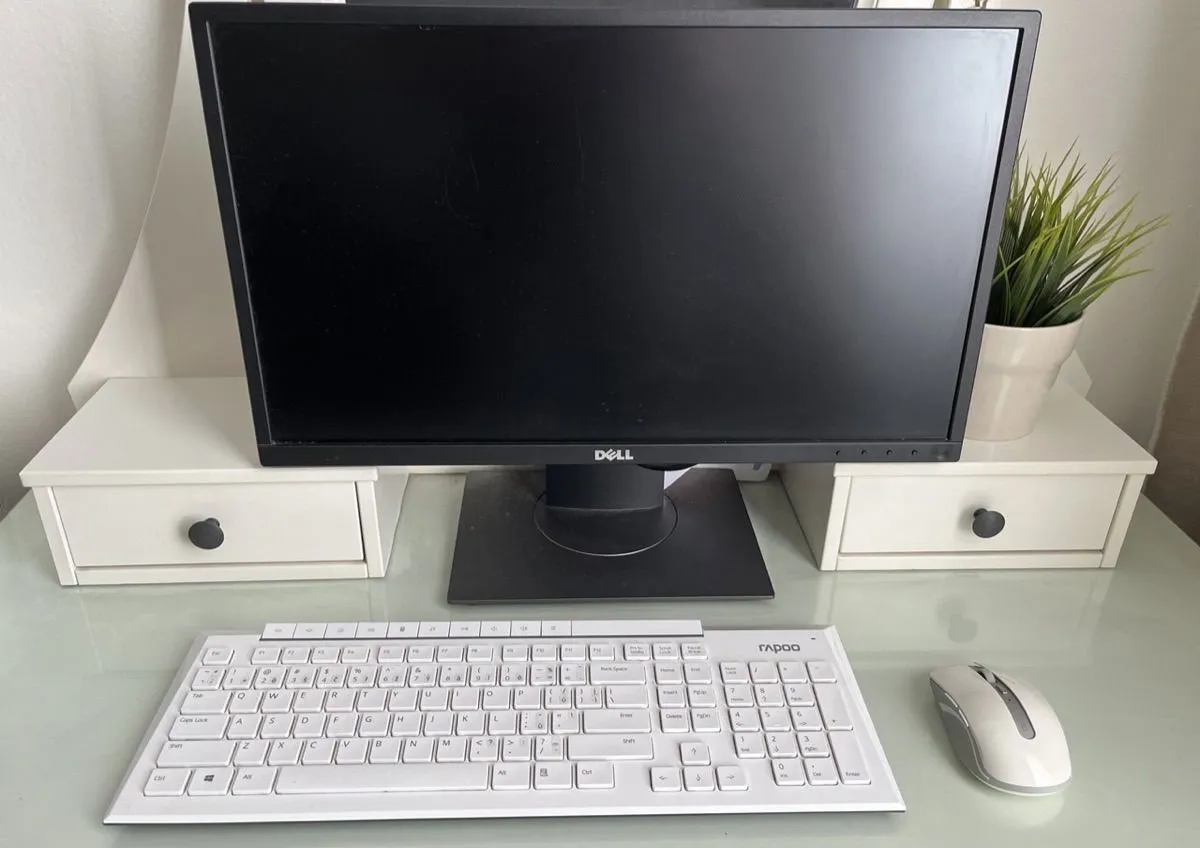
For additional hardware, I opted for simplicity by using a Bluetooth keyboard and mouse I already owned. This eliminates excess cables, resulting in a neat overall appearance. Regarding the display, I selected a compact Full HD monitor, ensuring vibrant text and visuals while helping reduce eye strain for those tiny eyes. The only peripheral I needed to acquire separately was a microSD card.
Initially, I planned on using Endless OS, a beginner-friendly operating system packed with educational resources. However, as the current ARM version of Endless OS only supports the Raspberry Pi 4, I switched to the reliable Raspberry Pi OS, knowing that I would need to customize it for easier navigation.
Setting Up the Raspberry Pi for Kid-Friendly Use
Once I had all the necessary components assembled, it was time to activate my daughter’s new computer. The first step was to install the Raspberry Pi 5 into its case, which was straightforward—just slide the board in and snap it shut. Next, I made the necessary connections, plugging in the HDMI cable to link the Pi with the monitor and inserting the Bluetooth dongle for the keyboard and mouse.
Using the Raspberry Pi Imager on my laptop, I set up Raspberry Pi OS on the microSD card. This tool allowed me to input Wi-Fi information and create a user account in advance.
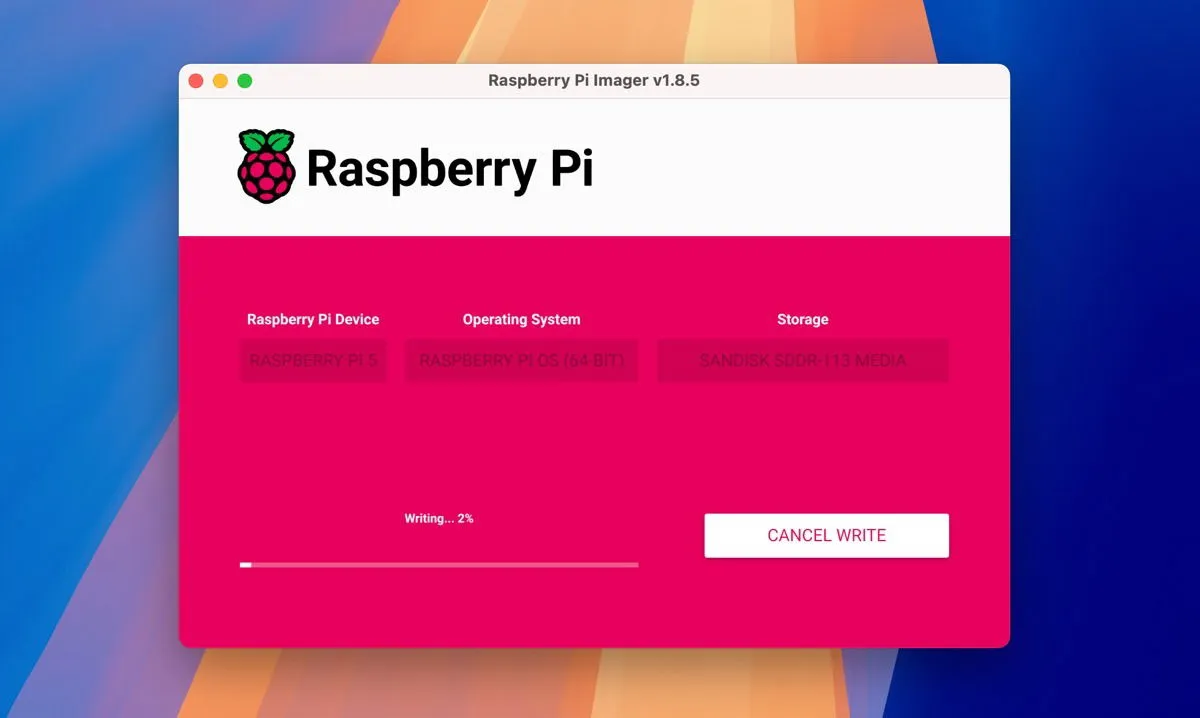
Once the microSD card was prepared and inserted, I connected the power cable and awaited the first boot of the Raspberry Pi. The initial start brought me directly to the desktop of Raspberry Pi OS.
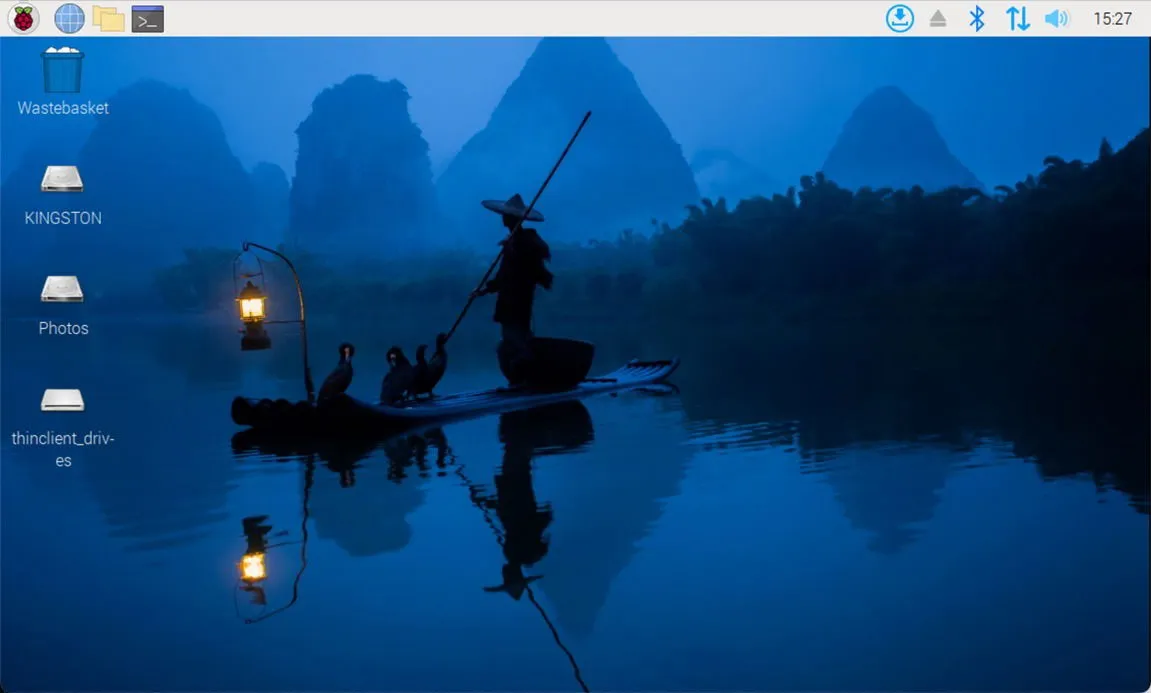
After these five initial steps, the Raspberry Pi was functionally ready; however, it was not entirely suited for a child. To create a more kid-friendly environment, I installed several applications and games:
- GCompris Educational Software: This suite offers over 100 different activities for kids aged 2 to 10, covering subjects from learning about computers to engaging with science.
- Tux Paint: An engaging drawing application that provides a perfect platform for young artists to practice their mouse skills.
- Extreme Tux Racer: A delightful game where players guide Tux the penguin down a snowy slope, helping my daughter to effortlessly memorize arrow key usage.
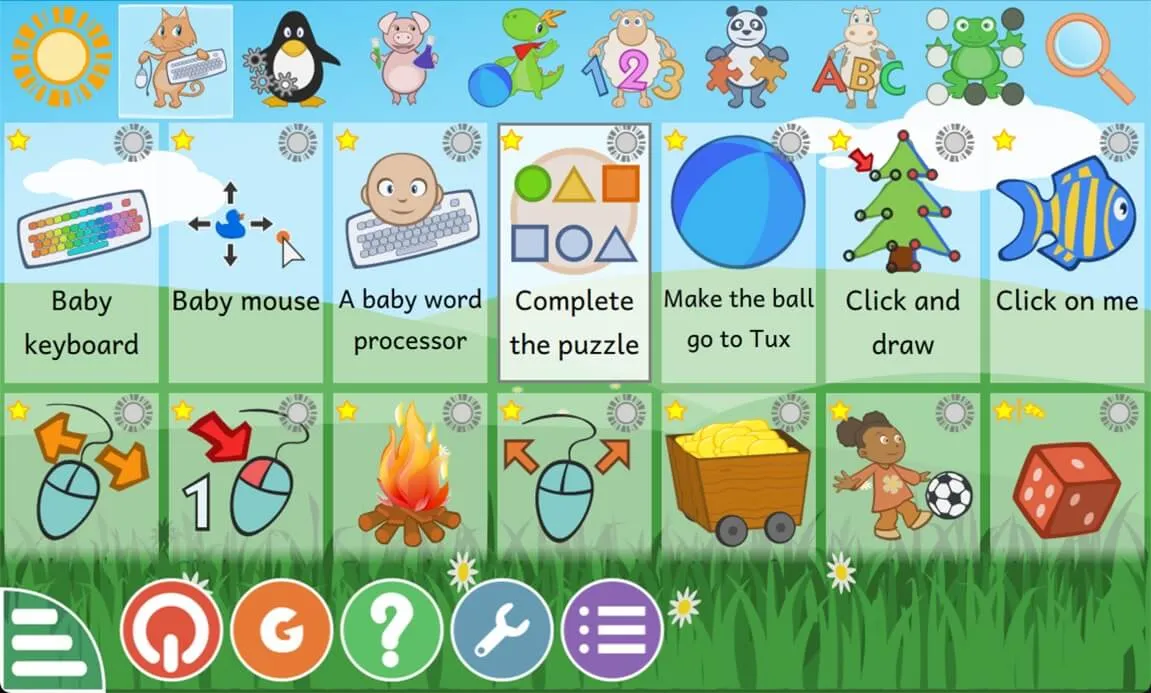
These applications are just a glimpse of the vast array of educational Linux software and games waiting to be discovered.
Before giving my daughter access to her Raspberry Pi, I customized the user interface to resemble Windows more closely. This included relocating the taskbar to the bottom, enlarging it, removing unnecessary icons, and pinning the aforementioned applications and games. My daughter even selected her own wallpaper.
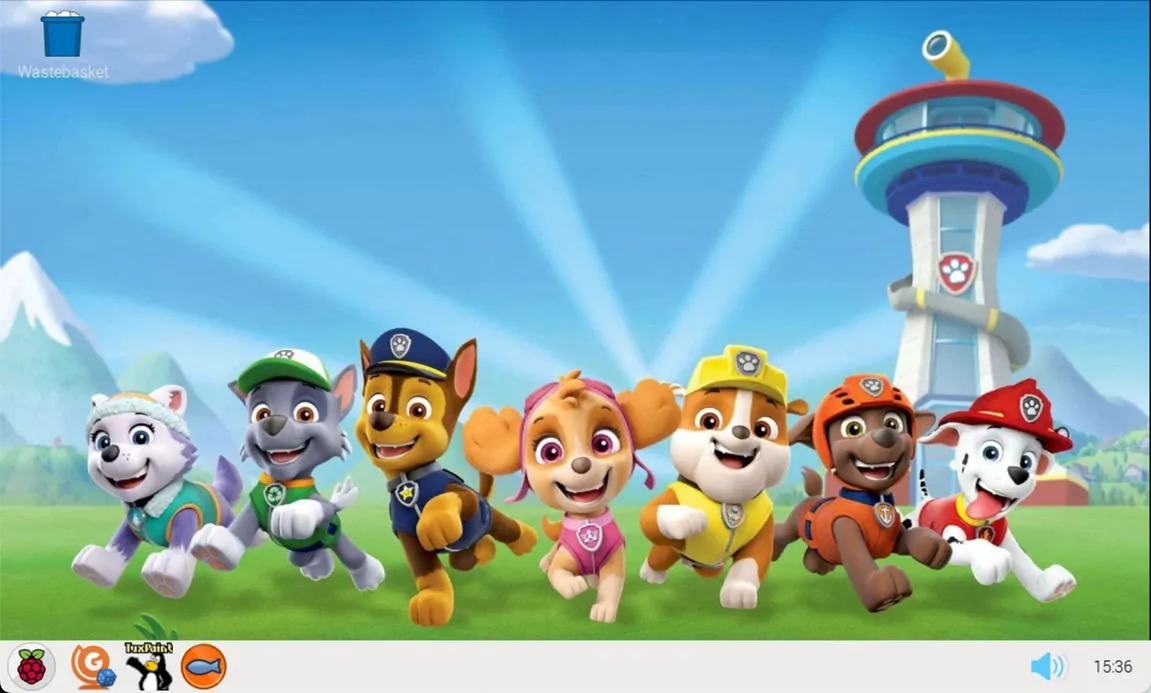
I took an important precaution to create a safe space for exploration: I deleted the previously saved Wi-Fi network (the topic of internet browsing can wait for later in my child’s computing journey) by accessing the Terminal and executing the following command:
I then removed the specific Wi-Fi network entry, saved the wpa_supplicant.conf file, and rebooted the Raspberry Pi.
My daughter has been using her Raspberry Pi for several months now, and I am amazed by the progress she has made. She has not only grown proficient in using a mouse and keyboard but has also developed a keen interest in understanding how computers function.
As her confidence and skills continue to blossom, I plan to gradually introduce her to new features and eventually to the world of Internet connectivity. For now, this uncomplicated and secure computing environment is perfect for fostering her developing tech abilities.
This article is filled with additional insights and suggestions for creating a safe, educational computing experience for children of various ages.
Image credit: Pexels. All screenshots are by David Morelo.


Leave a Reply