Configuring WinRM through Group Policy on Windows Machines
Windows Remote Management, commonly known as WinRM, is a protocol developed by Microsoft that facilitates the remote management of computers. It utilizes the WS-Management Protocol, which is designed specifically for remotely handling Windows desktops and servers. This article will guide you on how to effectively configure WinRM through Group Policy Objects (GPO) on Windows machines.
How to Configure WinRM via GPO on Windows Machines
To set up WinRM using GPO, please follow the steps outlined below:
- Change your network connection to Private or Domain
- Verify if WinRM is enabled on your device
- Use the Group Policy Management Console to configure WinRM
- Force a refresh of GPO settings on Windows
Let’s delve into each step in detail.
1] Change Your Connection to Private or Domain
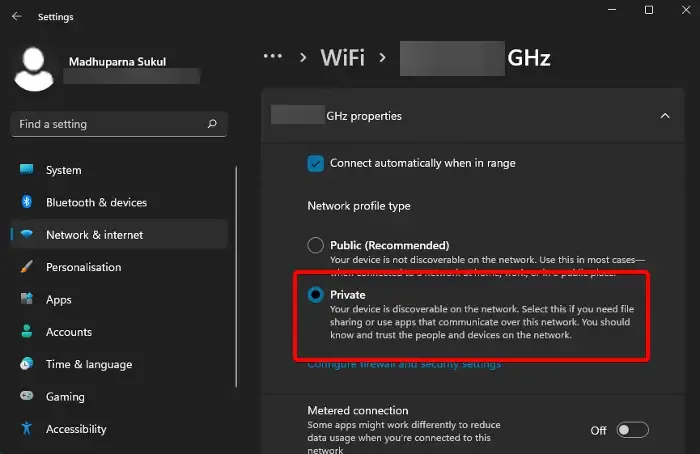
To enable WinRM, you are required to be connected to a Private or Domain network. If you are currently on a public network, follow these steps to switch to the appropriate network type:
- Open Windows Settings using Win + I.
- Navigate to Network & Internet.
- Select Wi-Fi and click on your WiFi connection.
- Choose Private network.
If you are using Ethernet, make sure to apply the same changes to it. Once you’ve completed this, proceed to the next step.
2] Verify If WinRM is Enabled on Your Device
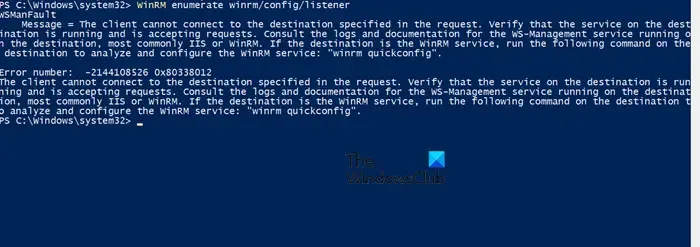
The next step is to determine if WinRM is already enabled on your system. Typically, Windows Server systems will have this feature pre-installed, while it may not be the case for Windows client systems. To check this, open PowerShell with administrator privileges and input the following command:
WinRM enumerate winrm/config/listener
If you receive an error message like the one below, it means WinRM is not activated:
WSManFaultMessage = The client cannot connect to the destination specified in the request. Verify that the service on the destination is running and is accepting requests. Consult the logs and documentation for the WS-Management service running on the destination, most commonly IIS or WinRM. If the destination is the WinRM service, run the following command on the destination to analyze and configure the WinRM service: “winrm quickconfig” .
Error number: -2144108526 0x80338012
To enable it, run the command winrm quickconfig. However, note that this only enables the feature on the local machine, whereas configuring through GPO applies it to all users on the domain.
3] Configure WinRM Using Group Policy Management Console
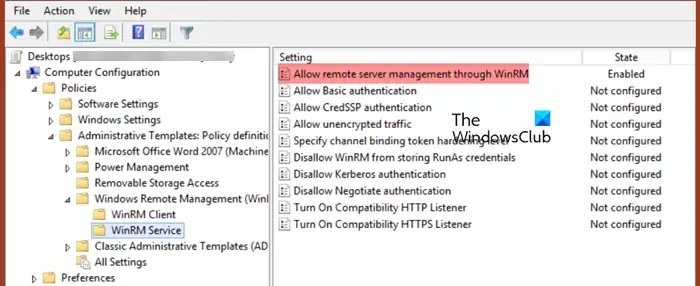
The Group Policy Management Console (GPMC) is your go-to interface for managing Group Policy settings across various domains and forests. Changes made here will impact all users connected to your Active Directory. Here’s how you can configure WinRM setting:
- Open the GPMC by searching for it in the Start Menu.
- Select your Active Directory container (Organizational Unit) and create a new GPO named corpEnableWinRM.
- Open the new GPO for editing, and navigate to Computer Configuration > Policies > Windows Settings > Security Settings > System Services.
- Find the Windows Remote Service (WS-Management) and set its startup mode to Automatic.
- Go to Computer Policies > Preferences.
- Select Control Panel Settings and then Services.
- To create a new service, choose New > Service, enter WinRM for the service name, and click on Restart the Service within the Recovery tab.
- Navigate to Computer Configuration > Policies > Administrative Templates > Windows Components > Windows Remote Management (WinRM) > WinRM Service.
- Find Allow remote server management through WinRM, double-click it to edit.
- Set it to Enabled and specify IP addresses or subnets in the IPv4/IPv6 filter box. To allow all IP addresses, leave it as *.
- Create a Windows Defender Firewall rule for WinRM connections on the default ports TCP/5985 and TCP/5986 by heading to Computer > Policies > Windows Settings > Security Settings > Windows Firewall with Advanced Security > Inbound Rules.
- Select the predefined rules for Windows Remote Management and create the rule.
- Lastly, go to Computer Configuration > Policies > Administrative Templates > Windows Components > Windows Remote Shell, find Allow Remote Shell Access, and enable it.
You have now successfully configured a GPO rule for WinRM.
4] Force Windows to Refresh GPO Settings
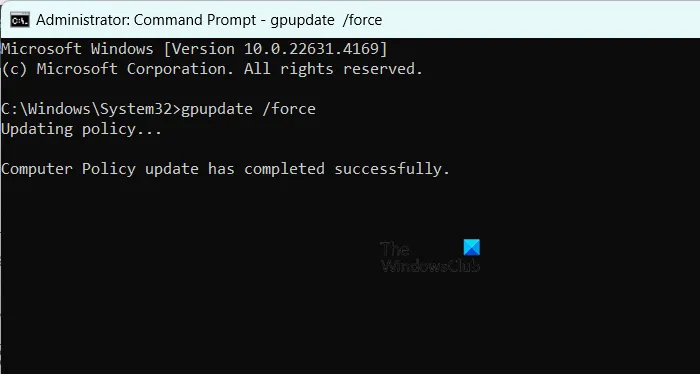
To apply the new GPO settings on the client devices, execute GPUdate.exe. Open the Command Prompt with administrative rights and enter the following command:
gpupdate /force
This command forces the system to process all policies configured within the domain controller and apply them.
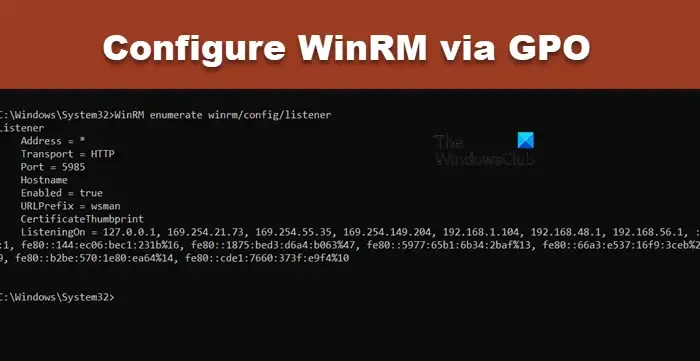
If you wish to confirm that WinRM has been enabled, run WinRM enumerate winrm/config/listener. This will provide the listener configuration details.
And that’s all!
How to Enable WinRM via GPO?
To enable WinRM through Group Policy Objects, the critical policy to configure is “Allow remote server management through WinRM.” Ensure to follow the necessary prerequisite steps to successfully apply this configuration to your client systems.
How to Enable WinRM from the Command Line?
To enable WinRM using the Command Line, open either PowerShell or Command Prompt with elevated privileges and execute winrm quickconfig or Enable-PSRemoting –Force. To check the current status of WinRM, run WinRM enumerate winrm/config/listener.


Leave a Reply