Step-by-Step Guide to Uninstall Windows Security on Windows Server
If your goal is to partially remove Windows Security from Windows Server, this comprehensive guide is designed for you. Using Server Manager and Windows PowerShell, you can effectively uninstall Microsoft Defender Antivirus from your Windows Server.
Steps to Uninstall Windows Security from Windows Server
To achieve uninstallation of Windows Security from your Windows Server, adhere to these instructions:
- Launch Server Manager on your device.
- Select Manage > Remove Roles and Features.
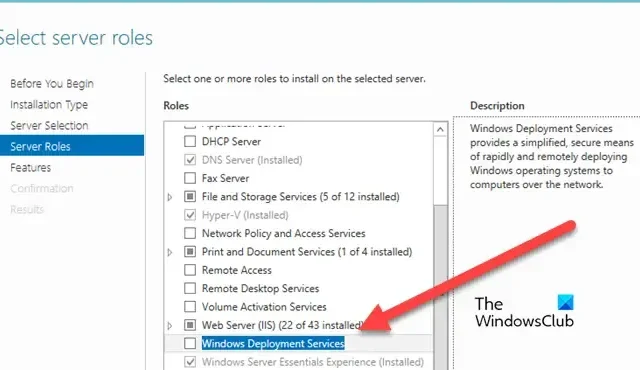
- In the Server Selection tab, choose the appropriate server and press Next.
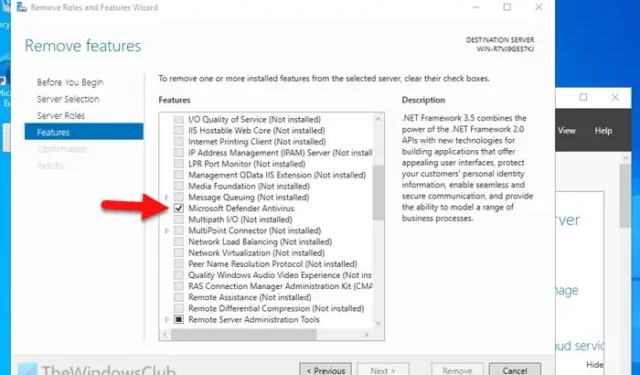
- In the Features tab, uncheck the box next to Microsoft Defender Antivirus.
- If you wish to restart the server automatically when necessary, check the box for Restart the destination server automatically if required and click the Remove button.
For a more detailed walk-through of these steps, please continue reading.
To begin, open Server Manager on your system, and navigate to Manage > Remove Roles and Features. Choose the specific server from the Server Selection tab and continue by clicking the Next button.

Subsequently, advance by selecting Next on the Server Roles tab. You will arrive at the Features tab, where you need to uncheck the corresponding box for Microsoft Defender Antivirus, then proceed by clicking Next.

Note that completing this action necessitates a system restart. You can either choose to restart manually by clicking the Remove button or automatically by checking the Restart the destination server automatically if required option followed by the Remove button.

Let the procedure conclude without interrupting it in any way.
Upon completion, the Microsoft Defender Antivirus section will no longer be visible in Windows Security.
If you wish to reinstall it later, you can utilize Server Manager to add Microsoft Defender Antivirus back.
Using PowerShell to Uninstall Microsoft Defender from Windows Server
To remove Microsoft Defender through PowerShell on Windows Server, follow these quick steps:
- Type “powershell” in the search box on the Taskbar.
- Select the PowerShell application from the search results.
- Input the command:
Uninstall-WindowsFeature -Name Windows-Defender
For further clarification on these steps, continue reading.
Initiate PowerShell on your server by searching for “powershell” in the Taskbar and selecting it from the search results. Input the following command:
Uninstall-WindowsFeature -Name Windows-Defender
Once executed, Microsoft Defender Antivirus will be removed from your server. Should you desire to reinstall it, simply run this command:
Install-WindowsFeature -Name Windows-Defender
That’s it! We hope this informative guide has been beneficial to you.
How to Remove Windows Defender on Windows Server?
To uninstall Windows Defender (or Microsoft Defender) on your Windows Server, access the Server Manager, click on Manage > Remove Roles and Features, then deselect the checkbox for Microsoft Defender Antivirus in the Features tab, and hit Next. Lastly, restart the server as needed.
Is It Possible to Uninstall Windows Security?
No, complete uninstallation of Windows Security from Windows Server is not feasible. Nevertheless, you can partially disable the antivirus features. To do this, open PowerShell and execute the command: Uninstall-WindowsFeature -Name Windows-Defender.


Leave a Reply