How to Fix DirectX 12 Not Supported on Your System
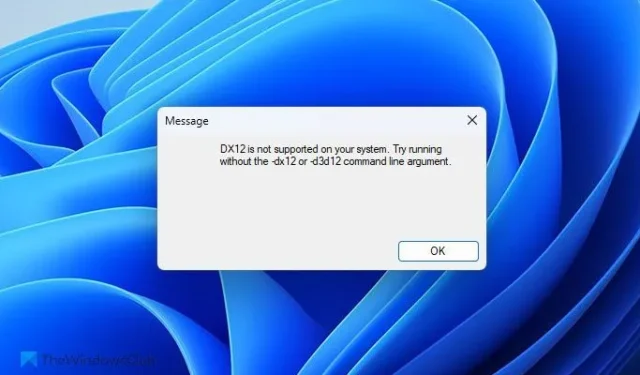
If you encounter an error message stating DirectX 12 is not supported on your system or DX12 is not supported on your system when trying to launch a game or application on Windows 11/10, you can follow these steps to resolve the issue. This error may arise due to several potential factors, and we’ve assembled a list of possible causes along with solutions to help you effectively eliminate this problem.
How to Resolve the DirectX 12 Is Not Supported Error in Windows 11
To rectify the DirectX 12 is not supported on your system error in Windows 11/10, consider the following solutions:
- Verify hardware requirements
- Update DirectX
- Update your graphics driver
- Disable Compatibility mode
- Repair the. NET Framework
For detailed insights into these solutions, continue reading.
1] Verify Hardware Requirements
The first step in addressing the aforementioned error is to ensure your system meets the necessary hardware requirements. DirectX functionality is closely related to the capabilities of your graphics card. If your graphics card does not support the version of DirectX you are trying to use, installation will not be possible, leading to persistent error messages when attempting to launch games or applications.
2] Update DirectX
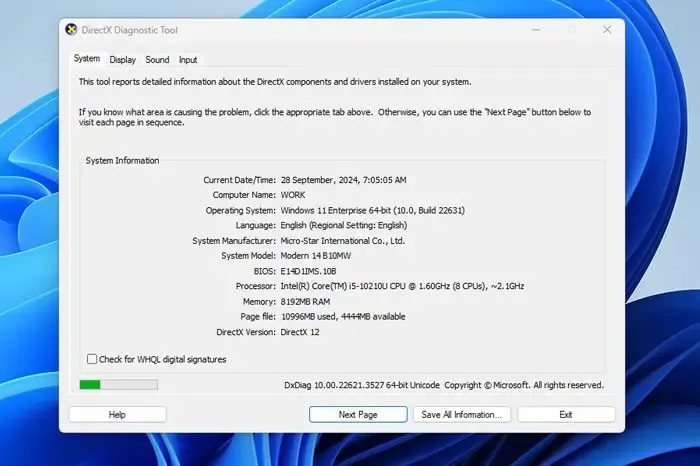
You can attempt to manually update DirectX. However, it’s important to note that there’s no standalone installer to update your current version directly. This means you will have to download a newer version of DirectX if you’re running an outdated one on your system.
To check your installed version of DirectX, click the Taskbar search box and enter dxdiag. Open the DirectX Diagnostic Tool wizard and check the DirectX Version displayed there.
If it indicates DirectX 11 or an earlier version, head over to Microsoft.com to download the DirectX web installer and follow the installation steps to complete the update.
3] Update Your Graphics Driver
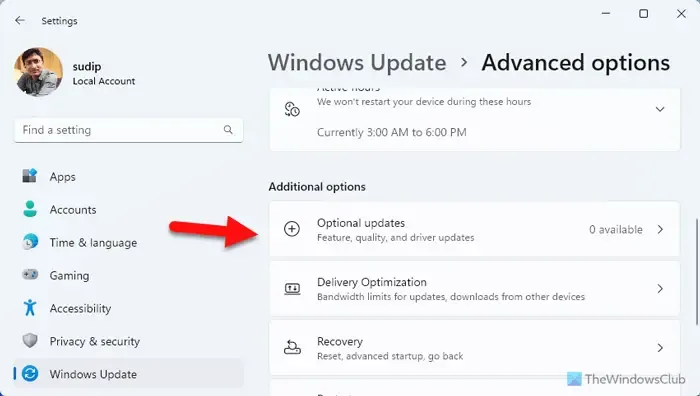
You can update your graphics driver through either the Device Manager or the Windows Update feature. To access this, open the Windows Settings panel and navigate to Windows Update > Advanced options > Optional updates.
Check if any updates are available. If so, mark the appropriate checkbox to download and install the update.
You can also visit the official website of your graphics card manufacturer to check for updates related to your specific model and download them as per your requirements.
4] Disable Compatibility Mode
If you’ve been using compatibility mode to launch a game, it’s advisable to turn it off. For instance, if a game requires DirectX 12 and you have compatibility mode enabled, it may hinder the game’s performance, potentially leading to the error when you try to launch it.
To disable compatibility mode, right-click on the game icon, select Properties, then navigate to the Compatibility tab. In the Compatibility mode section, uncheck the box for Run this program in compatibility mode for, and click the OK button.
5] Repair the. NET Framework
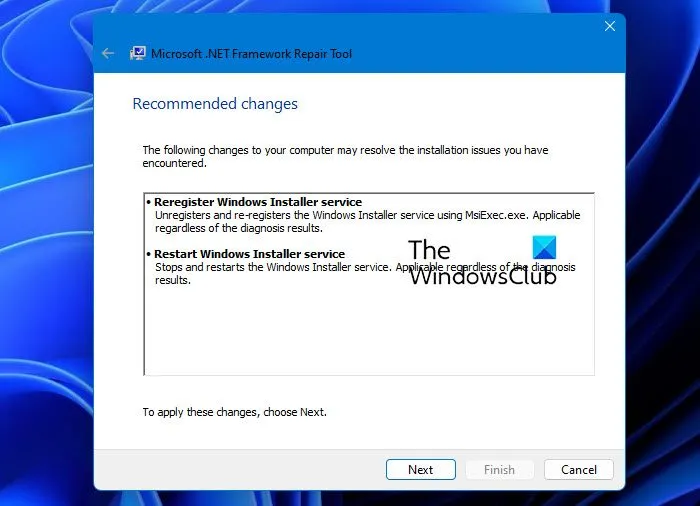
This issue may occur due to a corrupted. NET Framework. In such cases, you can resolve the problem using the Microsoft. NET Framework Repair Tool. This free utility can be downloaded from Microsoft’s official website and facilitates the repair of various common issues related to. NET Framework.
We hope this guide assists you in resolving the issue.
How Can I Fix DX12 Not Supported on My System?
To address the DX12 is not supported on your system error in Windows 11/10, first check the system requirements. If your system supports DirectX 12, proceed to update the existing DirectX version and graphics driver or disable the compatibility mode.
What Could Prevent My PC from Supporting DirectX 12?
There could be various factors contributing to your PC’s failure to support DirectX 12. The most prevalent reason is likely the graphics card currently installed on your computer. If your graphics card is incompatible or outdated, you won’t be able to utilize DirectX 12 on your system.


Leave a Reply