How to Resolve the DISM Restore Health Incorrect Function Error?
The DISM Restore Health Incorrect Function error typically arises from problems within the Windows operating system or system image files. This issue may occur if the DISM tool is unable to access and repair essential files required for restoring the system image’s integrity, often due to permission issues or file corruption.
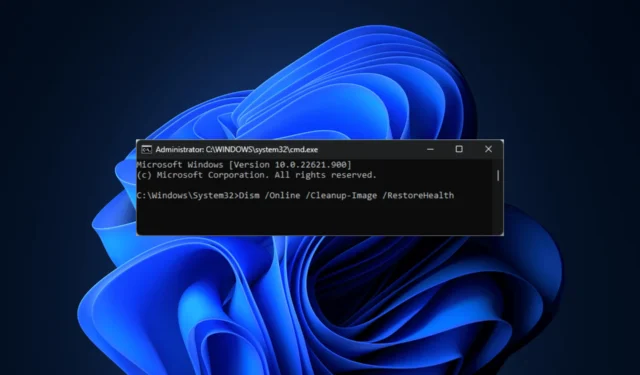
To address this error, the first step is to open Command Prompt with administrative privileges. Make sure to verify the syntax of the command you intend to use to avoid any typing errors. Additionally, it is advisable to run a malware scan.
How can I fix the DISM Restore Health Incorrect Function error?
1. Check the Windows Update service
- Press Windows + R to open the Run dialog.

- Type services.msc and click OK to access the Services window.
- Find the Windows Update service, right-click it, and check if the Start option is greyed out, indicating that the service is operational. If not, click Start to activate it.

- Next, look for Background Intelligent Transfer Service (BITS) and Cryptographic Services, and follow the same procedure for these services.
2. Update Windows
- Press Windows + I to open the Settings app.
- Navigate to Windows Update and click the Check for updates button.

- If any updates are available, click Download and install to update to the latest version of Windows.
3. Run DISM in the Windows Recovery Environment
- Press the Power button to turn on your computer.
- When the Windows logo appears during boot, press the Power button again to shut down your PC. Repeat this power cycle three times.
- On the third restart, you will encounter a blue screen, indicating you’ve entered the Windows Recovery Environment (WinRE).
- Click Troubleshoot in the Choose an option screen.

- Select Advanced options.

- On the Advanced Options screen, select Command Prompt.

- In the command prompt window, enter the following command to initiate the DISM scan and press Enter:
dism /online /cleanup-image /restorehealth - Wait for the process to complete, and then restart your computer to apply the changes.
4. Run DISM scan with the Source option
4.1 Create installation media
- Visit the Microsoft Windows 11 download webpage.

- Click Download Now to download the Media Creation Tool executable.
- After the download finishes, insert the USB drive, double-click on the Media Creation Tool, and select Yes on the User Account Control (UAC) prompt.
- Accept the license terms and agreement.
- Select your desired language, edition, and architecture (32-bit or 64-bit) for Windows 11, then click Next.
- Choose USB flash drive and click Next.

- After confirming the drive letter for the USB device, click Next.
- Follow the on-screen instructions to create a bootable USB drive. Once complete, click Finish when you see the message indicating that your USB flash drive is ready.

4.2 Run the DISM scan
- Connect the USB drive to your computer and press Windows + E to open Windows File Explorer.
- In the left pane, click on This PC, locate the USB drive, and note its drive letter.
- Press the Windows key, type cmd in the search box, and select Run as administrator.
- Type the following command, replacing the drive letter E with your USB drive’s letter, and hit Enter. This specifies an alternative source for the files needed to repair the Windows image:
DISM /Online /Cleanup-Image /RestoreHealth /Source:wim:E:\sources\install.wim:1 /LimitAccess - Wait for the command to complete and check if the error persists.
Using an alternative source for the DISM scan is an effective way to carry out DISM commands to repair a Windows 10 PC.
5. Clean up system image components
- Press the Windows key, type cmd in the search bar, and select Run as administrator to open Command Prompt with administrative privileges.
- Enter the following command and press Enter :
Dism.exe /online /Cleanup-Image /StartComponentCleanup
- Allow the process to finish.
- Attempt to run the DISM scan again after executing these commands.
- If DISM continues to experience issues, you can also run the following commands:
-
DISM /Online /Cleanup-Image /StartComponentCleanup DISM /Online /Cleanup-Image /AnalyzeComponentStore Dism.exe /online /Cleanup-Image /StartComponentCleanup Dism.exe /online /Cleanup-Image /StartComponentCleanup /ResetBase
-
Cleaning up system image components can effectively resolve the DISM failure on your Windows PC, which may be influenced by interference from antivirus software.
6. Run the CHKDSK scan
- Open Command Prompt with elevated rights by pressing the Windows key, typing cmd, and selecting Run as administrator.

- Enter the following command and press Enter:
chkdsk /f - Click Y if prompted to schedule the scan for the next restart.

- Restart your computer to initiate the scan.
7. Run an SFC scan
- Open Command Prompt with administrative privileges by pressing the Windows key, typing cmd, and selecting Run as administrator.

- Copy & paste the following command to repair the Windows system files and press Enter :
sfc /scannow
- Wait for the process to finish, and then restart your computer to apply the changes.
8. Perform a clean installation
8.1 Install Windows 11
- Insert the USB drive into the target computer, and press Windows + I to access Settings.
- Go to System, then click Recovery.

- Find Advanced startup, and click on the Restart now button.

- Your computer will restart and display a blue screen. Select Use a device. If it is not visible, you may need to boot your computer in BIOS mode and select the USB device to boot from.

- Choose your language and other appropriate settings on the initial screen, then click Next.
- Select Install now, check the box agreeing to the terms, and press Next.
- Select Custom: Install Windows only (advanced).
- On the next screen, you will see a list of drives and partitions. Choose the ones you wish to delete, then click Delete. Click OK if a Windows Setup notification appears.
- Click Next and follow the on-screen instructions to complete the installation process.
Your computer will restart several times during installation. Do not turn off your device while the installation is in progress.
8.2 Configure Windows settings
- Once installation is complete, choose your region and keyboard layout from the setup screen.
- When prompted, connect to your Wi-Fi network.
- Sign in to your Microsoft account or create a new one if necessary.
- Adjust the privacy settings according to your preference, and follow other prompts to set up remaining features.
- After setup is final, press Windows + I to open Settings and navigate to Windows Update.

- Click Check for updates, then select Download and install to acquire the latest updates.
If the command dism /online /cleanup-image /restore health becomes unresponsive, ensure you have administrative access, restart your computer, and try again.
For further questions or additional suggestions on how to resolve the DISM Restore Health Incorrect Function error, please feel free to share your thoughts in the comments section below.


Leave a Reply