Essential Windows System Diagnosis Commands for Fast Troubleshooting of Windows Problems

Command Prompt commands are essential tools for remote troubleshooting and efficiently accessing critical system information without taxing your computer’s performance. Here are some of the most effective Command Prompt commands that will help you troubleshoot PC issues with ease.
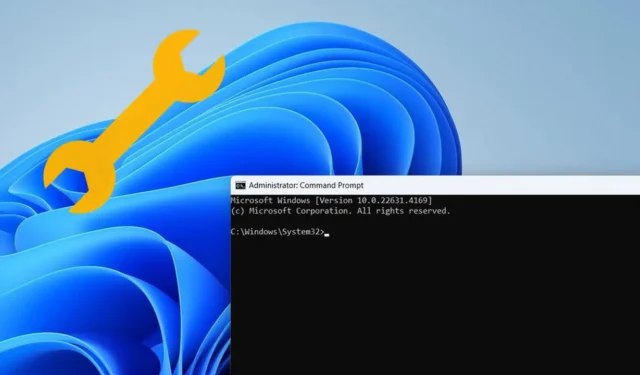
Open Elevated Command Prompt Window
To execute these commands, you should first launch the Command Prompt window. Although certain commands can run smoothly in a standard Command Prompt window, utilizing an elevated window is recommended for complete access.
The simplest method to open an elevated Command Prompt window is to type “cmd” in Windows Search, right-click on Command Prompt, and select Run as administrator.

If you are unable to open an elevated Command Prompt window, you can also use a regular window for some commands. Press the Win + R keys and type cmd in the Run dialog to open the Command Prompt.
1. Access System Details – systeminfo
Using the systeminfo command allows you to quickly retrieve comprehensive information about your PC, including details like the host name, hardware specifications, boot time, OS build version, and more.
This command also reveals details not visible in the System Information tool summary, such as the OS installation date, hotfixes (KB IDs), network adapter details, and additional information.

This data is crucial for effective remote troubleshooting, as it helps in understanding the specific device in question. Many commands depend on knowing the exact name of the PC or storage drive, which this command can provide.
2. Verify System Image Health – DISM /Online /Cleanup-Image /ScanHealth
The DISM (Deployment Imaging Service and Management) tool is instrumental in addressing issues related to the Windows image. Corruption in the Windows image can result in system crashes, freezes, or vital functions failing, such as Windows updates being stuck. If you encounter such problems, employing the DISM commands will help you check and repair.

To begin, execute the DISM /Online /Cleanup-Image /ScanHealth command. After scanning for a few minutes, it will notify you if there are any issues with the Windows image. Should any problems arise, proceed with the following command.
3. Display Running Processes – tasklist /v
Gaining access to running processes through the command prompt is significantly beneficial for diagnosing system issues, especially if Task Manager is disabled or inaccessible. Simply run the tasklist /v command to display all current processes along with essential details like memory consumption, name, PID, and owner’s username.

With this information, you can use additional commands for process management. For instance, type taskkill /PID (ID number) to terminate a process. Moreover, it offers an additional column compared to Task Manager, which indicates the CPU time used by each process since it started.
4. Display Network Connections – netstat -an
If you’re experiencing network issues, the netstat -an command provides a wealth of information for diagnosis. It lists all active network connections, both incoming and outgoing, displaying local and foreign IP addresses along with their status.

This data can assist you in resolving connection issues with specific domains by checking if a connection is established or in a wait state. Additionally, it can help identify any unknown connections that may be caused by malicious software.
5. View Detailed Network Configuration – ipconfig /all
You might already be familiar with this command when seeking your router’s IP address. However, its primary function is to list detailed information about network adapters. This command provides vital network data such as IP address, subnet mask, default gateway, MAC address, DNS servers, DHCP status, lease times, and beyond.

This information is essential for troubleshooting common network problems, such as improper IP addresses or DNS server issues. It’s also crucial when setting up a static IP address.
6. Review Boot Configuration – bcdedit /enum all
If you’re facing Windows boot issues, such as problems with dual booting or slow boot times, this command can be very helpful. By using bcdedit /enum all, you can access detailed information regarding the Windows boot manager, including boot sequence and OS configurations.

This command can provide insights into the default operating system, recovery environment settings, safe mode configurations, and partitions. Such information is instrumental in resolving boot-related issues, with access even possible from the Windows Recovery Environment.
7. Generate Power Efficiency Report – powercfg /energy
Whether you’re aiming to optimize PC performance or extend the battery life of your laptop, the powercfg /energy command can offer valuable insights. After execution, it monitors your system for 60 seconds and generates a report accessible through your browser, detailing all settings impacting your system’s performance.

The report is segmented into three sections: Errors, Warnings, and Information. Errors point to configurations negatively influencing performance, such as USB selective suspend, while Warnings highlight processes consuming excessive CPU resources. The Information section outlines general settings affecting performance.
This report’s insights can help diagnose a multitude of performance-related issues.
8. Trace Network Route – tracert
This is another useful network diagnosis command that helps pinpoint network problems. It is particularly handy for diagnosing connectivity issues to a specific domain or IP address.
When you execute tracert, it sends packets with gradually increasing Time to Live (TTL) values, recording the destination IP address, travel time, and the number of hops each packet makes en route. Such information can be instrumental in identifying where delays or disruptions occur within the network.
To run the command, type tracert followed by the domain name or IP address. For example, tracert www.maketecheasier.com will trace the route from your network to Make Tech Easier.

If the command experiences delays at any hop or if a request times out, it may indicate network congestion, packet loss, or firewall complications at that segment.
9. Check Disk Errors – chkdsk /f
This command is frequently the initial suggestion made by experts when users face recurring crashes, Blue Screen of Death (BSoD), or freezes. By utilizing chkdsk /f, you can scan your storage drive for logical file system errors, such as corrupted entries in the Master File Table (MFT) or issues with file allocation. These problems can lead to file corruption, system freezes, and disk corruption errors.

For HDDs, consider running chkdsk /r instead. This command not only addresses logical file system errors but also identifies bad sectors (physically damaged areas) and attempts to recover data from them. Upon detection, it will mark these locations to prevent future data writes over these bad sectors.
You can also specify a specific drive for error checking, such as chkdsk C: /f to target only the C drive. However, scanning the system drive will prompt you to schedule a scan for the next boot, as it can only be performed during the boot process.
Most of these commands are straightforward to remember. Though the DISM command is longer, recalling it becomes easier once you understand its purpose and functionality. If you enjoy using Command Prompt for troubleshooting, you might also find these additional Command Prompt tricks beneficial.
Image credit: All screenshots and images by Karrar Haider.


Leave a Reply