iOS 18: Customizing the Control Centre on Your iPhone
Essential Information
- The Control Center in iOS 18 has undergone significant enhancements allowing for increased customizability.
- You now have three Control Center screens, and the flexibility to create multiple screens or eliminate all but one.
- Additionally, you can rearrange and resize options to your liking, as well as add or remove numerous controls.
The revised Control Center in iOS 18 is one of the most frequently accessed areas on the iPhone, which has received a substantial update. If you have recently upgraded to iOS 18, you will observe a range of changes, including various customizable features, some of which may not be immediately intuitive.
To assist you, we have compiled a comprehensive list detailing how to customize the Control Center in iOS 18, along with valuable tips and tricks to help you acclimate more rapidly.
8 Methods to Personalize Control Center on Your iPhone with the iOS 18 Update
The enhancements to the Control Center reflect the overall trend of personalization in iOS 18, which includes rearranging home screen apps and widgets, modifying color settings, hiding app labels, and more. These updates emphasize customizability.
1. Navigate the New Control Center Pages
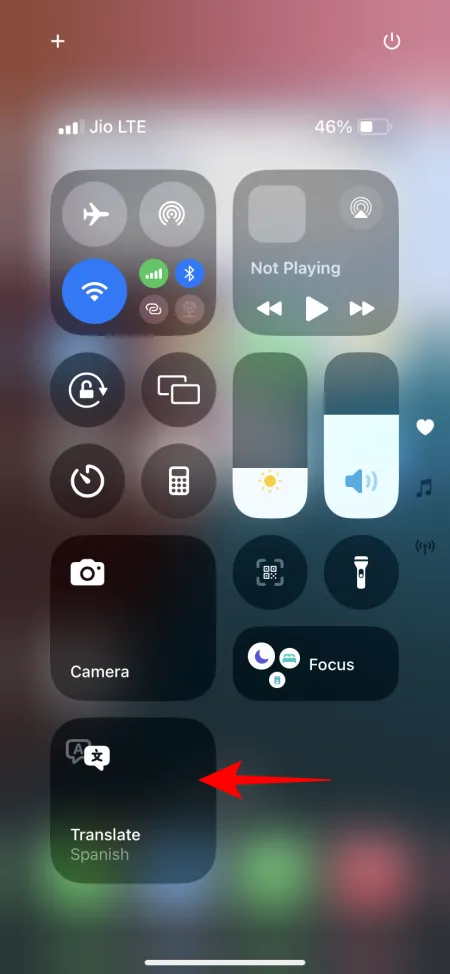
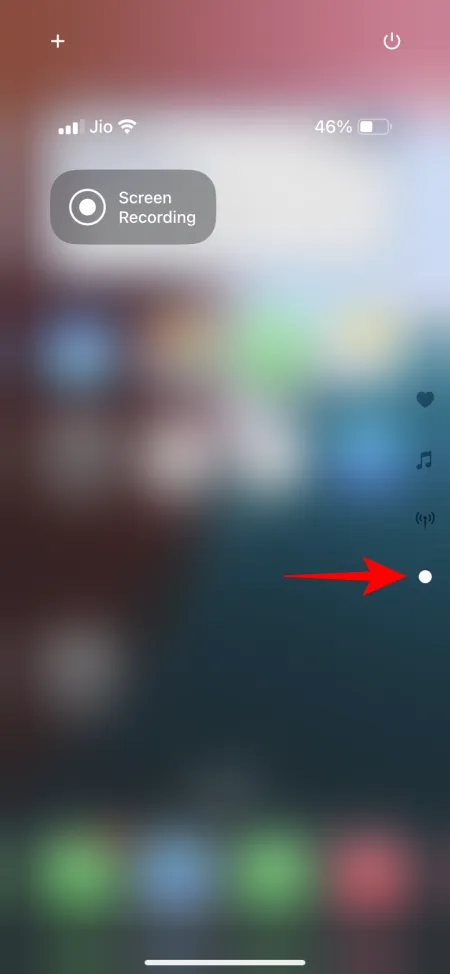
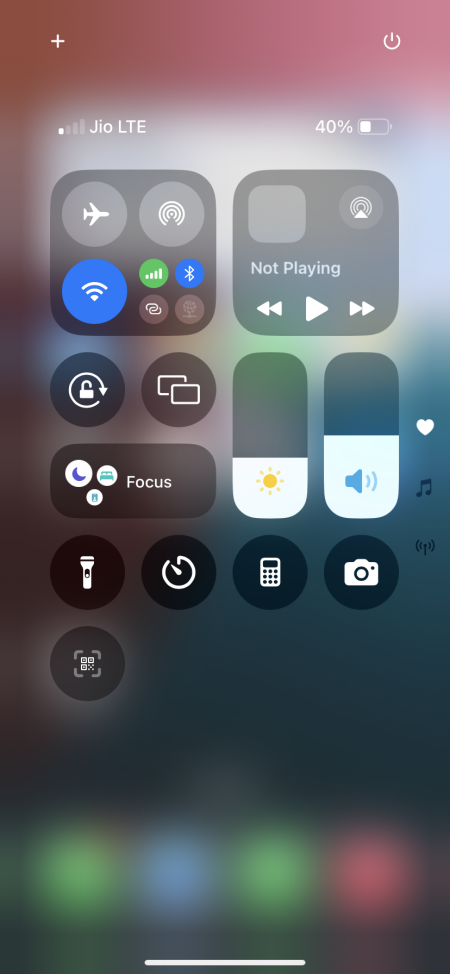
Access the Control Center by swiping down from the top-right corner of your screen. You will find three distinct Control Center pages: the first for favorites (marked with a heart icon), the second dedicated to music and media settings (indicated by a musical note icon), and the third for connectivity options (network icon).

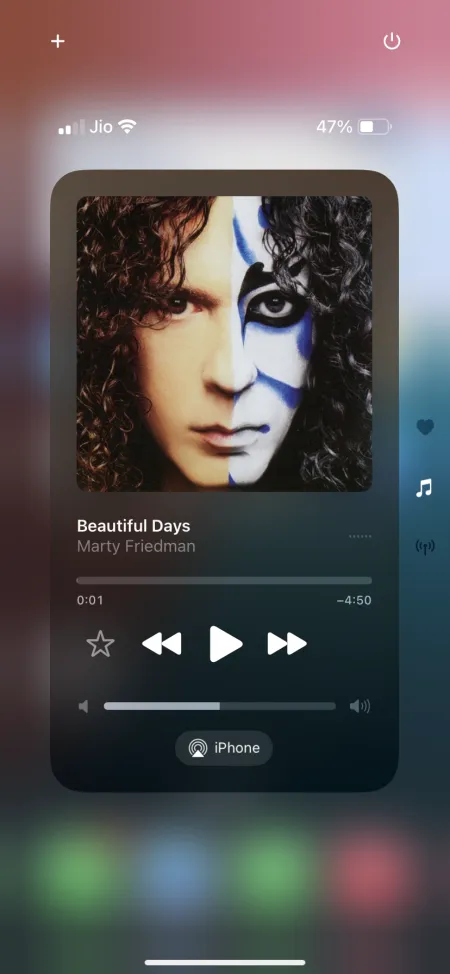
The icons for these three screens are located on the right. You can reach any Control Center page with a single continuous swipe, and once on a page, you can swipe up or down to navigate between them.
Note: The swipe up gesture that used to close the Control Center now simply transitions you to the next page. To learn about quicker methods for closing the Control Center, check the last section.
2. Rearrange and Resize Controls
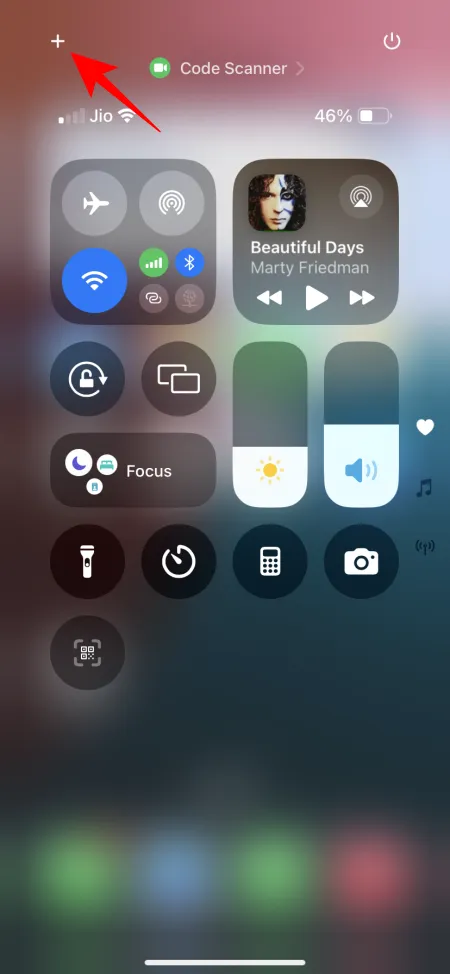
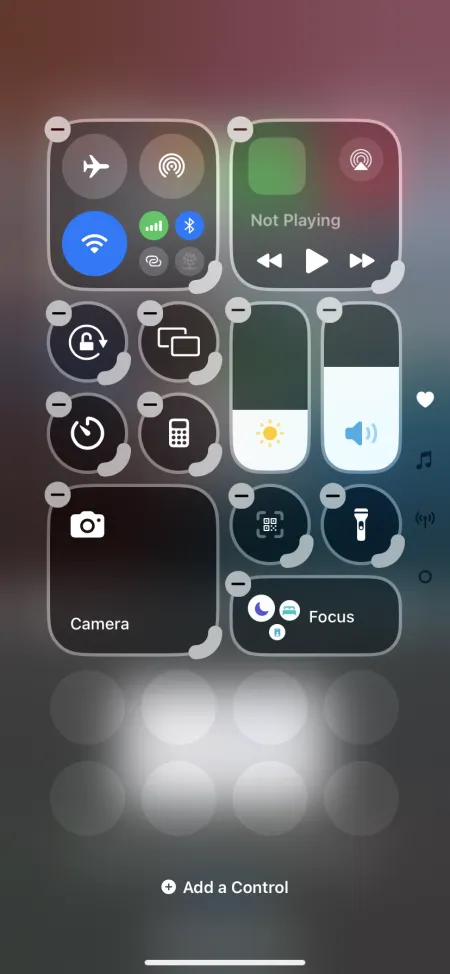
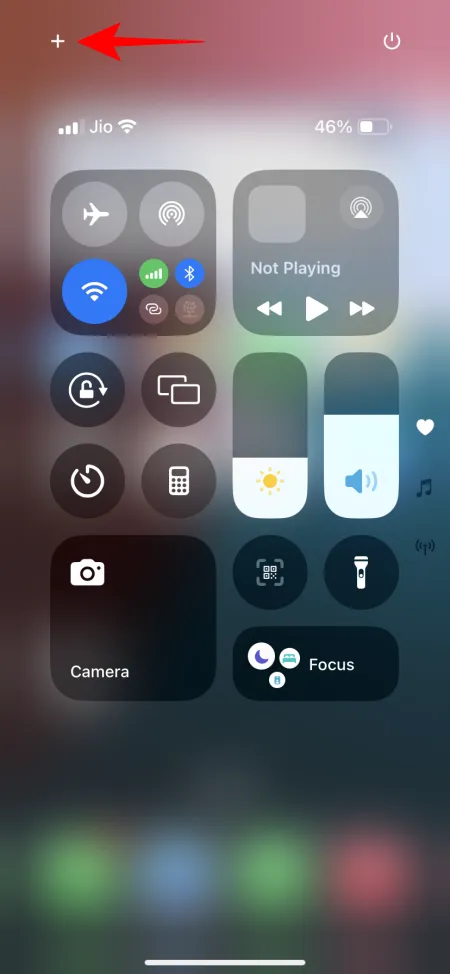
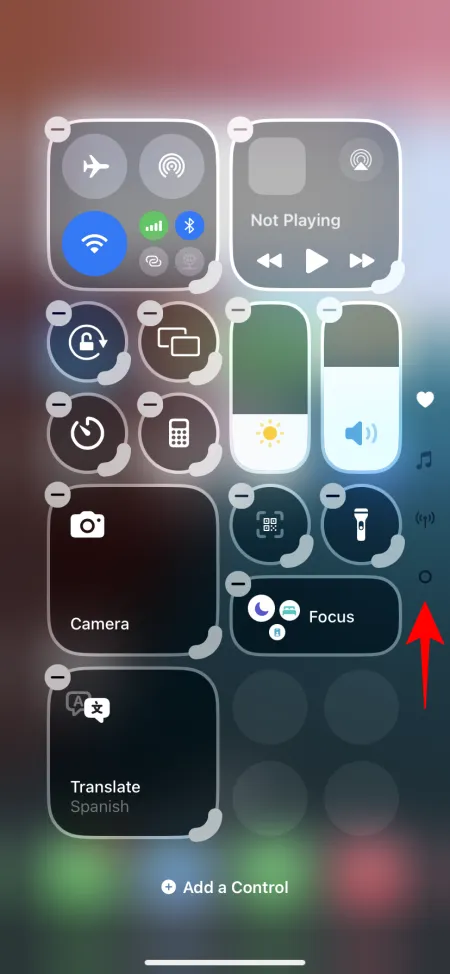
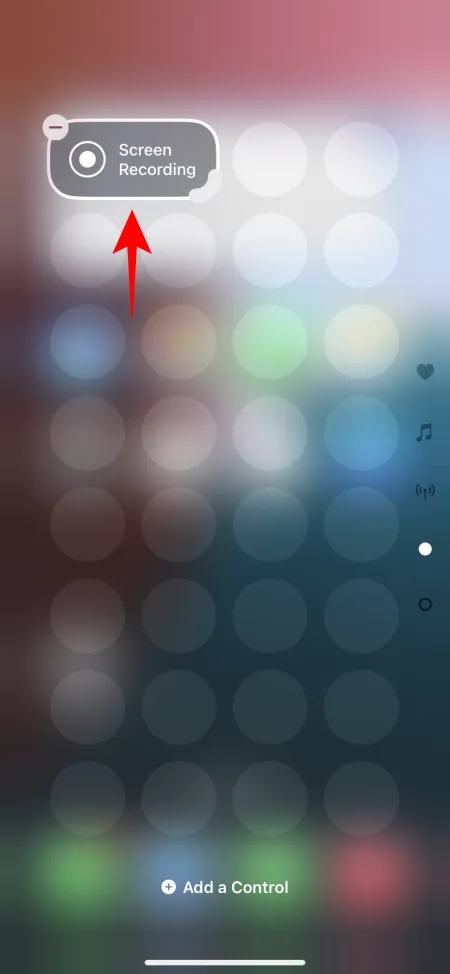
Each control option within the Control Center can be rearranged and resized according to your preferences. To edit, tap the + icon in the top left corner. The boundaries of each option will highlight its size. Drag and drop any control to your desired location.
To resize a control, use the handle bar in the bottom right corner to adjust its size to your liking.
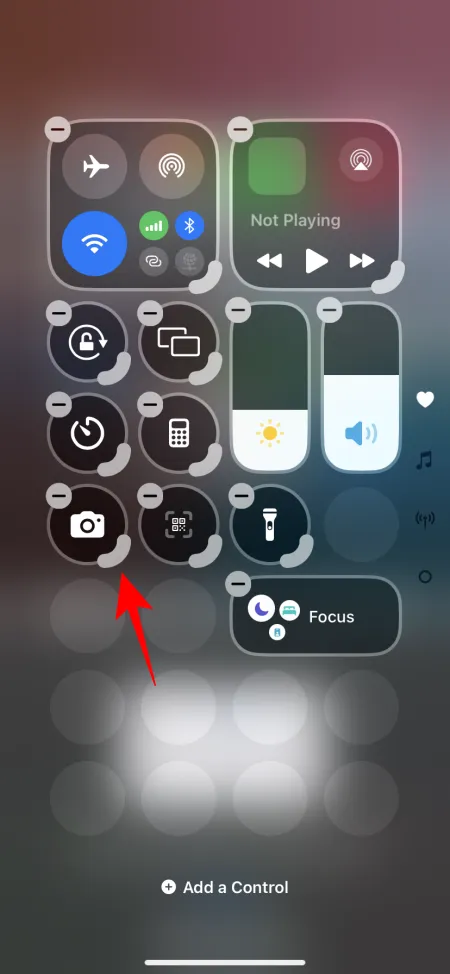
Continue adjusting controls until you achieve your desired layout. After you’re finished, swipe up or tap on a free space to exit editing mode.
3. Add a Control
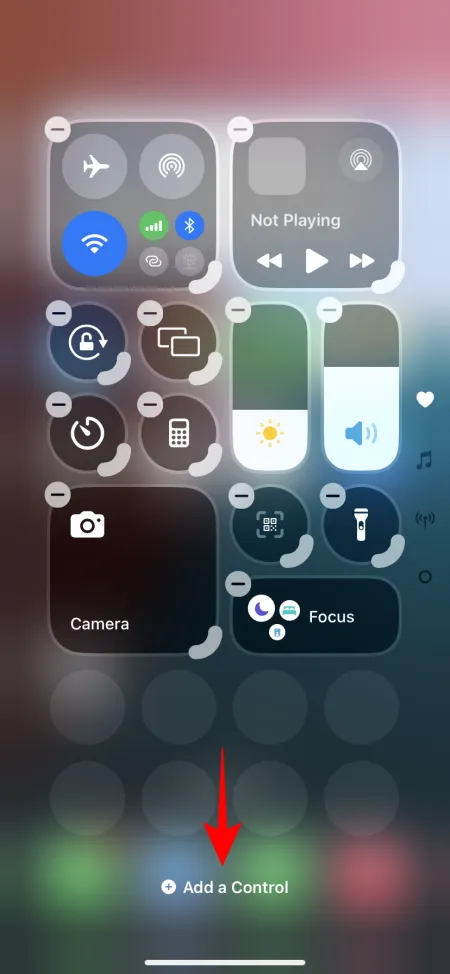
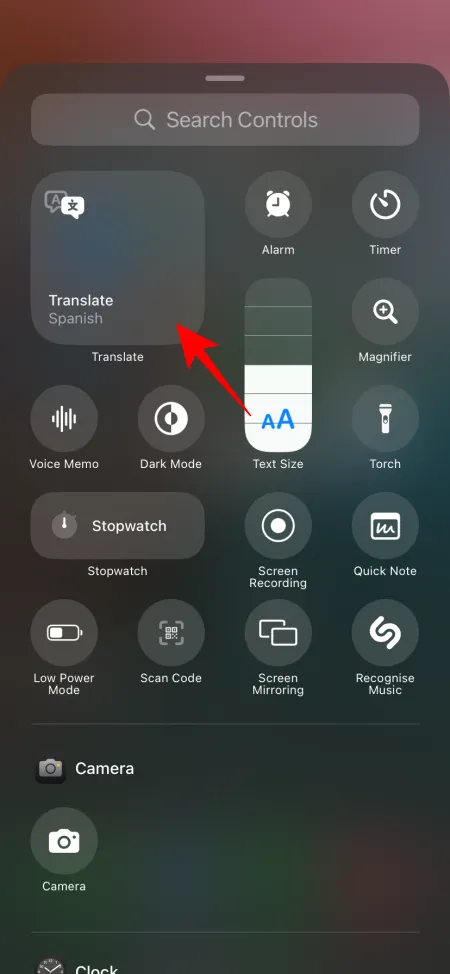
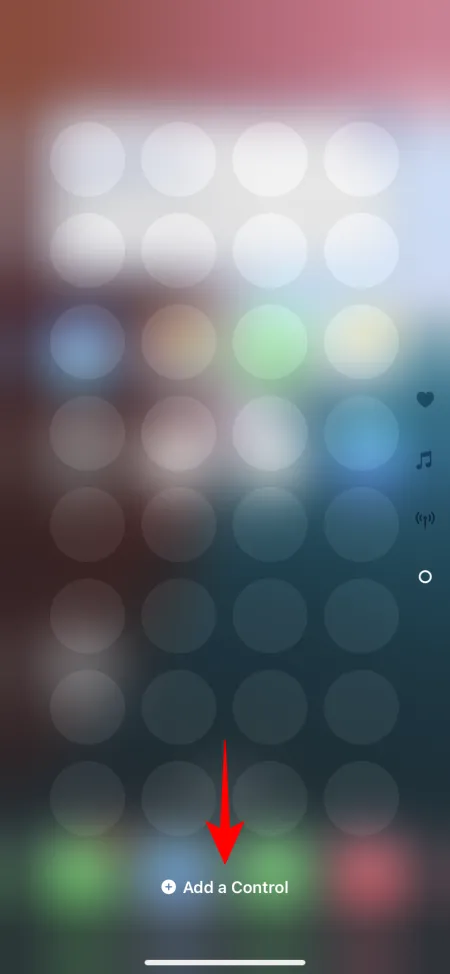
Swipe to the Control Center page where you wish to introduce a new control, then tap the + icon to open the editing menu. Select the Add a Control option at the bottom.
Locate the control you want to add and tap it. You can move and resize it later as previously described.
4. Incorporate a New Control Center Page
You can continually add new Control Center pages/screens. Enter ‘Editing’ mode and navigate to the last page.
Tap on Add a Control and select a new control for this page. The new control will automatically populate the new page.
5. Add Controls Not Available Individually
Despite the focus on customization, the Control Center in iOS 18 has certain limitations. One significant drawback is the inability to add certain options as standalone controls.
For instance, the ‘Connectivity’ group restricts customization options. Although there are individual controls for cellular data and personal hotspots, there isn’t a direct access for ‘Bluetooth,’ which many users desire for quick toggling. Currently, accessing Bluetooth requires opening the connectivity panel, which may not be convenient for all users.
Luckily, there’s a workaround to add Bluetooth (and similar options like the Settings app) as a standalone control. Here’s how:
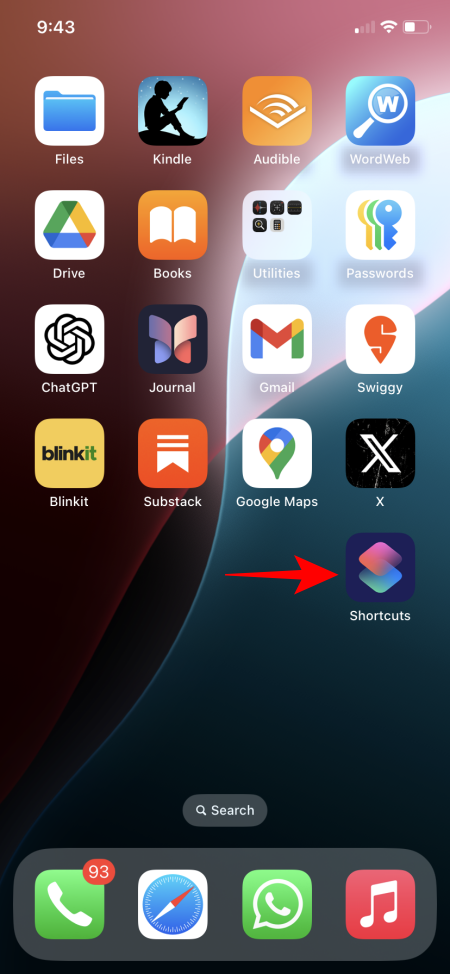
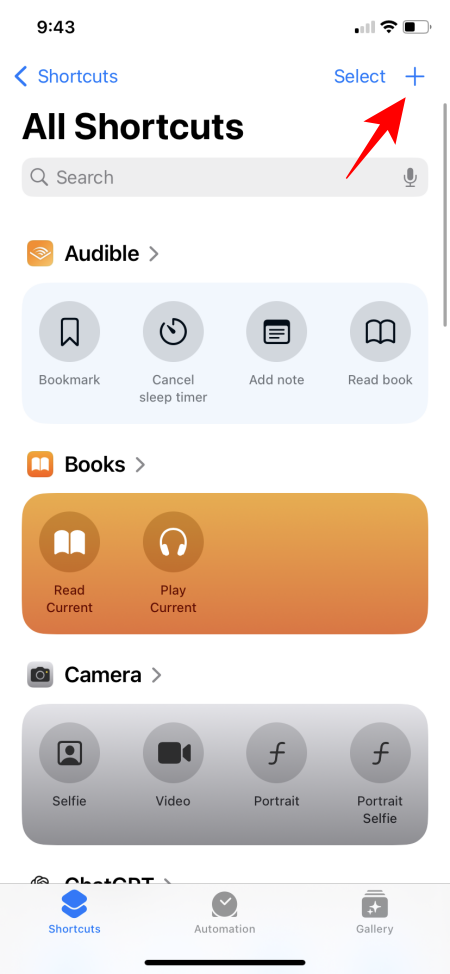
- Launch the Shortcuts app and tap the + icon in the top right corner.
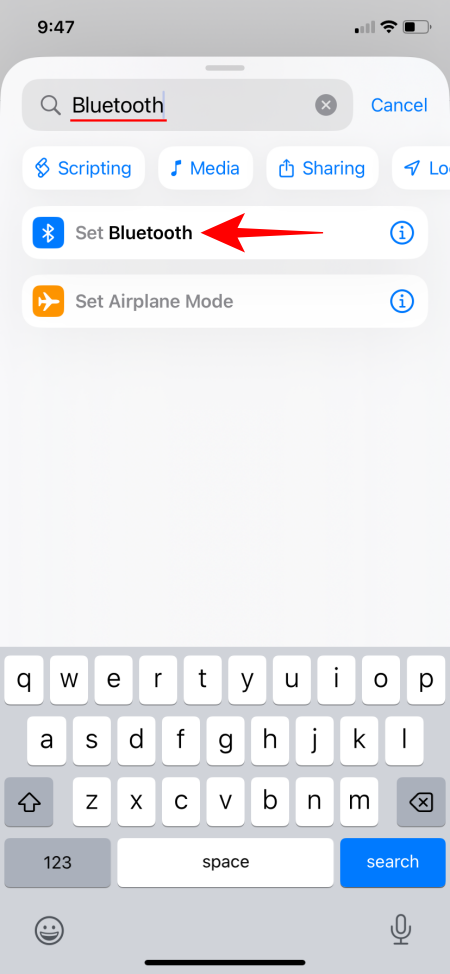
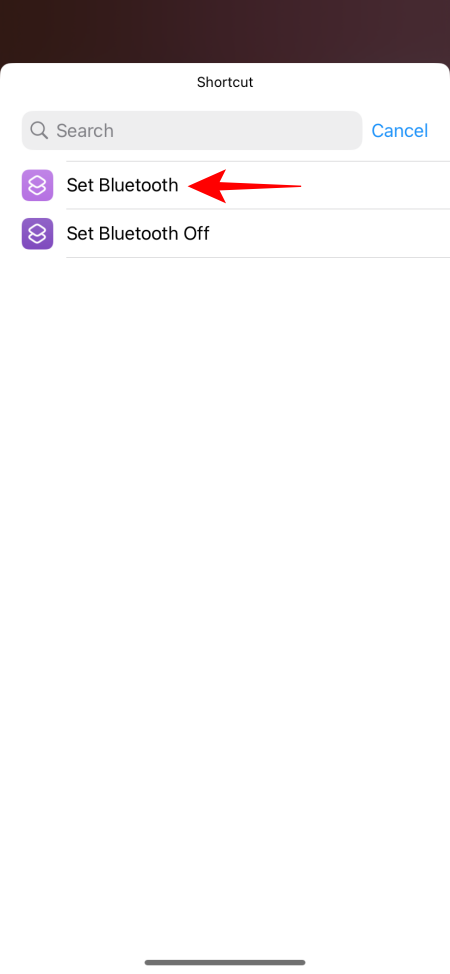
- Search for and select Set Bluetooth (or the desired control) and then tap Done.
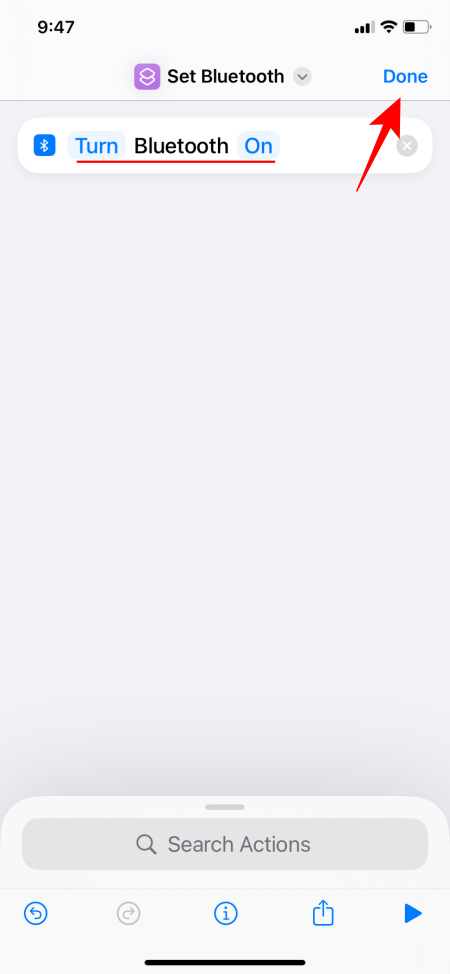
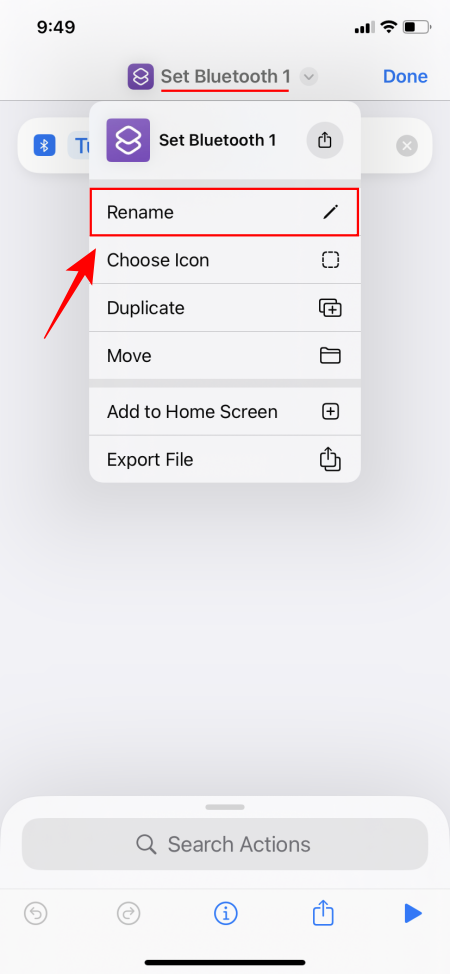
- This shortcut only allows turning Bluetooth on; you will need to create a separate ‘turn Bluetooth off’ shortcut. Search and select for ‘Set Bluetooth’ again, ensuring you tap On to change it.

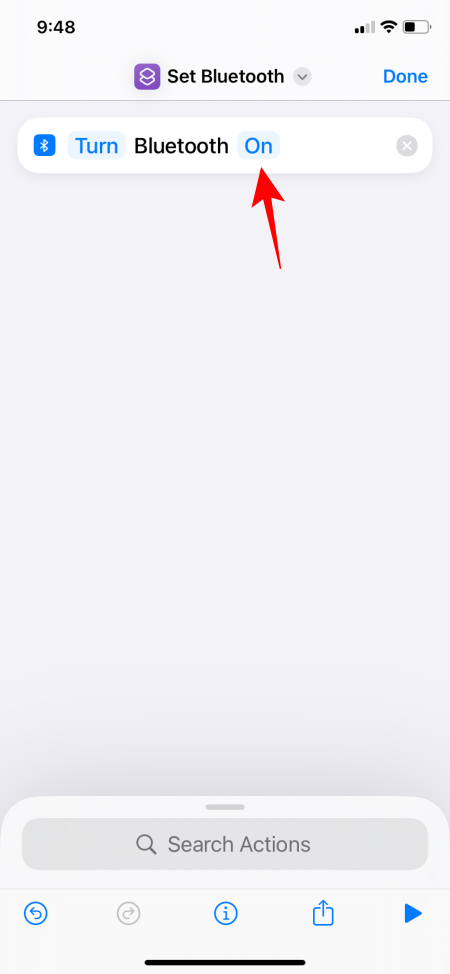
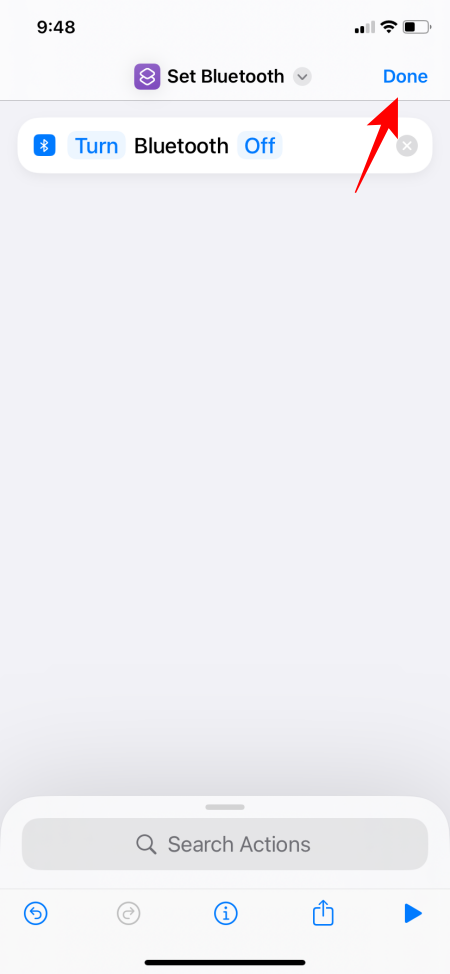
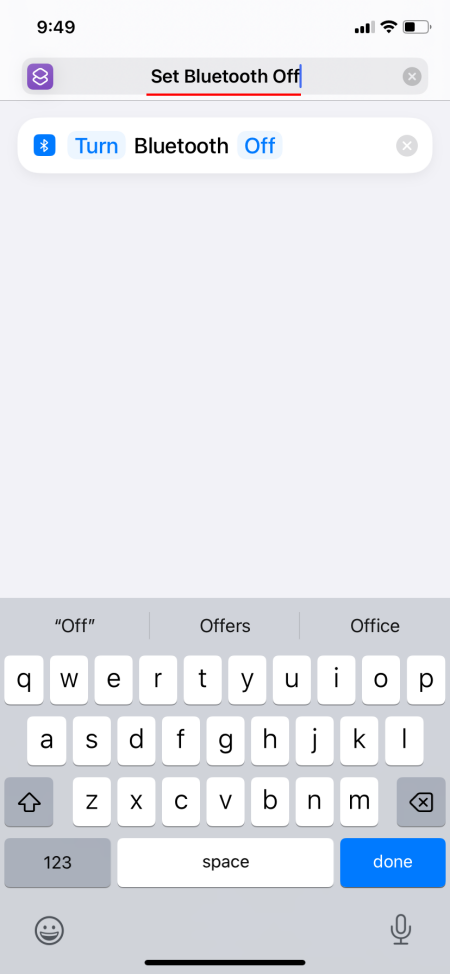
- Change it to Off, then tap Done. Optionally, rename the shortcut for clarity.
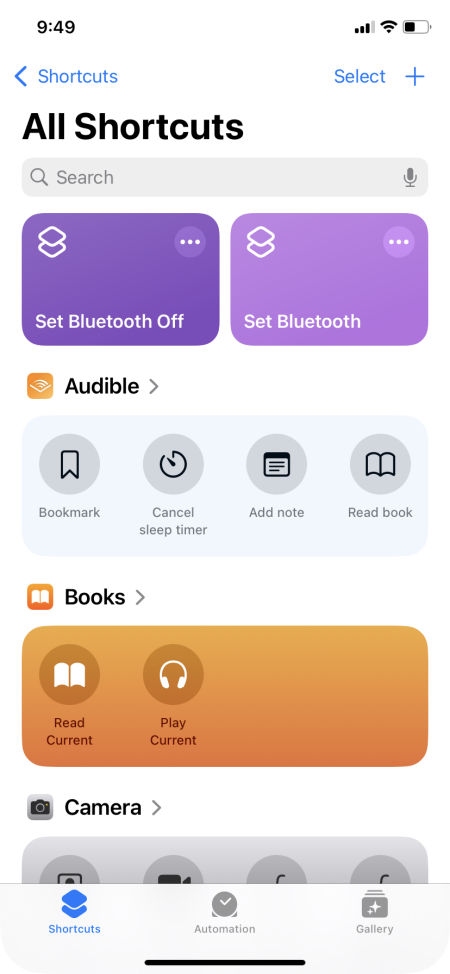
- After creating these shortcuts, the two options will be displayed at the top.
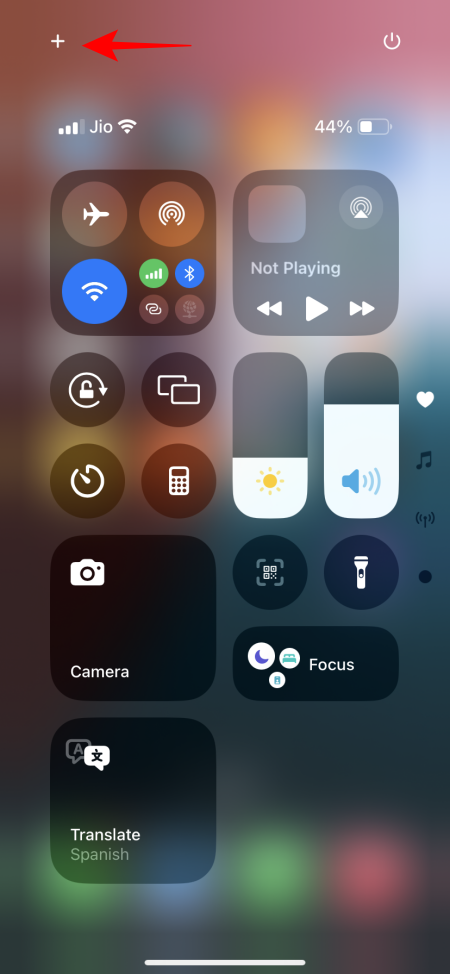
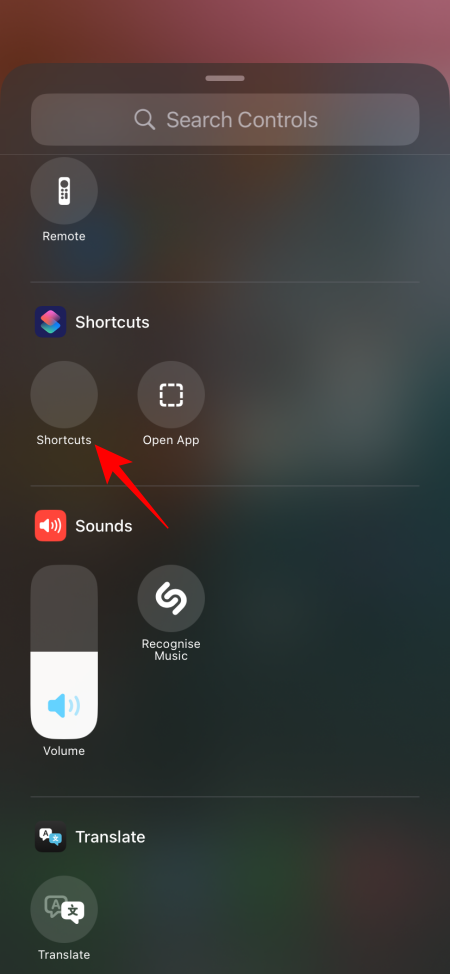
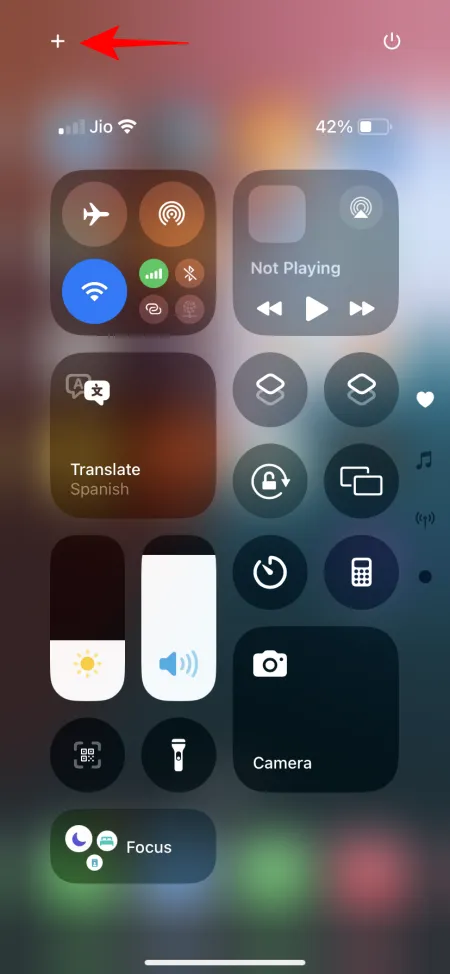
- Next, access the Control Center, tap + , and select Add a control.
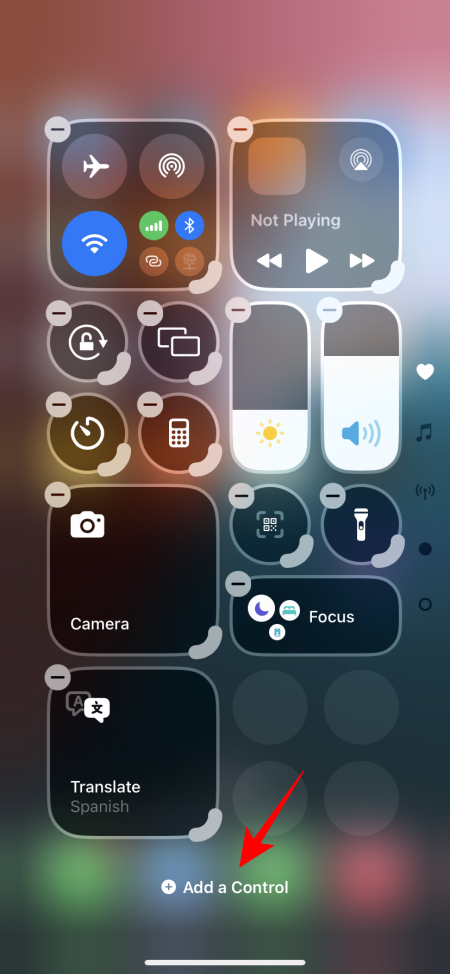
- Scroll down to find ‘Shortcuts’ and tap on an empty shortcut space.
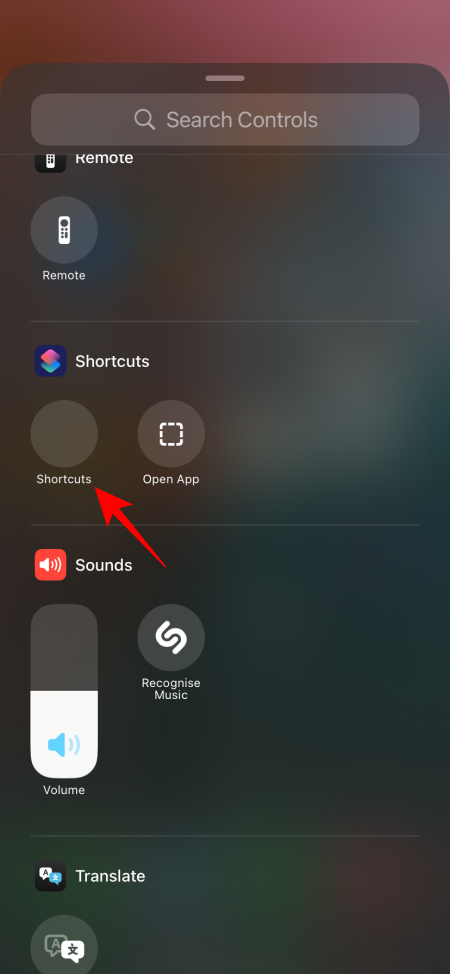
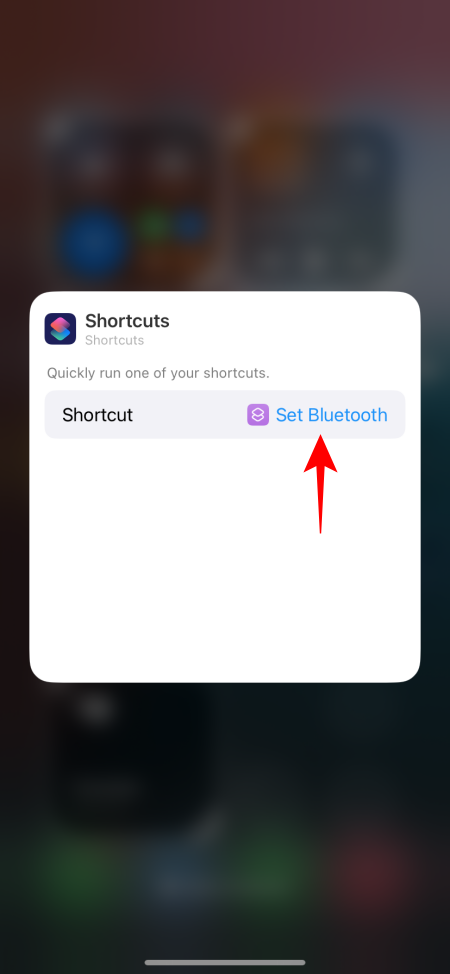
- Select the previously created Bluetooth shortcut.
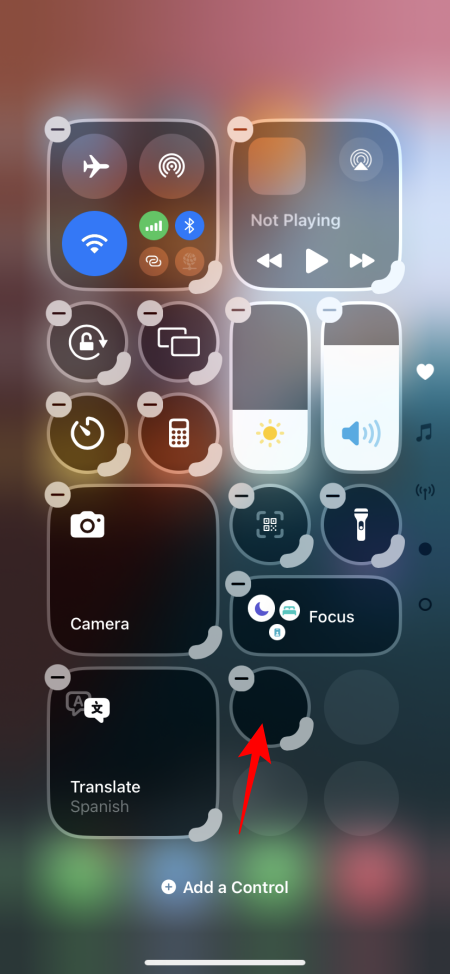
- After setting, the shortcut will appear in the Control Center. Follow the same process to add the ‘Bluetooth off’ shortcut.

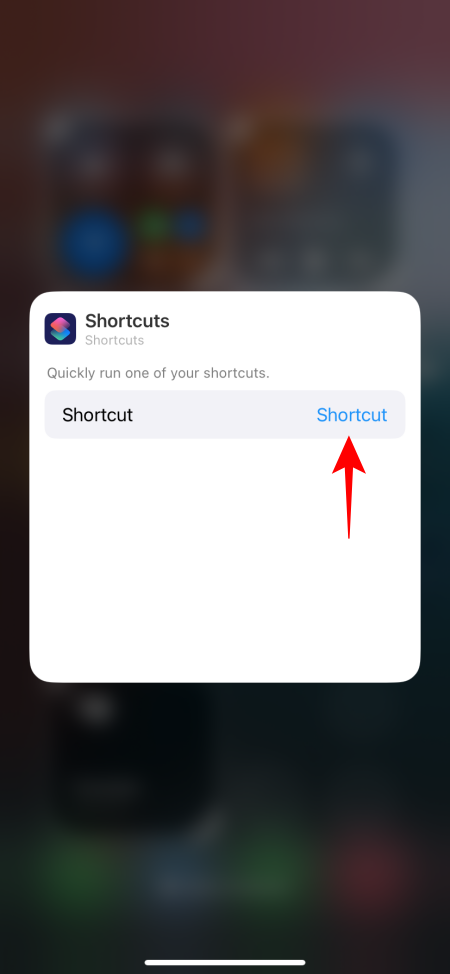
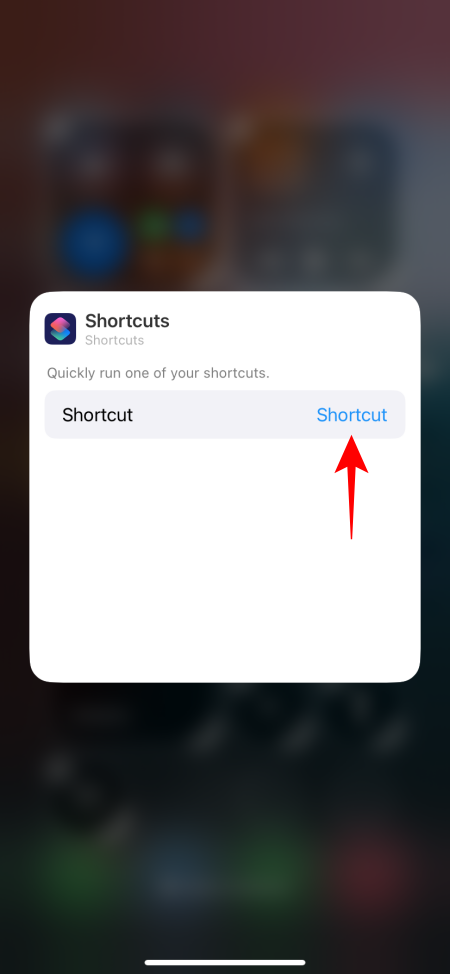
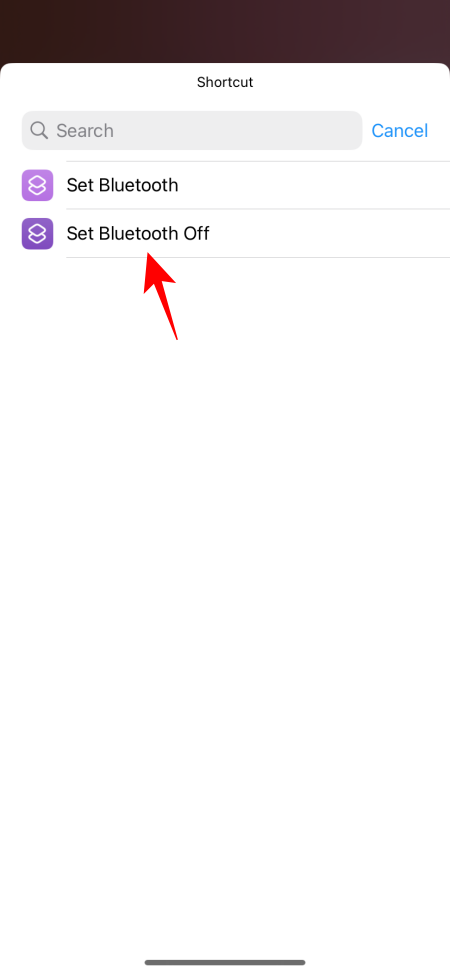
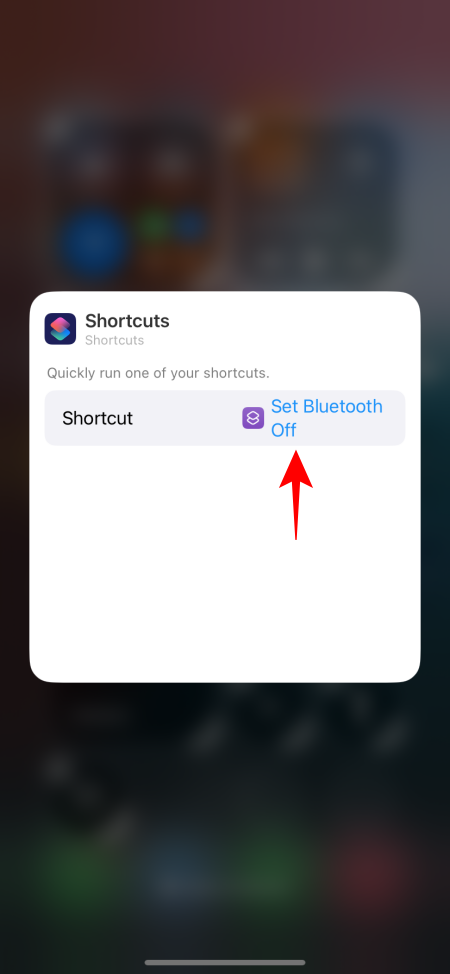
- Again, select the Shortcuts app and tap the one for turning Bluetooth off.

- Finally, tap on ‘Shortcut’ and choose ‘Set Bluetooth off.’
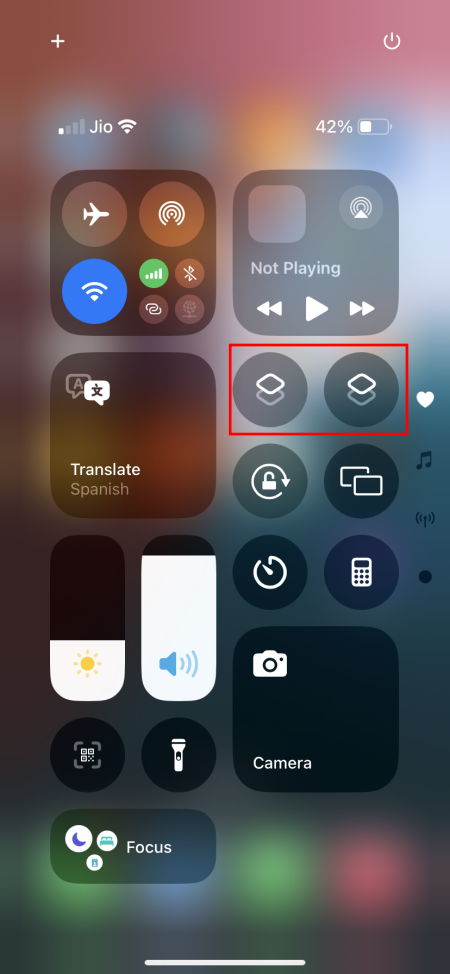
- Once all steps are completed, you should see both shortcuts in your Control Center.
We hope Apple simplifies access to options like ‘Bluetooth’ in future updates, allowing for greater flexibility in the ‘Connectivity’ area.
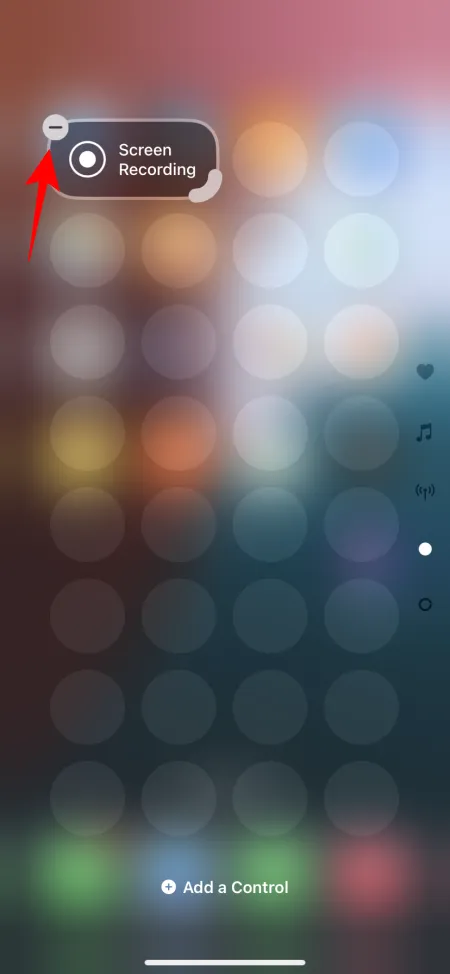
6. Remove a Control or Control Center Page
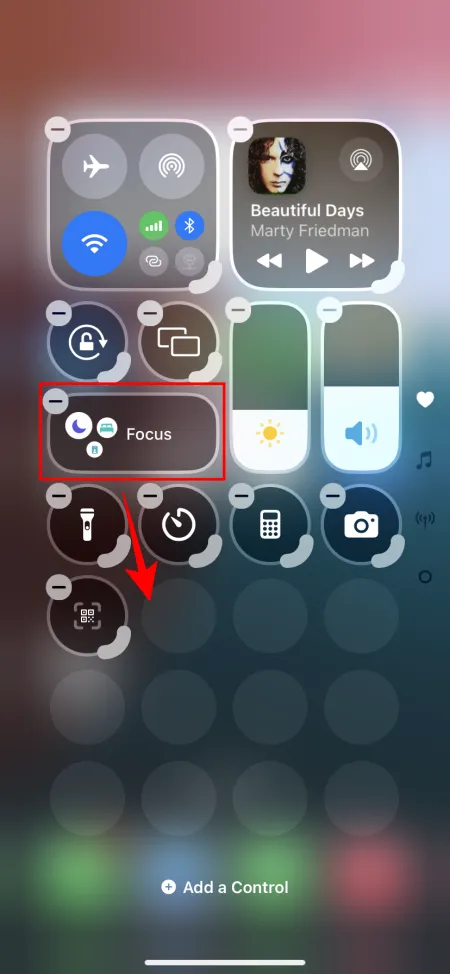
Deleting controls is straightforward. Tap the + icon to enter ‘Editing’ mode, then just tap the – icon next to any control to remove it.
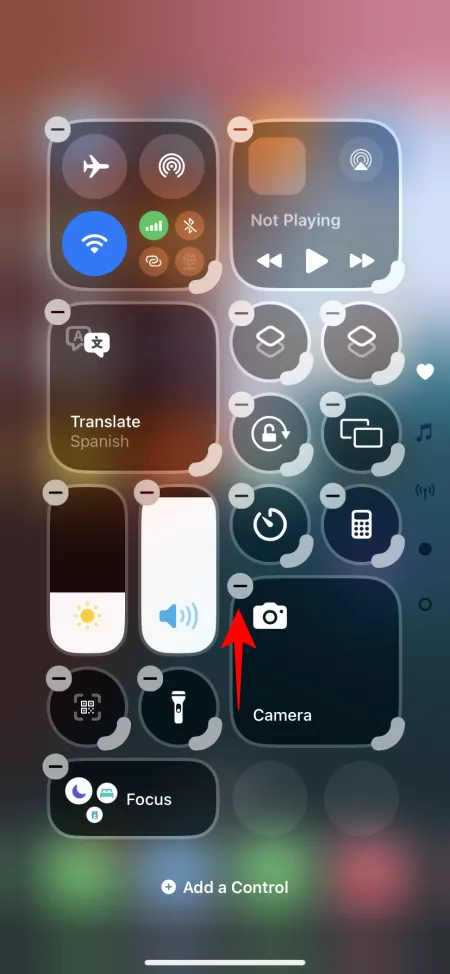
If you wish to eliminate extra Control Center pages, simply remove all controls from the desired page, which will cause it to vanish as well.
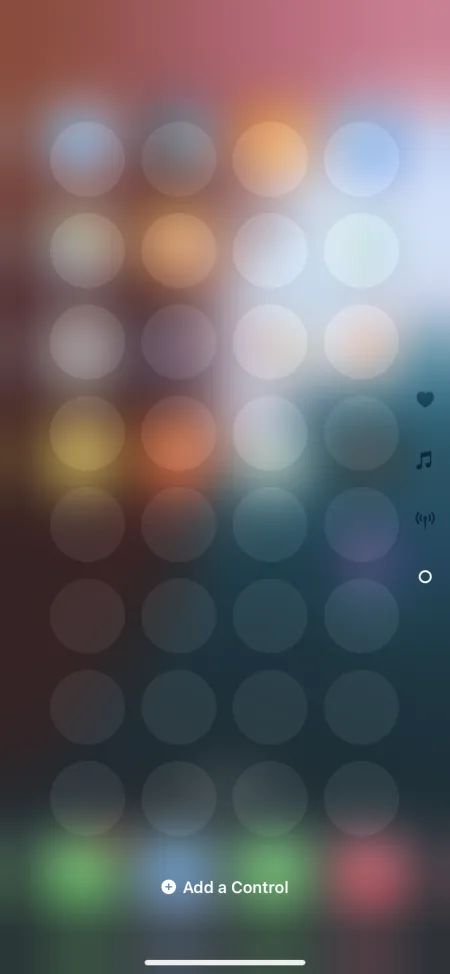
While it is disappointing that Apple has not streamlined this process, we anticipate more simplified options in future updates.
7. Close Control Center Efficiently
With the addition of the new Control Center screens, closing it with the familiar ‘Swipe Up’ gesture is no longer effective; this now takes you to the subsequent Control Center page. This reinforces the notion that users who prefer a single Control Center page may benefit from removing excess controls.
If you prefer to retain multiple Control Center screens, here are some methods to close it:
- Swipe up from the bottom or tap from the top of the screen.
- Tap an empty area to dismiss the Control Center.
8. Reset the Control Center
If you’ve made extensive changes to the Control Center and want to return to the original layout, it can be a bit tricky as there isn’t a straightforward reset option.
You can replicate the control layout seen earlier in this guide, but it may take time. Alternatively, you can reset your iPhone settings without erasing apps or data, although this does require a full reset of settings. Here’s how:
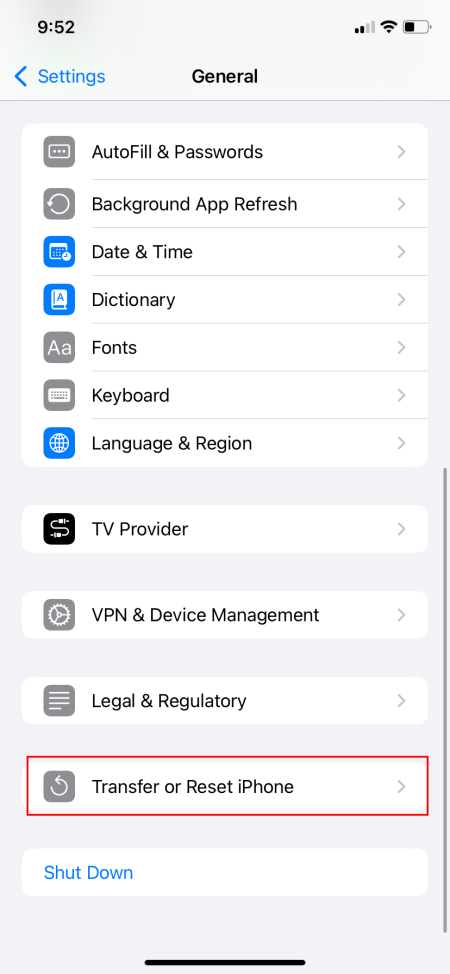
- Access the Settings app and navigate to General > Transfer or Reset iPhone.
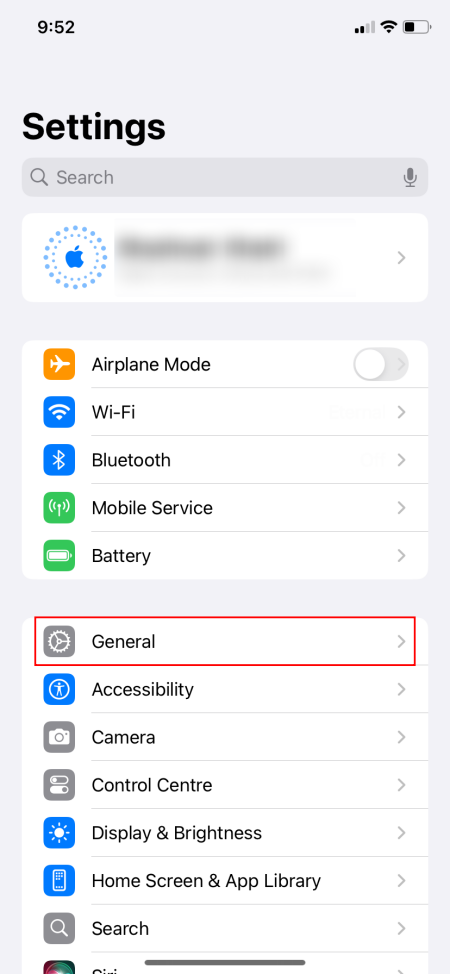
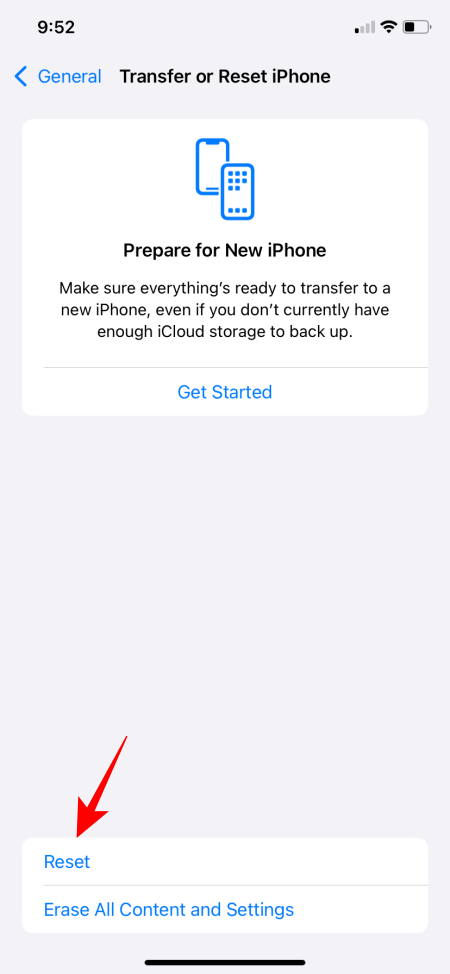
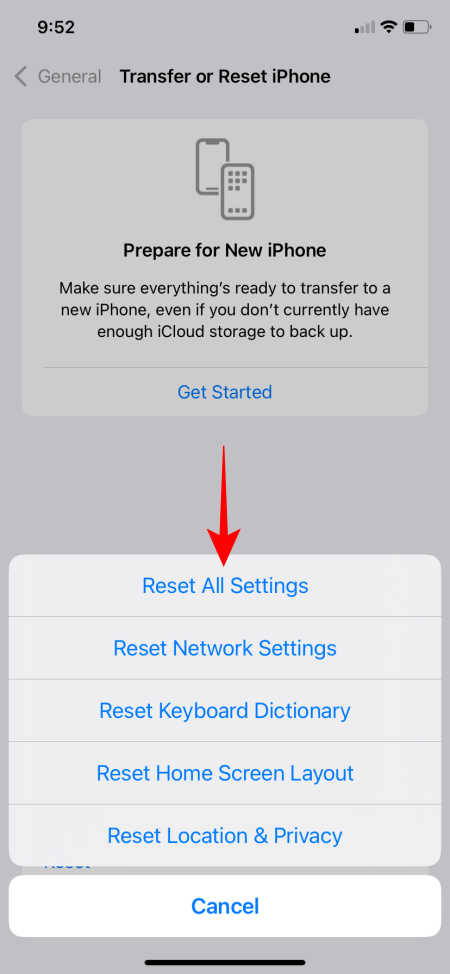
- Tap Reset > Reset All Settings.
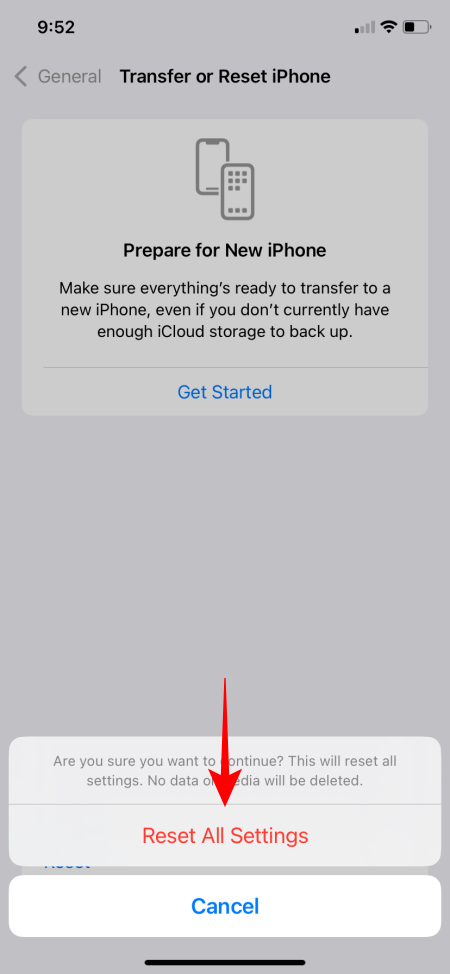
- Authenticate and wait for the reset process to complete.
- After rebooting, your Control Center will revert to its former arrangement.
As Apple embraces a renewed focus on personalization, enabling users to configure the Control Center to fit their preferences, it must also find ways to cater to diverse user needs. Achieving comprehensive customization is a complex task, but as Apple continues to explore this avenue, we look forward to seeing improved features in future iterations.
We trust this guide proves beneficial in optimizing your Control Center experience in iOS 18 with the available options. We will ensure to update it as new customization features become available. Until next time!


Leave a Reply