6 Easy Solutions to Resolve Windows 11 WiFi Adapter Code 10 Error
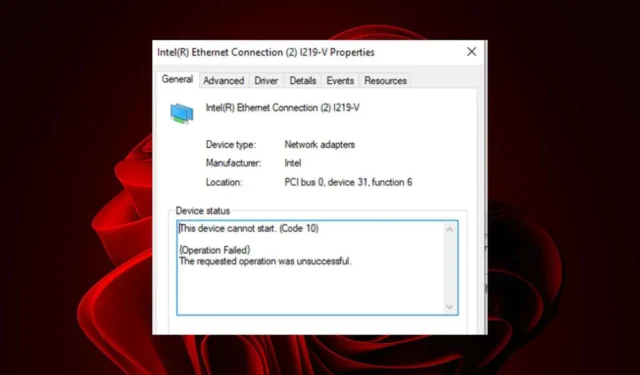
A WiFi adapter code 10 error typically appears with a yellow warning sign in your device manager, indicating connection issues with your internet. This problem is usually related to driver errors. Your network adapter drivers may be missing, outdated, or corrupted. Additionally, the network adapter may be undetectable due to malfunctions or issues with your connection ports.
How to Fix Code 10 Error for Network Adapter in Windows 11
1. Run the Necessary Troubleshooters
1.1 Run the Network Adapter Troubleshooter
- Press the Windows key and click on Settings.

- Click on System and select Troubleshoot.

- Select Other troubleshooters.

- Find the Network Adapter troubleshooter and click the Run button next to it.

1.2 Run the Internet Connections Troubleshooter
- Press the Windows key and click on Settings.

- Go to System and click Troubleshoot.

- Click on Other troubleshooters.

- Locate Internet Connections and click Run.

- Follow the on-screen prompts to complete the process.
1.3 Run the Hardware and Devices Troubleshooter
- Press the Windows key, type cmd, and select Run as administrator.

- Type the following command and press Enter :
msdt.exe -id DeviceDiagnostic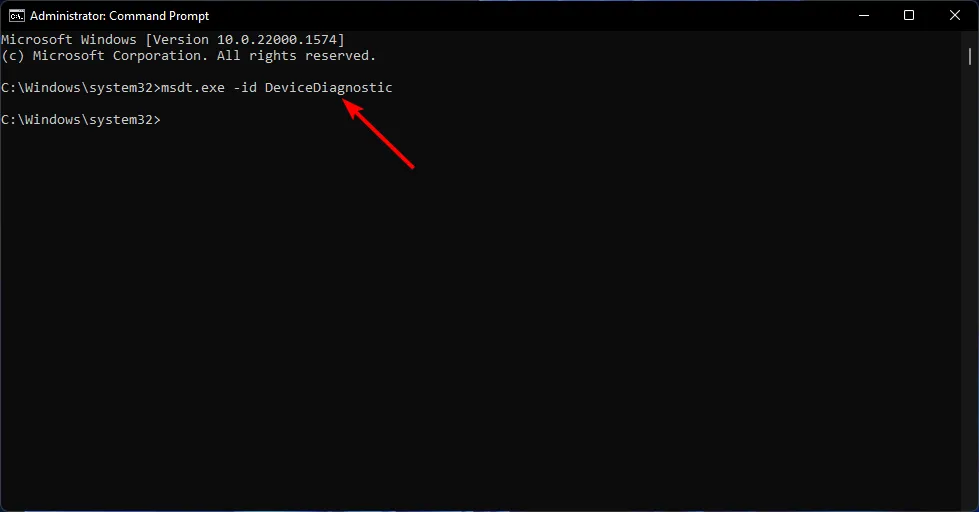
- In the Hardware and Devices dialog that appears, click Next.
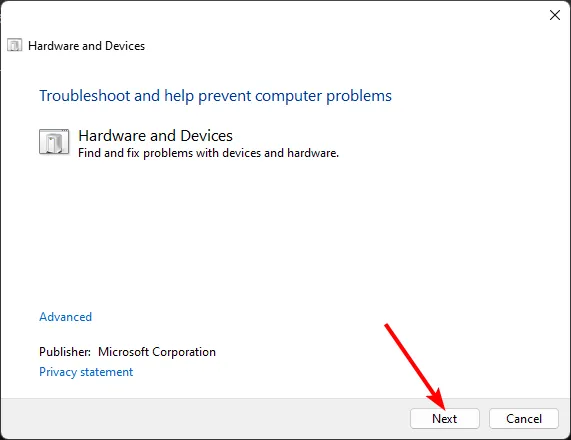
- The tool will scan for hardware issues and recommend fixes. Once the scan is finished, check if the WLAN Extensibility Module error persists.

Inspect the physical connections of your router and examine the network cable for damages, as these issues can also cause your WiFi adapter to stop working.
2. Flush the DNS Cache
- Press Windows + R to launch the Run dialog, type cmd, and press Ctrl + Shift + Enter.
- Click Yes in the UAC prompt.
- Paste the following command and hit Enter :
ipconfig /flushdns
- Restart your computer to apply the changes.
3. Disable Your Antivirus Temporarily
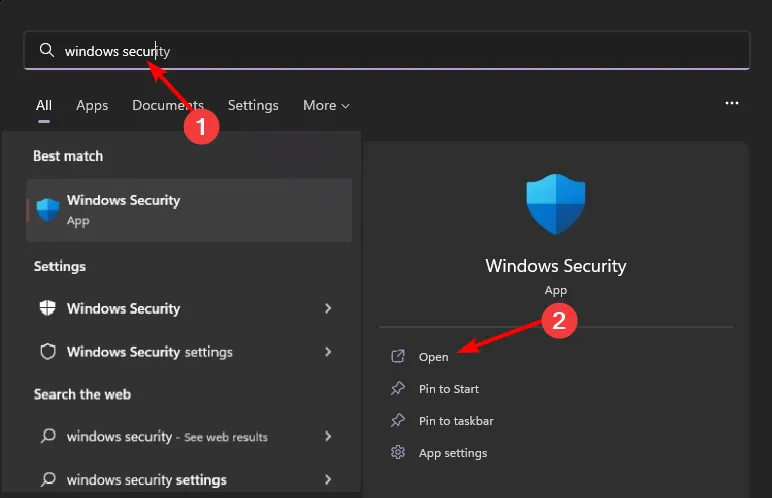
- Click the Start menu, type Windows Security in the search bar, and click Open.
- Click on Firewall & Network Protection, then select Public Network.

- Find Microsoft Defender Firewall and toggle the switch to turn it off.

A powerful antivirus may block network traffic or interfere with your network drivers, resulting in the code 10 error.
4. Resolve Driver Issues
4.1 Update Your Network Drivers
- Press the Windows key, type Device Manager in the search bar, and click Open.

- Locate your Network Adapter, right-click on it, and select Update Driver.
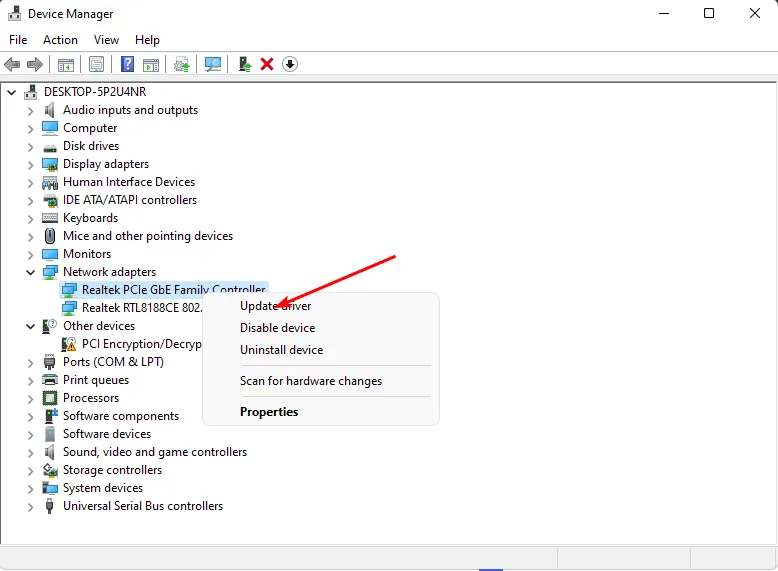
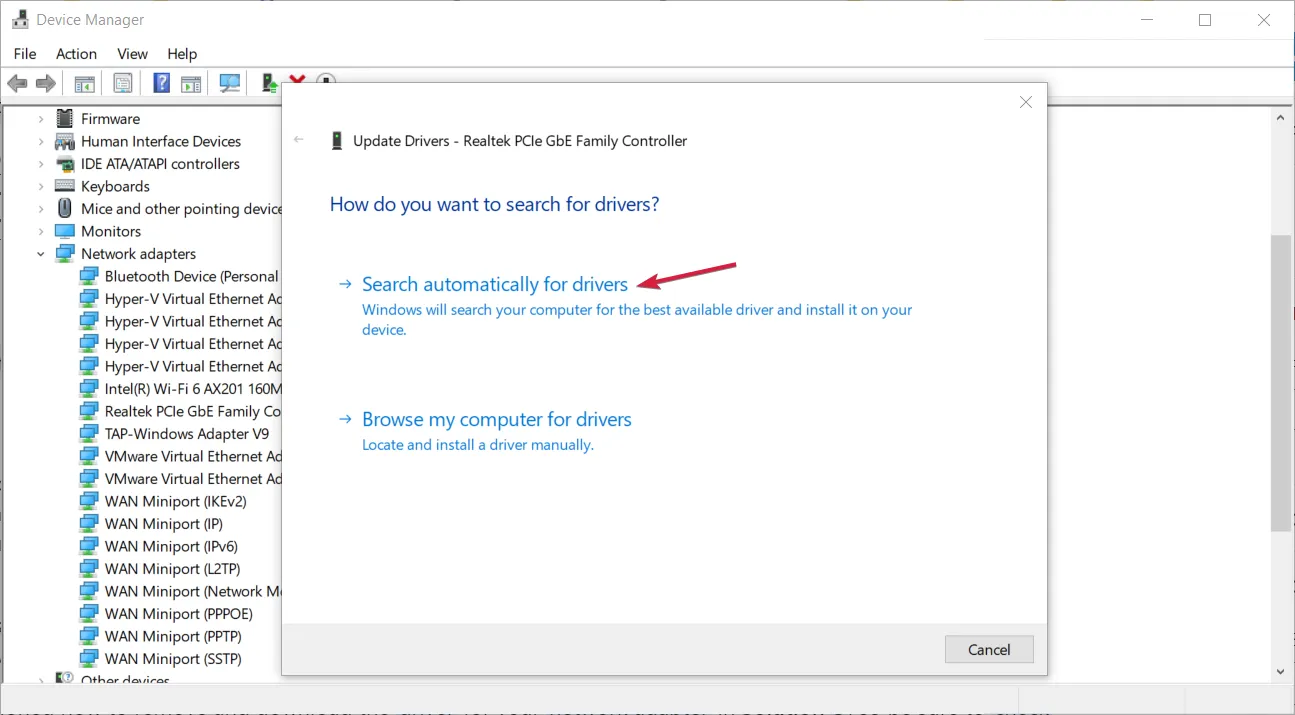
- Select Search automatically for updated drivers.
4.2 Reinstall Your Network Drivers
- Click the Start Menu icon, type Device Manager in the search bar, and click Open.

- Find your Network Adapter, right-click on it, and select Uninstall Device.
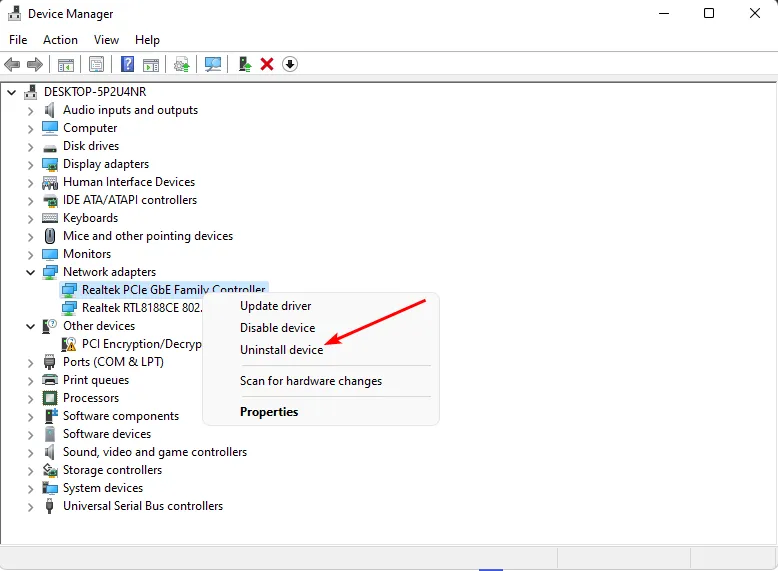
- Confirm the uninstallation in the dialog that follows.
- Visit your computer manufacturer’s official website to download the correct driver setup file.

- Run the installer and complete the installation process as instructed.

- Restart your computer to apply the changes.
4.3 Scan for Driver Errors
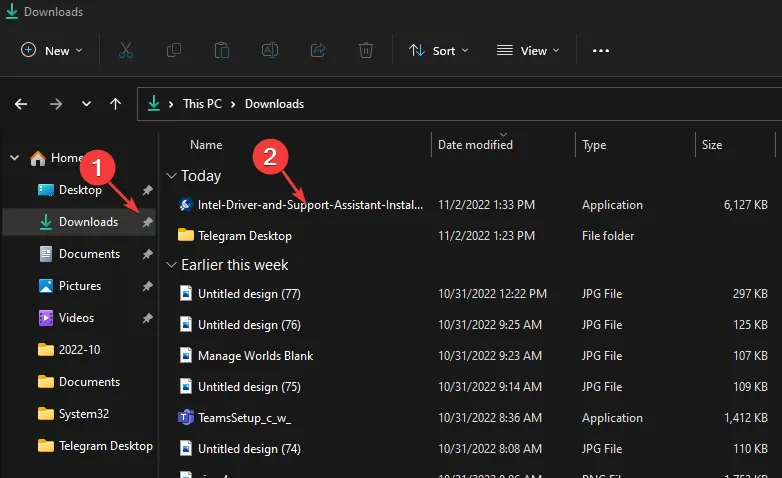
- Open your browser and visit the official Intel download site to download the Intel Driver & Support Assistant.
- Press Windows + E to open File Explorer. Launch the downloaded. exe file from your Downloads folder.
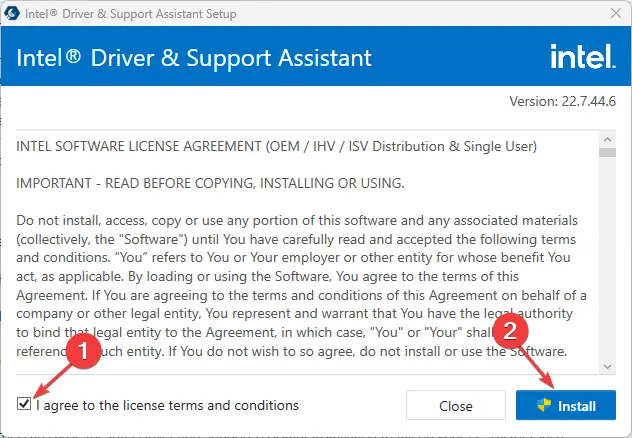
- Agree to the license terms, then click the Install button and confirm the UAC prompt.
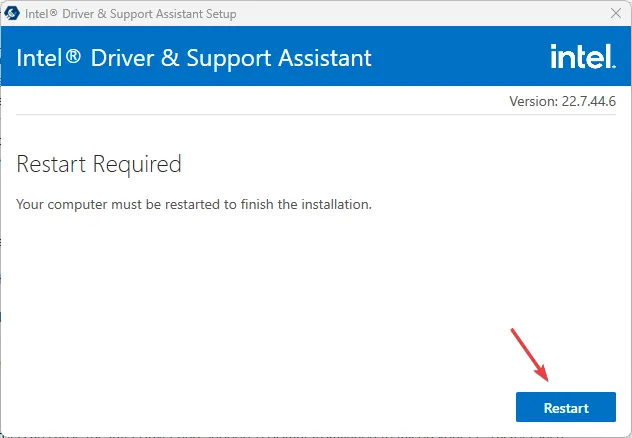
- Wait for the installation to finish and click Restart.
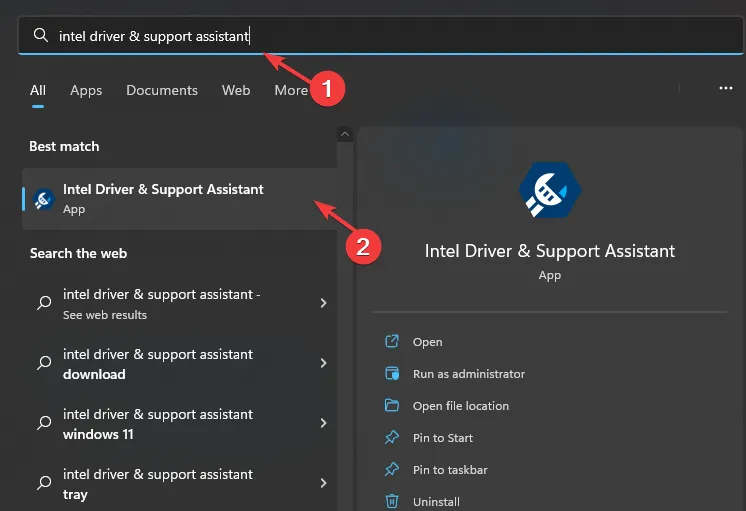
- Open the Intel Driver & Support Assistant to check for network adapter issues.
- Click Download All and confirm you wish to proceed.
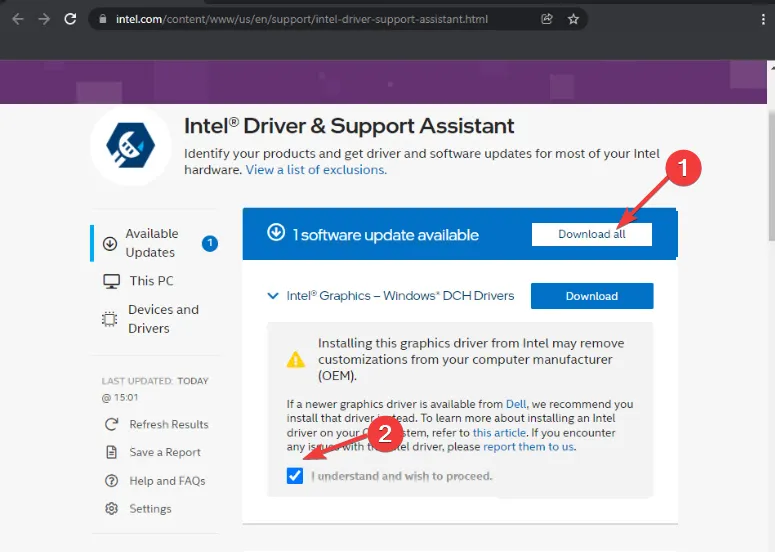
- Click Install All and wait for the updates to complete.
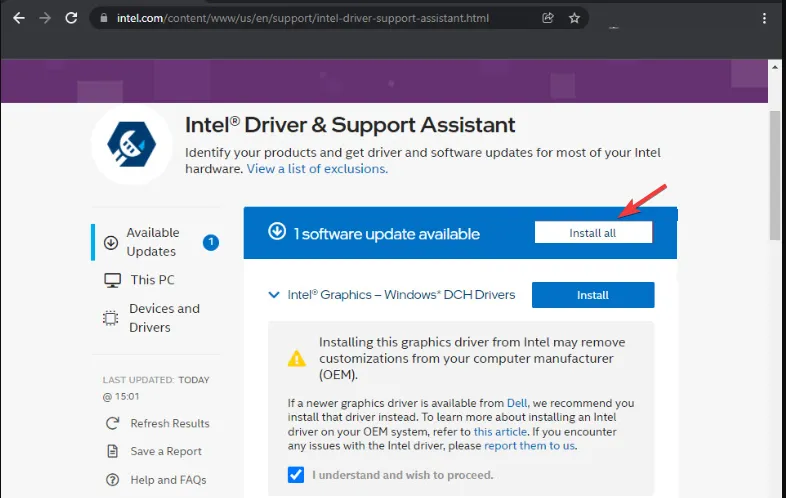
- Run the tool to see if it detects any issues with your network adapter.
5. Reset Your Network
- Press the Windows key and open Settings.

- Go to Network & Internet.
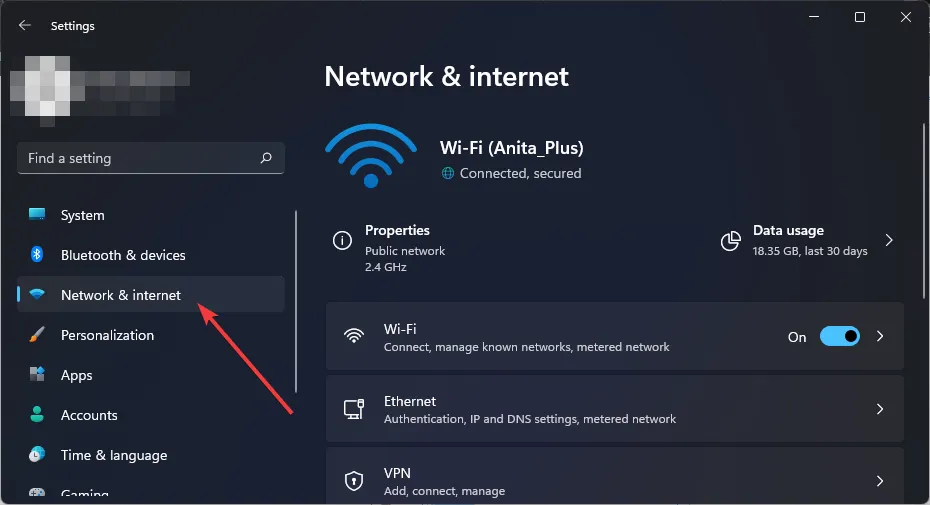
- Select Advanced Network Settings.

- Click on Network Reset.

- Hit the Reset Now button.

6. Perform a Repair Upgrade
- Visit the official Windows 11 Downloads page, select download from “Download Windows 11 Disk Image (ISO)”, and choose Windows 11.
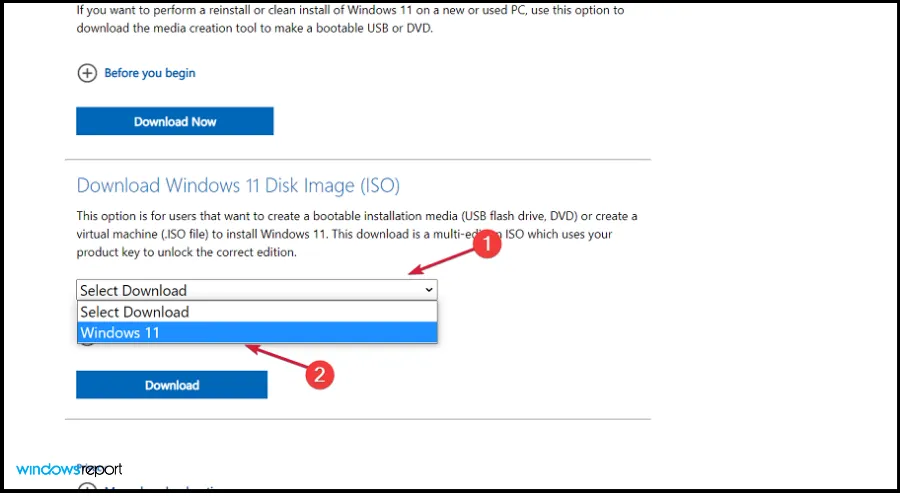
- Click the Download button.

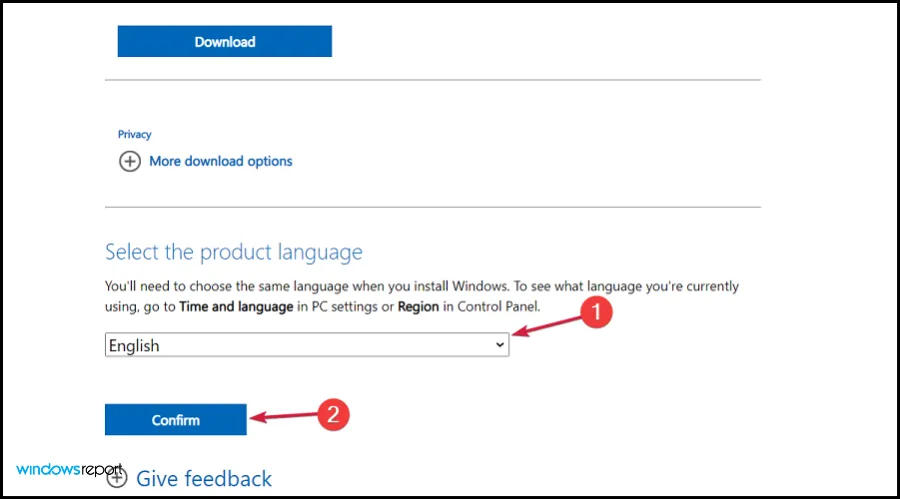
- Select your language and click Confirm. You will be provided a download link for the 64-bit Download option to get the Windows 11 ISO.
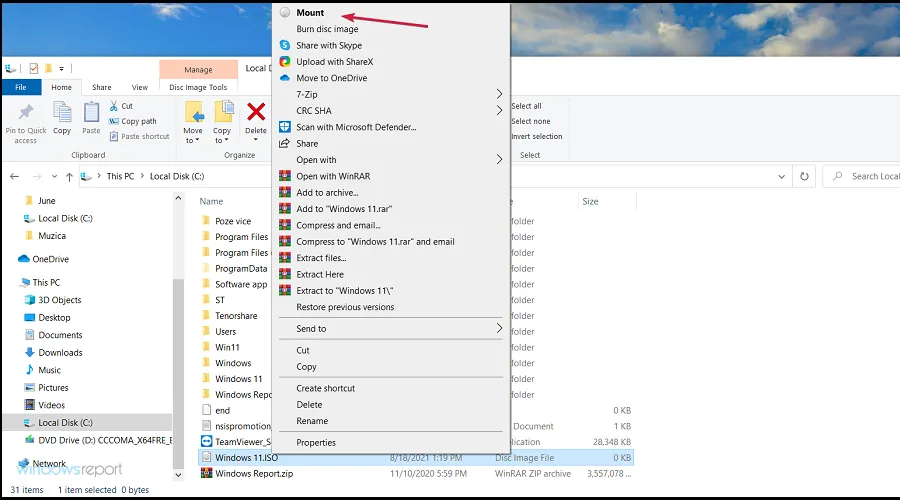
- Create a bootable USB or DVD, or right-click the ISO and select the Mount option.
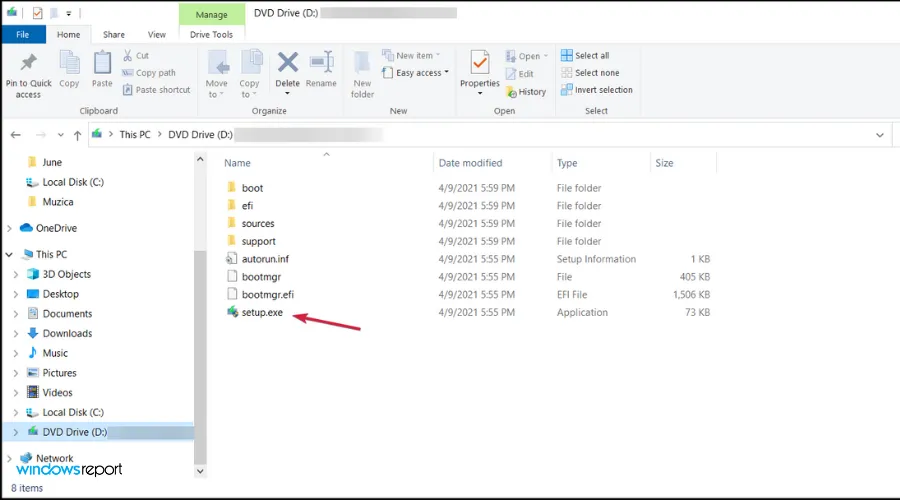
- Access the virtual drive in the File Explorer and double-click the setup.exe file to start the installation process.
- Follow the prompts during installation, choosing to keep your files when prompted.
These solutions should help you resolve the code 10 error on your network adapter. If the problem persists, consider setting up a mobile hotspot and seeking professional assistance.
For any additional comments or suggestions, please feel free to share in the comment section below.


Leave a Reply