Google Passkeys: How to Use Your Face or Fingerprint to Sign in to a Google Account

What to know
- Google Passkeys allows you to use face and fingerprint recognition to sign in to your Google account.
- Passkeys can be created by adding a device you own inside your Google account and giving it passkey privileges.
- Passkeys can be enabled inside computers (running macOS Ventura or Windows 10 or higher) and mobile devices (running iOS 16 and Android 9 or later)
- You need to use the latest versions of Safari, Chrome, or Edge browsers to be able to create passkeys on supported devices.
- Once a passkey is added to a device, this device’s screen lock or biometric authentication can be used to sign in to Google on other devices.
For years, we have been signing into accounts using passwords, and to ensure they don’t fall into the wrong hands, we were always warned to use strong alpha-numeric passwords. However, this method is not foolproof on its own. Fortunately, Google plans to change this by introducing Passkeys – a more convenient and safer alternative to passwords.
You can create a Passkey for any of your devices so that you won’t need to manually enter your password every time you sign into your Google account. All you need to sign in is your phone or computer’s screen lock or biometric authentication to use your Google account on another device.
In this post, we will explain what you need to use Passkeys for your Google account, how you can create them, and use them to sign into your account on newer devices or browsers.
What do you need?
To be able to sign in to your Google account using your Face or Fingerprint, you need to create a passkey in your Google account. For that, you need to make sure you have the following things required to set it up:
- A Google account
- You own any of the following eligible devices. Do not create passkeys on shared devices.
- A computer that’s running on macOS Ventura or Windows 10
- An Android device running on Android 9 or later or an iPhone running on iOS 16
- A supported web browser updated to its latest version
- Apple Safari 16 or newer
- Google Chrome 109 or newer
- Microsoft Edge 109 or newer
After a passkey has been created, your device needs to meet the following requirements if you wish to use the passkey:
- Some kind of screen lock is activated on your device
- Face ID or Touch ID on an iPhone
- Fingerprint or facial recognition on Android
- Screen lock biometrics or a PIN on a computer
- Bluetooth is turned on inside iOS or Android if you wish to use the mobile device to sign in to a computer
How to create a passkey for your Google account
Once you’ve taken care of all the requirements listed above, you can proceed to create a passkey for your Google account on a device of your choice. You can use any of the supported devices mentioned above to get started. In this instance, we’ll try setting it up on an iPhone but you can also do it on an Android phone, Windows, or Mac computer.
To get started, open a supported web browser app on your device. Here, we’re using the Safari app on an iPhone.
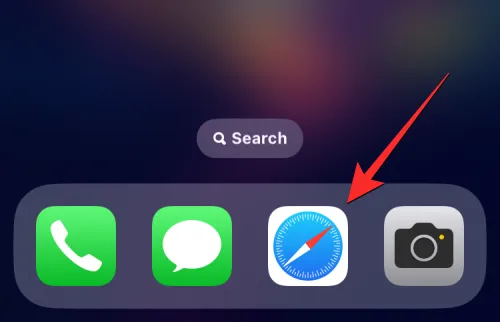
When the browser opens up, go to g.co/passkeys to access the Passkeys page inside your Google account.
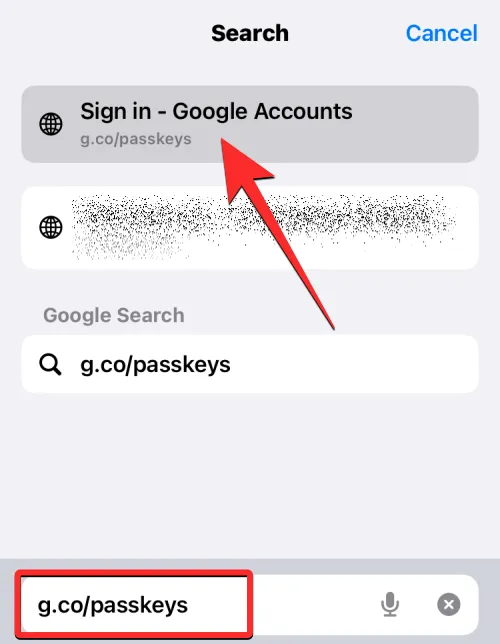
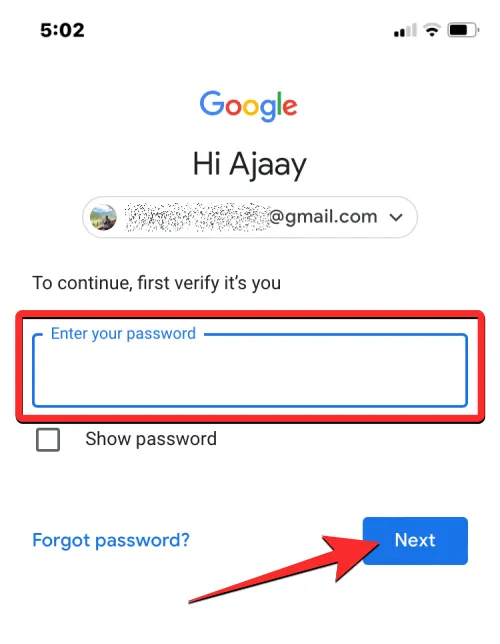
You will be prompted to sign in to your Google account. Once you enter your account credentials, tap on Next to proceed.
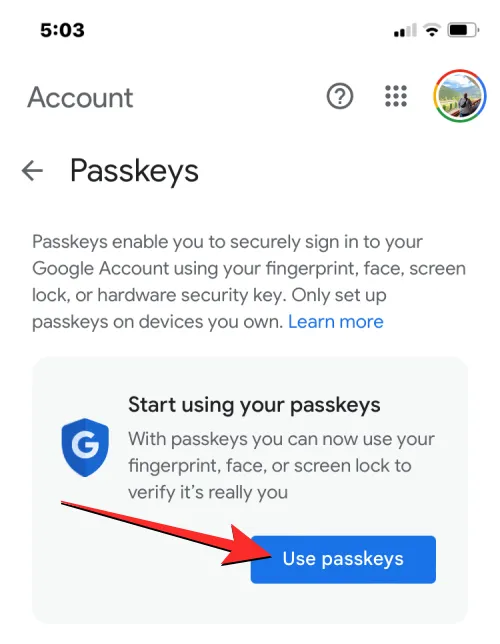
You should now see the Passkeys page on your screen. To enable Passkeys on your Google account, tap on Use passkeys.
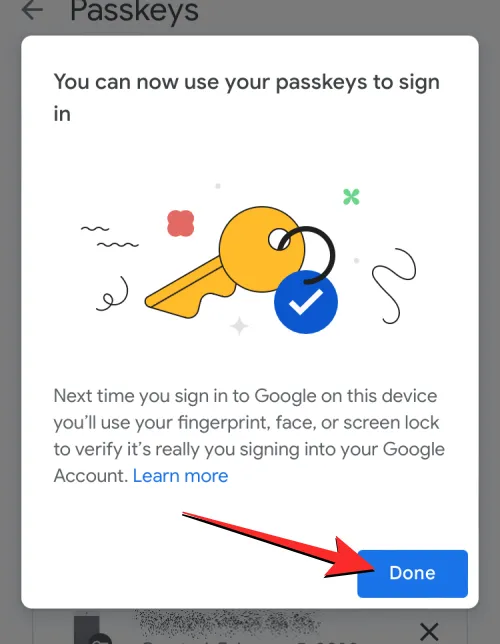
When the feature is enabled, you should see this message on the screen. Tap on Done to return to the Passkeys screen.
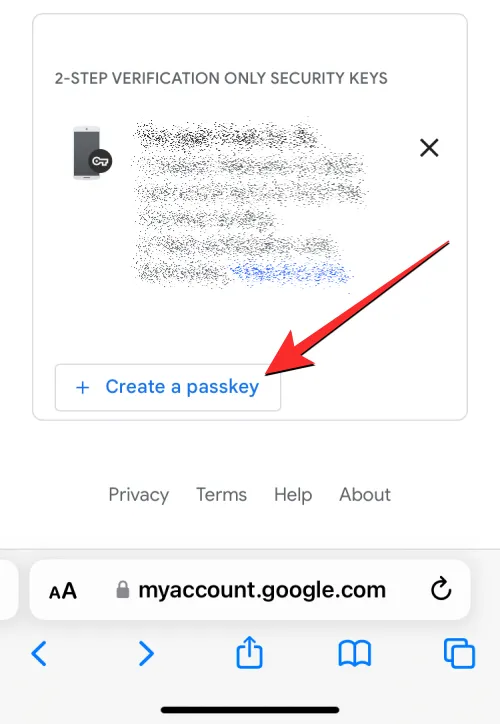
Once Passkeys have been enabled, you can create one by scrolling down to the bottom of the Passkeys page and tapping on Create a passkey.
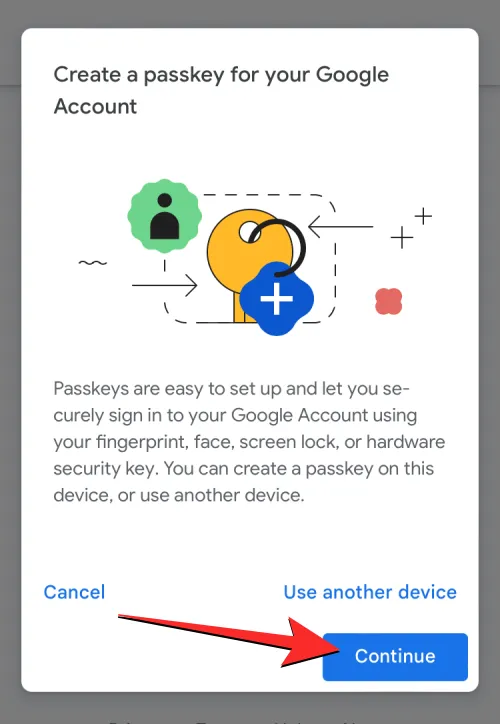
In the prompt that appears on the screen, tap on Continue.
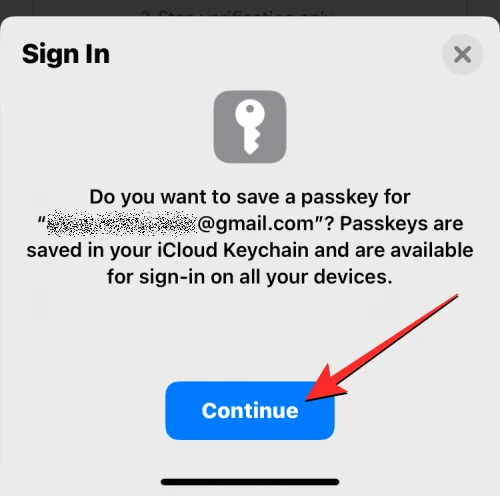
Since we’re using an iPhone, Apple will ask you whether you wish to add the passkey to your iCloud Keychain. You can proceed by tapping on Continue.
Next, you’ll need to authenticate your identity on this device. You can use Face ID, Touch ID, fingerprint sensor, your screen lock PIN, or any other biometric authentication that’s enabled on the device.
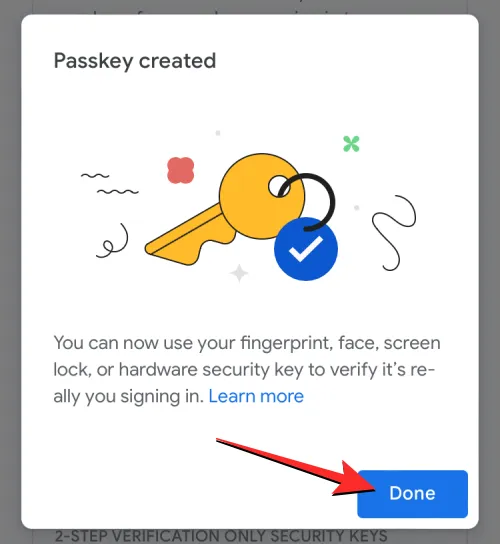
Once you authenticate it, the passkey will be created for your device and you should see a message like this appear on your screen.
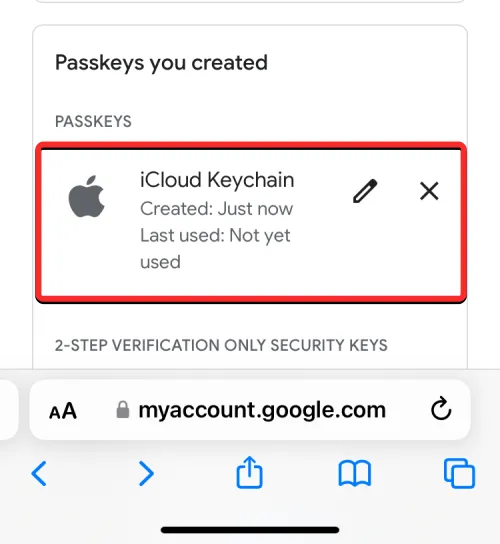
When you create a passkey you should see it appear under the “Passkeys you created” section on the Passkeys page.
With Passkeys enabled for this device, you can use it to sign in to your Google account on any other device or web browser using this device’s screen lock or biometric authentication.
How to use Google passkeys to sign in on a new device using your Face or Fingerprint
When you create passkeys using the devices you own, you can use them to sign into your Google account on a new device or web browser without entering its password. To sign in to your Google account on a new device or browser, open google.com on a web browser on your computer or mobile device and click on Sign in.
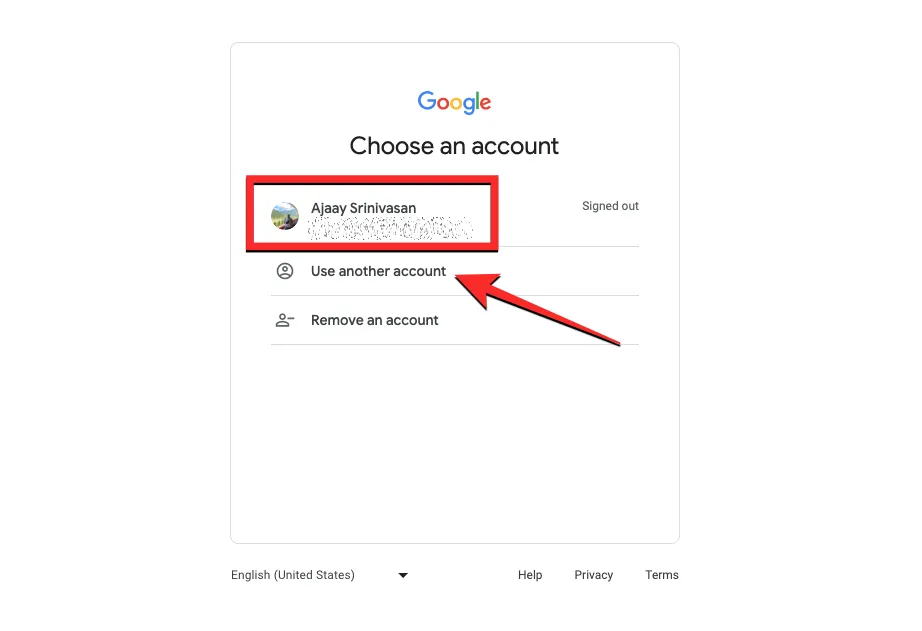
In the Choose an account page that appears, select an existing account from the screen or click on Use another account. If you chose the latter, enter your Google account’s username on the next screen.
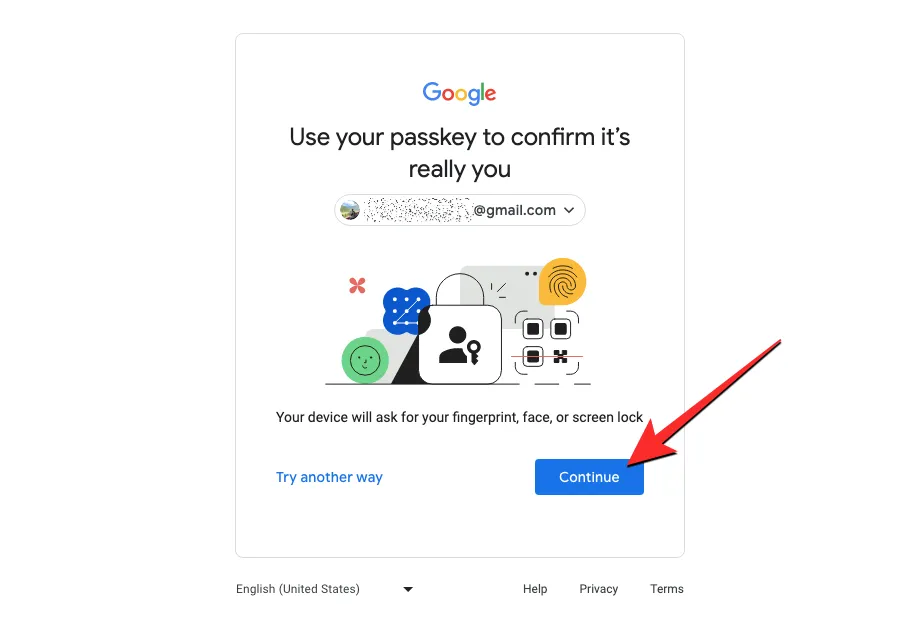
When you select an account to sign in to, you should see the “Use your passkey to confirm it’s really you” message on the screen. You can proceed by clicking on Continue.
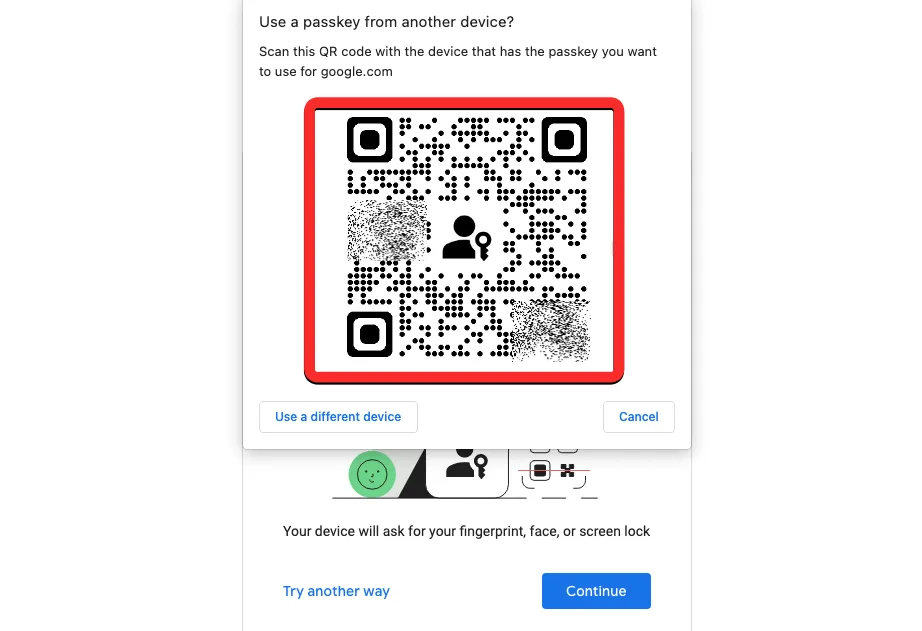
Case 1: If you have created a passkey only on one of your devices, you should see a QR code on the device where you wish to sign in.
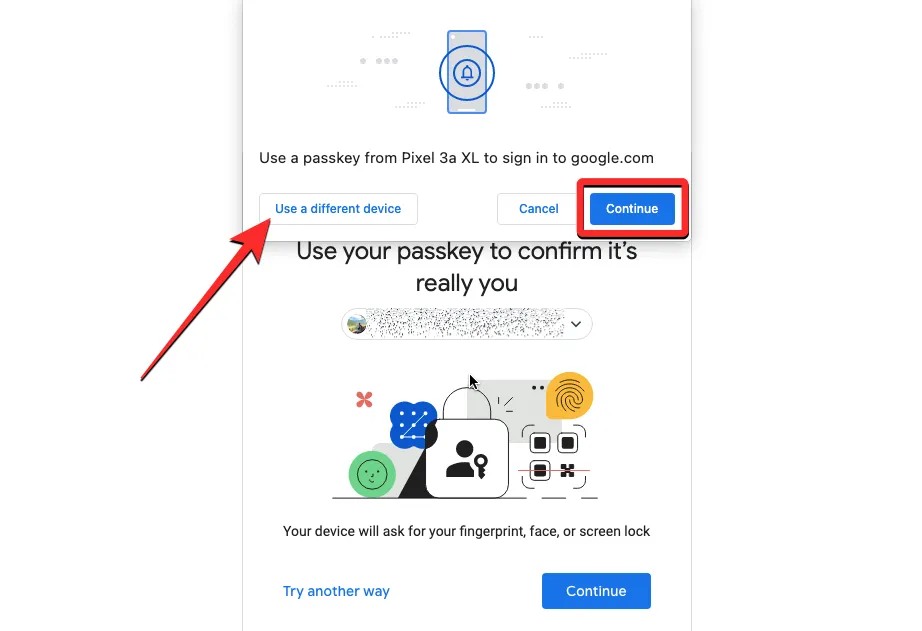
Case 2: If you have multiple passkeys created on your account, the last used device will be selected by default. If you want to use this device’s passkey, click on Continue. If you wish to choose another passkey, click on Use a different device.
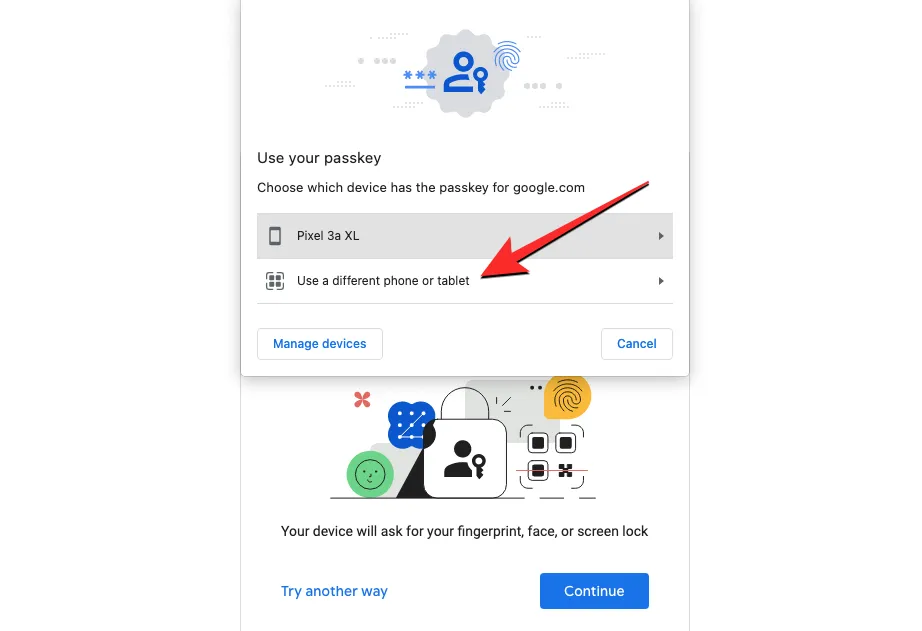
On the next screen, click on Use a different phone or tablet. As soon as do that, you should see a QR code as shown in Case 1.
Once you see a QR code on this device, use your phone’s Camera app and point it to the QR code on the other device. When you do that, tap on the Sign in with a passkey option.
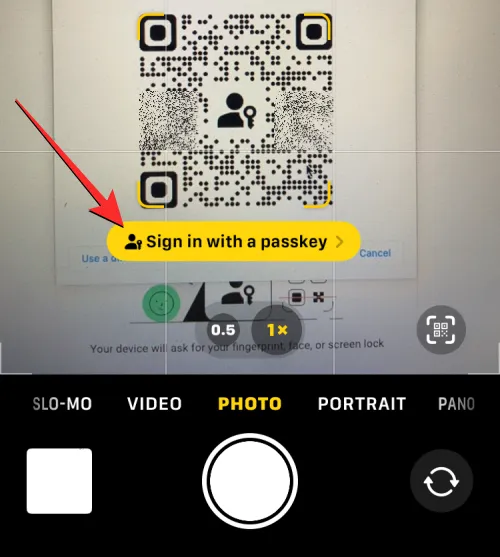
Note: For this to work, both devices should have Bluetooth enabled and need to be connected to the internet.
In the next step, you can use the screen lock or biometric authentication on the passkey-enabled device to approve the sign-in process. Once you approve it, your Google account will now be signed into on the other device.
That’s all you need to know about using Google Passkeys to sign in to your Google account with Face ID or fingerprint.


Leave a Reply