0xA00F4291 Camera Error: 5 Ways to Fix It
Computer issues like the 0xA00F4291 camera error make accessing and fully using the PC camera impossible.
A few of our readers have encountered the error on Windows 11, so in this article, we will show you the easiest ways to resolve it and hint at some of the possible triggers.
What is webcam error code 0xA00F4291?
This error code often appears with the message Can’t start your camera. Error code 0xA00F4291 (0x80004005) may be triggered by any of the following.
- Corrupted drivers – When the camera drivers are outdated or corrupt, users may experience the error since drivers play a vital connection between hardware and software.
- Windows camera app issues – Several issues on the camera app will stop it from launching. Often these may be corruption issues with app files.
- Software conflict – Since some programs may require the app, compatibility issues may be a factor for the app not launching and producing the error code. These may even be OS compatibility problems.
How do I fix the 0xA00F4291 error?
Before heading into the solutions we propose, you may consider the following workarounds:
- Restart the computer – If a minor bug causes the error, a restart may be strong enough to fix the error.
- Uninstall conflicting apps – Uninstall the app that triggers the error, or uninstall and reinstall the camera app.
If the above fixes do not work, continue to our detailed solutions below.
1. Run the camera troubleshooter
- Press Windows + I to open the Settings app.
- Select Troubleshoot on the right pane.

- Select Other troubleshooters.

- Click the Run button in front of the Camera troubleshooter.

- Follow the wizard to complete the troubleshooting.
2. Reset the camera app
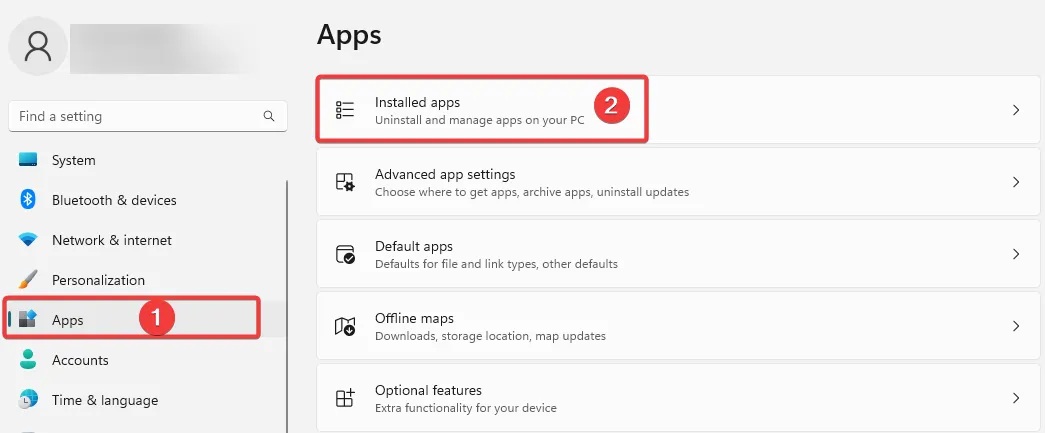
- Press Windows + I to open the Settings app.
- On the right pane, click on Apps, then on the left, select Installed apps.
- Click the 3 dots of the Camera option and select Advanced options.

- Scroll down to the Reset menu, click the Repair button, then the Reset button.

- Confirm your choice and wait for the reset to complete, then verify that the 0xA00F4291 camera error is fixed.
3. Repair damaged files
- Press Windows + R , type cmd, and hit Ctrl + Shift + Enter .
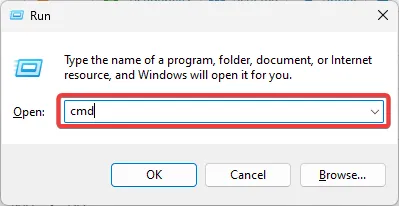
- Type the script below to scan for bad files and repair them.
sfc /scannow
- Additionally, run the three scripts below:
DISM /Online /Cleanup-Image /CheckHealth
DISM /Online /Cleanup-Image /ScanHealth
DISM /Online /Cleanup-Image /RestoreHealth
- Once the scripts are completely executed, restart the computer.
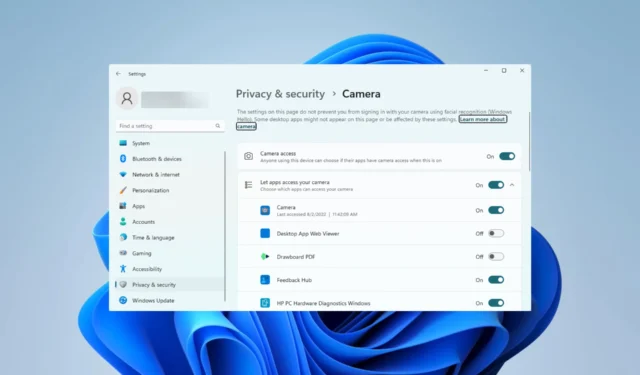
4. Permit camera access
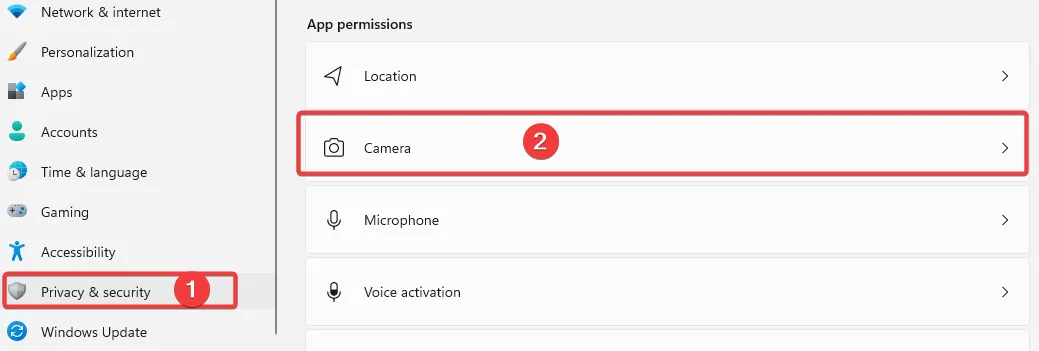
- Press Windows + I to open the Settings app.
- On the left pane, select Privacy & Security, then on the right, under the Apps section, click on Camera.
- Toggle on the Camera access option.
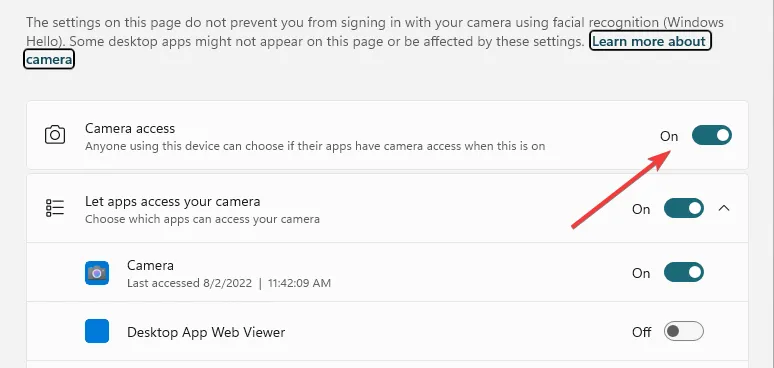
- Verify if the 0xA00F4291 is fixed.
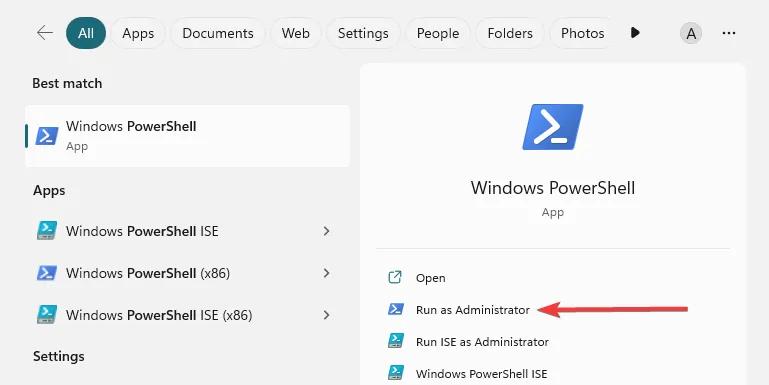
5. Register the app again
- Press the Windows key.
- Type Powershell, and click the option to Run as administrator.
- Type the script below and hit Enter to run it.
Get-AppXPackage -AllUsers | Foreach {Add-AppxPackage -DisableDevelopmentMode -Register “$($_.InstallLocation)\AppXManifest.xml”}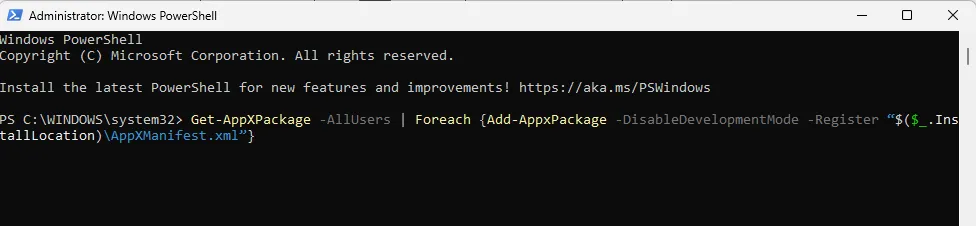
- On completion, restart the computer.
The above are our top recommendations to fix the 0xA00F4291 camera error. Note that they have not been written in any particular order, so you should try whichever seems the most applicable.
Please let us know in the comments below what fix was the most effective.


Leave a Reply