DotPeek DLL Not Supported: 4 Ways to Fix It

Owned by JetBrains, dotPeek is a popular decompiling software that integrates into Visual Studio and facilitates the decompilation of all sorts of assembly files, including Dynamic Libraries or DLLs.
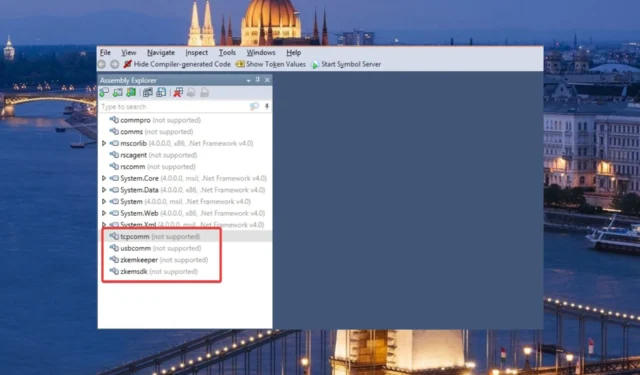
However, several of our readers have reported that they cannot access and decompile a. dll file using dotPeek as the DLL is not supported.
Why do I get the DLL not supported error in dotPeek?
If a DLL is flagged as not supported in the assembly list of dotPeek, it may be because of the following reasons:
- App interference – Windows Defender and third-party antivirus often block the DLL for security reasons.
- Virus attack – The presence of viruses and malicious programs on your PC is another reason DLLs go missing or are not supported.
- Corrupt or missing system files – Faulty or corrupt system files induce a lot of DLL-related errors and can be the reason it is not supported by dotPeek.
- Disk errors – A physically damaged hard drive and disk errors like bad sectors can also cause DLL-related issues.
- App not installed correctly – If an app installation is not successful, the related DLL files will get corrupted and no longer readable.
If you are also struggling with the same issue, here are the proven ways of resolving the problem.
How do I fix the not supported error in dotPeek?
Before you jump to the complex solutions listed below, perform the following actions:
- Uninstall the app to which the affected DLL belongs and then reinstall it.
- Update or re-install dotPeek.
- Scan your computer with a third-party antivirus for virus and malware infection.
If the problem still exists, employ the following fixes.
1. Use a dedicated DLL fixer
The tool maintains a large repository of DLL files, enabling the software to replace damaged and corrupt versions of unsupported DLLs quickly. It is user-friendly and successfully diagnoses the underlying problems leaving your computer more optimized than ever.
2. Repair the system files
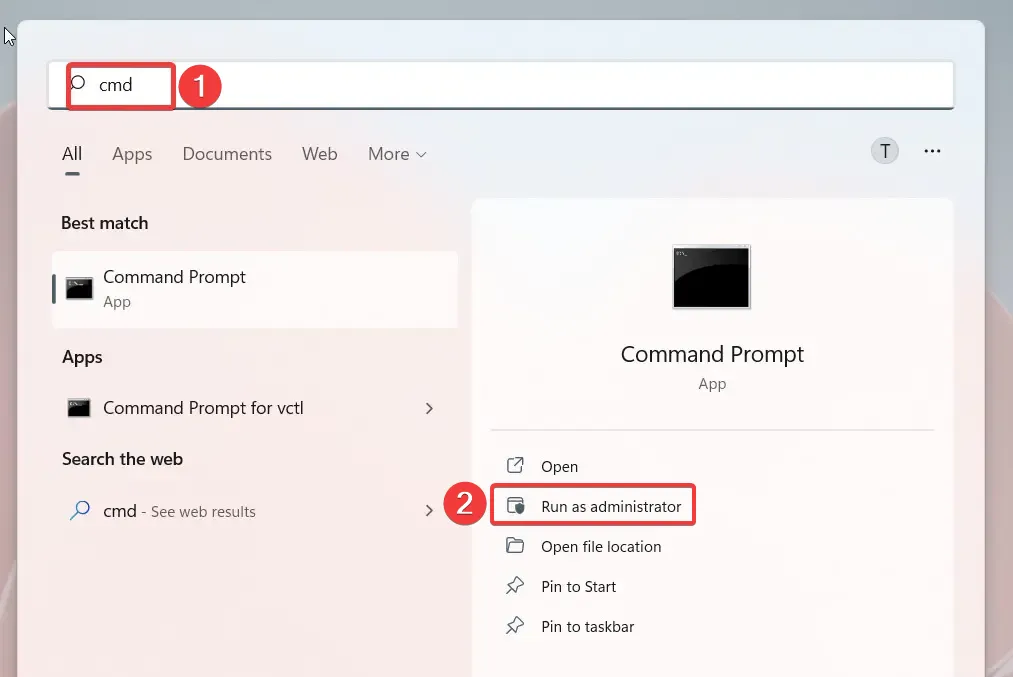
- Press the Windows icon on the taskbar to bring up the Start menu, type cmd in the search bar on top and choose Run as administrator.

- Click Yes on the User Action Control prompt to launch the Command Prompt with elevated permissions.
- Type or paste the following command and press the Enter key to run the System File Checker scan.
sfc /scannow
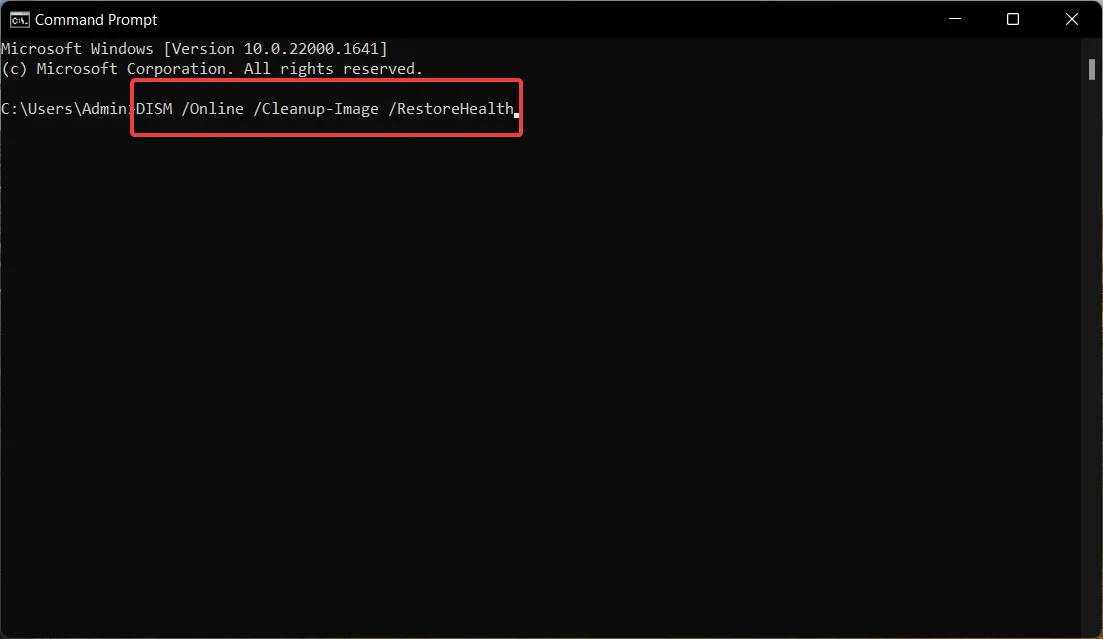
- After the verification is 100% complete, type or copy-paste the following command and press the Enter key to execute it.
DISM /Online /Cleanup-Image /RestoreHealth
The SFC and DISM tools will scan all the protected system files on your computer and replace the corrupt or modified system images with the cached version stored in a compressed folder.
After the repair is successful, you will no longer encounter the DLL not supported error in dotPeek, and you can decompile it successfully.
3. Disable real-time protection
- Use the Windows + I keyboard shortcut to bring up the Settings app.
- Choose Privacy & security from the left navigation panel and then click the Windows security option located in the right section.

- Next, select the Virus and threat protection option.

- Click Manage settings present under the Virus and threat protection section.
- Toggle Off the switch for the Real-time protection option.

Windows Defender and third-party antivirus often consider certain DLL files as a potential threat and restrict and block them on your computer. To prevent Windows Defender from doing so, you can disable the real-time protection feature of Windows Security before you launch the dotPeek application.
If you rely on third-party antivirus to stay protected, you can create an exception for the affected DLL file to let it bypass the restrictions.
4. Manually download a DLL
While we do not favor downloading software, apps, and DLLs from random online sources, if the error persists, you can manually download and replace the DLL file not supported in dotPeek with a legitimate version.
However, it is extremely necessary to proceed with caution and only download the files from trusted websites like dll_files.com, which house genuine DLLs and not malicious software masquerading as them.
After the download is successful, extract the DLL file from the ZIP or RAR archive, and then replace the DLL not supported by dotPeek with this version.
After performing these steps, restart your PC and re-launch the dotPeek app. You will no longer encounter the un-supported error when opening DLL files with dotPeek.
Those are the fixes that will prove effective when you are unable to decompile a DLL file as it is not supported in dotPeek.
Which of the fixes provided in this guide worked for you? Do let us know in the comments section below.


Leave a Reply