12 Obsidian Tricks to Make Your Notes More Interesting!
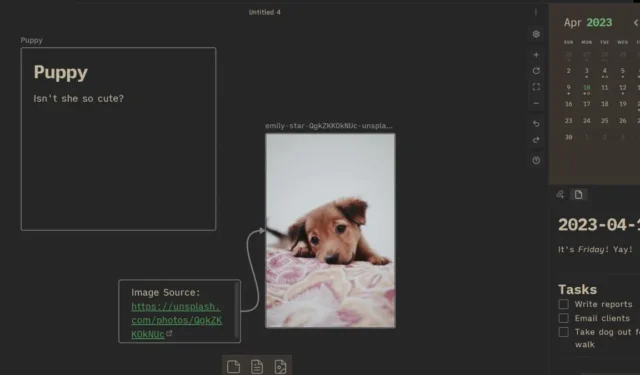
The note-taking app Obsidian makes it easy to jot down your thoughts anywhere you happen to be. It can do everything from keeping track of your random thoughts to working as a Markdown editor. However, Obsidian isn’t fun if you can’t create notes your way! These 12 Obsidian tricks will make your notes more organized and beautiful, while also making it easier to find important information.
1. Make a Canvas
If you haven’t updated your Obsidian to include the Canvas core plugin, you are missing out. It’s a new plugin that lets you make better-looking diagrams than Mermaid.
While this and most other core plugins are turned on by default, you can activate it by going to “Settings -> Core plugins” and ticking the green toggle.
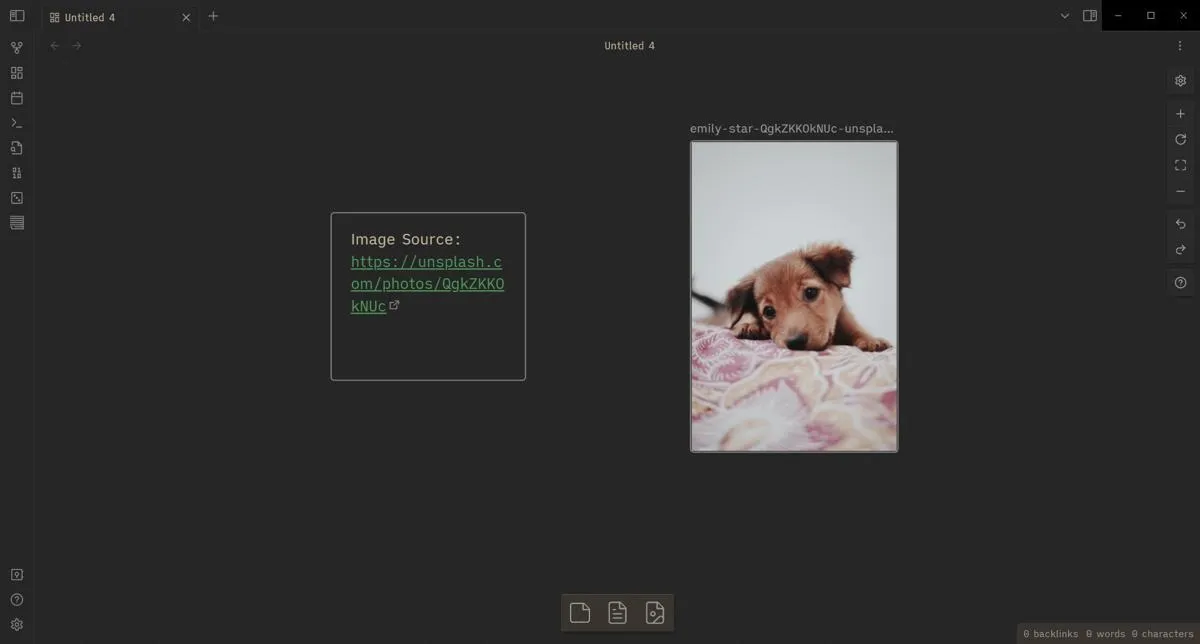
To make a new canvas, right-click on a folder, then click “New Canvas.” You can drag the buttons at the bottom to add them to the canvas and set their colors to turn them into something that resembles sticky notes! Dragging with the right mouse button lets you pan around the canvas and look around other areas.
It’s a nifty Obsidian trick for when you’re tired of working with Mermaid.js diagrams.
2. Set Canvas Arrows
As mentioned earlier, you can make diagrams with canvases. Do this by pointing your cursor to one side of a card, note, or photo, then dragging the green button to one side of another one. You can remove the arrow by right-clicking on it and clicking “Remove.”
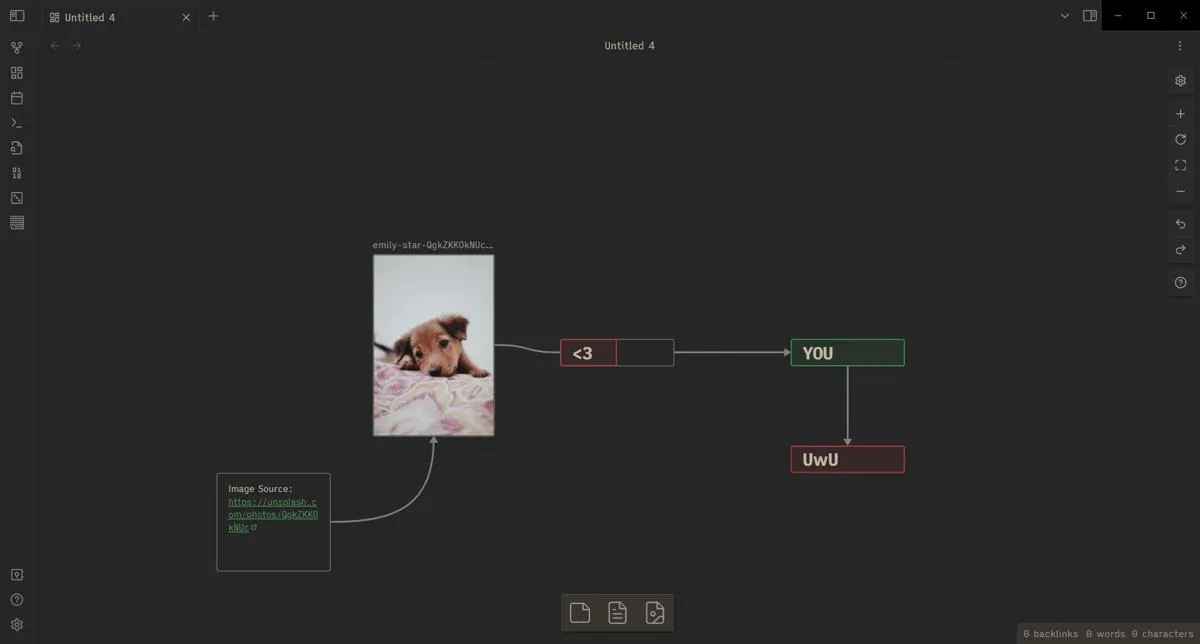
You can also add labels to arrows by right-clicking on the arrow and pressing the “Edit” label.
3. Read-Only Canvases
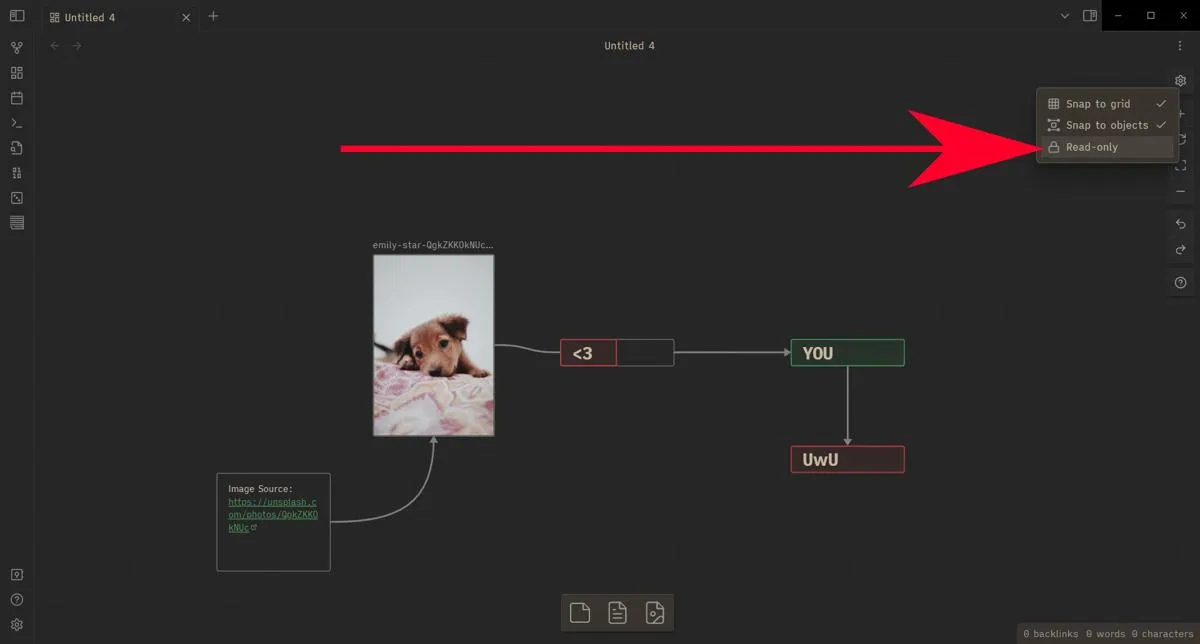
It would be awful if you put effort into making your canvas look neat, then it was ruined. Locking your canvas makes it so that you can’t ruin it by mistake.
Doing this is simple. Just click on the sprocket icon to the right (the one that looks like the Settings button for Obsidian), then click on “Read-Only” to turn the current canvas into one that is read-only.
4. Make Tables
|Species|Name|Age||-|-|-||dog|Maddogna|3||cat|Fluffman|3||iguana|Gizzards the Great|2|
As you move the cursor below the last line, you’ll see that Obsidian automatically formats the text into a table. In this format, each | is a cell wall or border. All the lines on the first part define a field and must have a series of |-| underneath to differentiate them from items. There should be one of those per field, or you’ll have more or fewer cells than fields available.
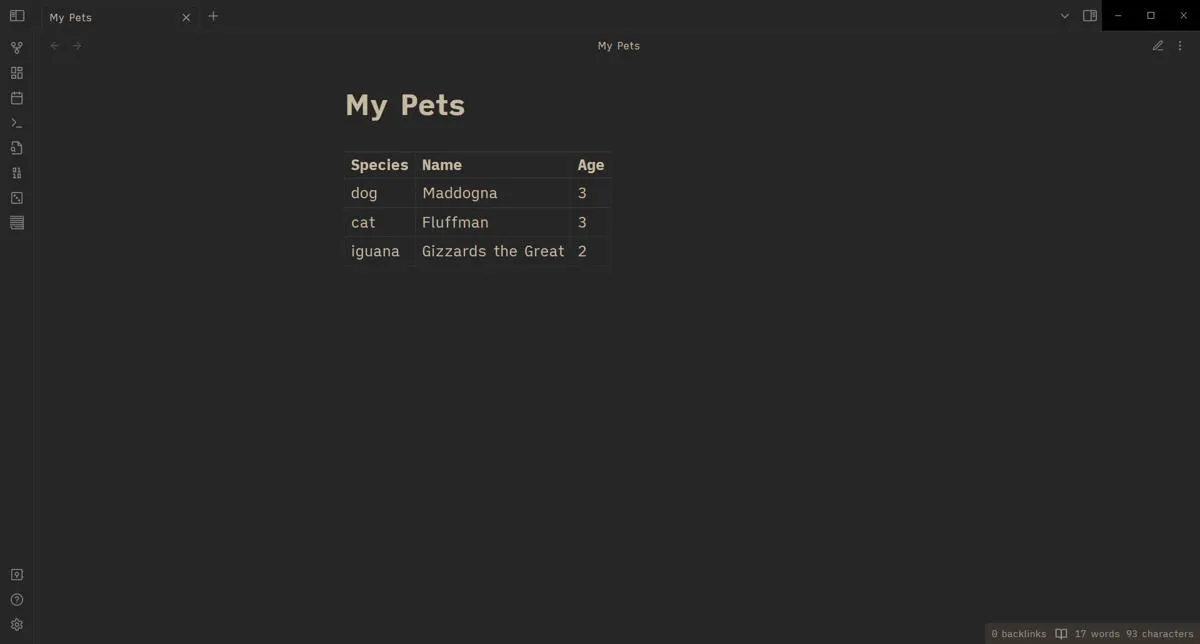
Of course, unlike Excel or Google Sheets, you can’t use this to do mathematical things. But it’s an easy way to organize information in your notes without having to copy and paste a spreadsheet screenshot.
5. Create Metadata
The metadata is the part of a note that you don’t see in the reading view. It’s an excellent place to find data about the note without going through lines of text you don’t care to see.
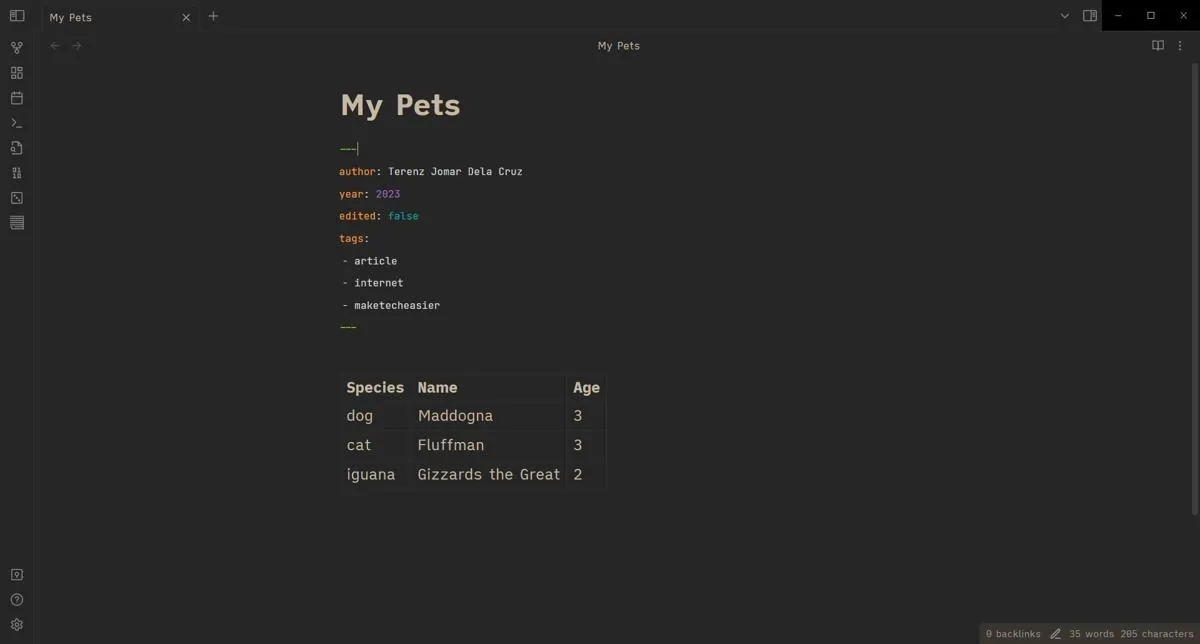
You can create the metadata by going to the first line and typing one --- and another on the line below it. Whatever you place between those two becomes hidden, as shown below.
---

author: Terenz Jomar Dela Cruz

year: 2023

edited: false

tags:

- article

- internet

- maketecheasier

---
You should format your metadata into YAML, as in the example. Obsidian allows JSON as an alternative, which may cause problems with other community plugins that read metadata, like Dataview.
6. Search for Your Notes
When you’ve created many notes and forget where you placed last week’s dinner recipe, things will get complicated. Luckily, you can search for that recipe note based on the title.
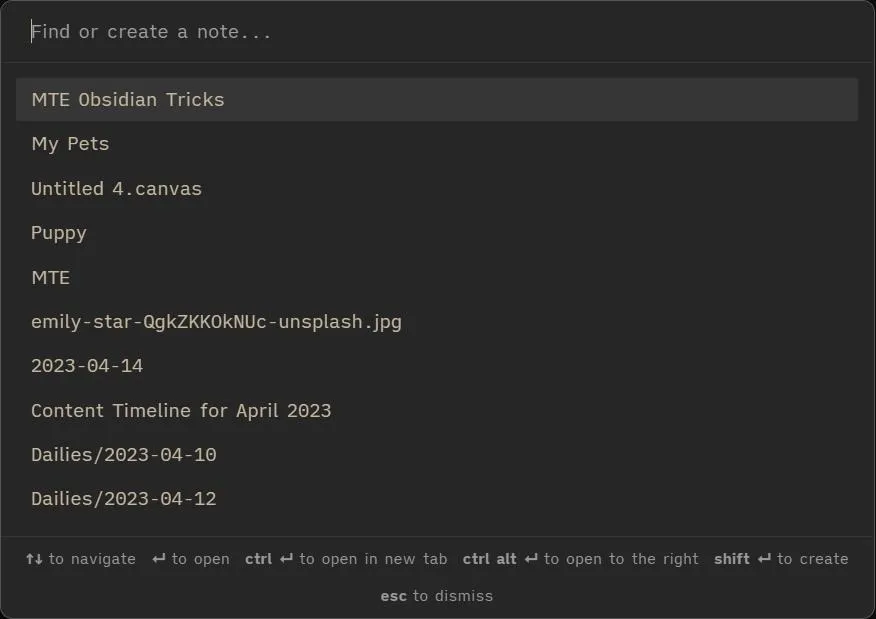
Pressing Ctrl + O lets you search notes by title. You can also easily create a note by typing a name you haven’t used yet. It’ll show up in your parent-level folder.
Also helpful: you can do several other things to keep your notes organized in Obsidian.
7. Full-Screen Mode
Obsidian’s full-screen mode is handy for avoiding distracting notifications and blinking minimized windows at the corner of your taskbar. By pressing F11, you can turn your (probably maximized) Obsidian window into a full-screen one.
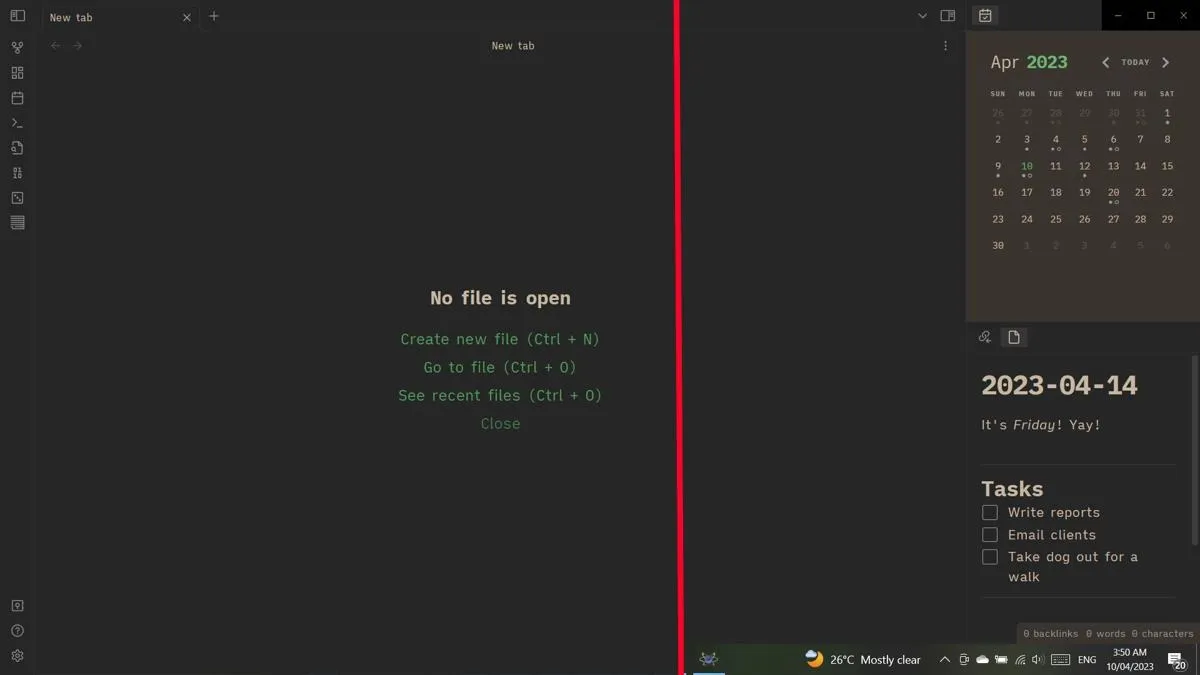
Remember that full-screen mode works much the same as pressing F11 on your browser. You can still press Alt + Tab to move to other windows. Windows that have been “kept on top” will still display over Obsidian’s full-screen window.
8. Making Full Use of the Right Side Tray
The right side tray is usually left to backlinks and the Calendar community plugin. There’s nothing much that can be done with it, especially since it’s so tiny! But did you know that you can place notes in there?
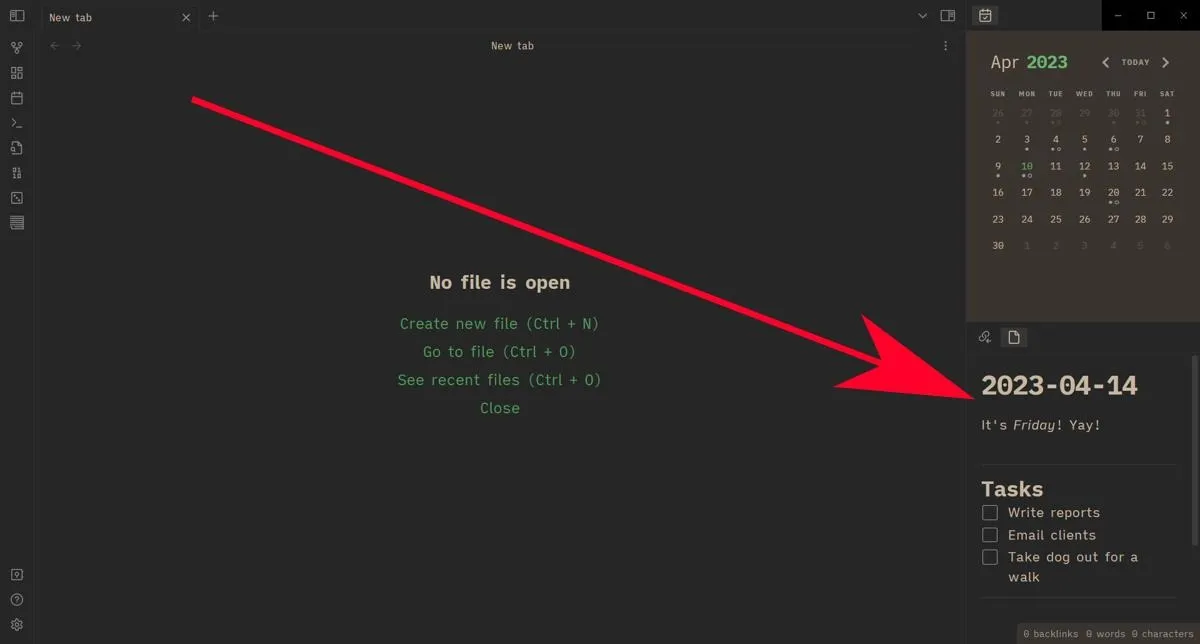
You can drag a note to the suitable side tray to open it. It’s a neat place to add a checklist while primarily working on the middle area. You can even place images, canvases, and databases in there.
9. Command Palette
Obsidian lets you do many things, but it’s hard to remember them all. It’s a good thing the command palette has them all in one place!
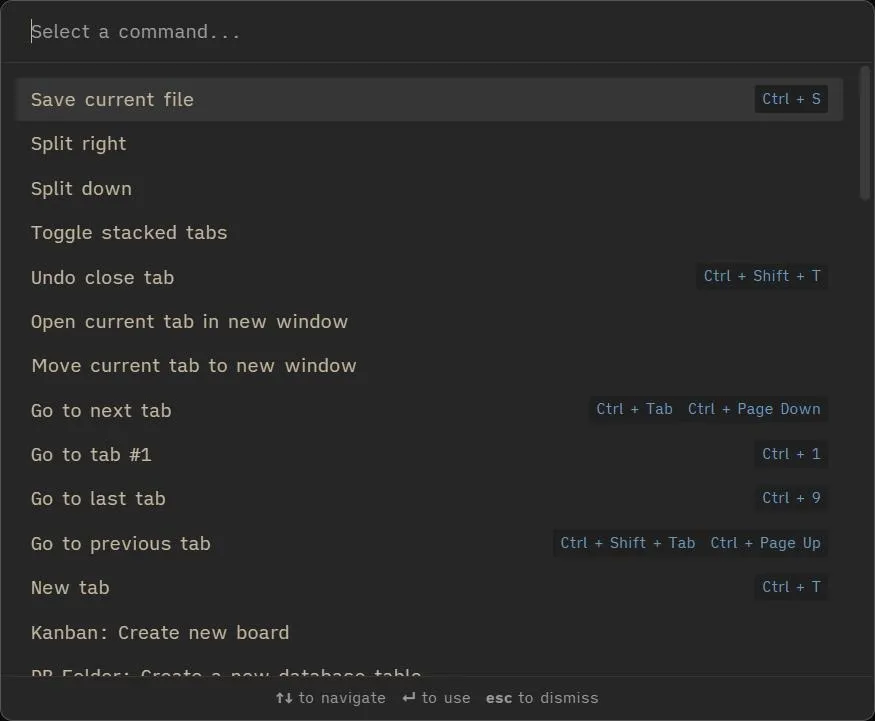
You can open the command palette by pressing Ctrl + P. It even has shortcuts to each command. The best part is that you don’t even need to lift your hands off the keyboard to use these commands. This nifty Obsidian trick lets you navigate using the Up and Down arrow keys, then press Enter to use the highlighted command.
10. Check Your Version
Because Obsidian is an offline editor, you must update it to see all of the newest features and core plugins. But it’s a waste of bandwidth to download the newest Obsidian installer, only to find out that you’re already working with the latest version.
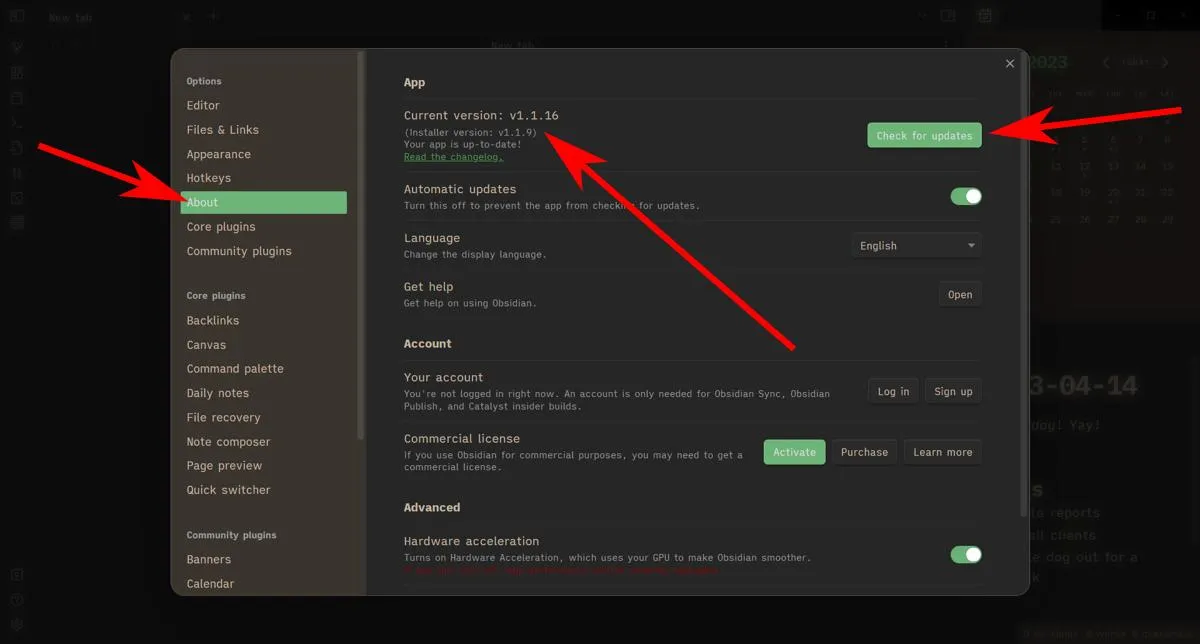
You can see the newest version by going to “Settings -> About.” It shows you the latest version, the changelog, and how to check for updates.
11. Format with Markdown
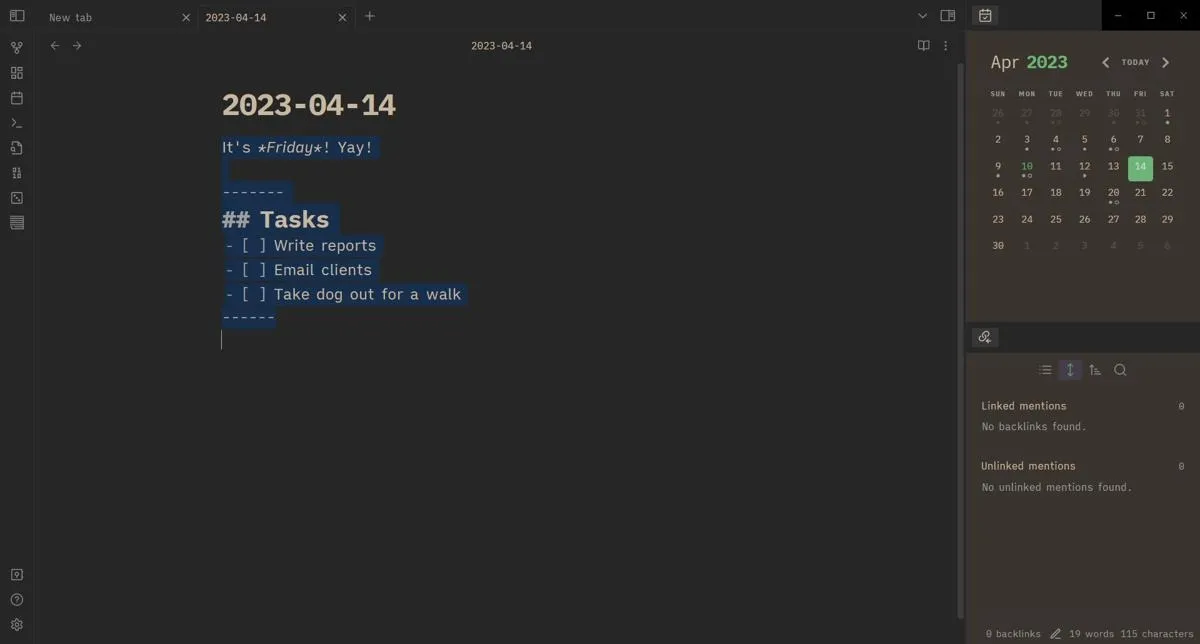
Obsidian uses Markdown syntax for styling notes. It’s a leave-it-and-see-it sort of thing where you type your text, press space, then the text is automatically formatted.
12. Format with HTML and CSS
Besides Markdown, Obsidian also lets you format with HTML and CSS. It can’t use many files, so most HTML5 practices won’t work here. Also, you’ll have to use inline CSS to make things work.
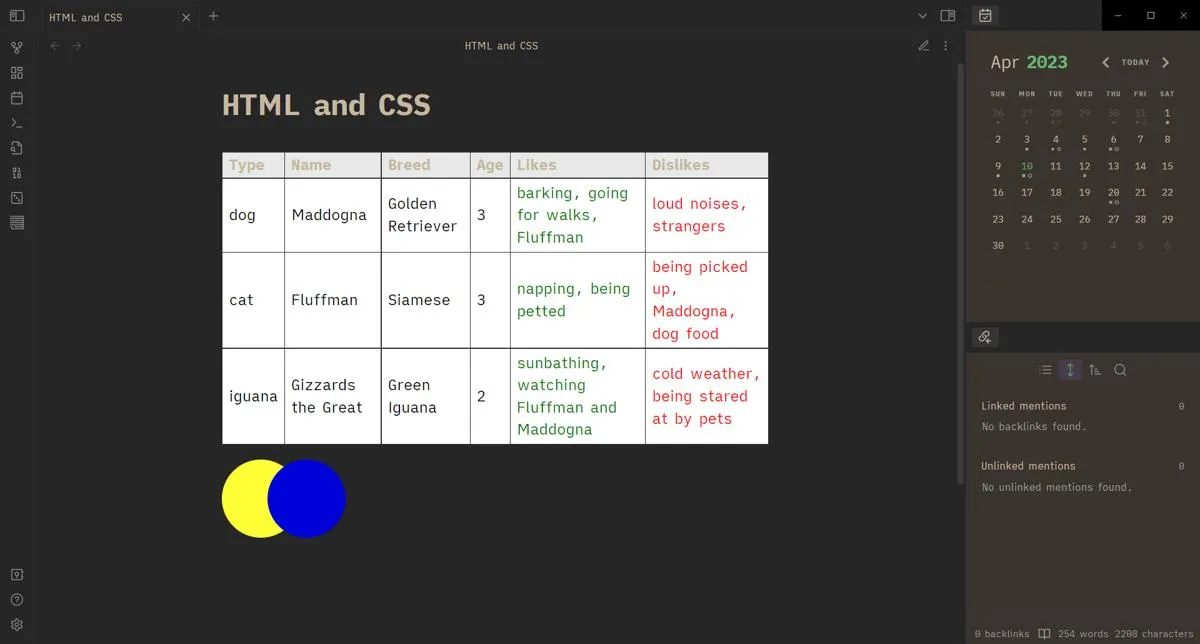
The great thing is that this allows you to design your notes much more than normal Markdown. You can also draw using in-line CSS, which is neat!
Frequently Asked Questions
How is Obsidian Graph View used?
The Obsidian Graph View is for looking at connections between notes. Each line on the view represents a link or hyperlink pointing to another note. Notes that don’t have links to other notes are called “orphans.” You can filter for these and others like tags and attachments.
Do I need to install anything to use Mermaid.js on Obsidian?
Obsidian natively supports Mermaid.js for building diagrams. You don’t need to install anything to use it. You can also make a canvas to avoid using Mermaid.js.
What are Obsidian insider builds?
Obsidian insider builds are development-level builds meant to test new features before they are introduced to stable builds. You must buy a Catalyst license, then go to “Settings -> About -> Receive insider builds” to do this.
Images and screenshots by Terenz Jomar Dela Cruz.
- Tweet
Leave a Reply